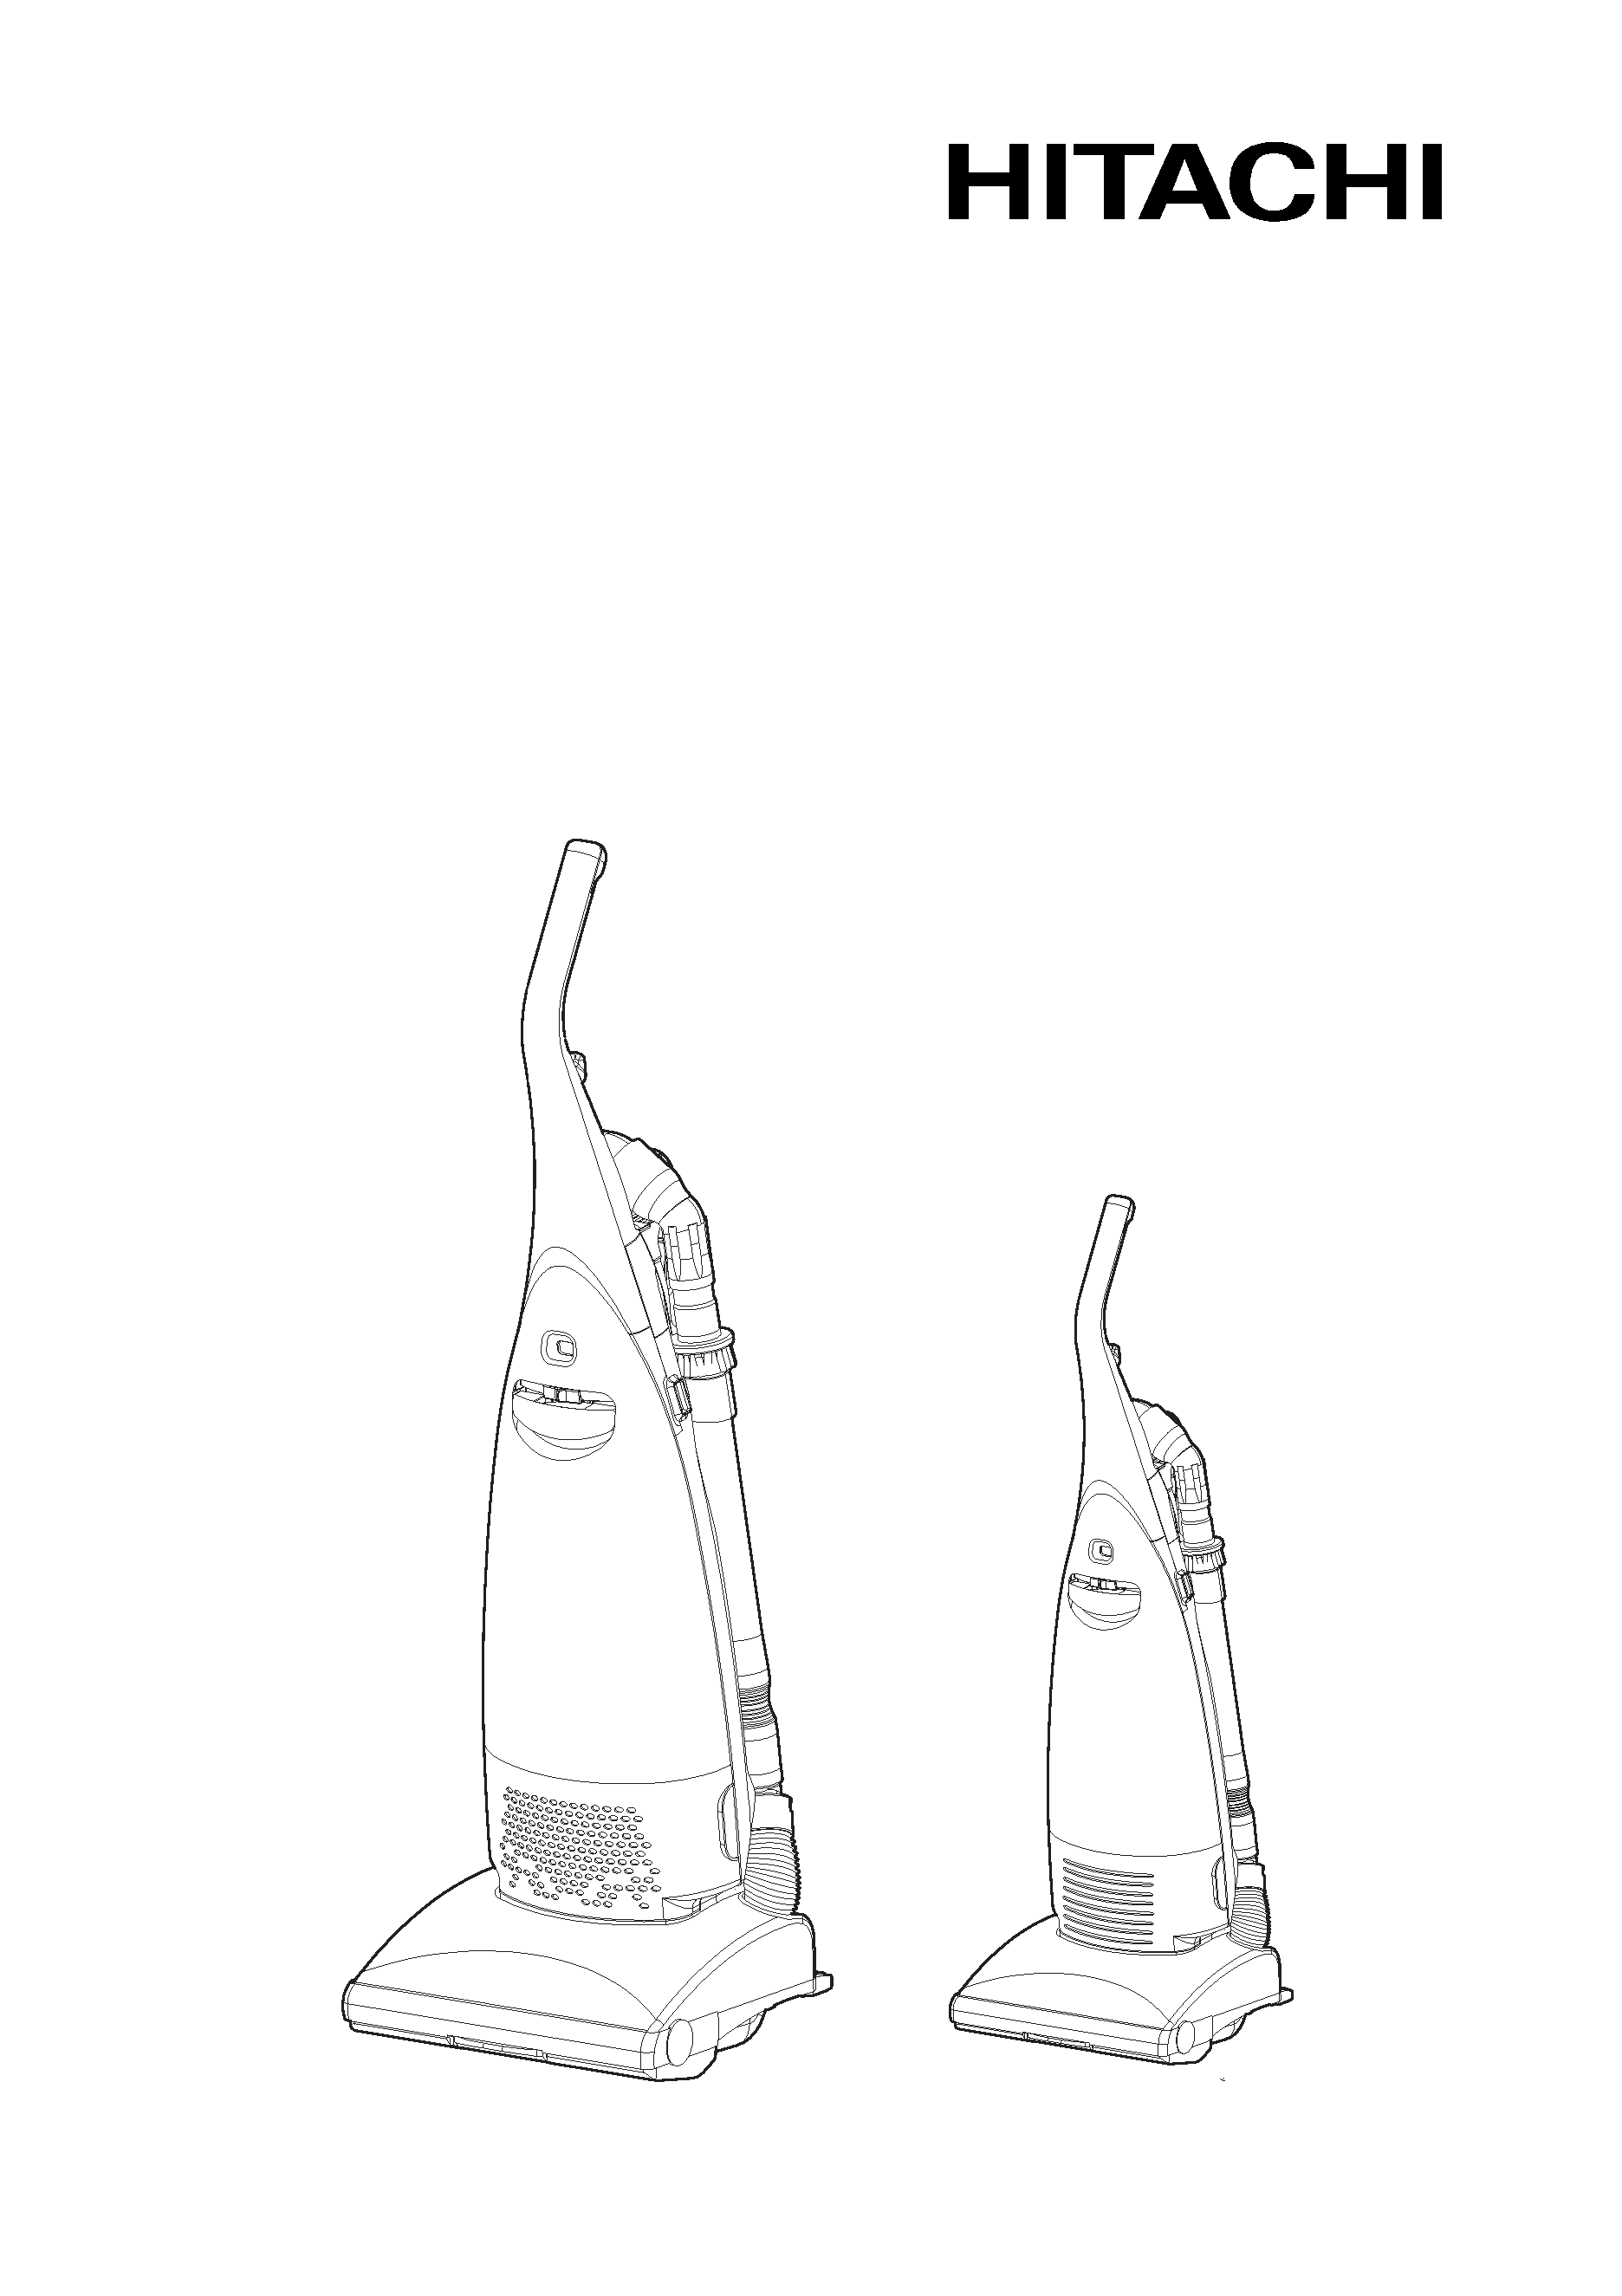
How to use your
HITACHI
VACUUM CLEANER
MODEL CV80D
CV80DC
CV80DP
CV80DP
CV80DC/D
-1-
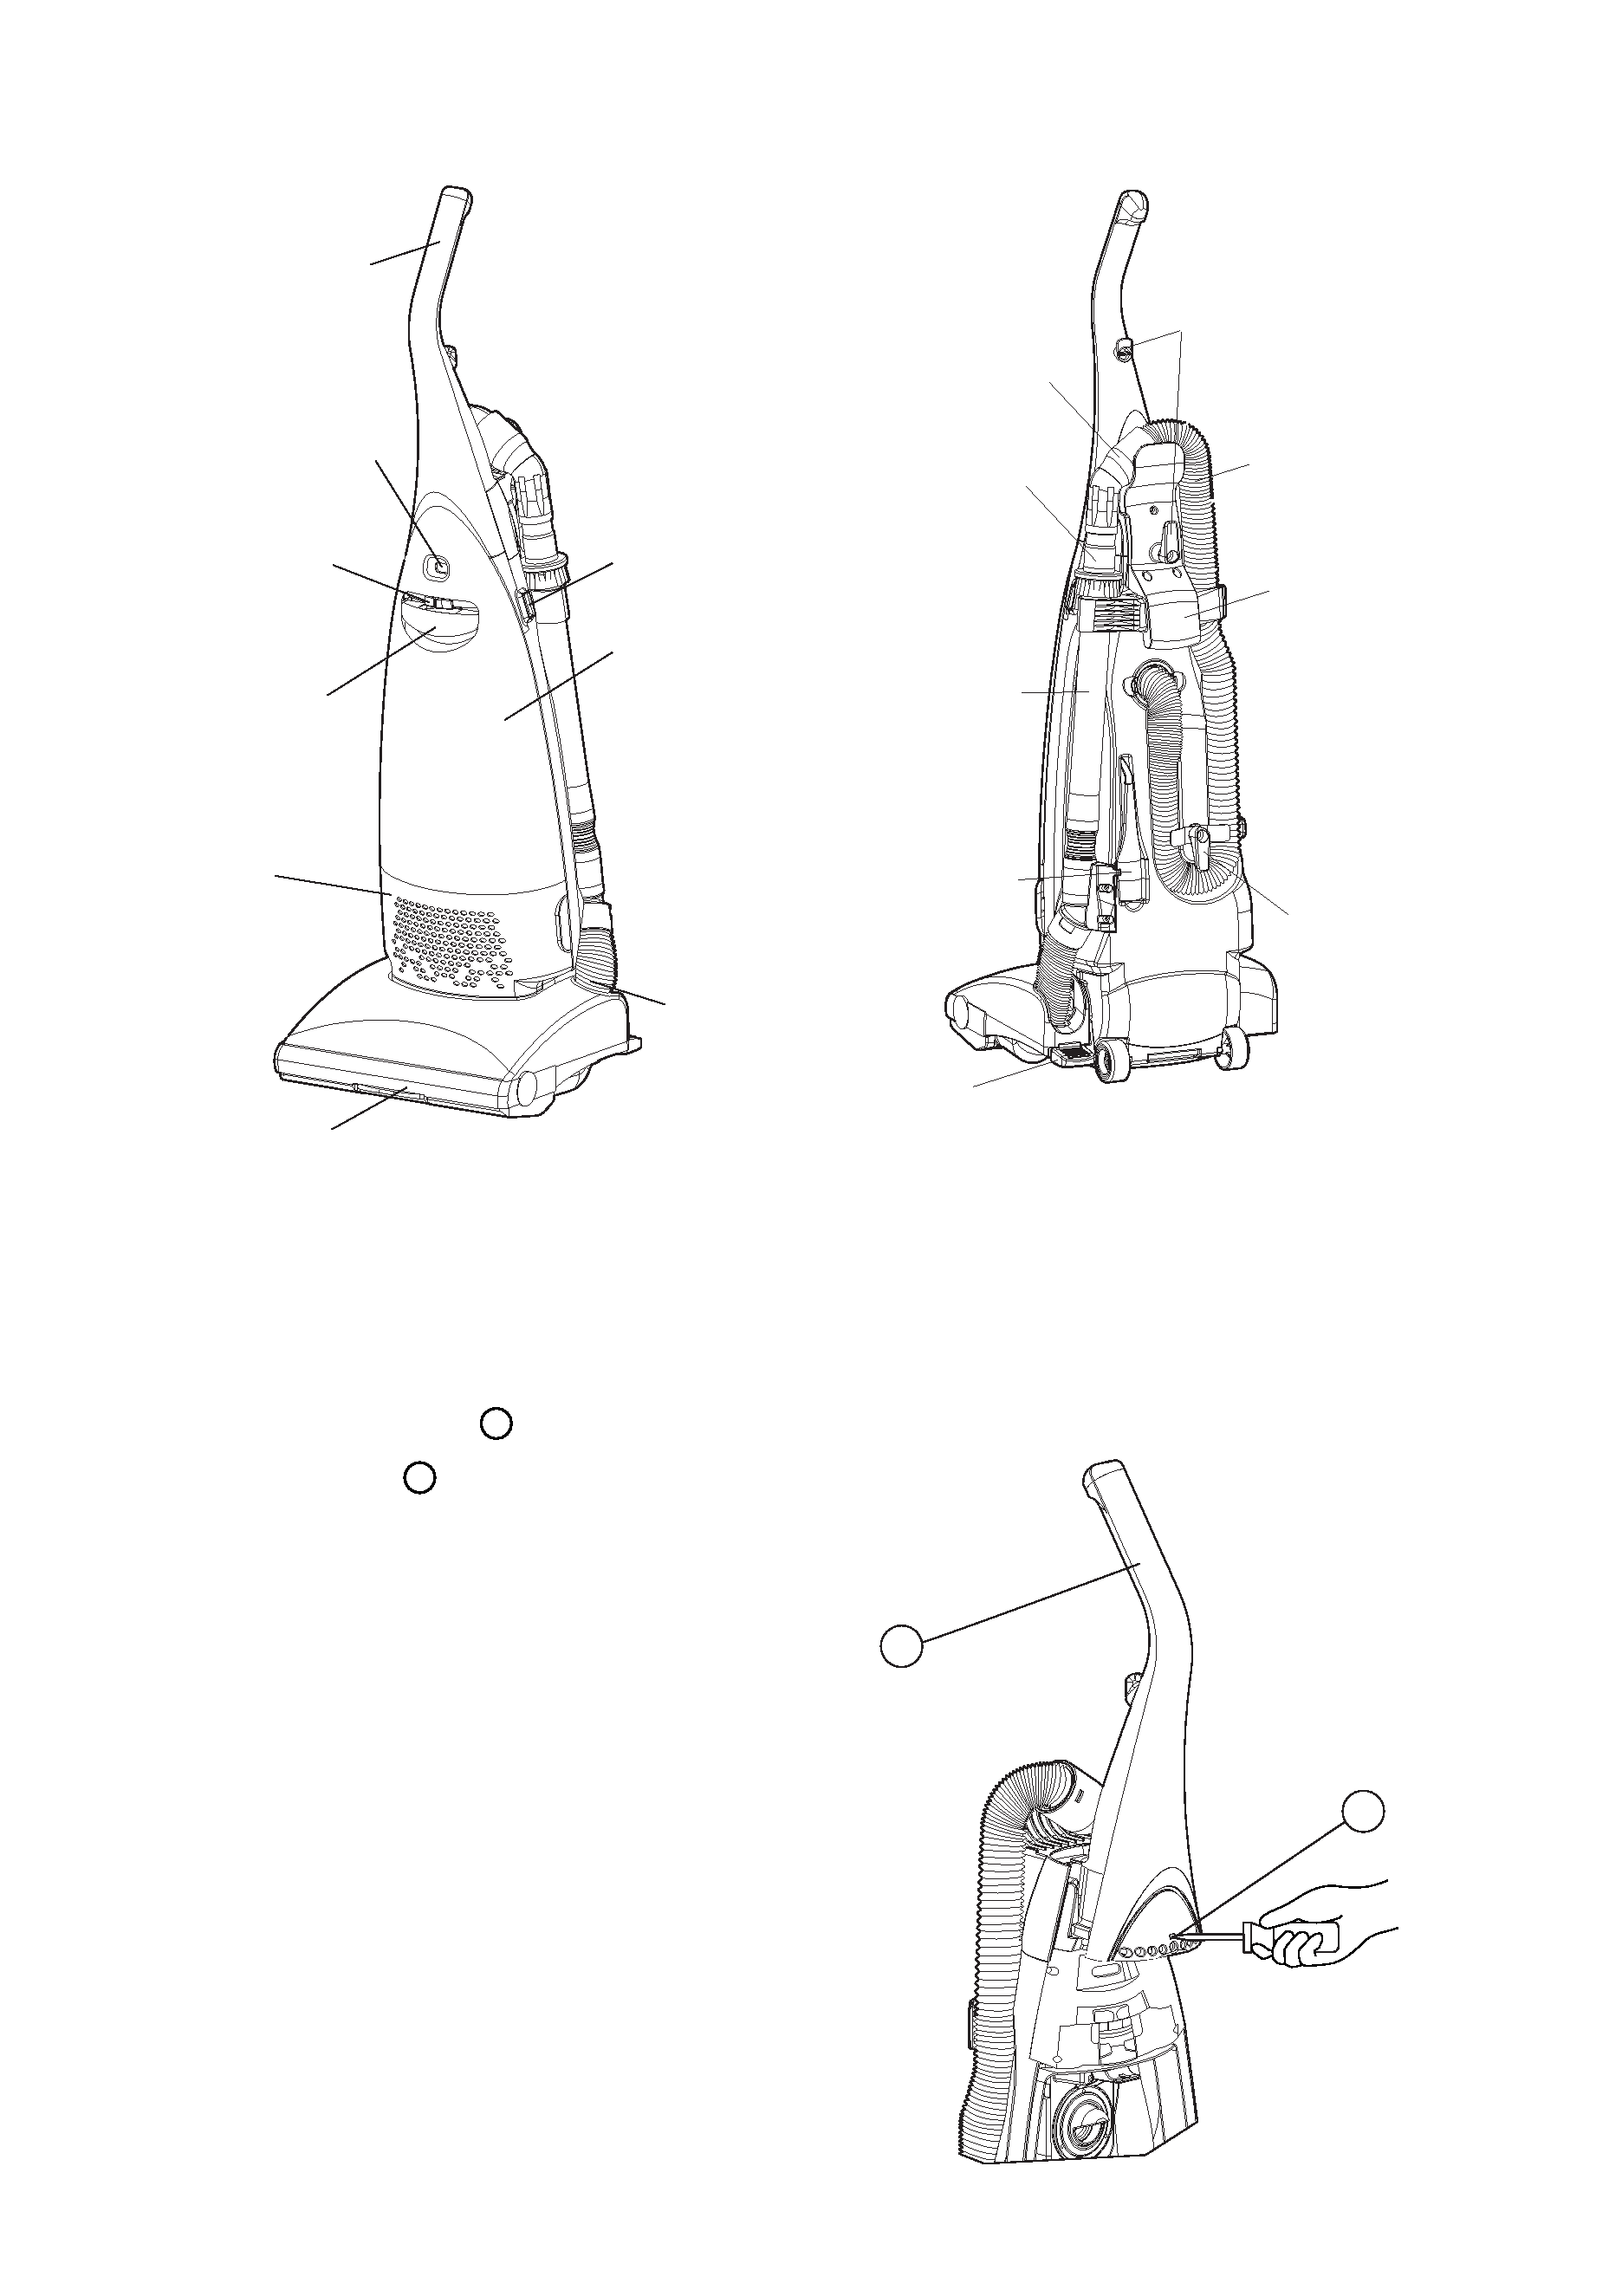
PART IDENTIFICATION
HOW TO OPERATE
TO INSTALL THE HANDLE
1.Open the bag compartment lid by pulling the bag compartment clamp.
2. Insert the handle
into the opening on the top of the cleaner and
tighten screw
.
ON-OFF switch
Dust bag full
indicator
Handle
Front cover
Power control knob
(except CV-80D)
Bag compartment
clamp
Furniture guard
Bag compart-
ment lid
Duct hose
Cord strage hooks
Flexible hose
Carrying handle
Hose strage hook
& cord strage
hook
Dusting brush
Extension pipes
Crevice nozzle
Handle release pedal
(3 positions)
Curved joint pipe
1
2
Fig. 1
Fig. 2
1
2
-2-
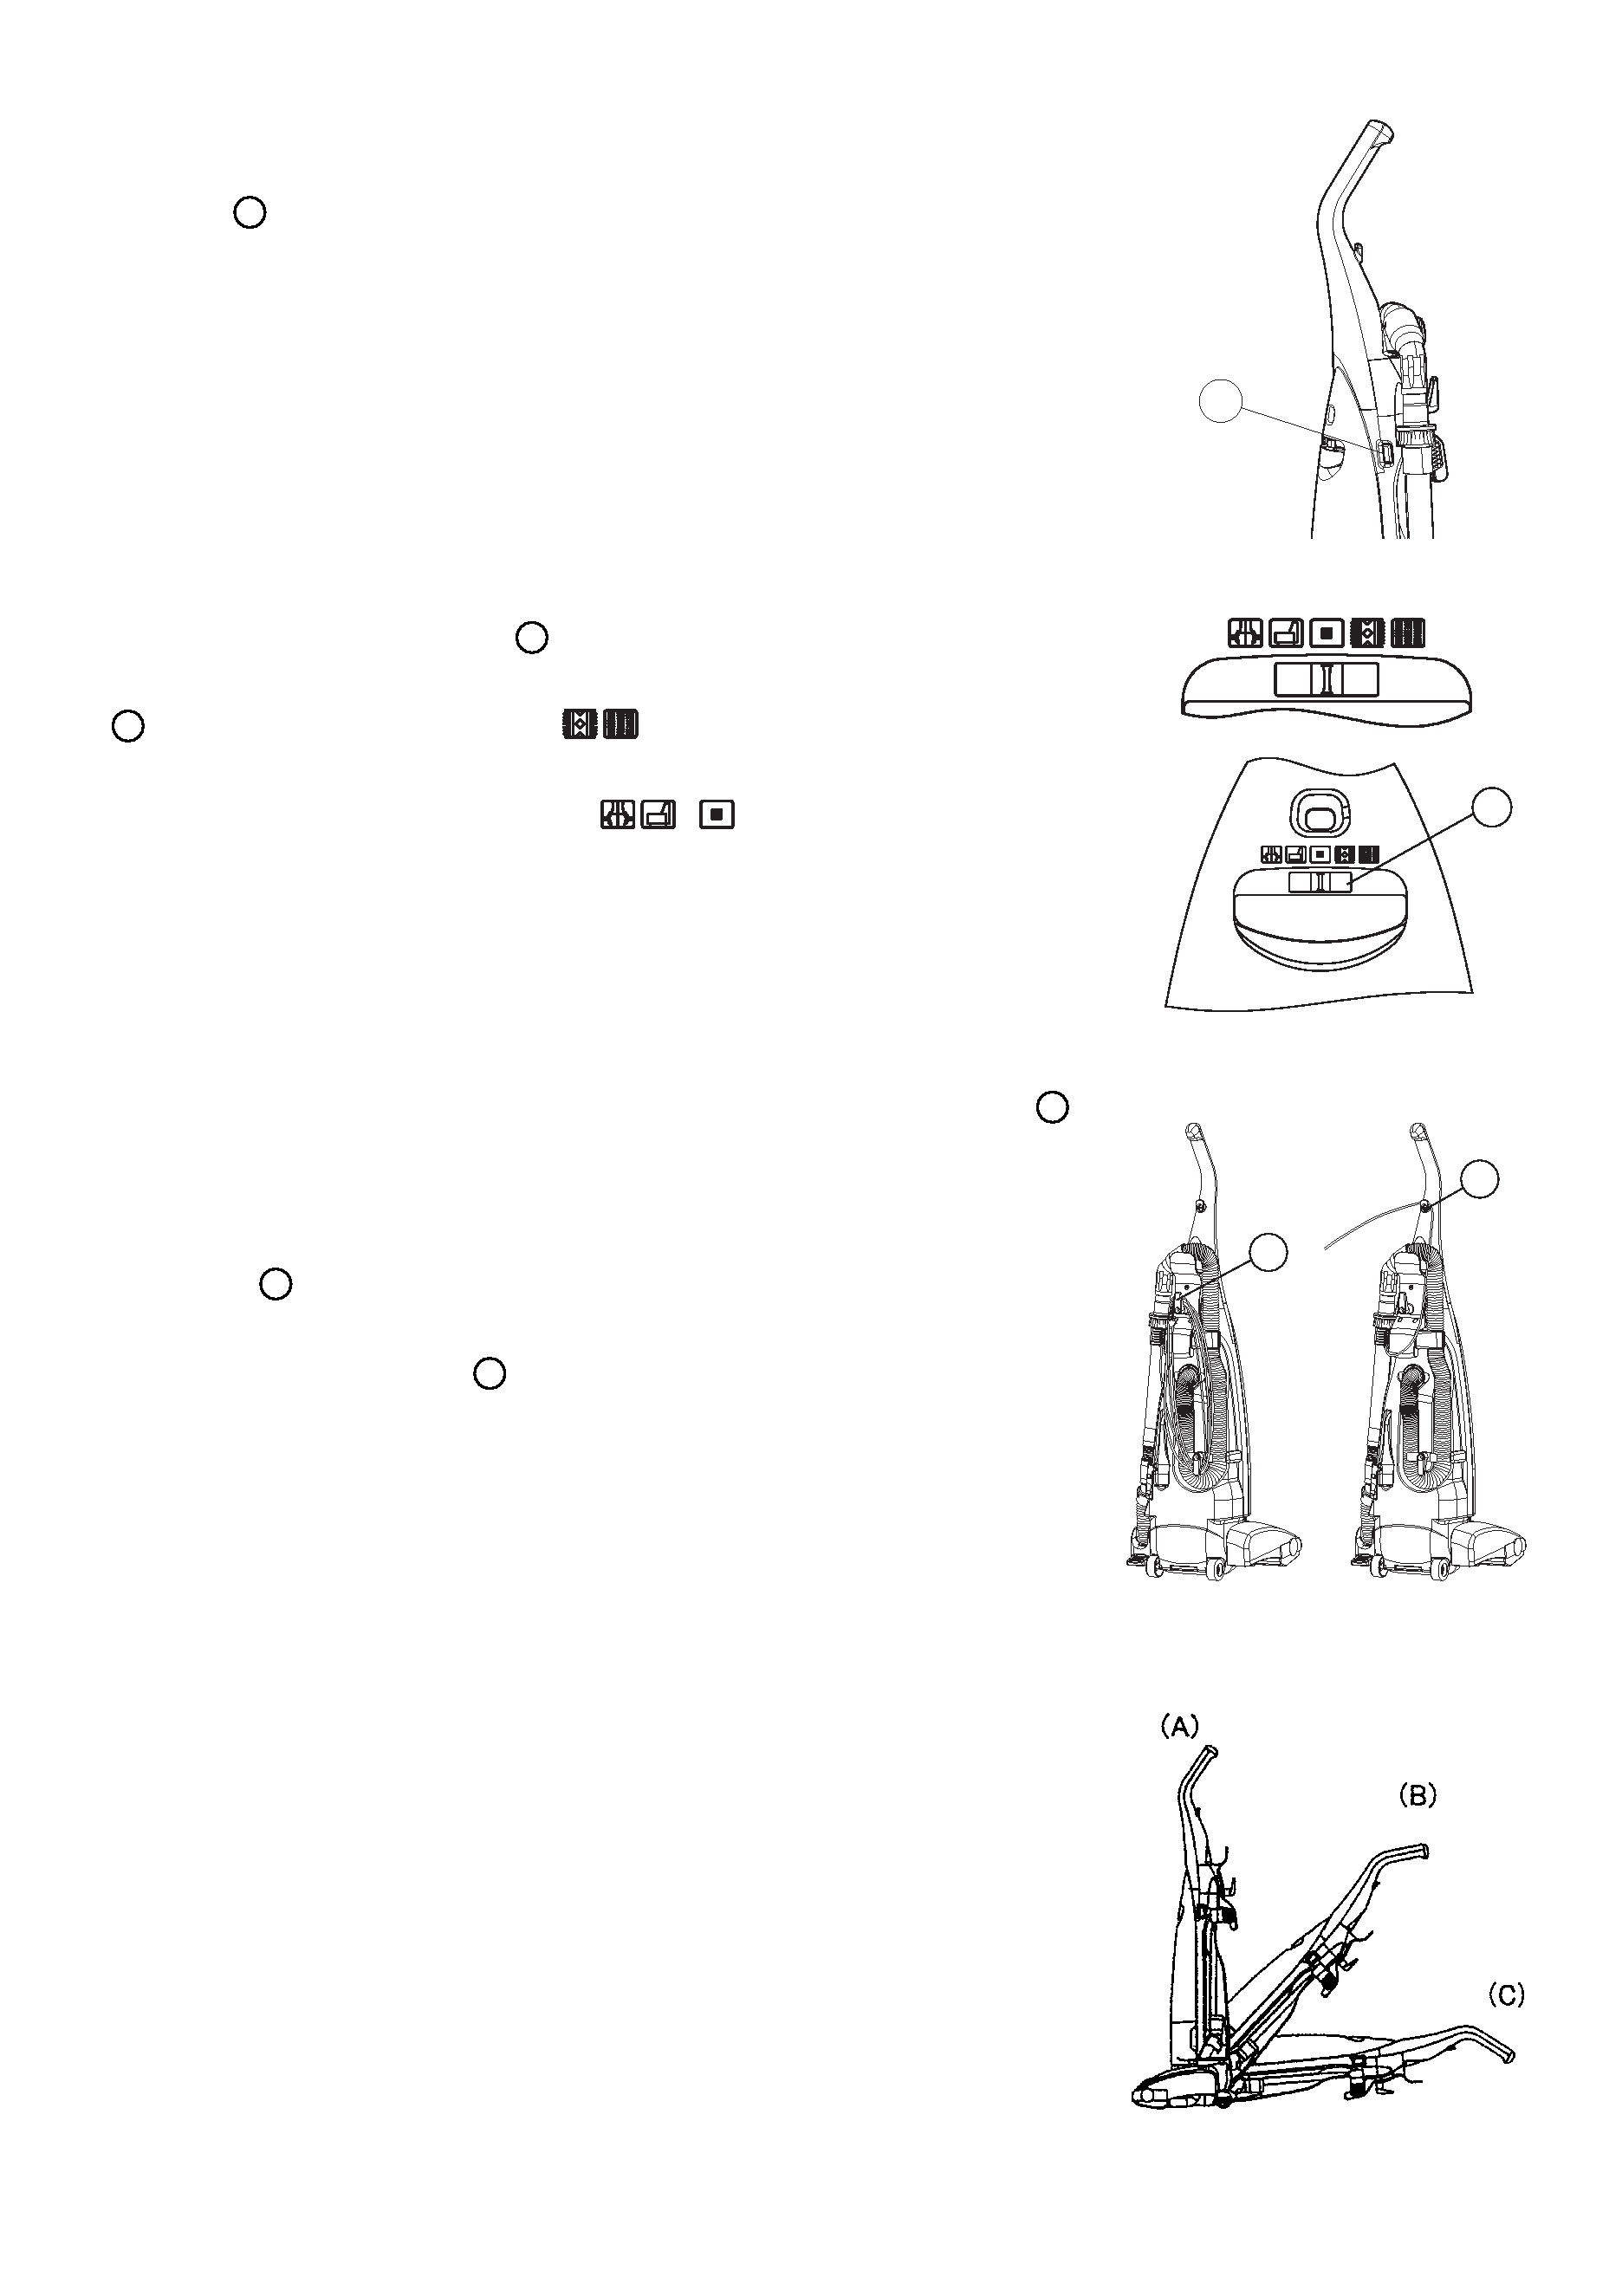
ON-OFF SWITCH
Turn cleaner on or off by pushing downward on the power
switch
.
VARIABLE POWER CONTROL (except CV-80D,
Fig.4)
The HITACHI vacuum cleaner CV-80DP/DC has an
electronic power control. The suction power and the rotary
brush speed can be regulated to suit the floor covering by
sliding the control knob
. If a stronger suction is required
for thick carpets and hard floors etc., simply slide the knob
to the right side marked
. Likewise, the suction can
be reduced for fabrics and curtains etc., adjusting the
knob to the left side marked
.
mark is for the
economical middle power position.
CORD STORAGE AND RELEASE
1. To store the cord, turn the upper cord storage hook
to the upward position, and wrap the cord around the
hooks.
2. To release the power cord, turn the upper cord storage
hook
down ward, then pull off the complete cord.
3. To help secure the cord during use, fix it on the upper
cord storage hook
.
HANDLE POSITION
To change the position of the handle, first press with foot
on the handle release pedal at the rear of the cleaner, and
then lower the handle.
(A) Upright position: When the handle is in this
position the rotary brush is automatically raised
away from the floor.
(B) Normal working position: This position allows you
to raise the front of the nozzle head to clear steps.
(C) Low position: For reaching under low furniture.
NOTE: The handle should always be in upright
position when cleaning tools are used.
Fig. 3
Fig. 4
Fig. 5
Fig. 6
3
4
5
6
3
4
4
5
5
6
-3-
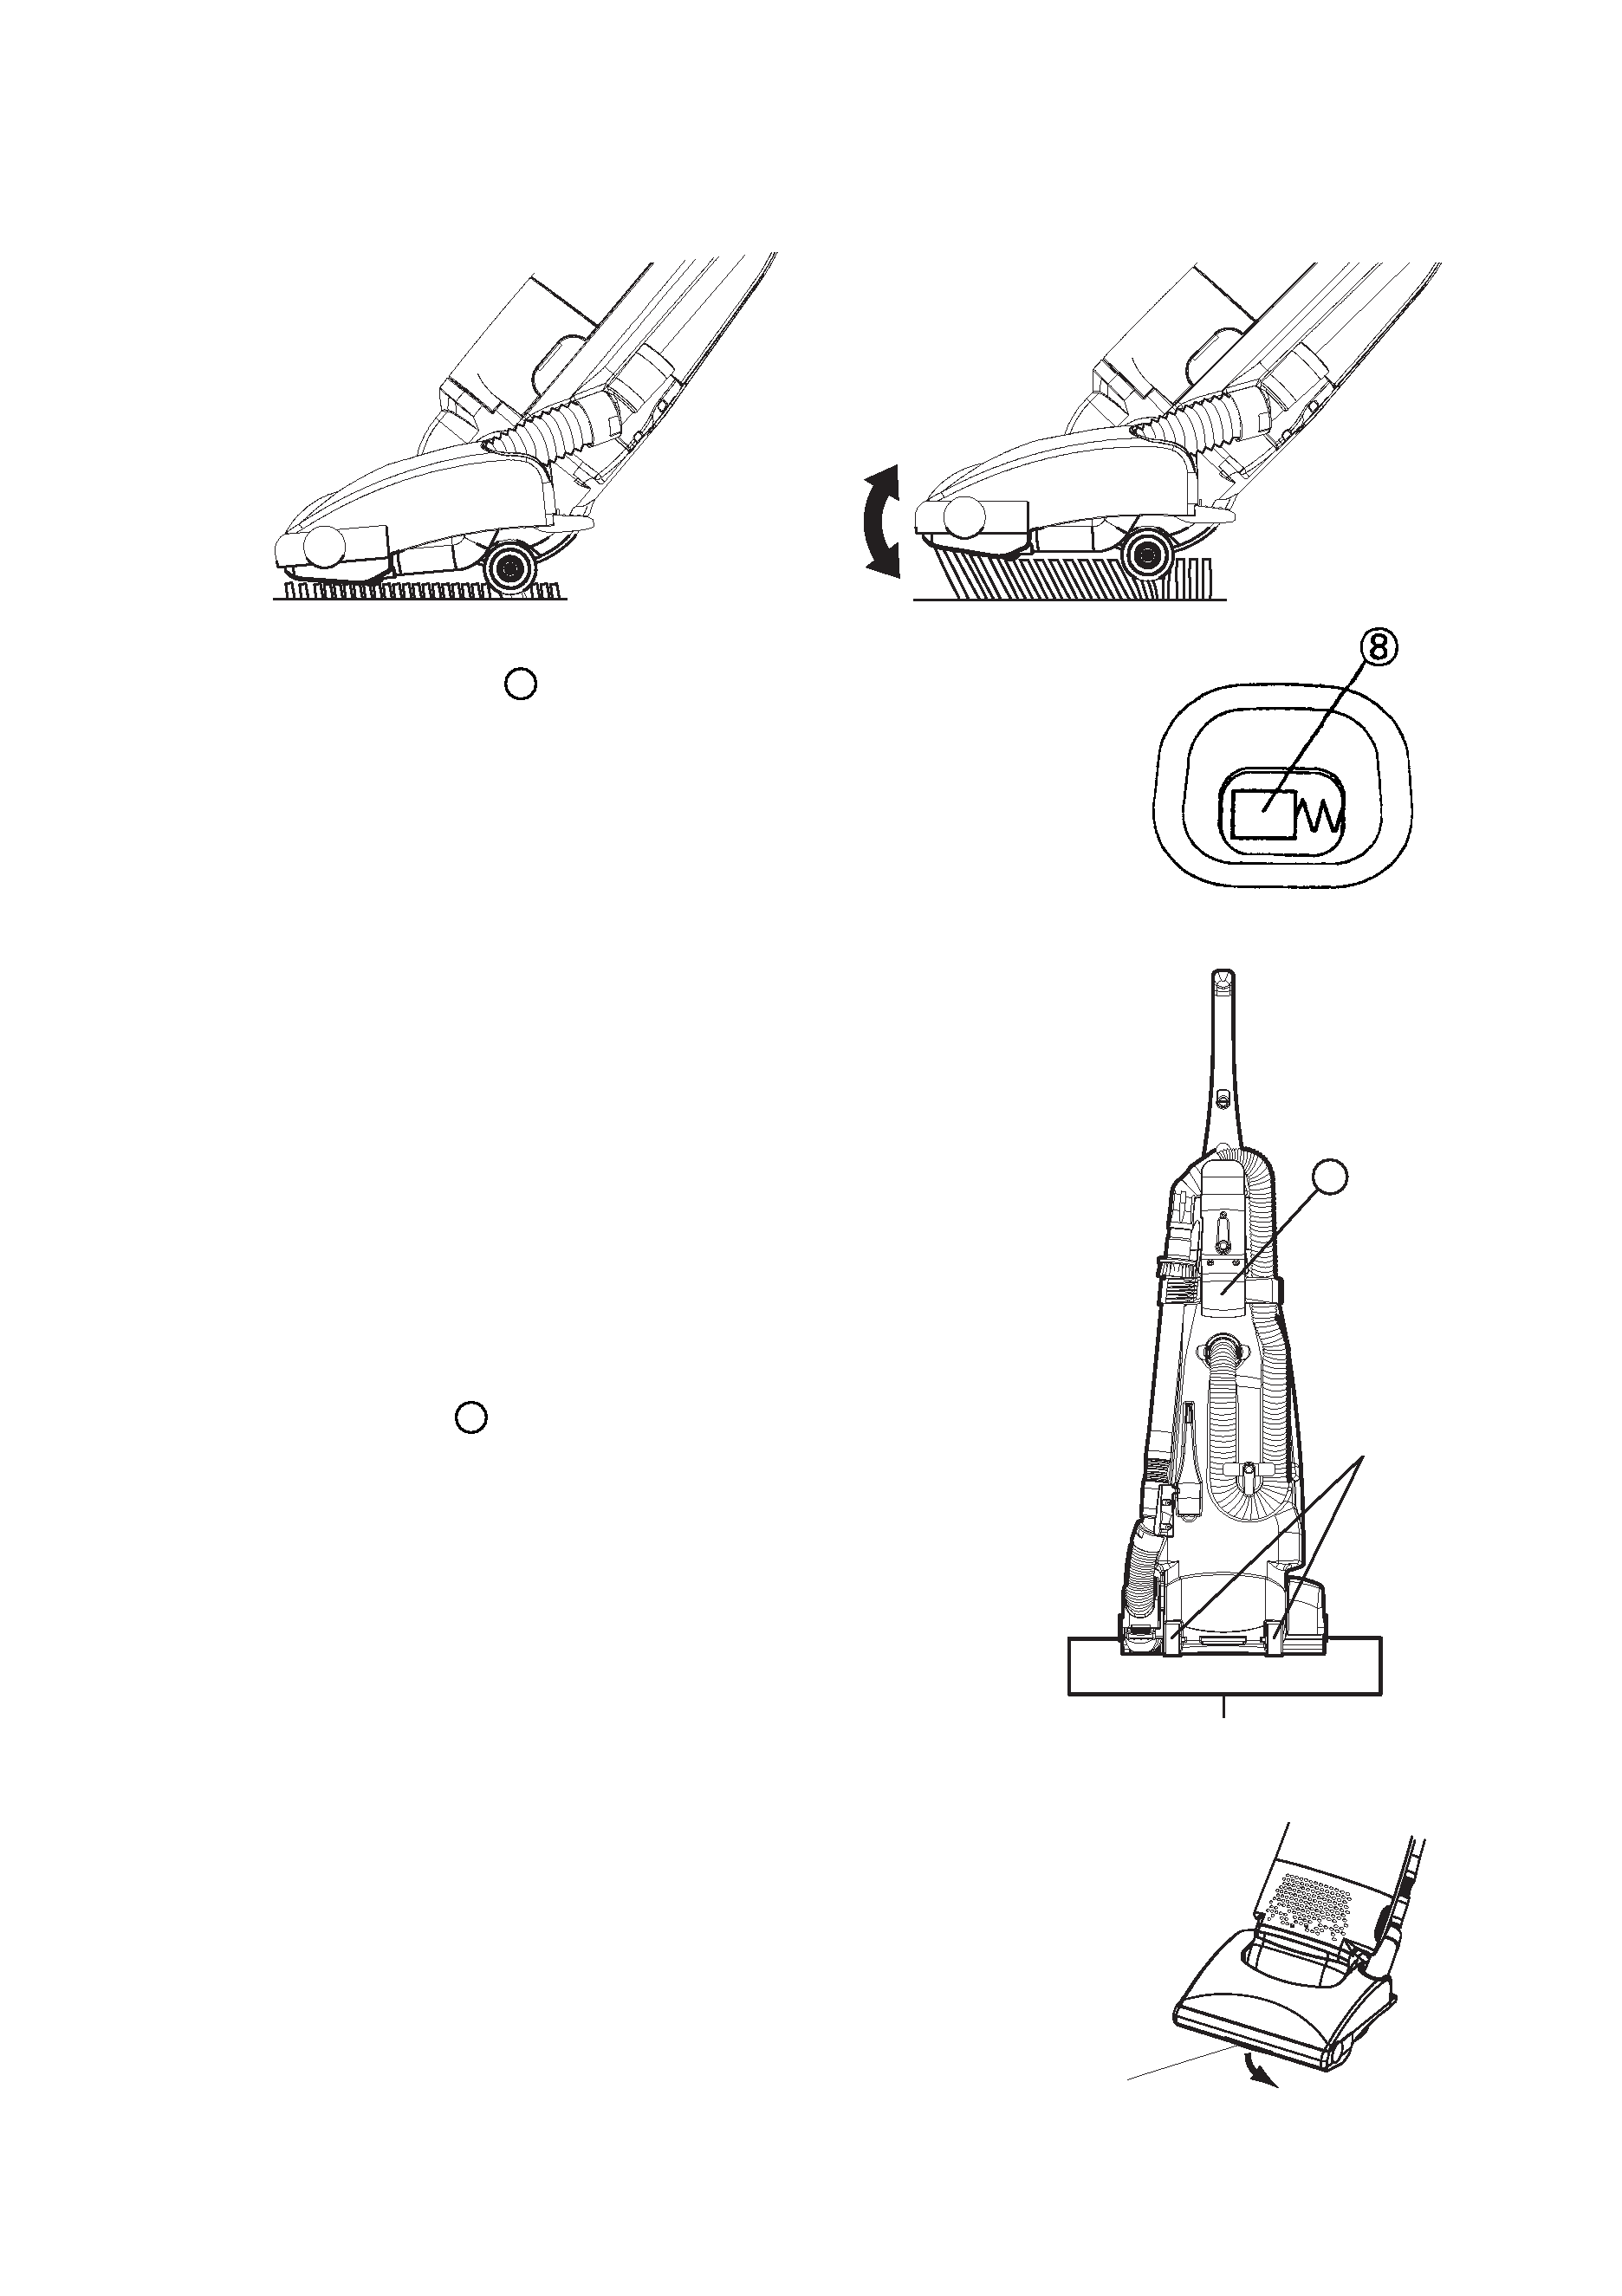
AUTOMATIC HEIGHT CONTROL
The HITACHI vacuum cleaner has an automatic height control,which adjusts the
nozzle to the proper height of any carpet pile.
DUST BAG FULL INDICATOR
When the orange sign
appears in the window
continuously, change the dust bag.
Never allow the bag to become so full that the dirt may
choke the passages to the bag.
Change the bag frequently when using the cleaner on
new carpets, due to rapid accumulation of carpet fluff.
In case the orange sign is still visible after changing
the bag, turn the cleaner off, unplug the cord and
check whether the duct hose is clogged. If so remove
blockages.
NOTE: If the cleaner is used when the orange sign
appears in the window, it will not draw enough
air and the motor may overheat and may
eventually burn out.
CARRYING HANDLE
To move your cleaner from room to room, carry it by
the carrying handle
on the back of the cleaner or roll
it on the rear wheels.
EDGE CLEANING
Brushed edge cleaning is provided on the both sides of
the cleaner to remove imbedded dirt in carpet close to
the skirting board or wall.
Guide each side of the cleaner parallel to the wall or
furniture.
FRONT EDGE CLEANING
The front edge cleaning is a special head function that
provides good performance at the corner and wall
edges of a room.
Fig. 8
Fig. 9
9
Edge cleaning
Rear wheels
Fig. 7
Fig. 10
Flap
Flap opens at corner
8
9
-4-
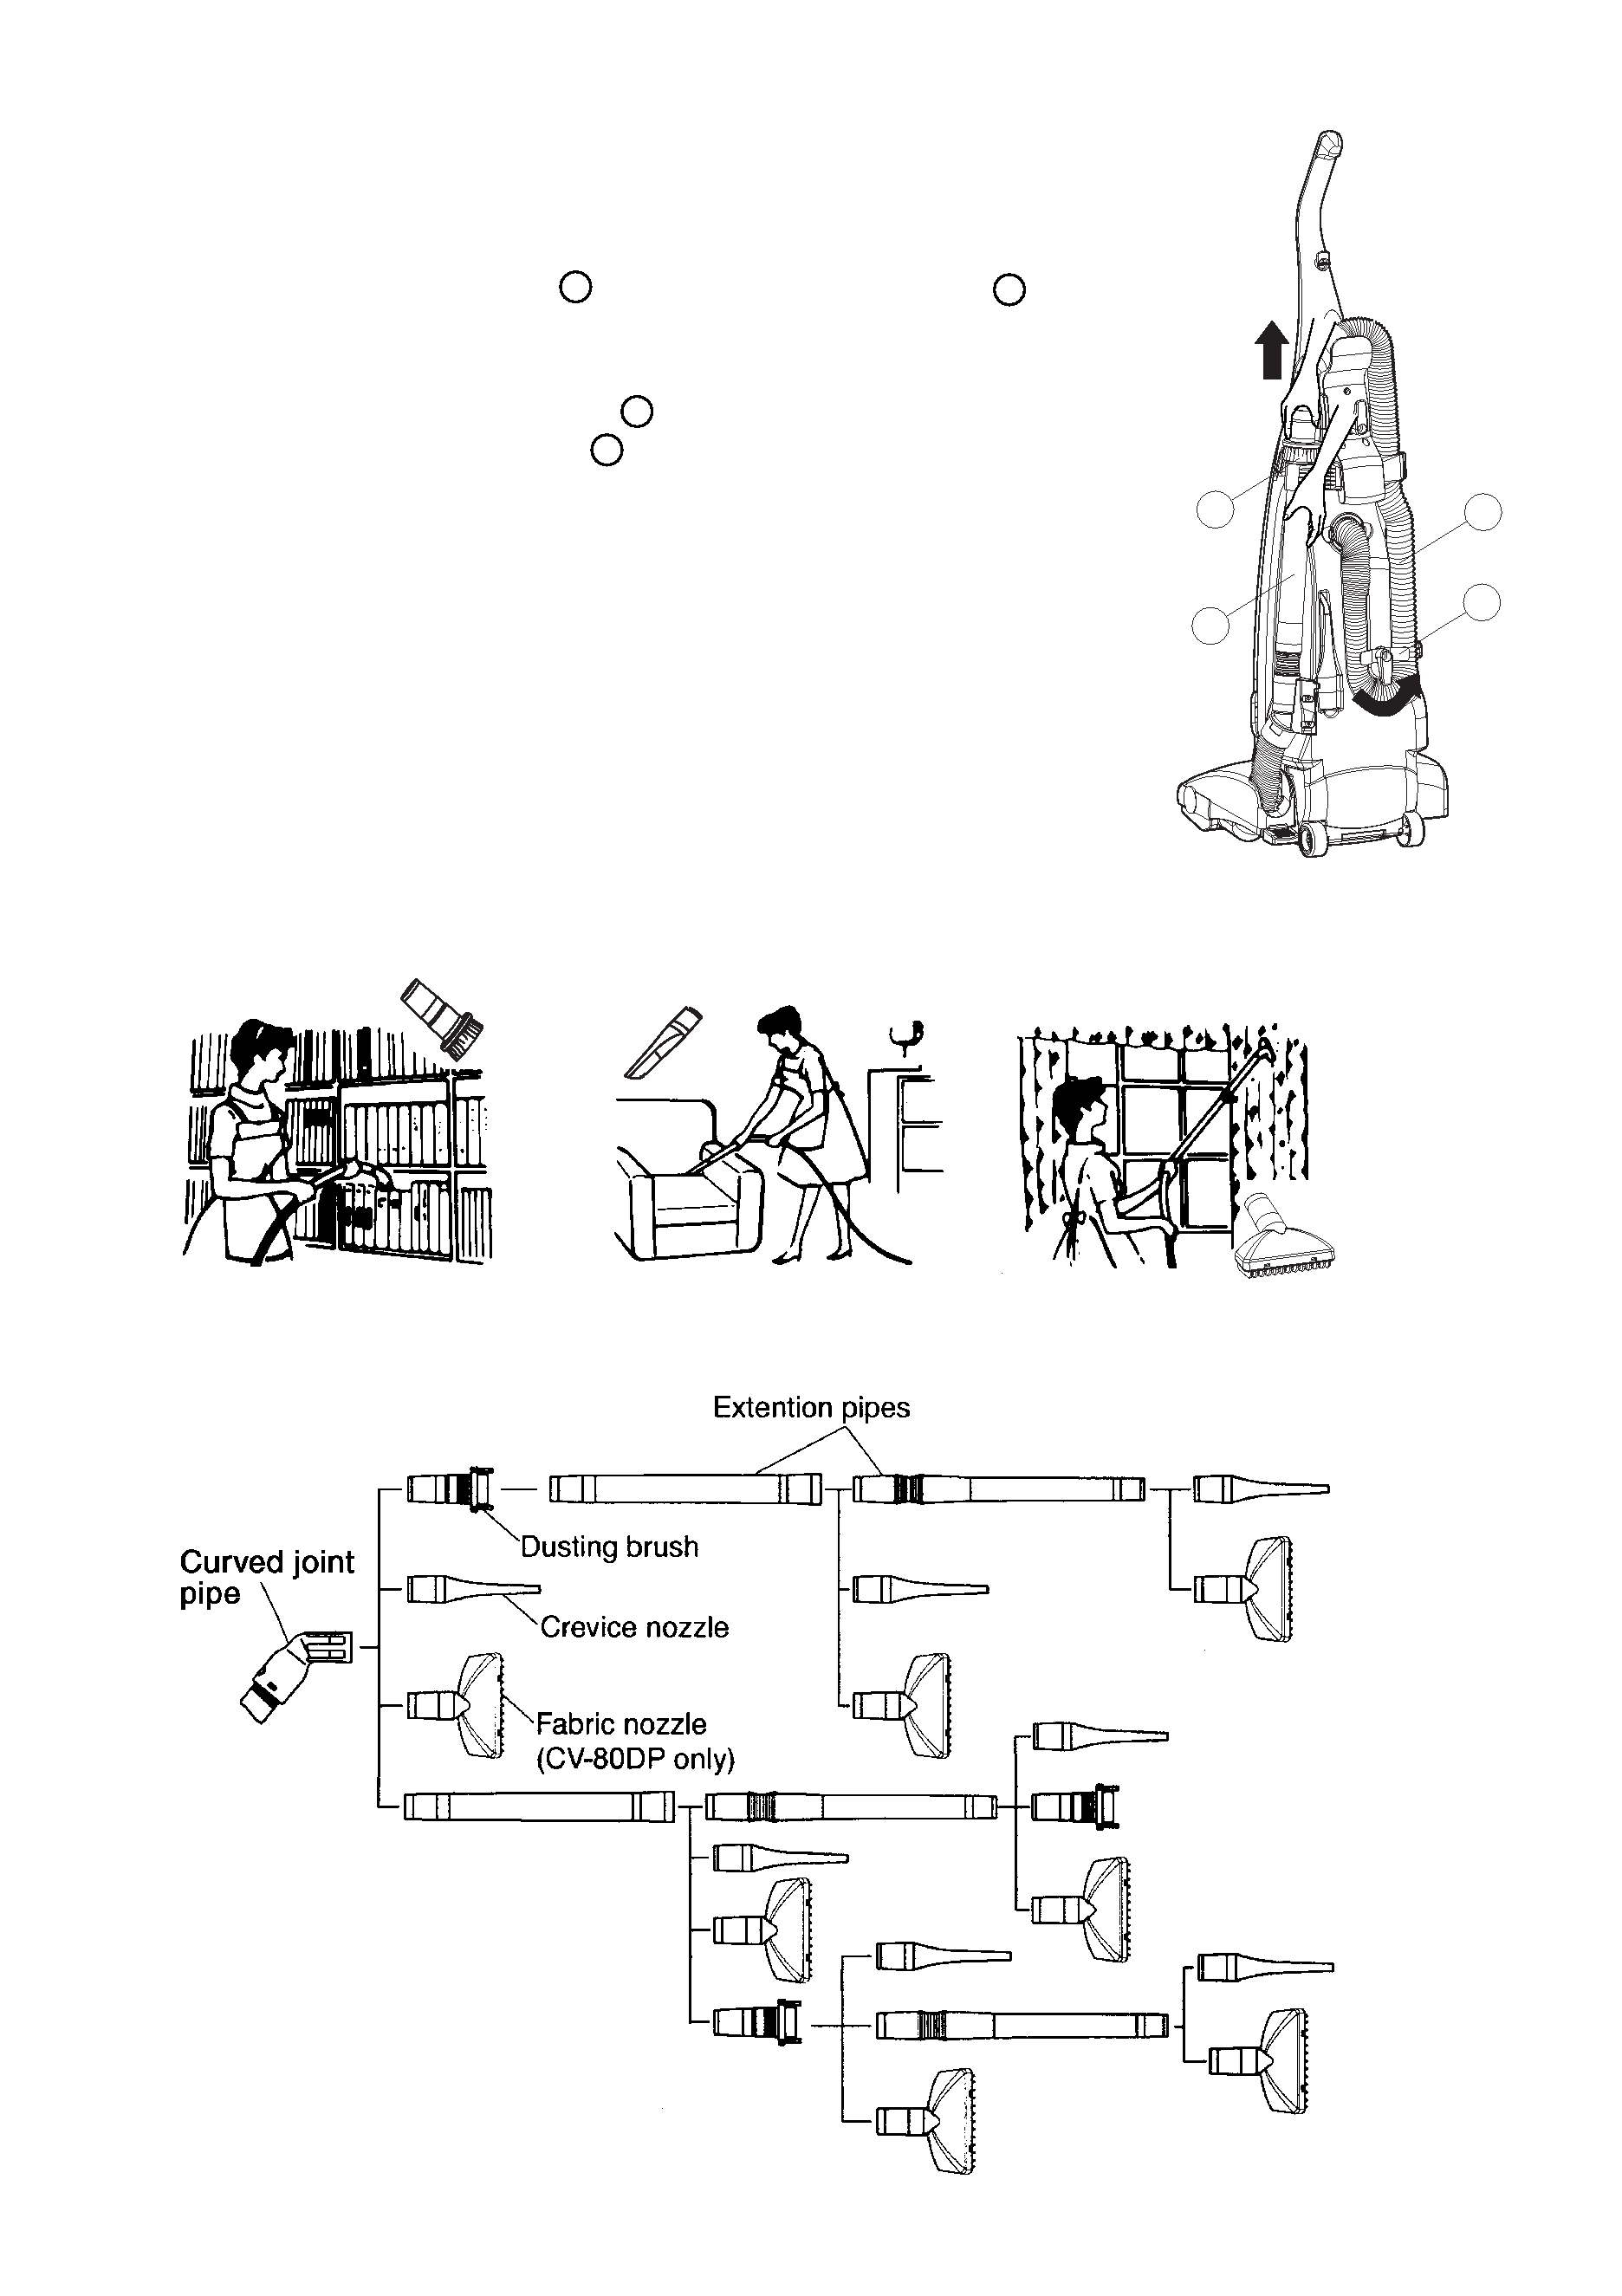
HOW TO USE TOOLS
Use the tools you require for cleaning hard floors, fabrics
and curtains etc.
1. Ensure the cleaner is in the upright position.
2. Hold the dusting brush
and the extention pipe
as
shown in Fig.11, and disconnect the dusting burash from
the extention pipe.
3. Turn the hose strage hook
counter clockwize, and
remove the flexible hose
from the back of the cleaner.
4. When use the extention pipes, remove them from the
back of the cleaner. The extention pipe assembly
consists of two pipes-with one located inside the eter for
storage.
5. The tools can be connected as shown in Fig.13.
NOTE: After having finished using the tools, re-insert the
tools and restore the flexible hose on body.
NOTE: The extention pipes should be re-inserted as shown
in Fig.11.
NOTE: Rotary brush is not disconnected when tools are in
use and care should be taken not to run over the mains
lead.
Fig. 11
12
13
11
10
Fig. 13
10
11
12
13
Fig. 12
Using the dusting brush
Using the crevice nozzle
Using the fabric nozzle