
USERS GUIDE
CM625ET

1
Table of Contents
INTRODUCTION .............................................................2
Features
Package Overview
CAUTIONS .................................................................... 3
FCC Statement Warning ................................................. 5
TCO'99 Statement .......................................................... 6
For the Customers in the UK ........................................... 8
INSTALLATION.............................................................. 10
USER CONTROLS........................................................ 11
OSD FUNCTION DESCRIPTION................................. 12
OSD ICON SUMMARY ................................................ 16
SPECIFICATIONS ......................................................... 18
TROUBLESHOOTING ................................................... 19
Mon i tor
2
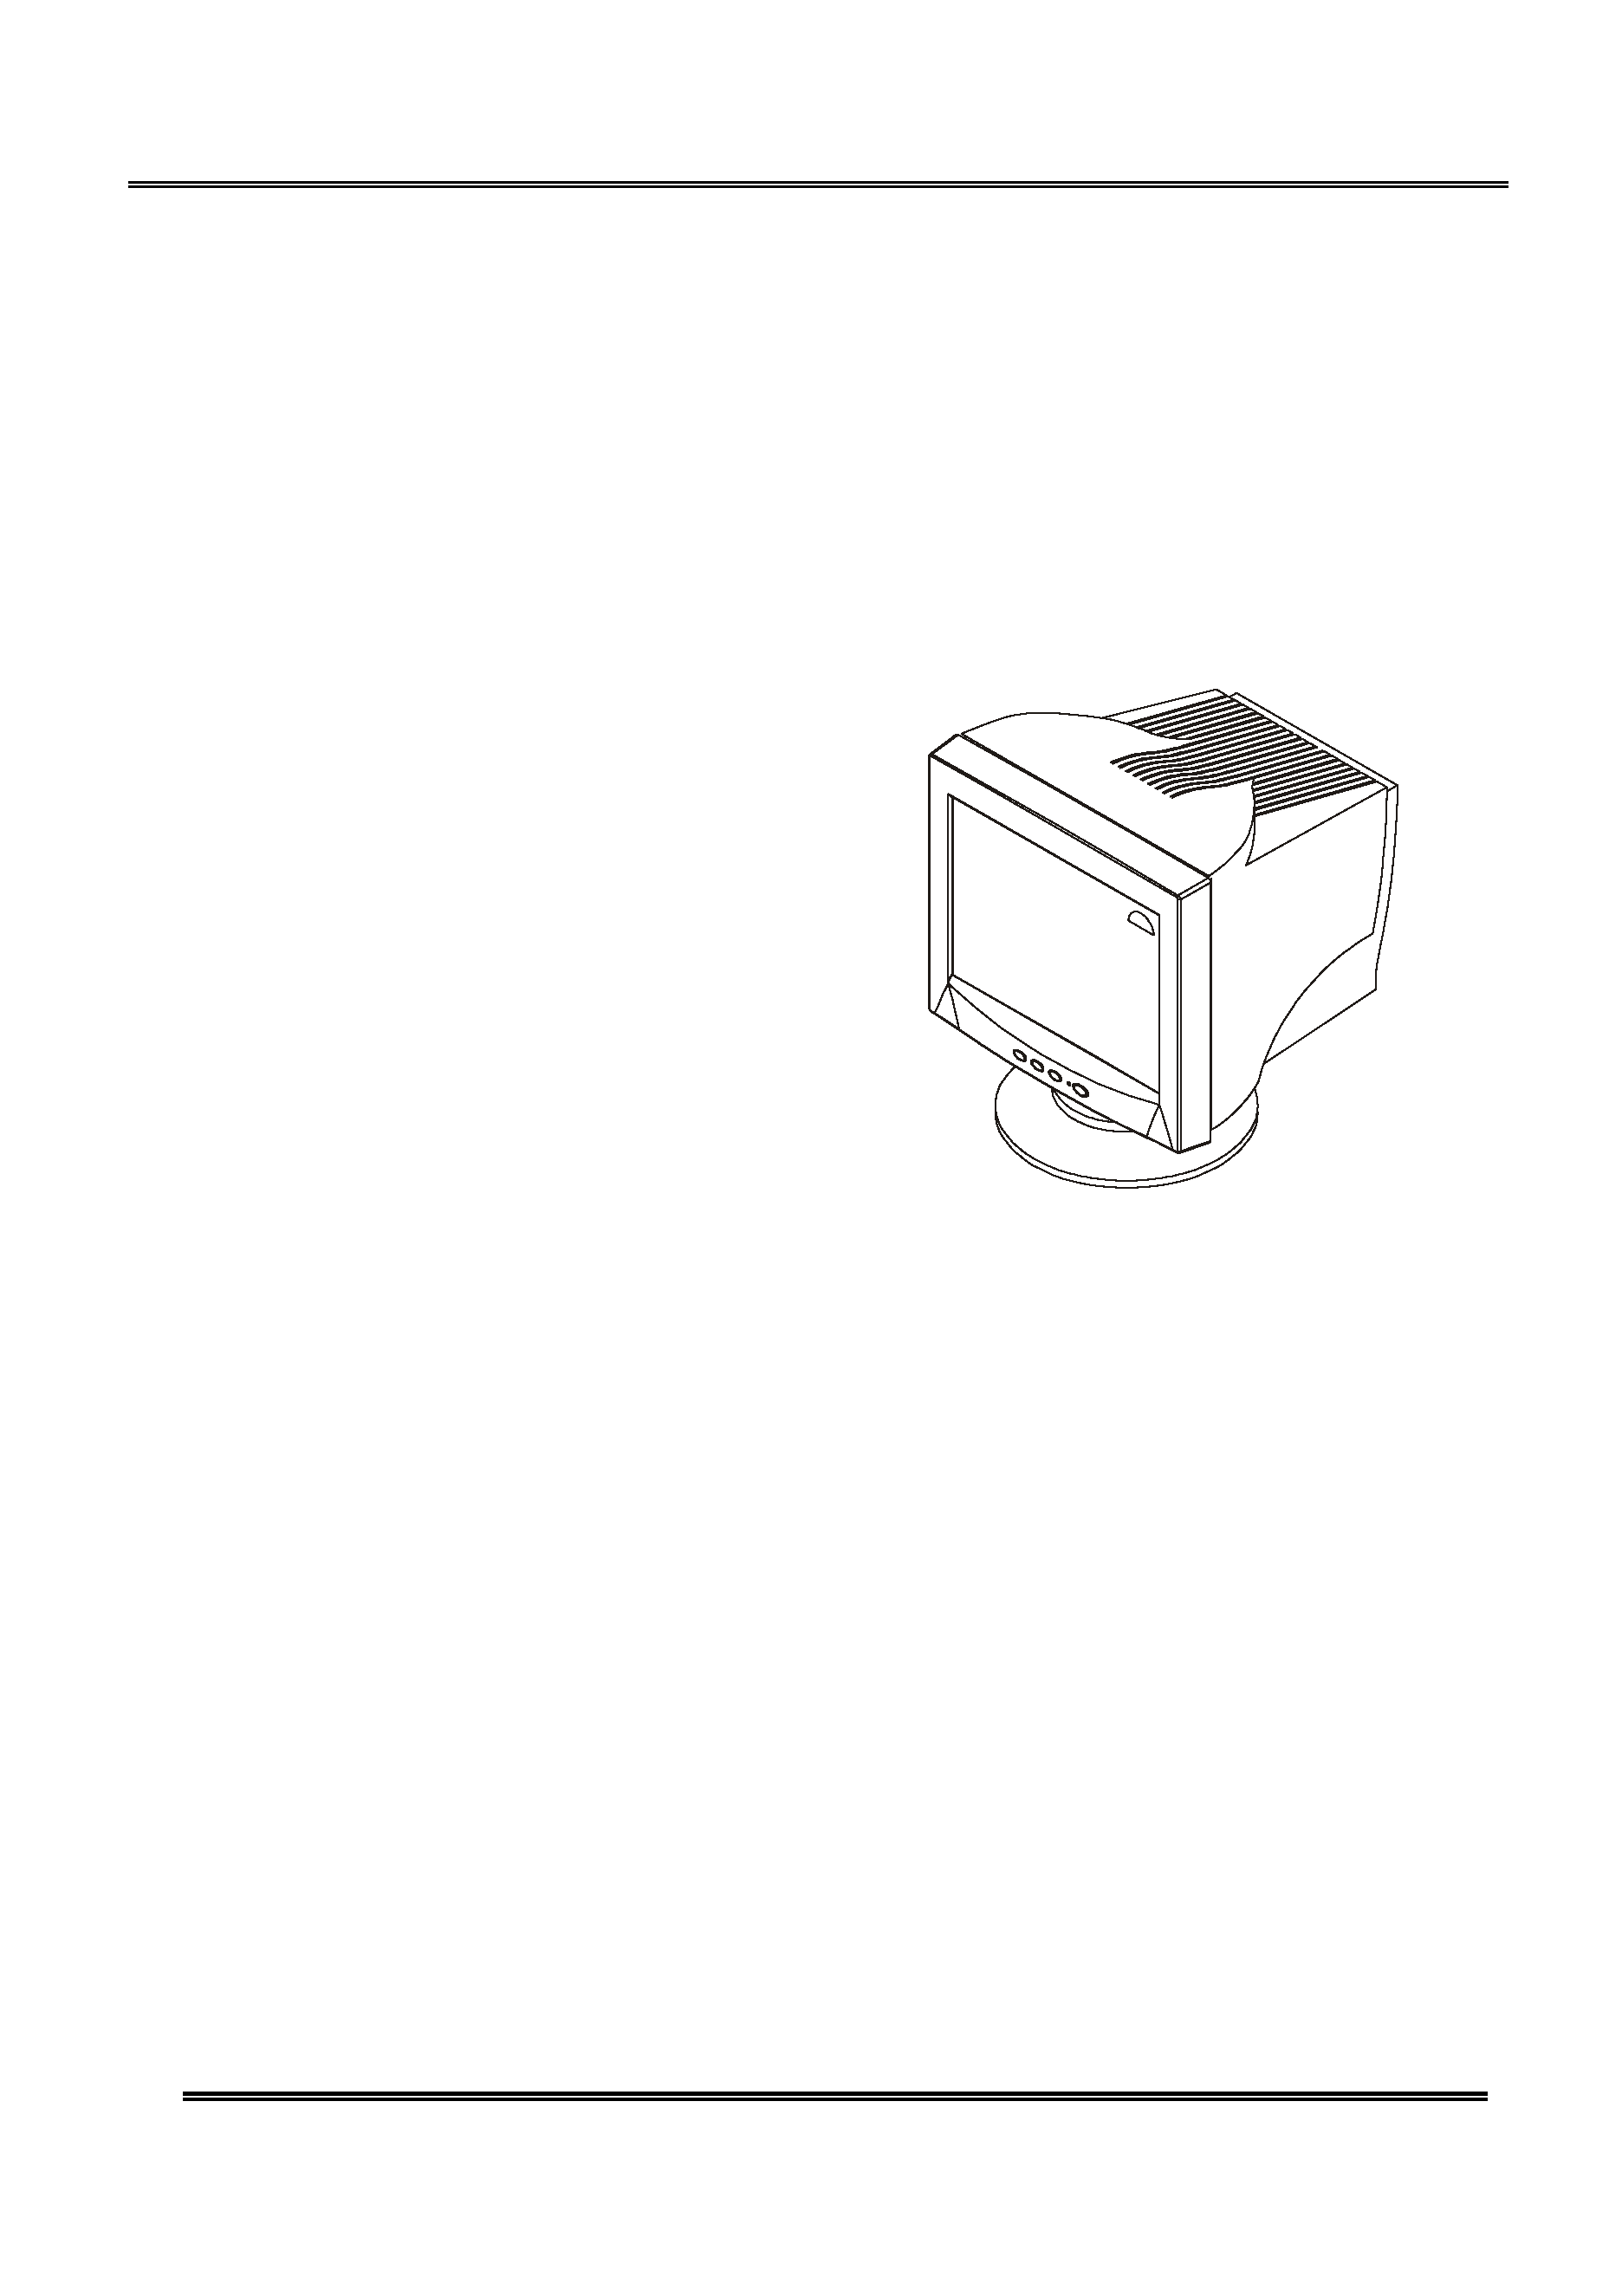
INTRODUCTION
Congratulations on your purchase of this high performance 17" monitor. Us-
ing state-of-the-art electronics, this monitor can support up to 1600 x 1200
resolution. The on-screen display(OSD) allows you to customize the display
setting to suit your individual needs.
Features
J
17-inch monitor with a large, 325 x
243 mm viewable screen for
comfortable viewing.
J
OSD controls for easy and accurate
adjustment of the screen image.
J
Energy Star compliant to reduce
power consumption.
Package Overview
Please make sure the following items are in the shipping packing and found in
good condition:
* 17" Monitor
* Power cord
* Tilt and swivel stand
* This manual
Please save this packing material in case the monitor needs warranty service in the
future.
3
CAUTIONS
NEVER REMOVE THE REAR COVER !
The rear cover MUST be removed only by authorized service personnel. This colour monitor
contains high voltage components.
THE RECEPTACLE SHOULD BE CLOSE TO THE MONITOR AND EASILY ACCESSIBLE !
INSTALL THE UNIT IN AN SUITABLE ENVIRONMENT !
DO NOT expose this monitor to rain or moisture to prevent electric shock or fire hazard. This unit
is designed to be used in an office or business environment.
DO NOT subject the unit to vibrations, dust, or corrosive gases.
KEEP IN A WELL VENTILATED PLACE !
DO NOT cover this monitor or place anything against any sides (not only the top, right and
left
side but also the rear and bottom side) of unit. Ventilation holes are provided at all sides of the
rear cover to prevent the temperature from rising.
KEEP AWAY FROM HEAT SOURCES !
AVOID placing the unit in direct sunshine or near a heating appliance.
BE CAREFUL OF MAGNETIC FIELDS !
DO NOT place a magnet, loudspeaker system, floppy disk drive, printer, or anything which will
generate magnetism near the unit. A magnetic field may cause blurred colours or distortion of the
displayed pattern.
BE CAREFUL OF GENERATED MAGNETISM !
After the power has been turned on or "DEGAUSS" button has been pressed, the CRT is
demagnetised for approximately 10 seconds. This generates a strong magnetic field around the
front cover which may affect the data stored on magnetic tape or disks near the front cover. Place
such magnetic recording equipment and tapes/disks away from this unit.
AMBIENT ILLUMINATION
Avoid direct rays of the sun or room lighting onto the CRT screen in order to prevent eye fatigue.
THE ENCLOSED POWER CORD MUST BE USED !
In Europe, a proper European standard approved power cord is to be used with this monitor.
For
a rated current up to 6 A, a type not lighter than H05VV-F 3G 0.75 mm
2 or H05VVH2-F 3G 0.75
mm
2 must be used.
In USA/Canada, use a UL LISTED/CSA LABELLED or CERTIFIED power cord set meeting the
following specifications
Rating: min. 125V, 7A
Length: max. 3.0m
Type: SVT or SJT
Plug type: NEMA 5-15P figure, Parallel blade, Grounding type
Failure to do so may cause fire or electric shock hazard.
USE ONLY THE CORRECT VOLTAGE POWER OUTLET WITH SAFETY
GROUND
CONNECTION !
100 - 120 V for USA, Canada, etc.
200 - 240 V for Europe, etc.
(This monitor will automatically adjust to the input voltage 100 - 120 / 200 - 240V.)
CAUTION for 200 - 240V operation only
4
This equipment relies on the protective devices in the building installation for short-circuit and
over-current protection. Refer to the following table for the suitable number and location of the
protective devices which should be provided in the building installation.
Informative examples of
protective devices in single - phase equipment or sub - assemblies
Protection
against
Minimum number of
fuses or circuit -
breaker poles
Location
Case A: Equipment to be
connected to POWER SYSTEMS
with earthed neutral reliably
identified, except for Case C below.
Earth faults
Overcurrent
1
1
Phase conductor
Either of the two
conductors
Case B: Equipment to be
connected to any supply, including
IT POWER SYSTEMS and
supplies with reversible plugs,
except for Case C below.
Earth faults
Overcurrent
2
1
Both conductors
Either of the two
conductors
Case C: Equipment to be
connected to 3-wire power
systems with earthed neutral
reliably identified.
Earth faults
Overcurrent
2
2
Each phase conductor
Each phase conductor
Verify that the protective devices in the building installation meets the conditions in the table prior
to installing the equipment.
BE CAREFUL OF POWER CORD CONNECTION !
Before inserting the plug of the power cord into a receptacle of the correct voltage, check that the
connection portion of the power cord is clean (with no dust). Then, insert the plug of power cord
to a receptacle firmly, otherwise it may cause electrical shock or fire.
REMOVE THE POWER CORD FOR COMPLETE SEPARATION !
For complete separation from the power source, remove the power cord from the monitor or from
the wall outlet.
AVOID FREQUENT POWER ON-OFF SWITCHING !
DO NOT repeat OFF and ON in a short period. It may cause blurred colours or distortion of the
displayed pattern.
BE CAREFUL OF STATIC ELECTRICITY ON CRT SURFACE !
To prevent electrical shock by the static electricity on the CRT surface, disconnect the power cord
at least 30 SECONDS AFTER turning off the power.
ABOUT CLEANING
This monitor has a non-glare and anti-electrostatic treatment on the surface of the screen. Use
water or alcoholic solvent with soft cloth like gauze to clean the surface of the screen.
NEVER use abrasive, glass cleaner containing highly concentrated ammonia and strong base
chemicals since they damage the surface treatment.
Clean the cabinet and controls with a lightly moistened soft cloth.
DO NOT use aerosol sprays, solvents or abrasive cleaners.