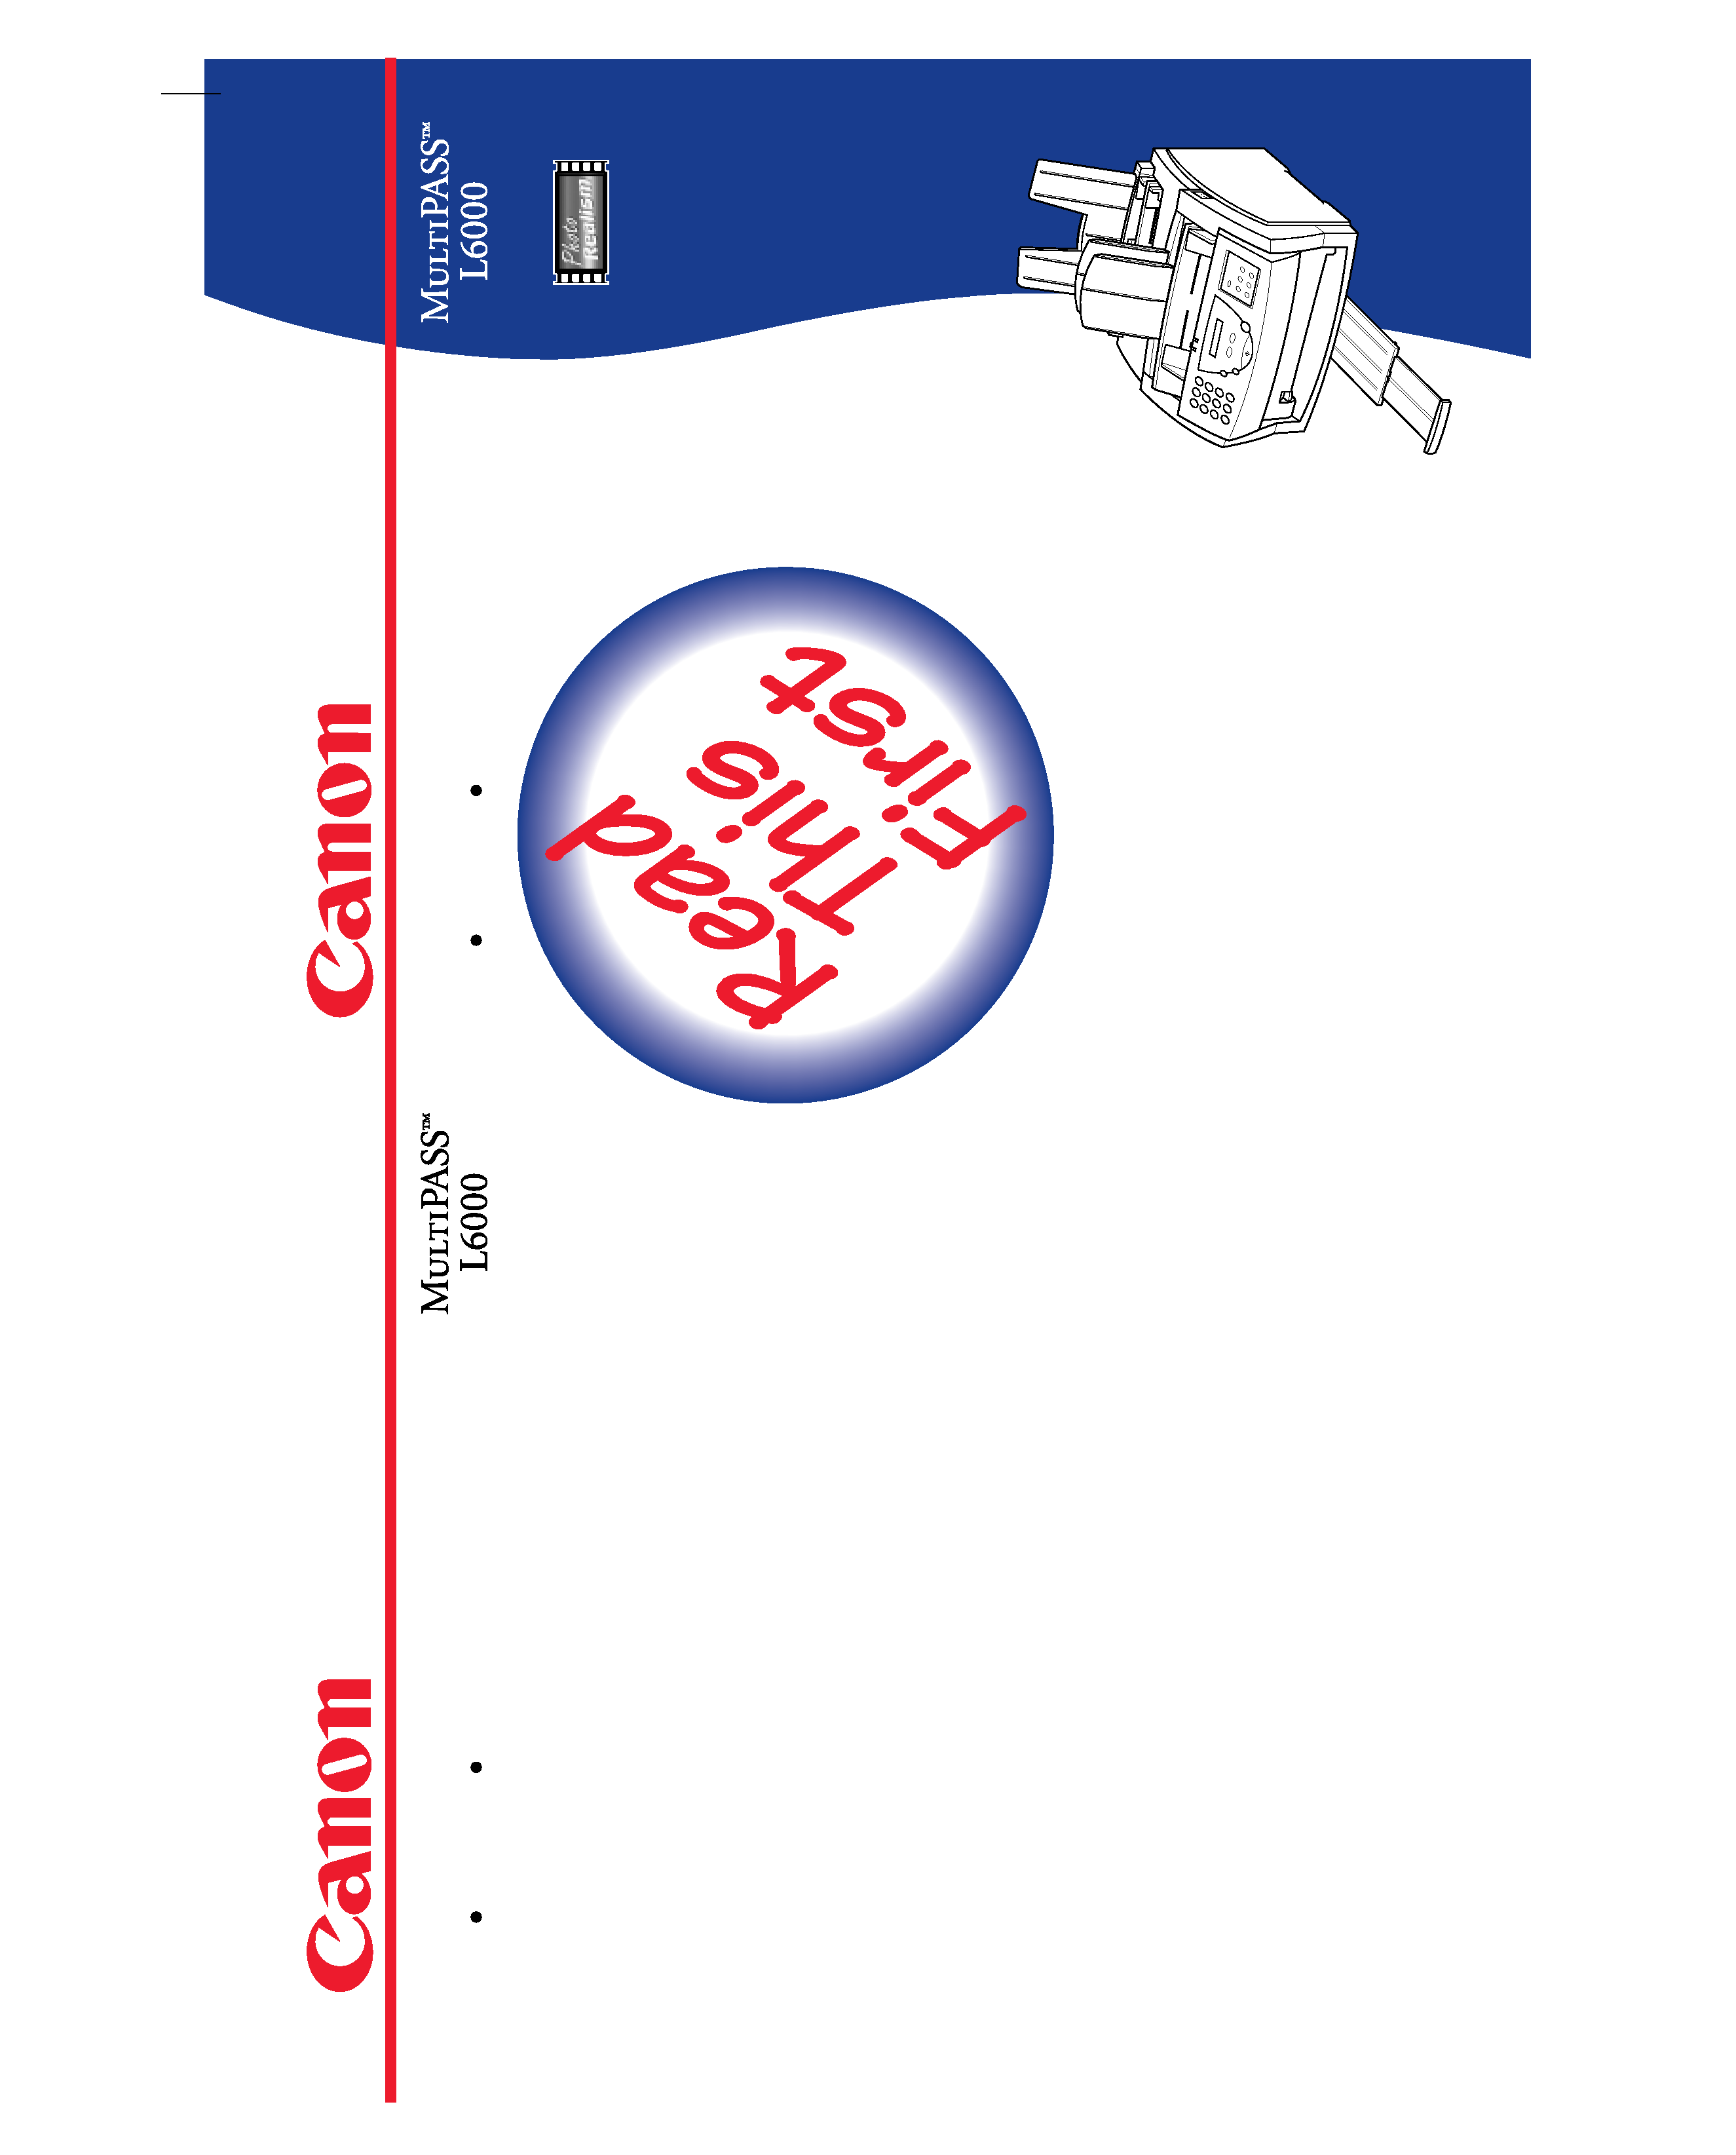
Congratulations on your purchase of the
Canon MultiPASSTM L6000 Laser Printer -
Fax - Copier - Scanner.
This Quick Start Guide describes
the steps you follow to unpack
and set up your new
multi-talented printer.
Quick Start Guide
Laser Printer
Fax Copier Scanner
TM
TM
See What We Mean.TM
Important! You must follow the steps
described in this Quick Start Guide.
©1997 Canon Computer Systems, Inc.
CST-4445-000
Printed in U.S.A.
Quick Start Guide
Laser Printer
Fax Copier Scanner
1
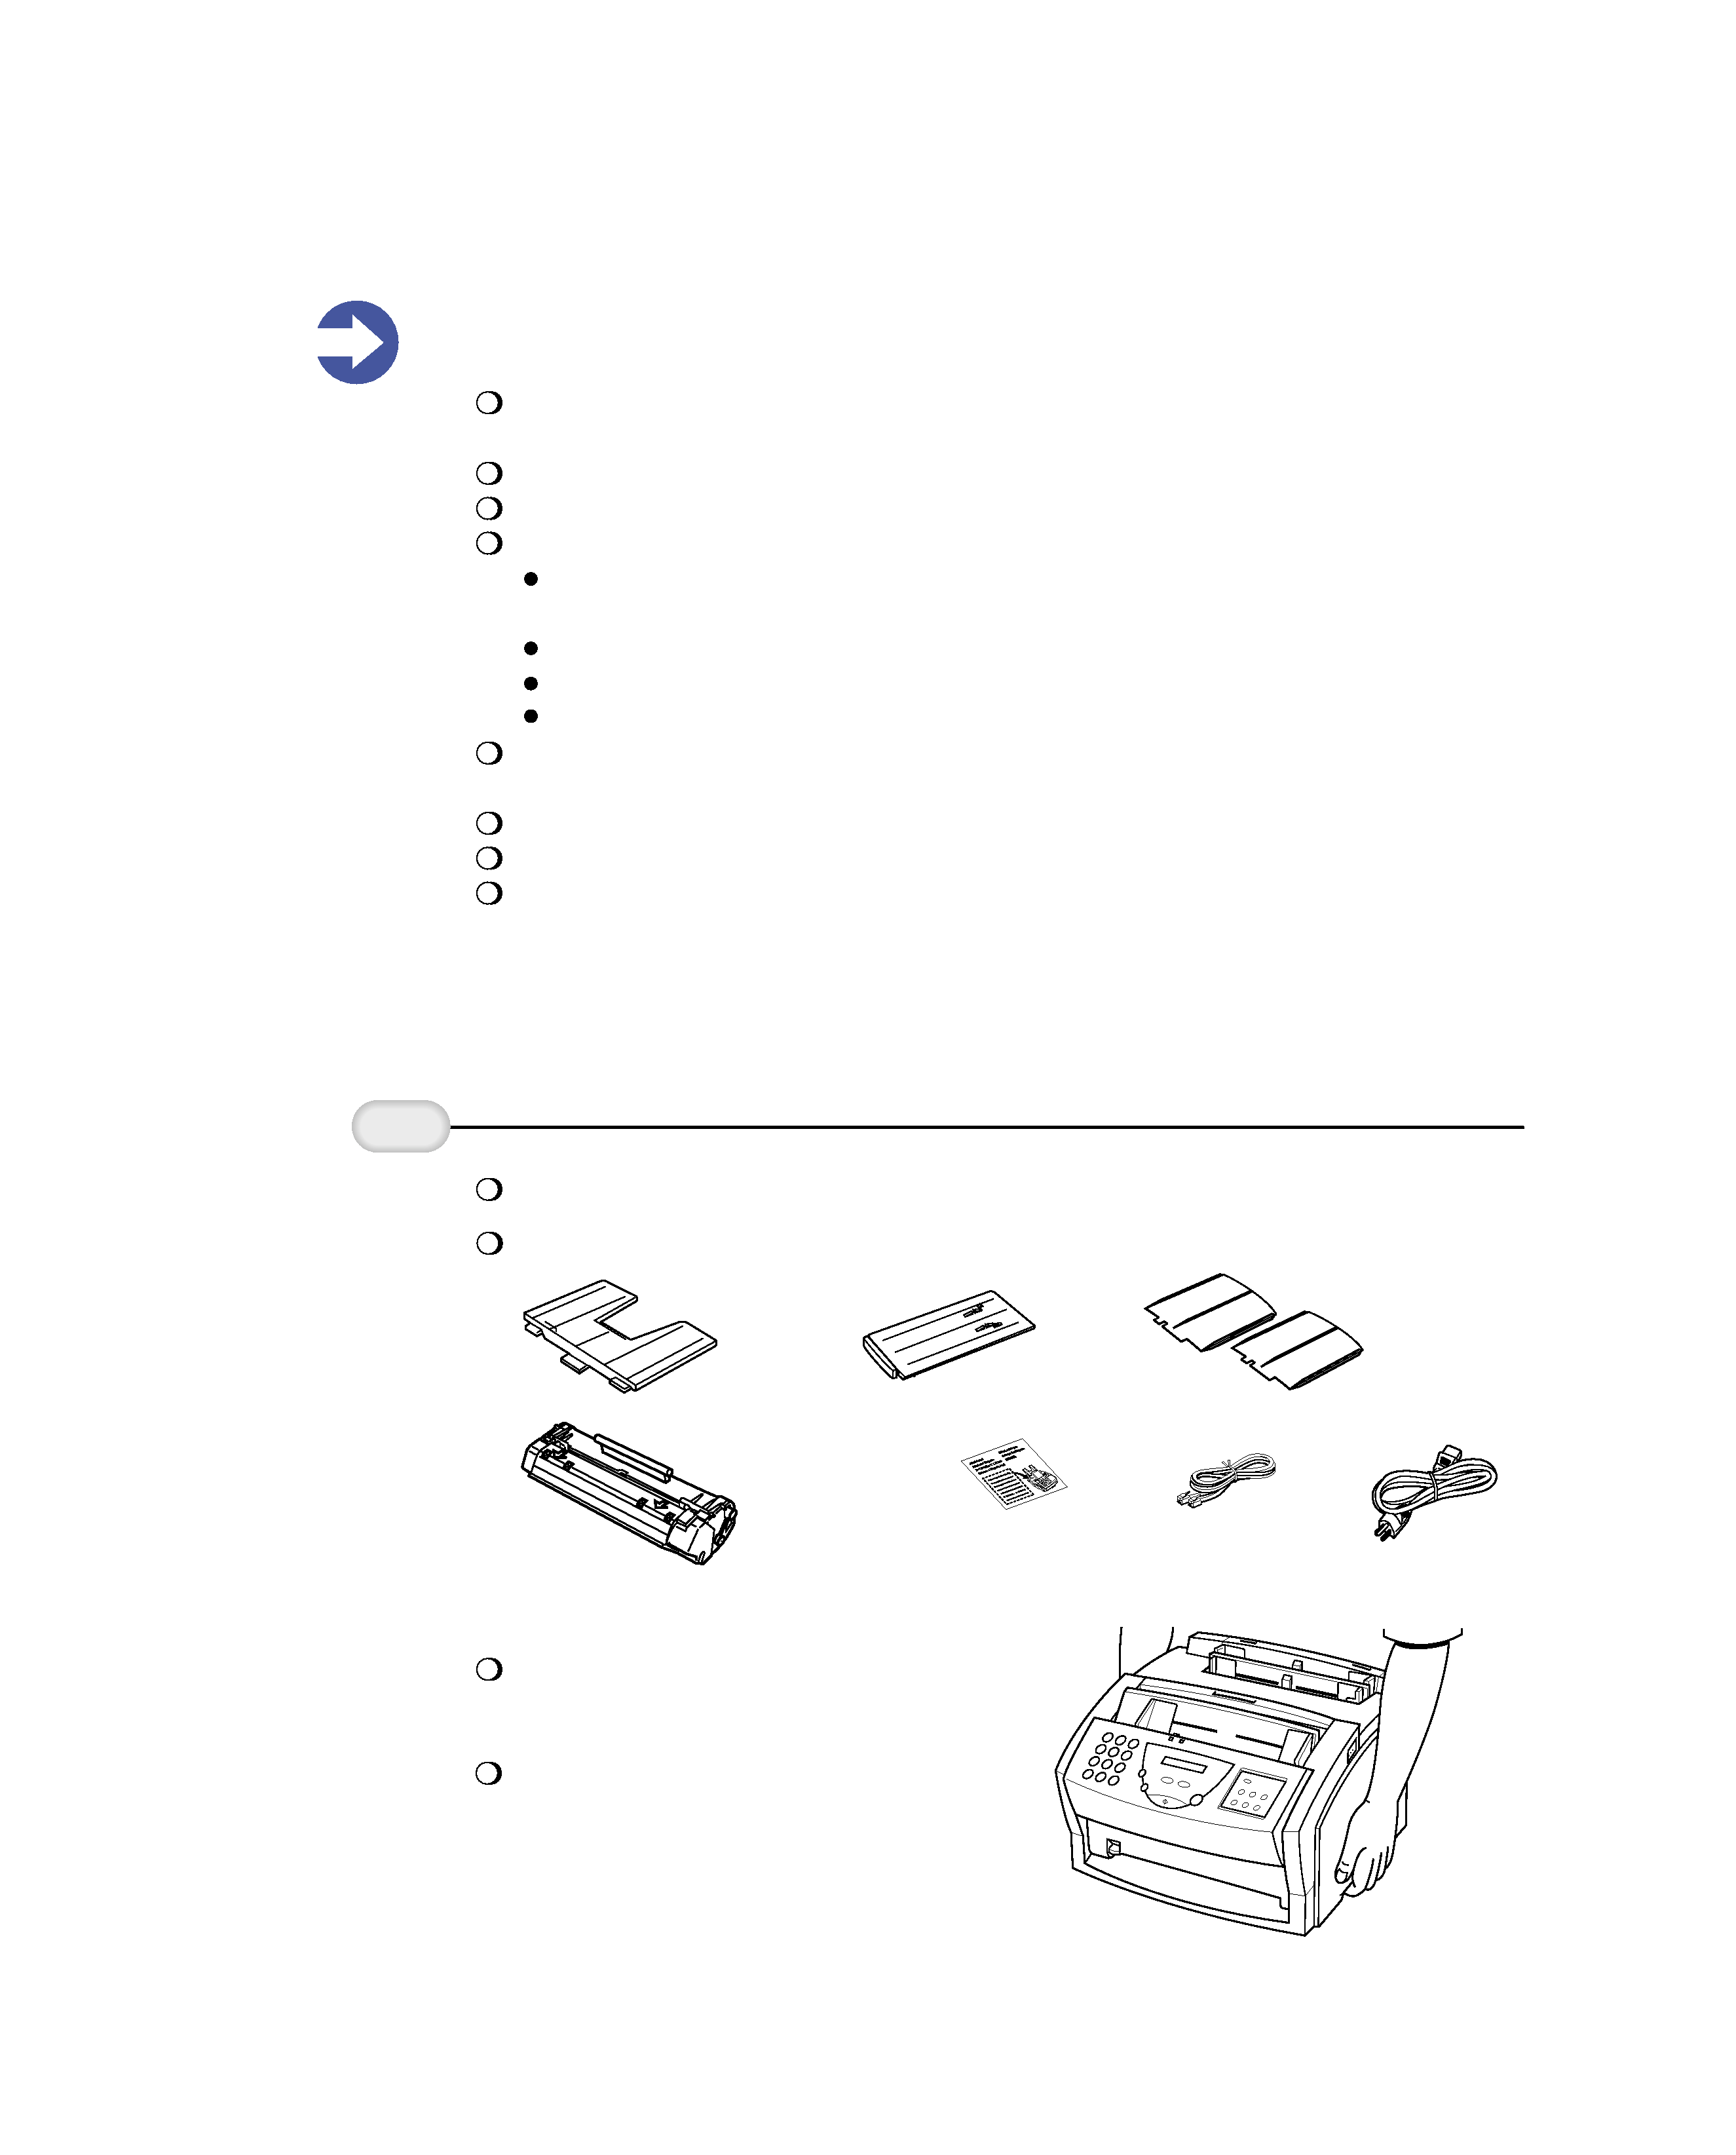
Carefully remove
all items from
the box.
Remove the items from the documentation package.
Remove these hardware items from the top tray:
2
Important! Before you start, make sure you have the following computer setup.
(These are the minimum requirements.)
IBM® PC or compatible computer with a 486 PC processor or better
(Pentium® recommended)
Microsoft® Windows® 95 (not compatible with Windows 3.1)
16 megabytes (MB) of RAM
Hard disk space:
MultiPASS Printer Driver, MultiPASS Desktop Manager for Windows 95,
and ScanGearTM for MultiPASS 25 MB
WebRecordTM 8 MB
Internet Utilities 97TM 7 MB
AT&T WorldNetSM Service including Microsoft Internet Explorer 36 MB
Bi-directional, Centronics®-compatible parallel cable (IEEE 1284-compliant);
a cable less than 6.6 feet in length is recommended
14.4 Kbps modem or faster (28.2 Kbps recommended)
Standard telephone line
CD ROM drive (2x or better) (If you do not have a CD ROM drive, you can call
the Canon Customer Care Center to order the MultiPASS Desktop Manager and
Printer Setup on diskettes. See page 23 for details.)
Lift out the MultiPASS unit.
Always lift the unit from the bottom.
PAPER REST
TELEPHONE
LINE
POWER
CORD
SUPPORT TRAYS
FX-3 TONER
CARTRIDGE
Important! Save the box and shipping
materials. You may need them later if
you have to transport the MultiPASS.
Unpack the MultiPASS L6000
PAPER LOADING
LABEL
EXTENSION TRAY
3
Make sure your
documentation
package includes
these items.
2
MultiPASS L6000 and Creative Web
Solutions CD (INSTALL ME FIRST)
Quick Start Guide (this booklet)
User's Manaul
Important! Save your sales receipt for proof of purchase in case your MultiPASS
requires warranty service.
Registration card
Warranty card
Customer Care rolodex card
Be sure to register electronically or fill out your Registration card and send it to
Canon. After you set up the MultiPASS L6000, you can fax the Registration card
directly to Canon (see the Registration card for details).
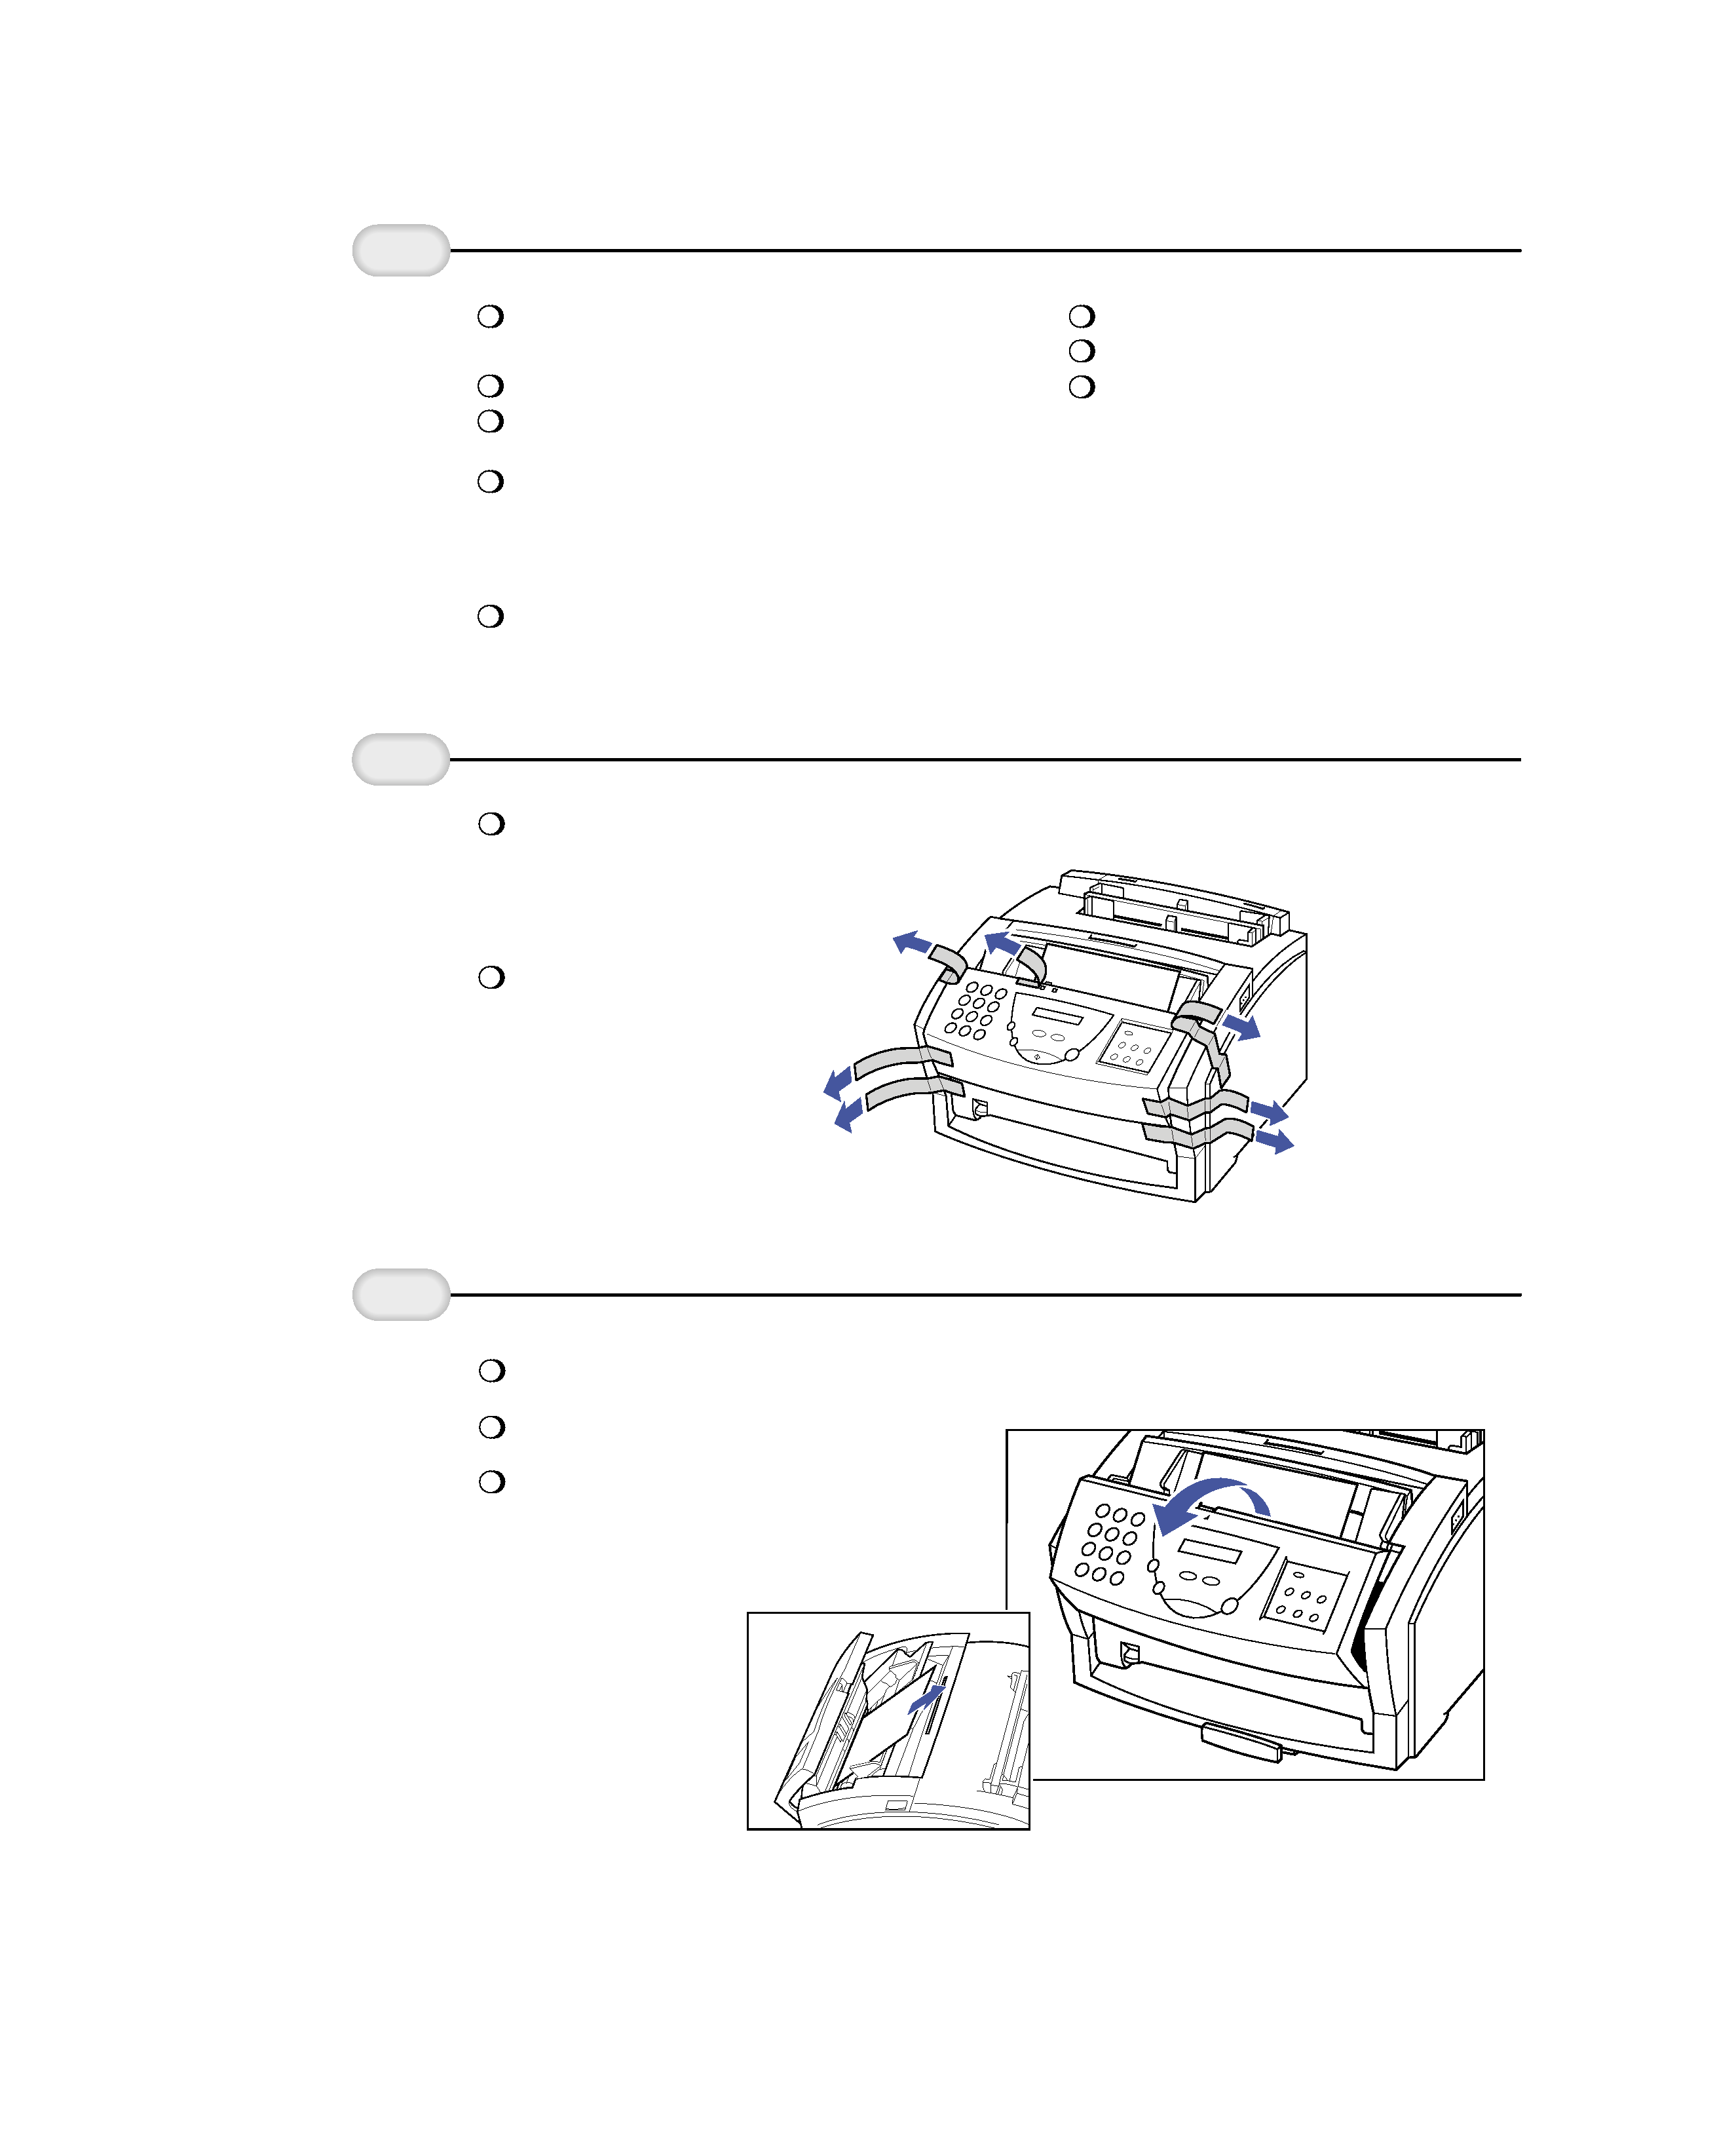
Remove all
pieces of
shipping tape
from the unit.
3
Remove all pieces of shipping tape from the outside of the MultiPASS.
Note that tape
may not be in
the exact locations
shown here.
Lift the
operator panel
and remove the
soft styrofoam
from the unit's
Automatic
Document
Feeder (ADF).
4
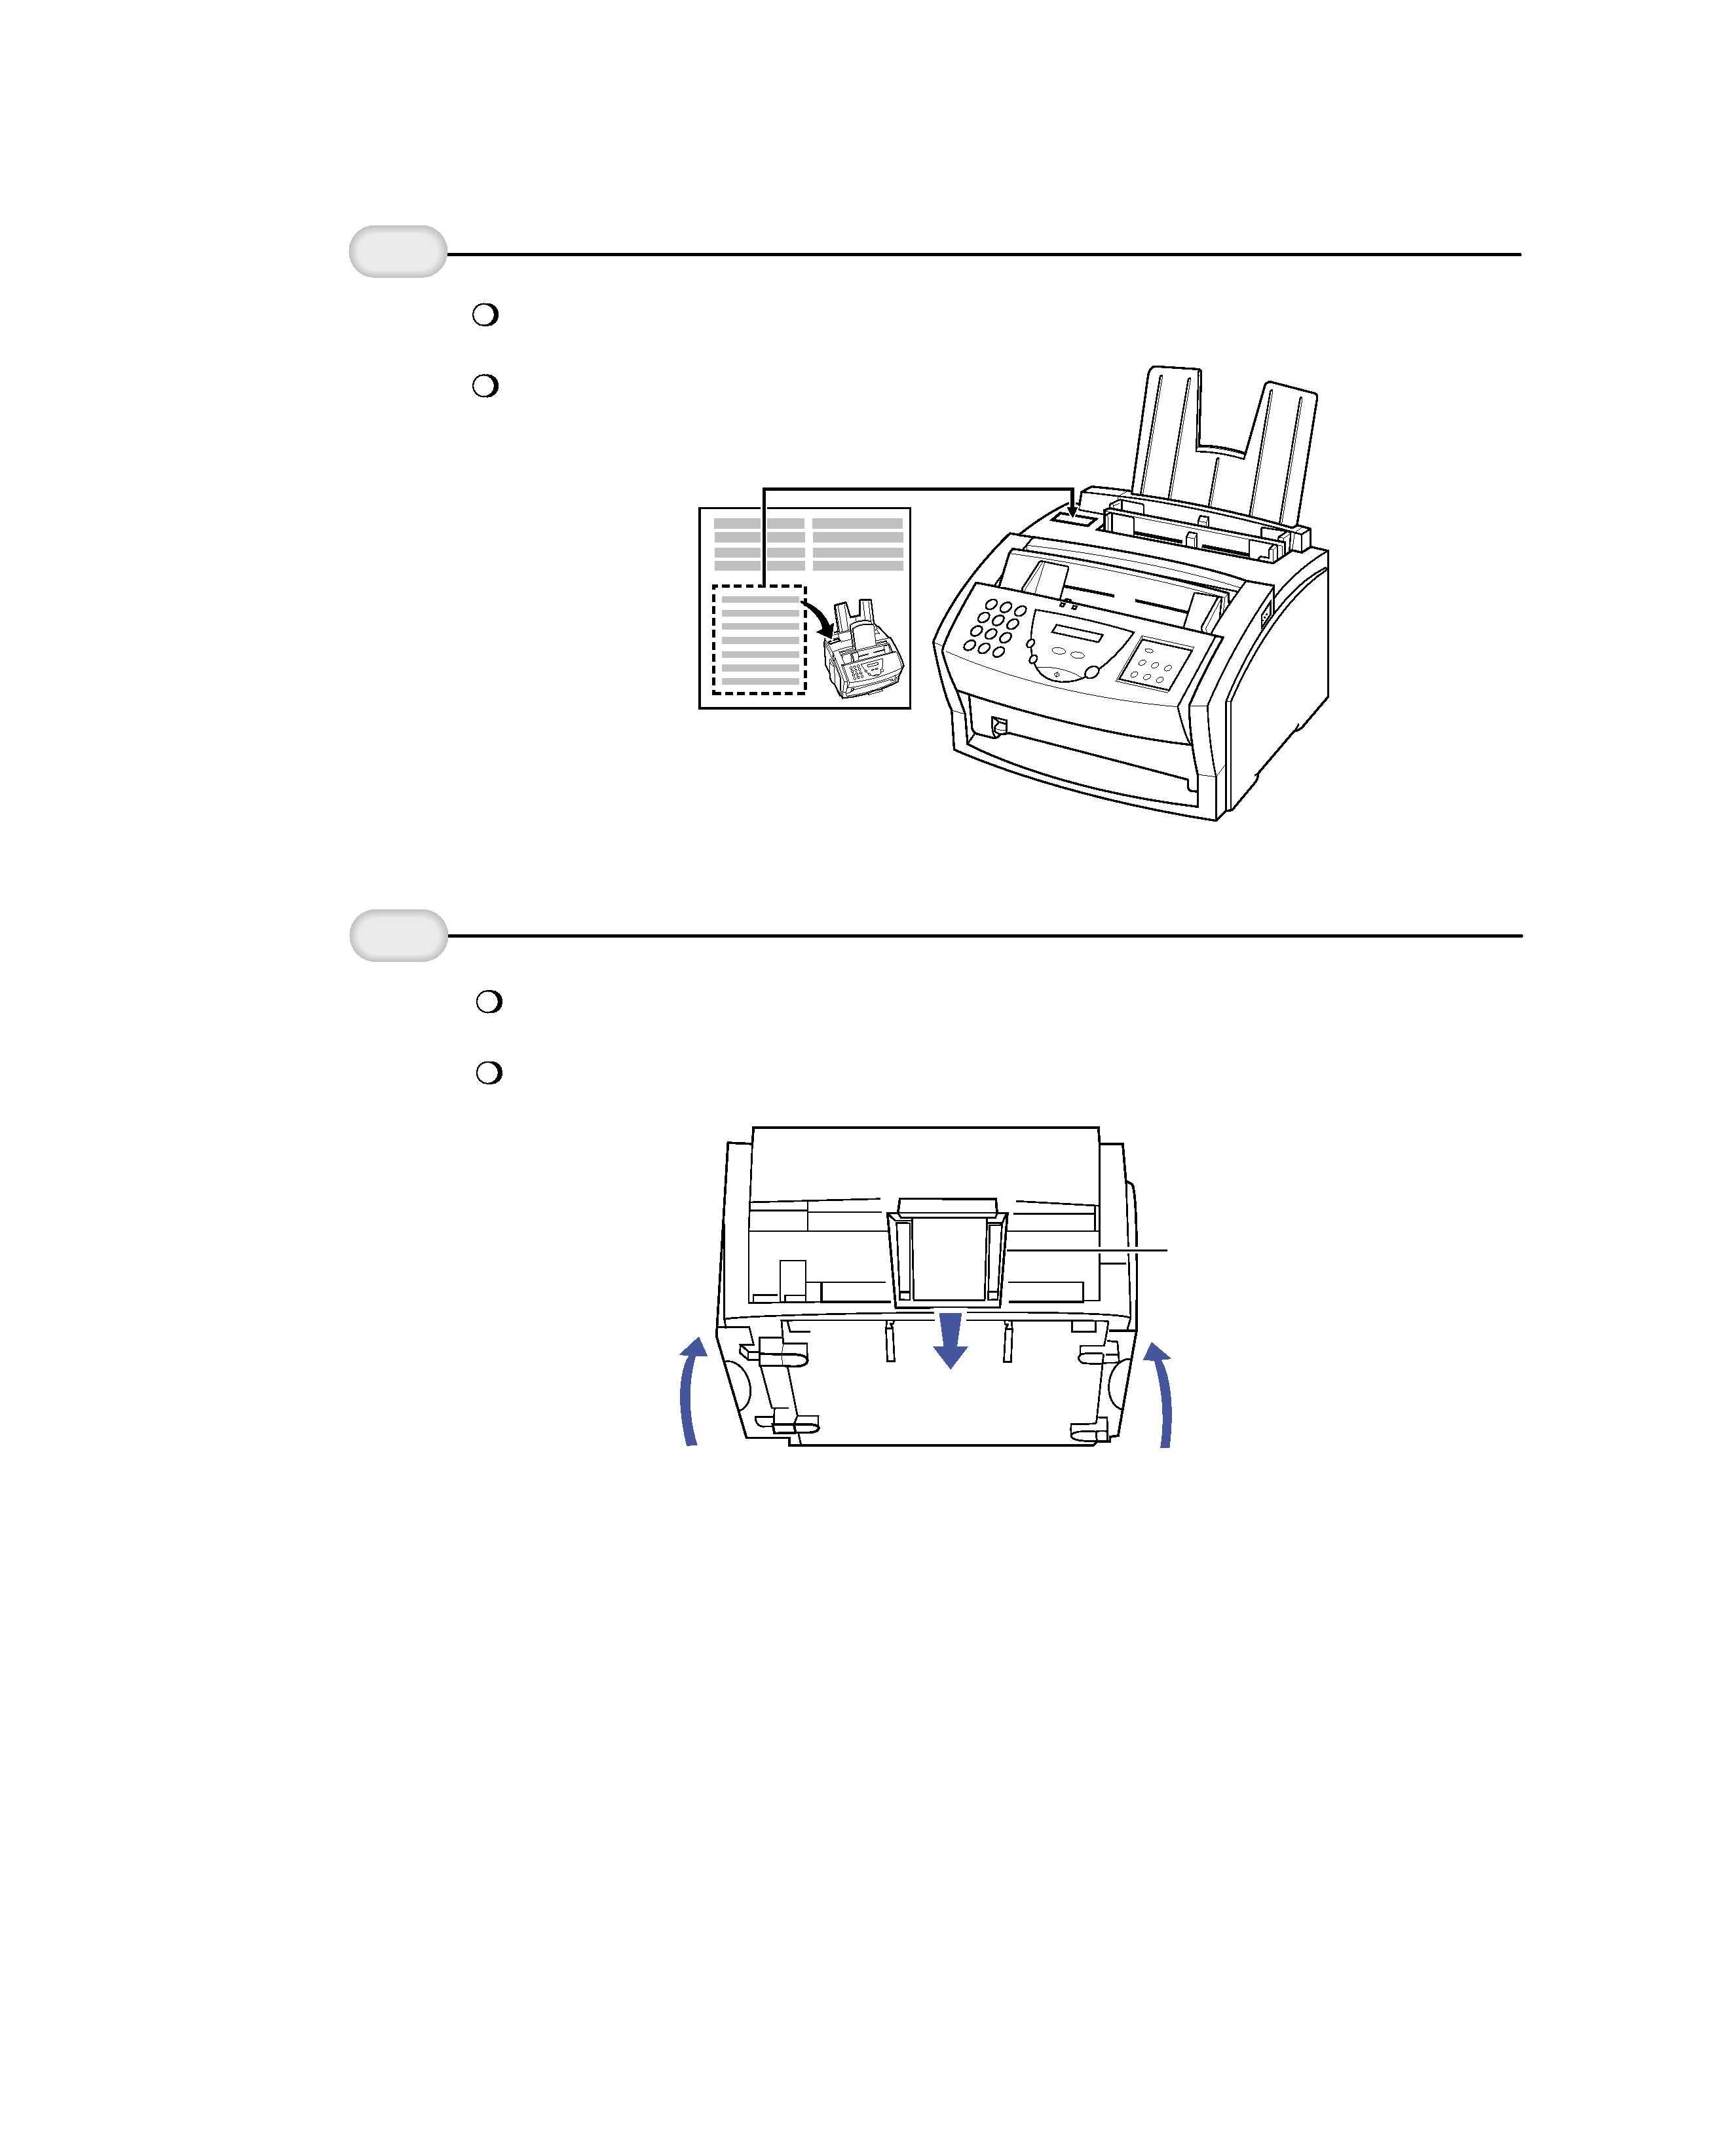
Use both hands to grip the operator panel, and gently pull it toward you.
Remove the soft styrofoam sheet.
Gently press the operator panel
to close it.
Setting Up the MultiPASS L6000
5
Peel the clear
protective
sheet off the
LCD display.
4
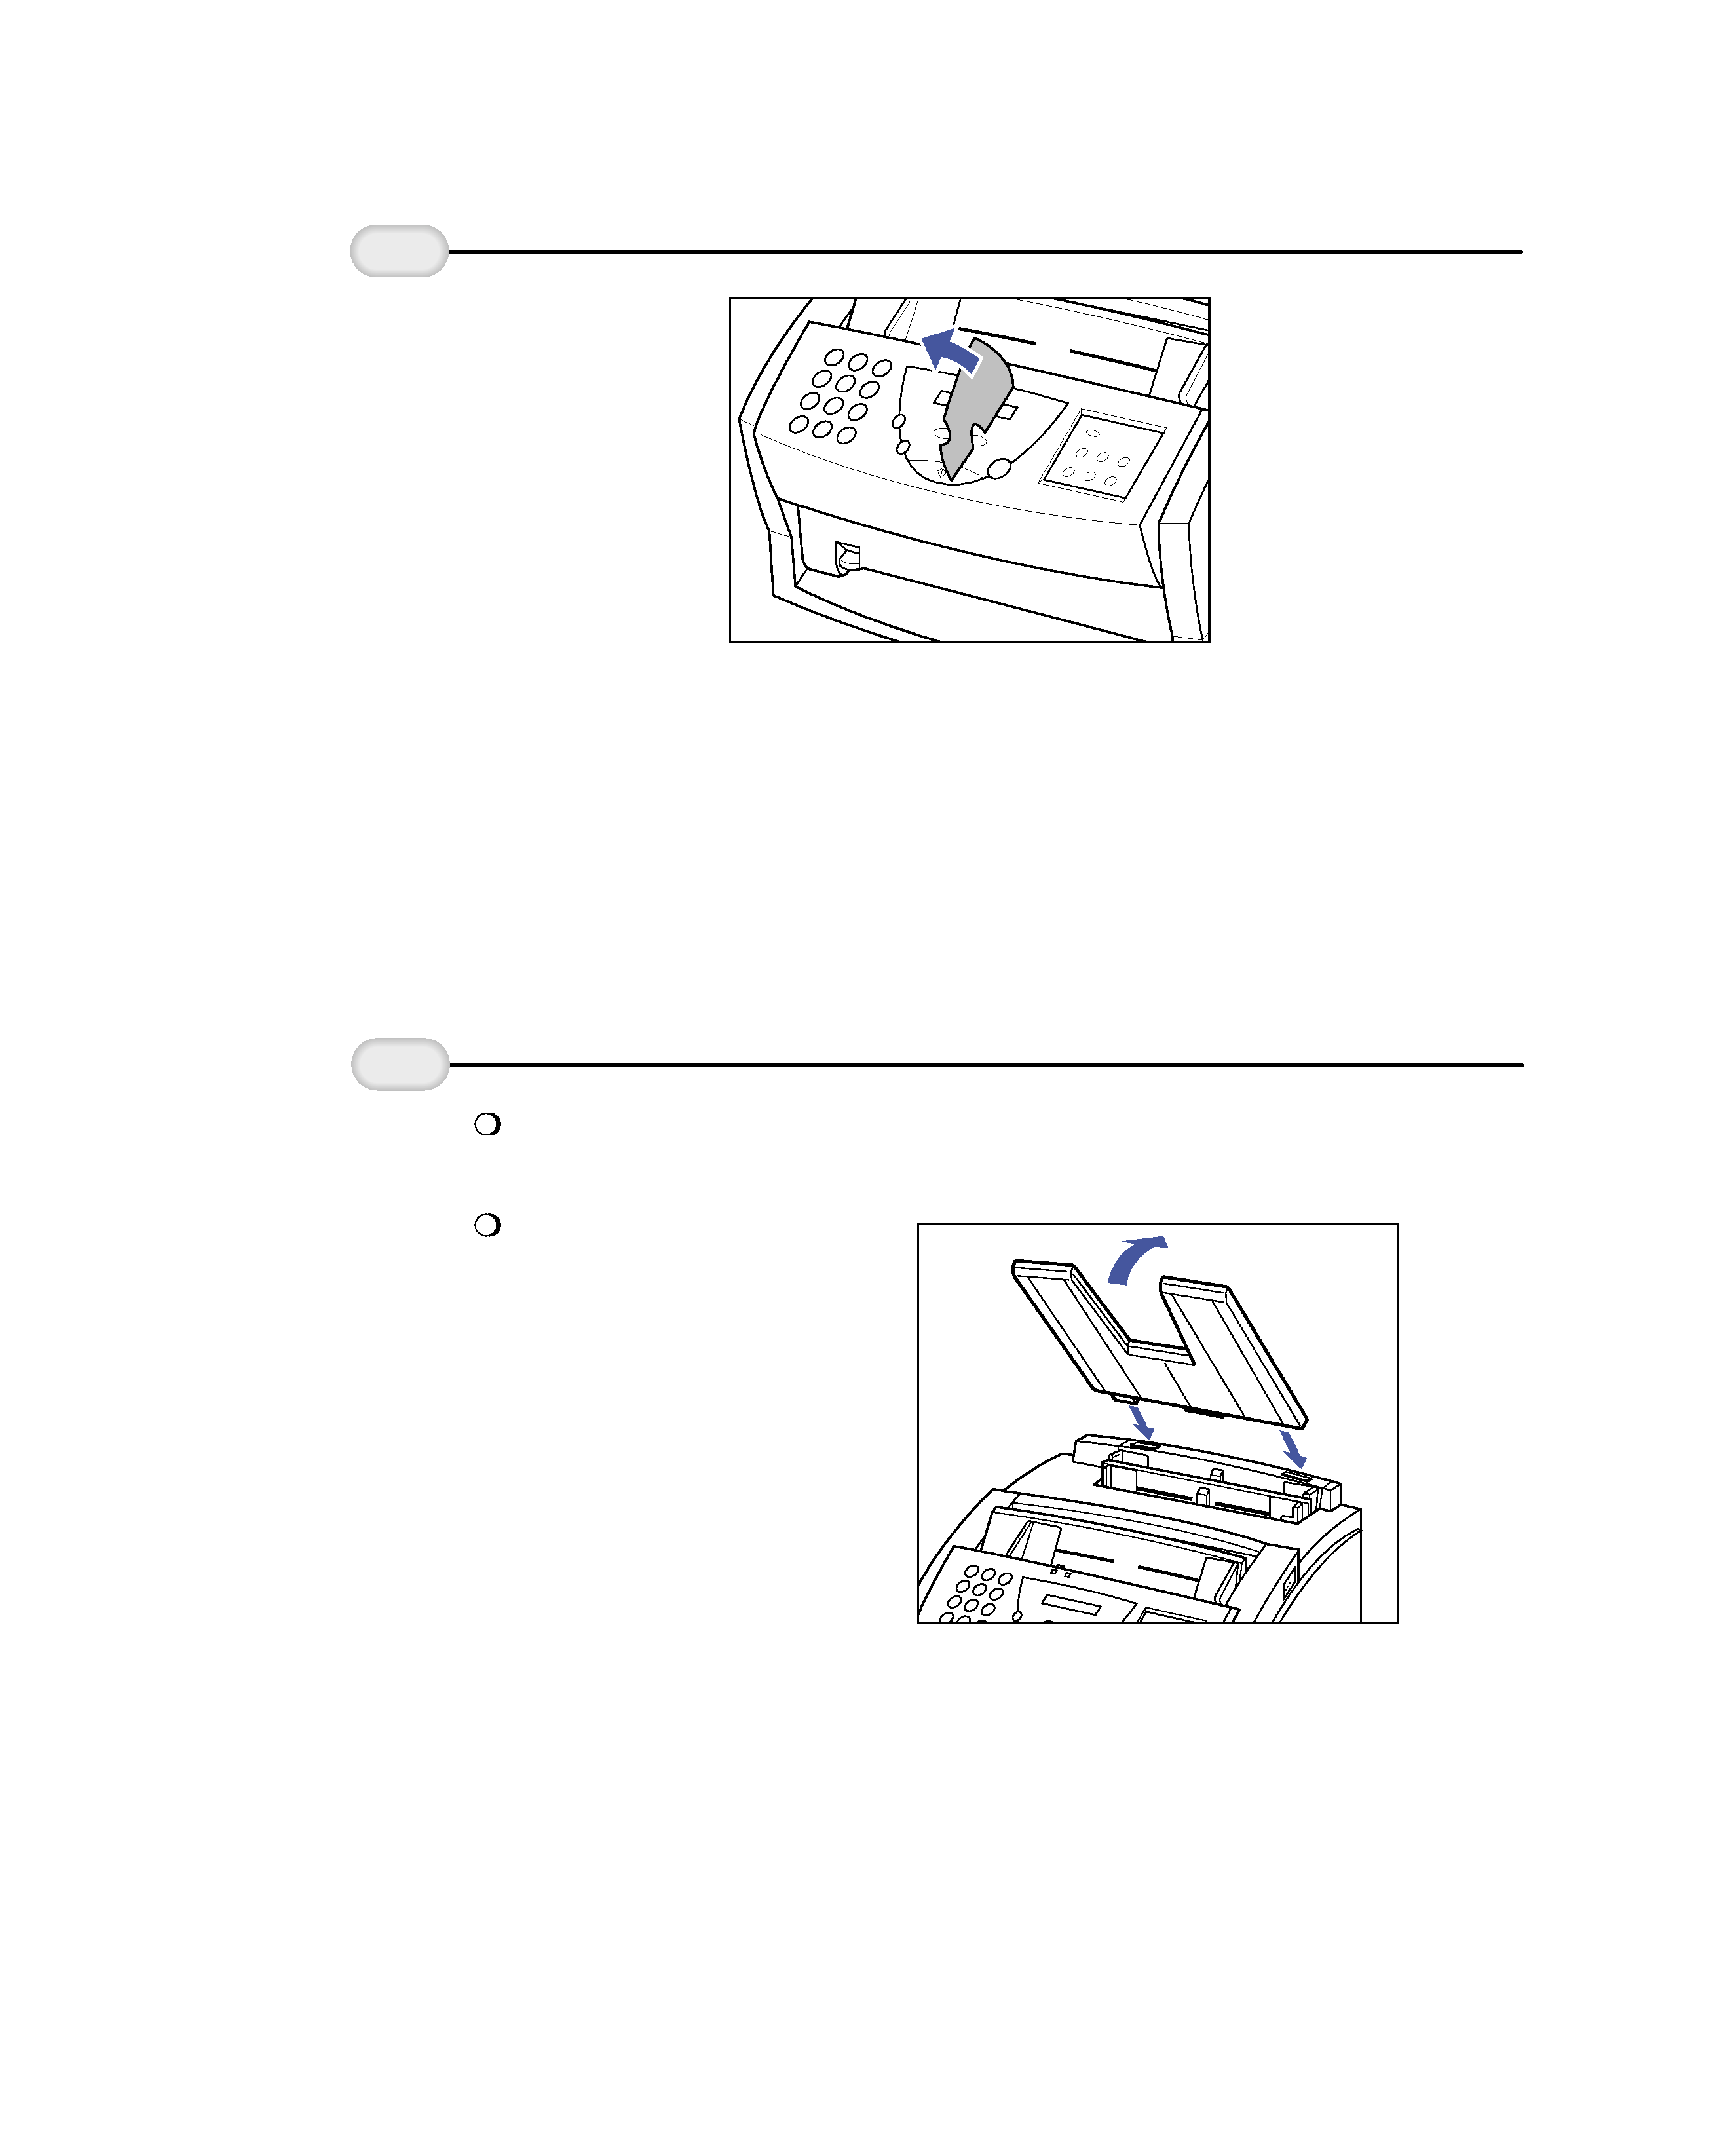
With the paper rest tilted toward you, fit the tabs on the paper rest into the slots
above the multi-purpose tray.
Place the main unit of the MultiPASS L6000 on a level surface with plenty of room
to work.
1
Attach the
paper rest.
Attaching Miscellaneous Items
Gently move the paper rest
back into position.
5
Attach the
extension tray.
3
Lift up the front of the MultiPASS L6000 unit.
Slide the extension tray into the rails on the bottom of the unit.
The paper loading label is included with your MultiPASS unit.
Attach the label to the left of
the multi-purpose tray.
2
Attach the
paper loading
label.
EXTENSION TRAY