CAUTION:
Before servicing this chassis, it is important that the service person read the "SAFETY PRECAUTIONS" and
"PRODUCT SAFETY NOTICE" contained in this manual.
Design specifications are subject to change without notice.
MITSUBISHI DIGITAL ELECTRONICS AMERICA, INC.
9351 Jeronimo Road, Irvine, CA 92618-1904
Copyright © 2003 Mitsubishi Digital Electronics America, Inc.
All Rights Reserved
MITSUBISHIELECTRIC Service
Manual
2003
LIQUID CRYSTAL ON SILICON PROJECTION TV
V23L CHASSIS
SPECIFICATIONS
Power Input
: AC 120V, 60Hz
Power Usage
: 380W
Light Engine
: 3 Liquid Crystal on Silicon ICs (LCOS)
Light Source
: 200W
Frequency Range
: VHF 54 ~ 470MHz
UHF 470 ~ 806MHz
Antenna Input
: VHF/UHF 75 unbalanced
2 - NTSC
1 -ATV/QAM
Cabinet Dimensions
83.25""(W) x 73.75"(H) x 29.3"(D)
Weight
: 519 lbs
Speakers (8 Ohms 10W)
: 2-5"x7" oval 10W midrange speakers
: 2-1.5" round 10W tweeters
Input Level
: VIDEO IN JACK (RCA Type)
1.0Vp-p 75 unbalanced
: AUDIO IN JACK (RCA Type)
-4.7dBm 43k unbalanced
: S-VIDEO IN JACK
(Y/C separate type)
Y:1.0 Vp-p C:0.286Vp-p(BURST)
75 unbalanced
: COMP / Y, Cr, Cb (RCA Type)
Y: 1.0 Vp-p Cr, Cb: 700mVp-p
: ATV / Y(G), Pr(R), Pb(B), H, V
Y: 1.0Vp-p with sync 75 (BNC)
Pr, Pb: 700mV 75
H, V: 3.0Vp-p 75
: VGA / R,G,B,V,H (15 pin D)
Output Level
: VIDEO OUT JACK (RCA Type)
1.0Vp-p 75 unbalanced
: AUDIO OUT JACK (RCAType)
-4.7dBm 4.7k unbalanced
Digital
: IEEE-1394 I/O Jacks
Interface
: AC-3 Digtal Audio Output
: MonitorLinkTM/DVI
:
MonitorLinkTM Control/RS-232C
: 4 Memory Card Reader Inputs
MODEL
WL-82913


MODEL: WL-82913
Page 3
INTRODUCTION .................................................................................................................................. 5
PRODUCT SAFETY NOTICE ............................................................................................................... 5
SAFETY PRECAUTIONS..................................................................................................................... 6
TV DELIVERY & INSTALLATION
Cabinet Assembly ............................................................................................................................ 7
Diamond ShieldTM Installation ........................................................................................................... 9
Arc Assembly Installation .............................................................................................................. 10
USER MAINTENANCE
Dust Filter Cleaning ........................................................................................................................ 12
Lamp Cartridge Replacement ......................................................................................................... 13
LAMP TROUBLESHOOTING PROCEDURE ..................................................................................... 15
DISASSEMBLY PROCEDURES
Cabinet Front Disassembly ............................................................................................................ 16
Cabinet Rear Disassembly ............................................................................................................. 17
SERVICING THE DIFFUSER SCREEN AND FRESNEL LENS
Removal of the Diffuser Screen and Fresnel Lens .......................................................................... 18
Installation of the Diffuser Screen and Fresnel Lens ....................................................................... 18
LIGHT BOX OPERATION (Out of the cabinet)
Control Light Box Operation (KIT-RECEIVER-82913) ..................................................................... 19
Enabling Turn On ........................................................................................................................... 19
SERVICING PCBs
Accessing the Chassis Removal .................................................................................................... 20
PCB Locations ............................................................................................................................... 20
DM Module Replacement ............................................................................................................... 21
ELECTRICAL ADJUSTMENTS
Equipment and Initial Setup ........................................................................................................... 22
Default Settings .............................................................................................................................. 22
A/V Reset Defaults ........................................................................................................................ 23
A/V Reset ...................................................................................................................................... 23
LED Indicator Diagnostics .............................................................................................................. 23
Remote Control Operational Mode ................................................................................................. 24
Circuit Adjustment Mode ................................................................................................................ 25
Service Mode Reset ....................................................................................................................... 26
On-screen Display Position Mode .................................................................................................. 26
E2PROM Replacement .................................................................................................................. 26
Adjustment Items List .................................................................................................................... 26
Adjustment Procedures
Test Point Locations ............................................................................................................. 27
Main / Sub Y Level & & HV Regulation ................................................................................. 28
On-screen Display Position................................................................................................... 29
Horizontal & Vertical Position................................................................................................ 30
CONTENTS

MODEL: WL-82913
Page 4
Optical Adjustments
General Adjustment procedure .............................................................................................. 31
Operational Preparation ........................................................................................................ 31
Selecting and Internal Test Signal ......................................................................................... 32
Picture Rotation Adjustment ................................................................................................. 33
Vertical Trapezoid Distortion Adjustment ............................................................................... 33
Horizontal Trapezoid Distortion Adjustment ........................................................................... 34
CHIP PARTS REPLACEMENT .......................................................................................................... 35
REPLACEMENT PARTS
Parts Ordering ................................................................................................................................ 36
Critical and Warranty Parts Designation ........................................................................................ 36
Parts Tolerance Codes ................................................................................................................... 36
Quick Reference List ...................................................................................................................... 37
SERVICE PARTS LIST ..................................................................................................................... 38
SCREEN ASSEMBLY PARTS LIST ................................................................................................... 48
CIRCUITRY BLOCK DIAGRAMS ...................................................................................................... 49
Part 2
Schematic Diagrams
CONTENTS
Page
SCHEMATIC DIAGRAMS
PCB INTERCONNECT DIAGRAM .................................................................................................. S1
PCB-POWER / SUB-POWER ....................................................................................................... S2
PCB-TERMINAL -1 ......................................................................................................................... S3
PCB-TERMINAL 2 .......................................................................................................................... S4
PCB-SIGNAL-1 (MICRO) ................................................................................................................ S5
PCB-SIGNAL-2 (TUNER-AUDIO) ................................................................................................... S6
PCB-MLINK /E2P ........................................................................................................................... S7
PCBs-CONTROL / FRONT / PREAMP / CONNECT ...................................................................... S8
PCB-TUNER DTV........................................................................................................................... S9
PCB-DEMODULATOR.................................................................................................................. S10
PCB LAYOUT DIAGRAMS ................................................................................................................. 11

MODEL: WL-82913
Page 5
INTRODUCTION
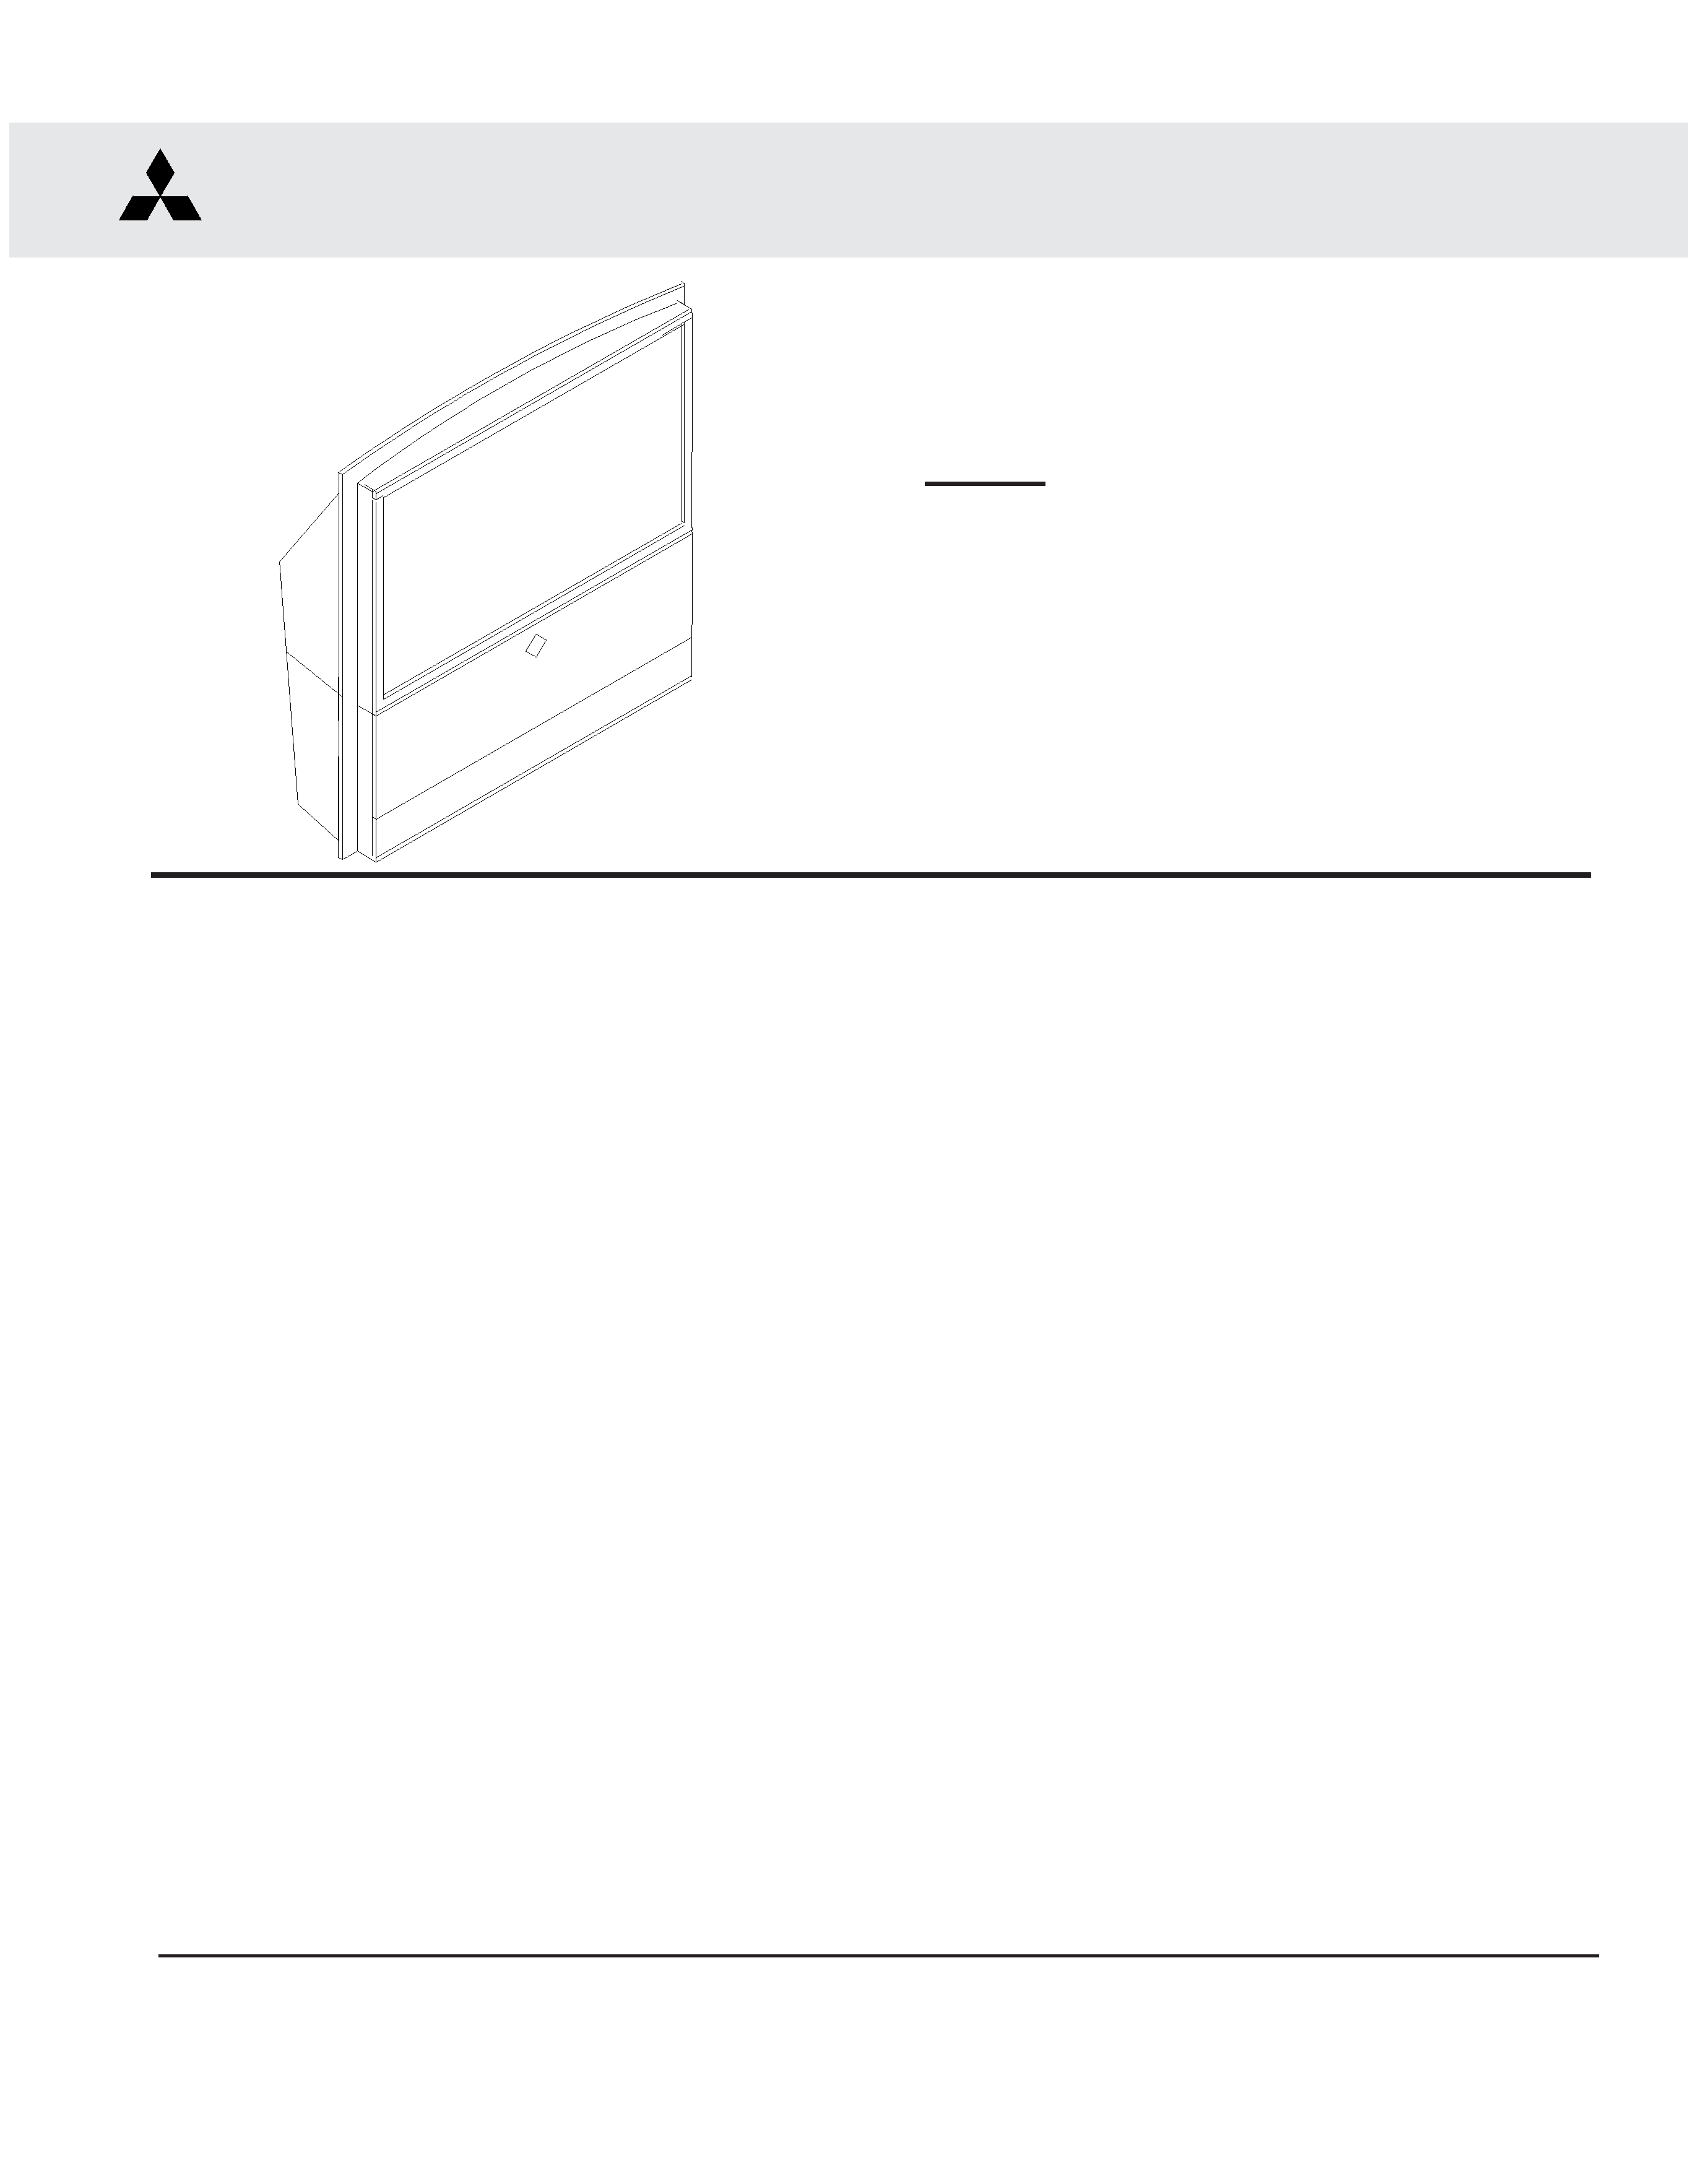
This service manual provides service instructions for PTV Models WL-82913 which uses the V23L chassis. Service
personnel should read this manual thoroughly before servicing this chassis.
This service manual includes:
1. Assembly and disassembly instructions for the front and rear cabinet components.
2. Servicing of the Diffuser Screen and Fresnel Lens.
3. Servicing printed circuit boards (PCBs).
4. Electrical adjustments.
5. Optical Adjustments
6. Chip parts replacement procedures.
7. Circuit path diagrams.
The parts list section of this service manual includes:
1. Cabinet and screen parts.
2. Electrical parts.
Schematic and block diagrams of the above listed model are included in this service manual for better understanding of
the circuitry. PCB drawings are also included for easy location of parts and test points.
PRODUCT SAFETY NOTICE
Many electrical and mechanical parts in television receivers have special safety related characteristics. These charac-
teristics are often not evident from visual inspection nor can the protection afforded by them necessarily be obtained by
using replacement components rated for higher voltage, wattage, etc.
Replacement parts which have special safety characteristics are identified in this service manual.
Electrical components having such features are identified by shading on the schematic diagram and by bold type in
the parts list of this service manual. Therefore, the replacement for any safety part should be identical in value
and characteristics.