GET0223-001A
[EE]
INSTRUCTIONS
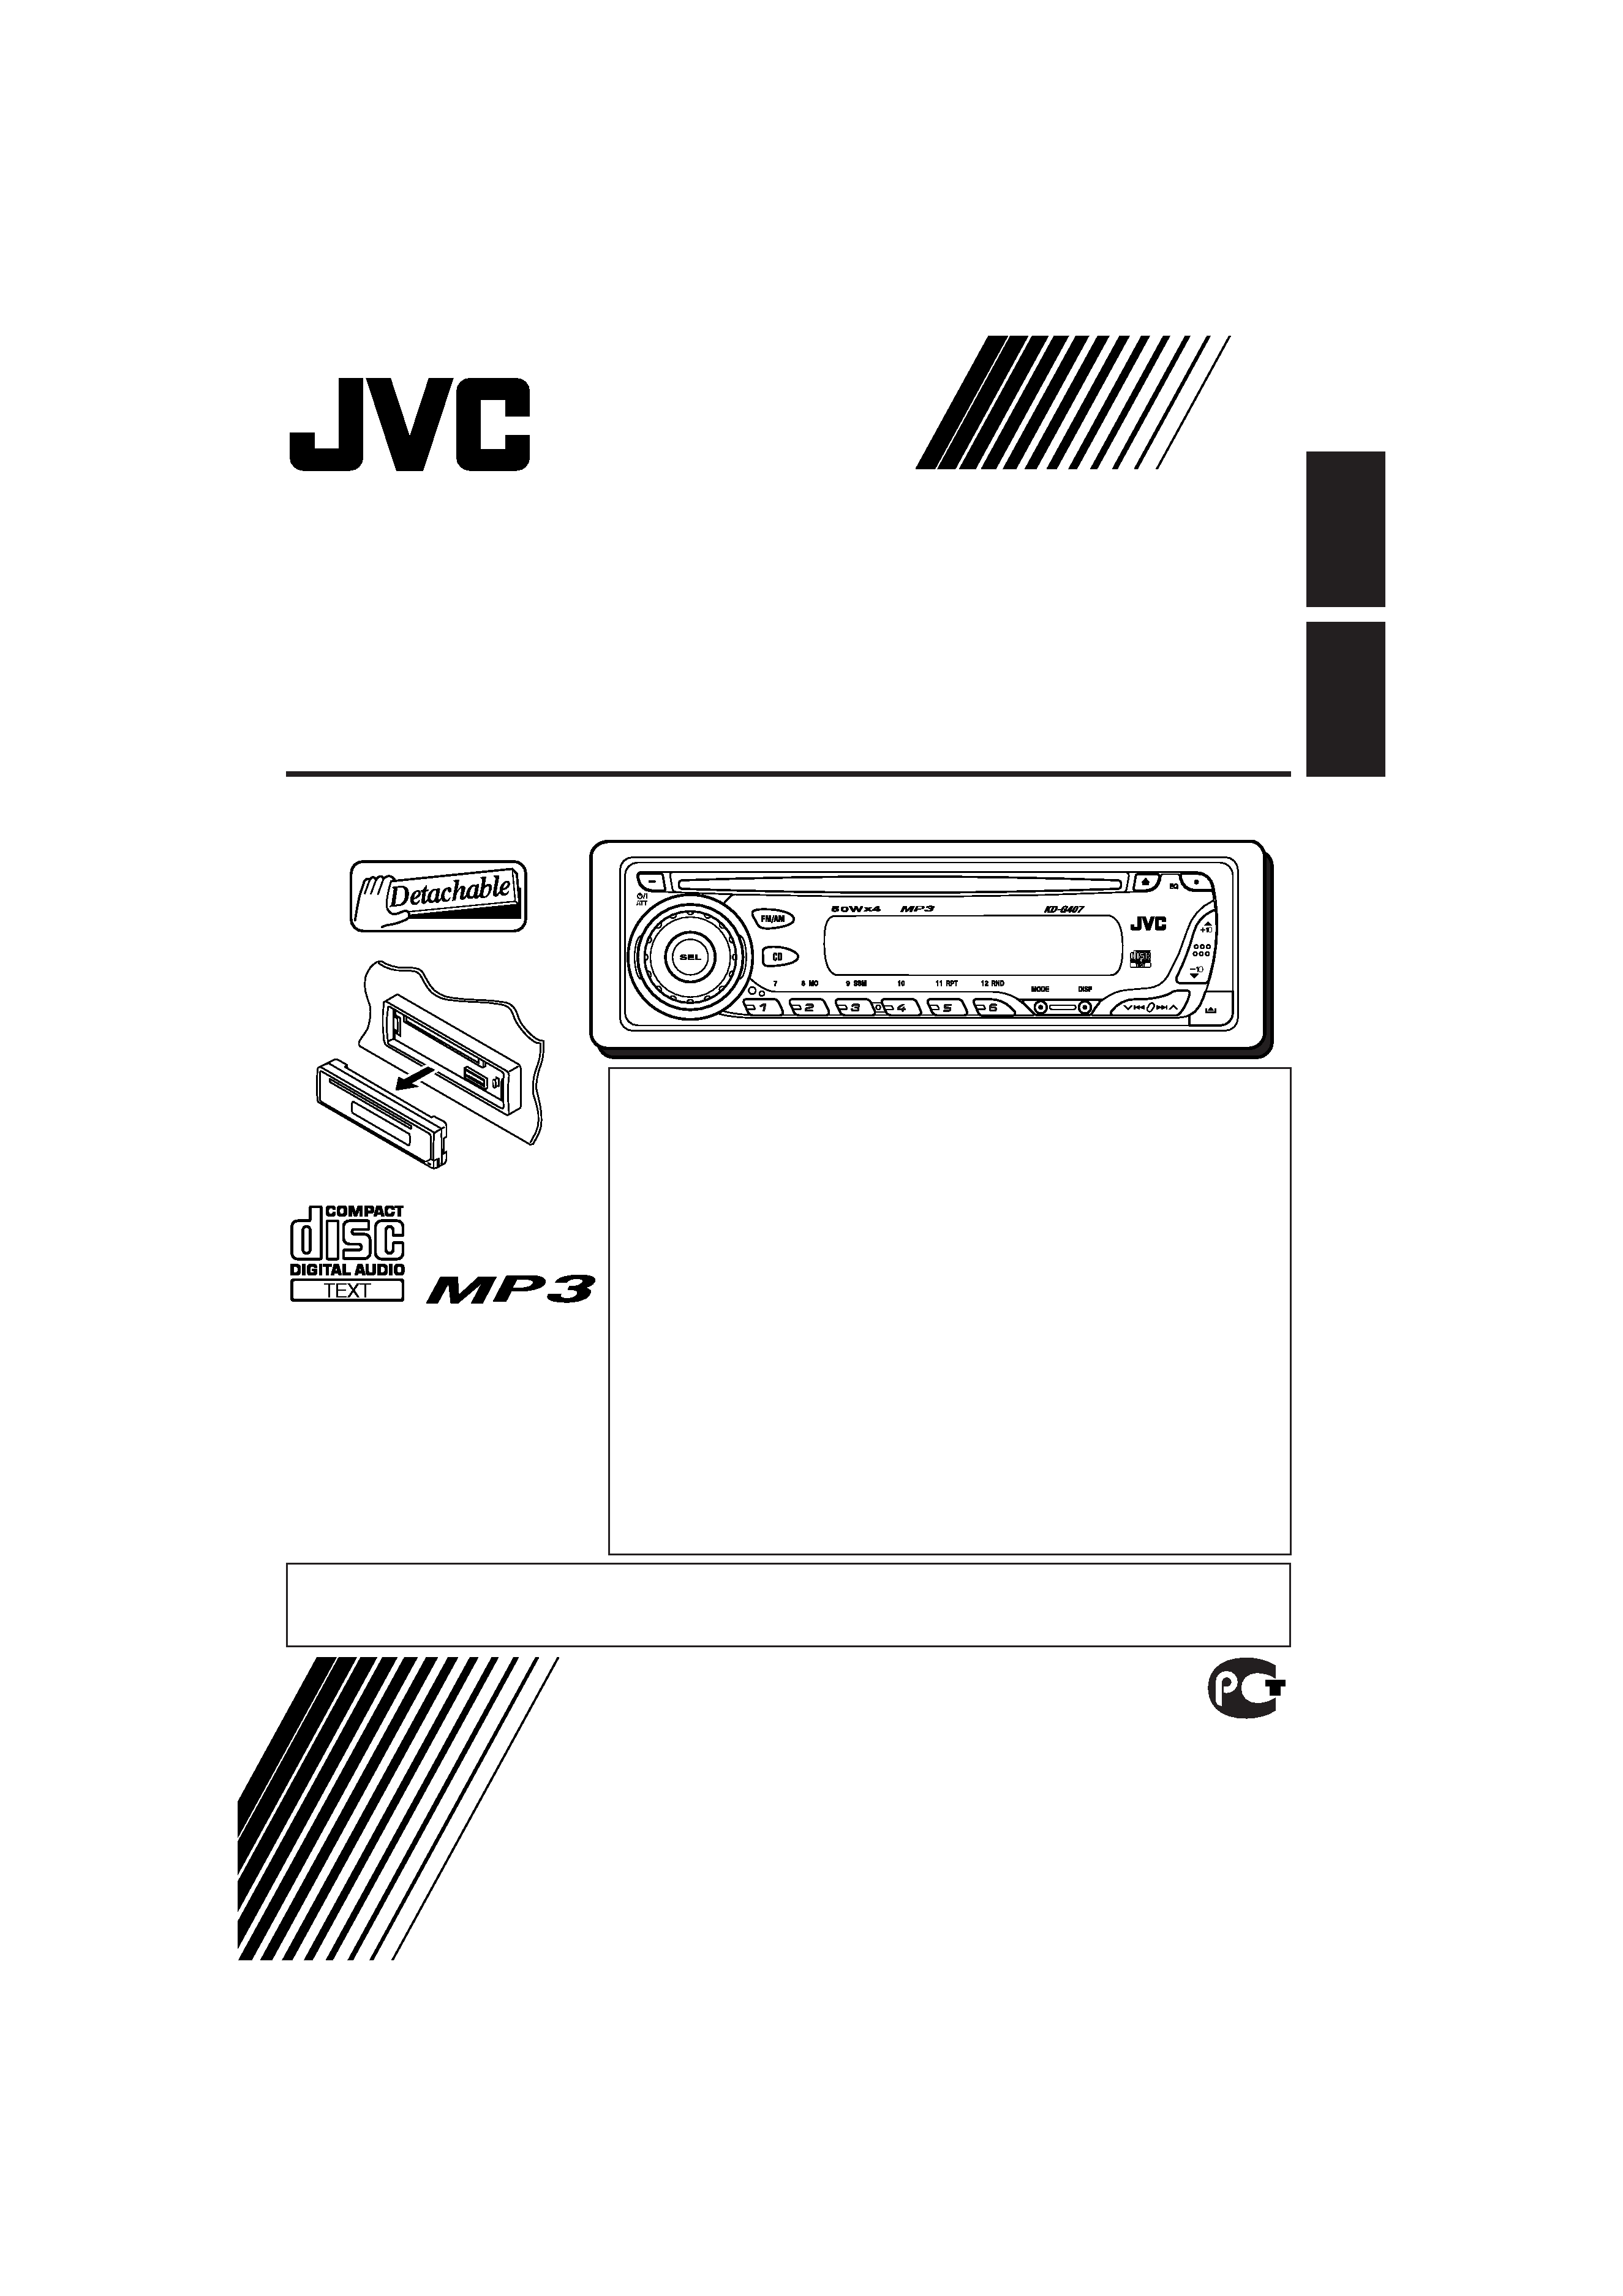
KD-G407
CD RECEIVER
-
ENGLISH
CCK
For installation and
connections, refer to the
separate manual.
.
"
" () "
,
, "
(7) .
,
, ,
/
.
,
, (2)
.
(),
, ,
, ,
JVC,
,
.
· This unit is equipped with the display demonstration. To cancel it, see page 6.
·
.
6.
Cover001A_KD-G407[EE]f.p65
5/3/04, 2:24 PM
3
2
ENGLISH
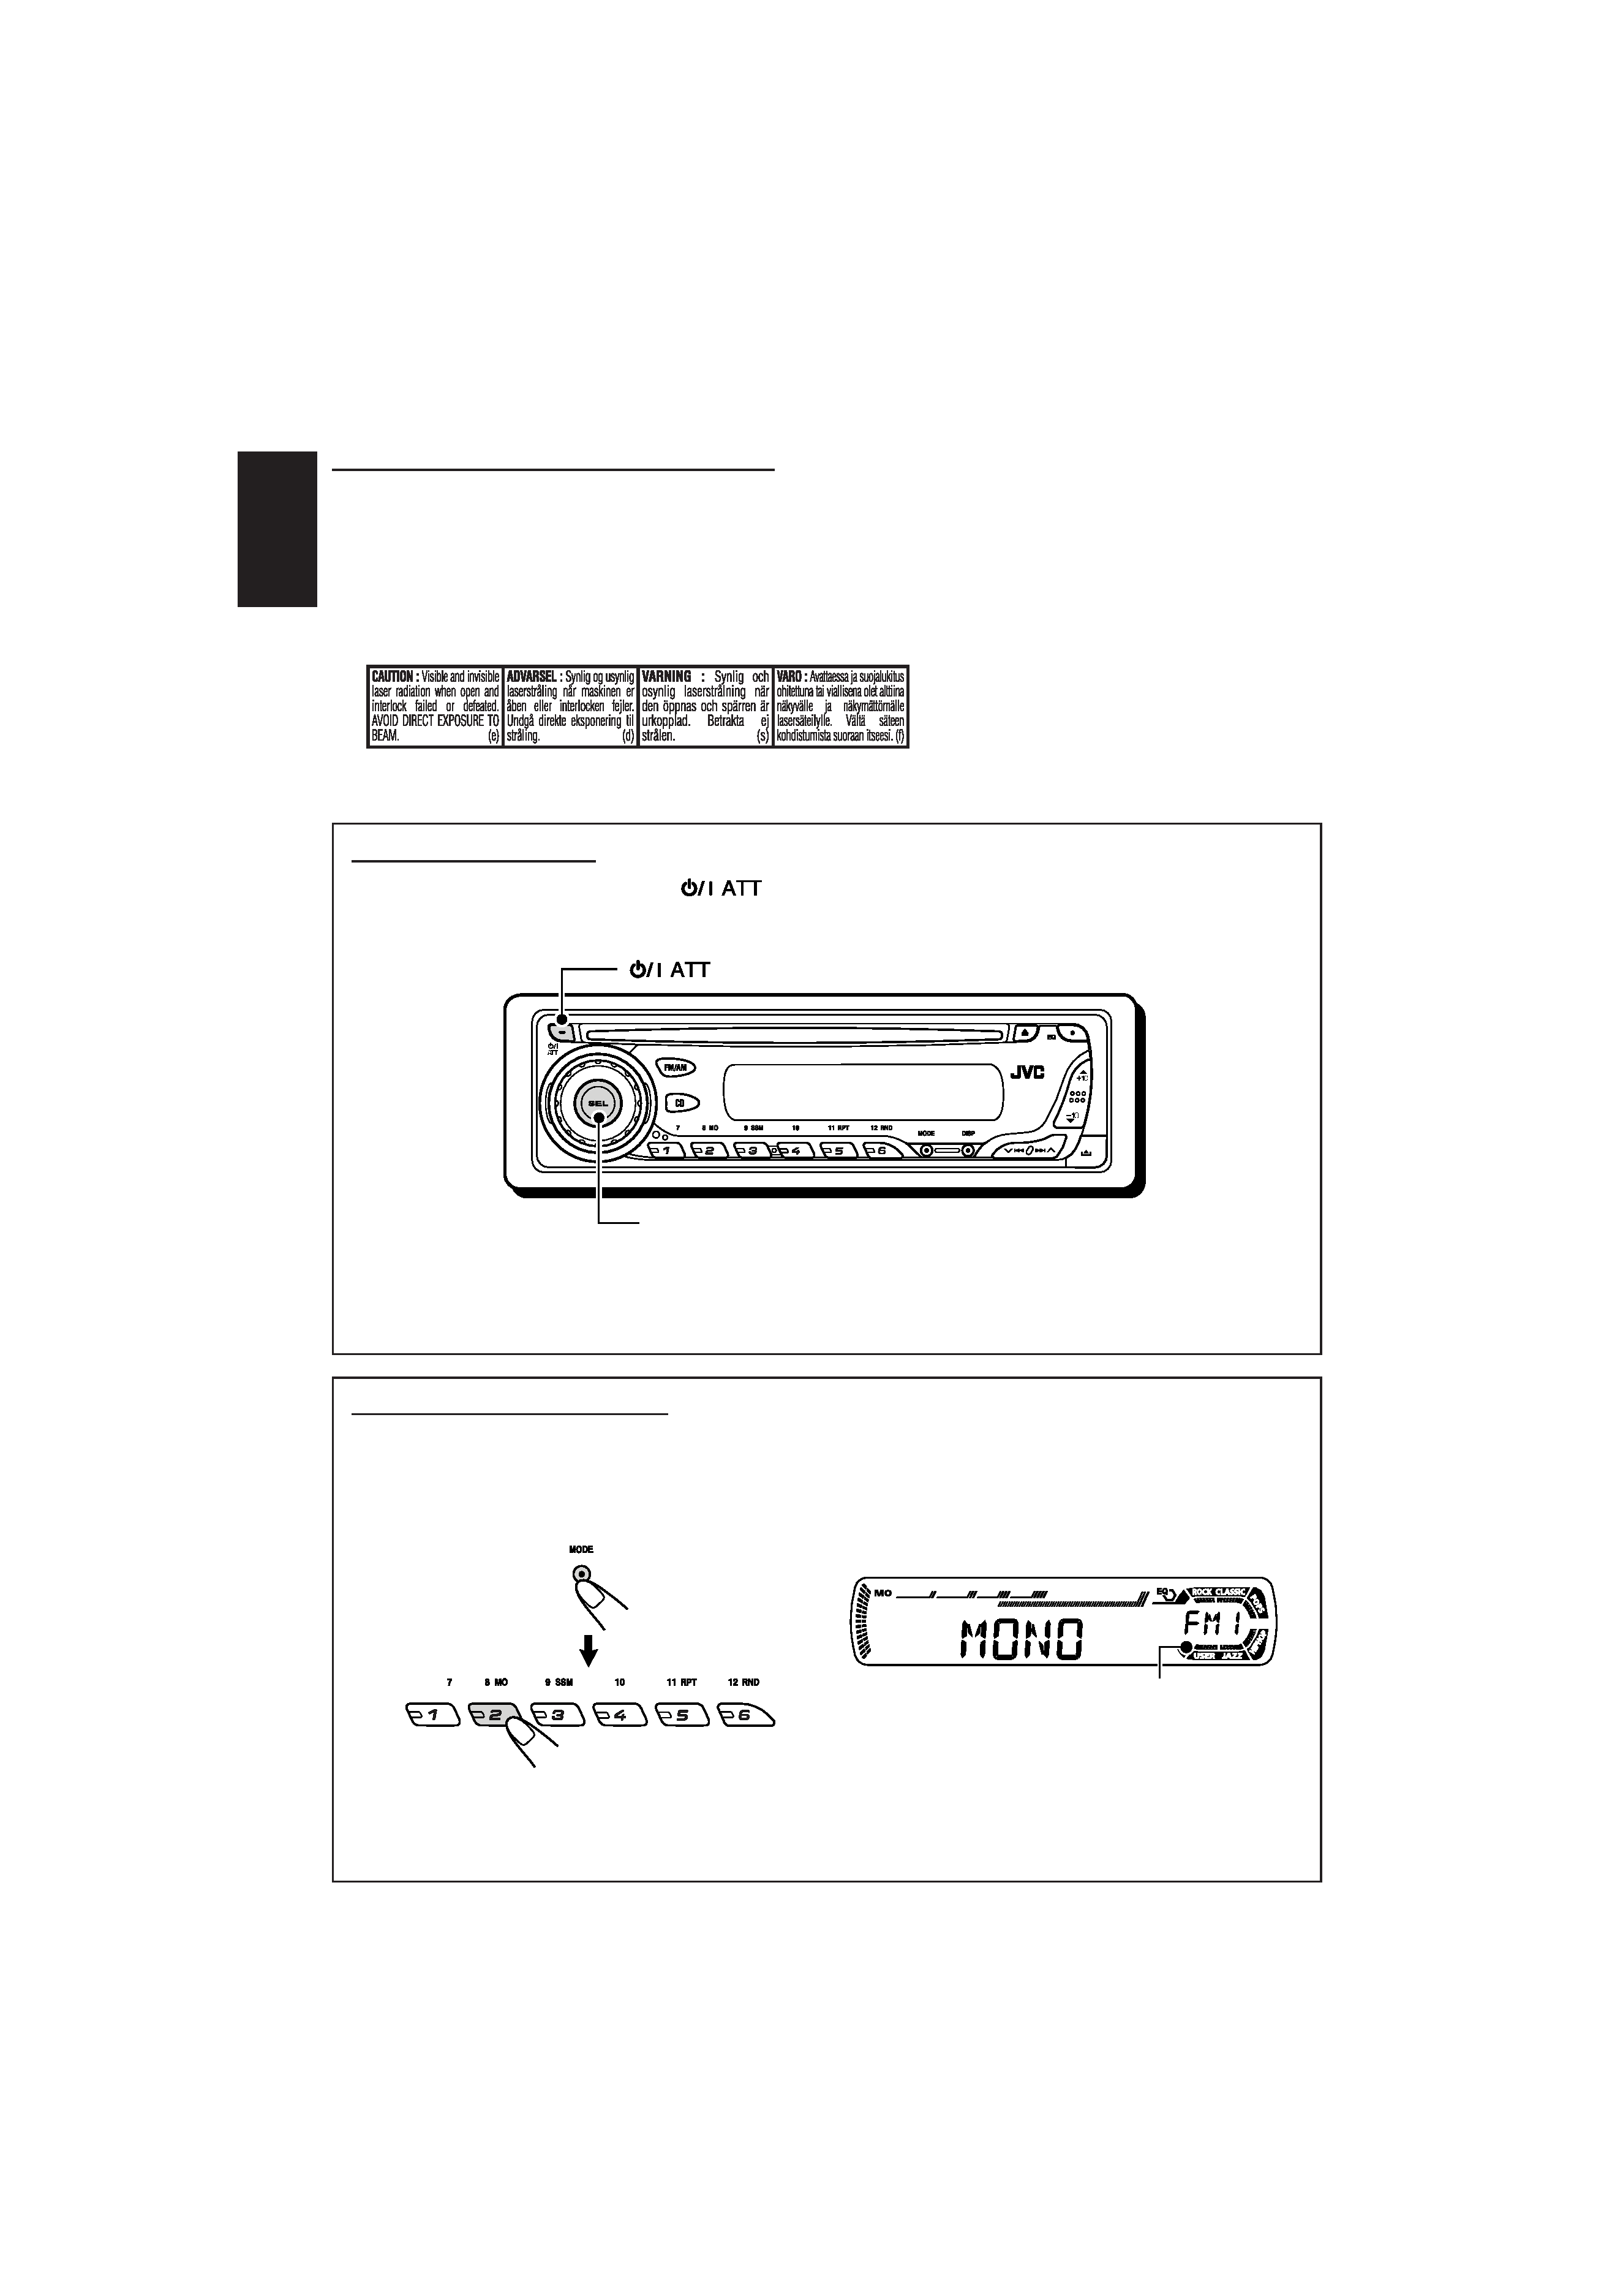
How to reset your unit
While holding SEL (select), press
(standby/on attenuator) for more than 2 seconds.
This will reset the built-in microcomputer.
Notes:
· Your preset adjustments--such as preset channels or sound adjustments--will also be erased.
· If a disc is in the unit, it will eject when you reset the unit. Be careful not to drop the disc.
How to use the MODE button
If you press MODE, the unit goes into functions mode, then the number buttons and
5/ buttons
work as different function buttons.
Ex.: When number button 2 works as MO (monaural) button.
To use these buttons for original functions again after pressing MODE, wait for 5 seconds
without pressing any of these buttons until the functions mode is cleared.
· Pressing MODE again also clears the functions mode.
SEL (select)
(standby/on attenuator)
Time countdown indicator
IMPORTANT FOR LASER PRODUCTS
1. CLASS 1 LASER PRODUCT
2. CAUTION: Do not open the top cover. There are no user serviceable parts inside the unit; leave all
servicing to qualified service personnel.
3. CAUTION: Visible and invisible laser radiation when open and interlock failed or defeated. Avoid
direct exposure to beam.
4. REPRODUCTION OF LABEL: CAUTION LABEL, PLACED OUTSIDE THE UNIT.
EN02-04_KD-G407[EE]f.p65
5/3/04, 2:25 PM
2

3
ENGLISH
CONTENTS
Thank you for purchasing a JVC product. Please read all instructions carefully before operation,
to ensure your complete understanding and to obtain the best possible performance from the unit.
How to reset your unit ...............................
2
How to use the MODE button ...................
2
LOCATION OF THE BUTTONS ............
4
Control panel .............................................
4
BASIC OPERATIONS .......................
5
Turning on the power ................................
5
Canceling the display demonstration ........
6
Setting the clock ........................................
7
RADIO OPERATIONS ......................
8
Listening to the radio .................................
8
Storing stations in memory ....................... 10
Tuning in to a preset station ...................... 11
CD OPERATIONS ........................... 12
Playing a CD ............................................. 12
Locating a track or a particular portion on
a CD ....................................................... 13
Selecting CD playback modes .................. 14
Playing a CD Text ...................................... 15
Prohibiting disc ejection ............................ 15
MP3 INTRODUCTION ...................... 16
What is MP3? ............................................ 16
How are MP3 files recorded and played
back? ...................................................... 16
MP3 OPERATIONS ......................... 17
Playing an MP3 disc ................................. 17
Locating a file or a particular portion on
a disc ...................................................... 18
Selecting MP3 playback modes ................ 20
SOUND ADJUSTMENTS ................... 21
Selecting preset sound modes
(C-EQ: custom equalizer) ....................... 21
Adjusting the sound .................................. 22
OTHER MAIN FUNCTIONS ................ 23
Changing the general settings (PSM) ....... 23
Detaching the control panel ...................... 25
USING THE REMOTE CONTROLLER ..... 26
Location of the buttons .............................. 27
TROUBLESHOOTING ...................... 28
MAINTENANCE ............................. 30
Handling discs ........................................... 30
SPECIFICATIONS ........................... 31
BEFORE USE
*For safety....
· Do not raise the volume level too much, as this will
block outside sounds, making driving dangerous.
· Stop the car before performing any complicated
operations.
*Temperature inside the car....
If you have parked the car for a long time in hot or
cold weather, wait until the temperature in the car
becomes normal before operating the unit.
EN02-04_KD-G407[EE]f.p65
5/3/04, 2:25 PM
3

4
ENGLISH
LOCATION OF THE BUTTONS
Control panel
1
(standby/on attenuator) button
2 SEL (select) button
3 FM/AM button
4 CD button
5 Loading slot
6 Display window
7
0 (eject) button
8 EQ (equalizer) button
9 Remote sensor
· You can control this unit with an optionally
purchased remote controller.
p
5 (up) button
+10 button
q Control dial
w Number buttons
e MO (monaural) button
r SSM (Strong-station Sequential Memory)
button
t RPT (repeat) button
y RND (random) button
u MODE button
i DISP (display) button
o
4/¢
buttons
;
(control panel release) button
a
(down) button
10 button
Display window
s Tuner reception indicators
MO (monaural), ST (stereo)
d MP3 indicator
f CD indicator
g Playback mode/item indicators
RND (random),
(disc),
(folder),
RPT (repeat)
h LOUD (loudness) indicator
j EQ (equalizer) indicator
k Sound mode (C-EQ: custom equalizer)
indicators
ROCK, CLASSIC, POPS, HIP HOP, JAZZ,
USER
l Disc information indicators
TAG (ID3 Tag),
(folder),
(track/file)
/ Main display
z Source display
Volume level indicator
x Tr (track) indicator
Display window
EN02-04_KD-G407[EE]f.p65
5/3/04, 2:25 PM
4
5
ENGLISH
BASIC OPERATIONS
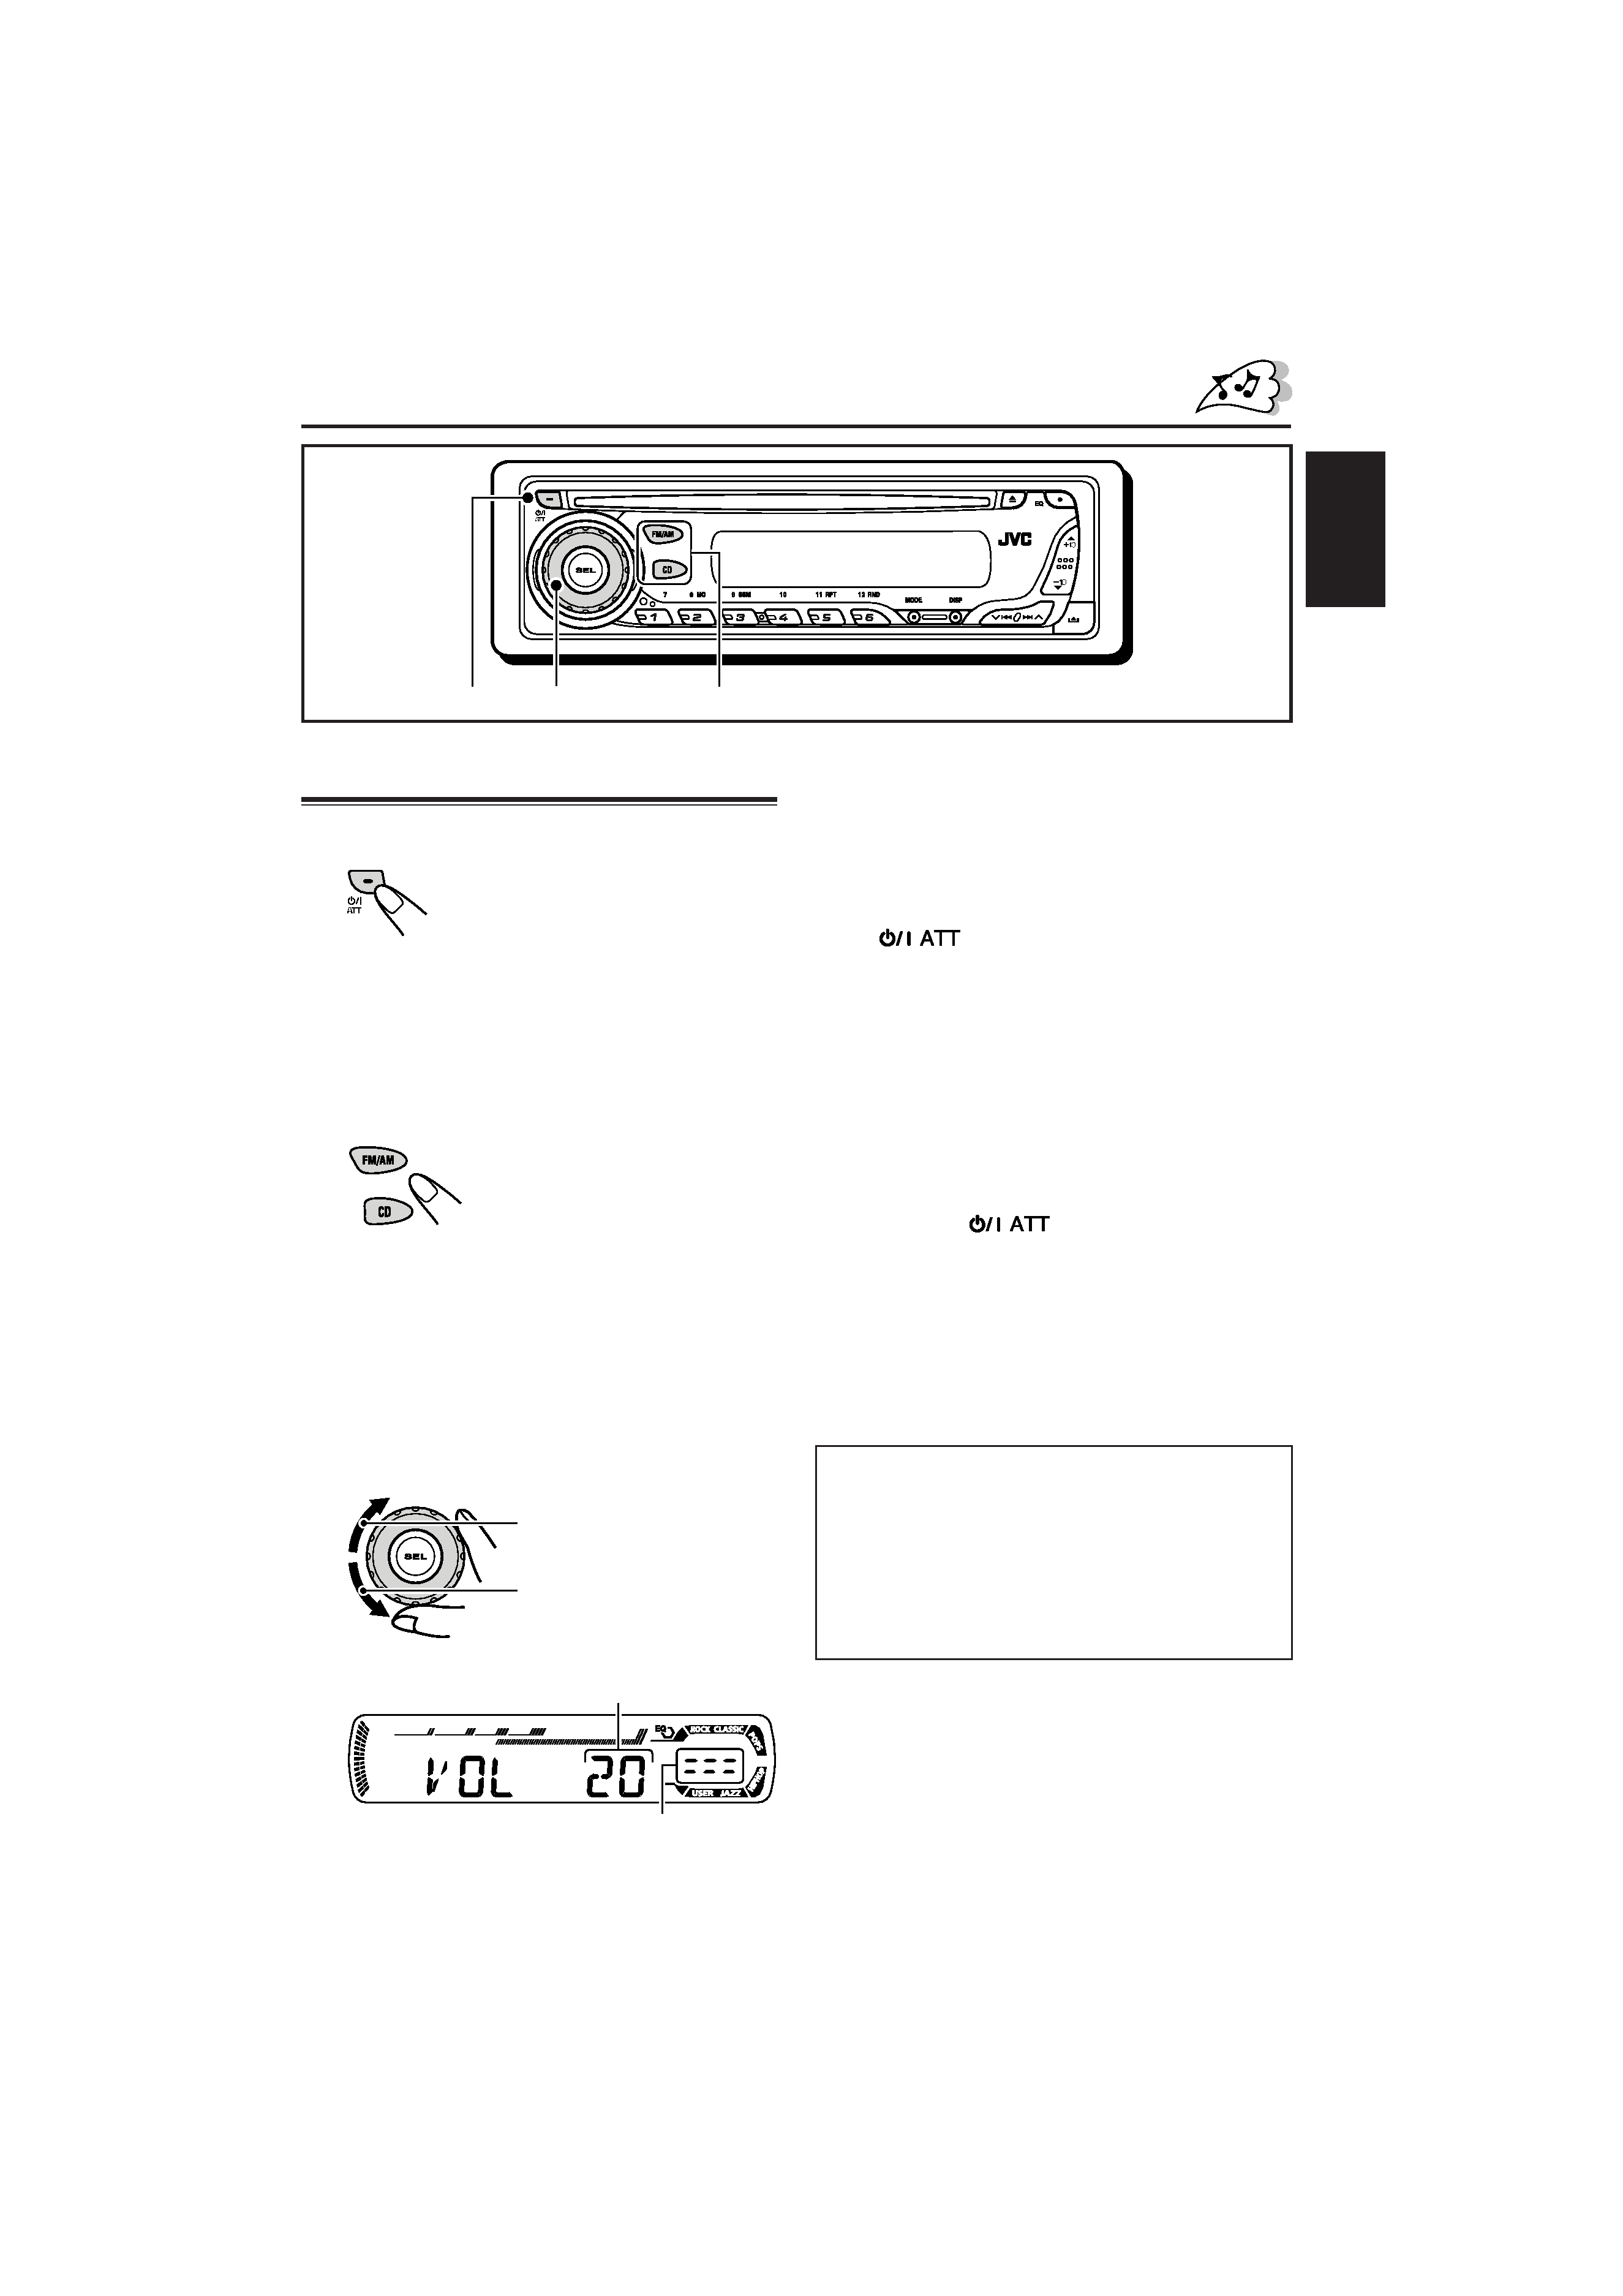
Turning on the power
1 Turn on the power.
Note on One-Touch Operation:
When you select a source in step
2 below, the
power automatically comes on. You do not have
to press this button to turn on the power.
2 Select the source.
To operate the tuner (FM or AM),
see pages 8 11.
To play a CD,
see pages 12 15.
To play an MP3 disc,
see pages 17 20.
3 Adjust the volume.
4 Adjust the sound as you want.
(See pages 21 and 22.)
To drop the volume in a moment
Press
briefly while listening to any
source. "ATT" starts flashing on the display, and
the volume level will drop in a moment.
To resume the previous volume level, press the
button briefly again.
· If you turn the control dial, you can also restore
the sound.
To turn off the power
Press and hold
for more than one
second.
"SEE YOU" appears, then the unit turns off.
· If you turn off the power while listening to a
disc, disc play will start from where playback
has been stopped previously, next time you
turn on the power.
CAUTION on Volume Setting:
Discs produce very little noise compared with
other sources. If the volume level is adjusted for
the tuner, for example, the speakers may be
damaged by the sudden increase in the output
level. Therefore, lower the volume before playing a
disc and adjust it as required during playback.
To increase the volume
To decrease the volume
Volume level indicator
Volume level appears.
1
2
3
EN05-07_KD-G407[EE]f.p65
5/3/04, 2:25 PM
5