© 1996 by Sony Corporation
VPL
W400Q/VPL
W400QM
VPL-W400Q
VPL-W400QM
Operating Instructions
Mode d'emploi
Manual de instrucciones
EN
F
E
3-858-360-14 (1)
LCD Video Projector

2 (EN)
To prevent fire or shock hazard, do not
expose the unit to rain or moisture.
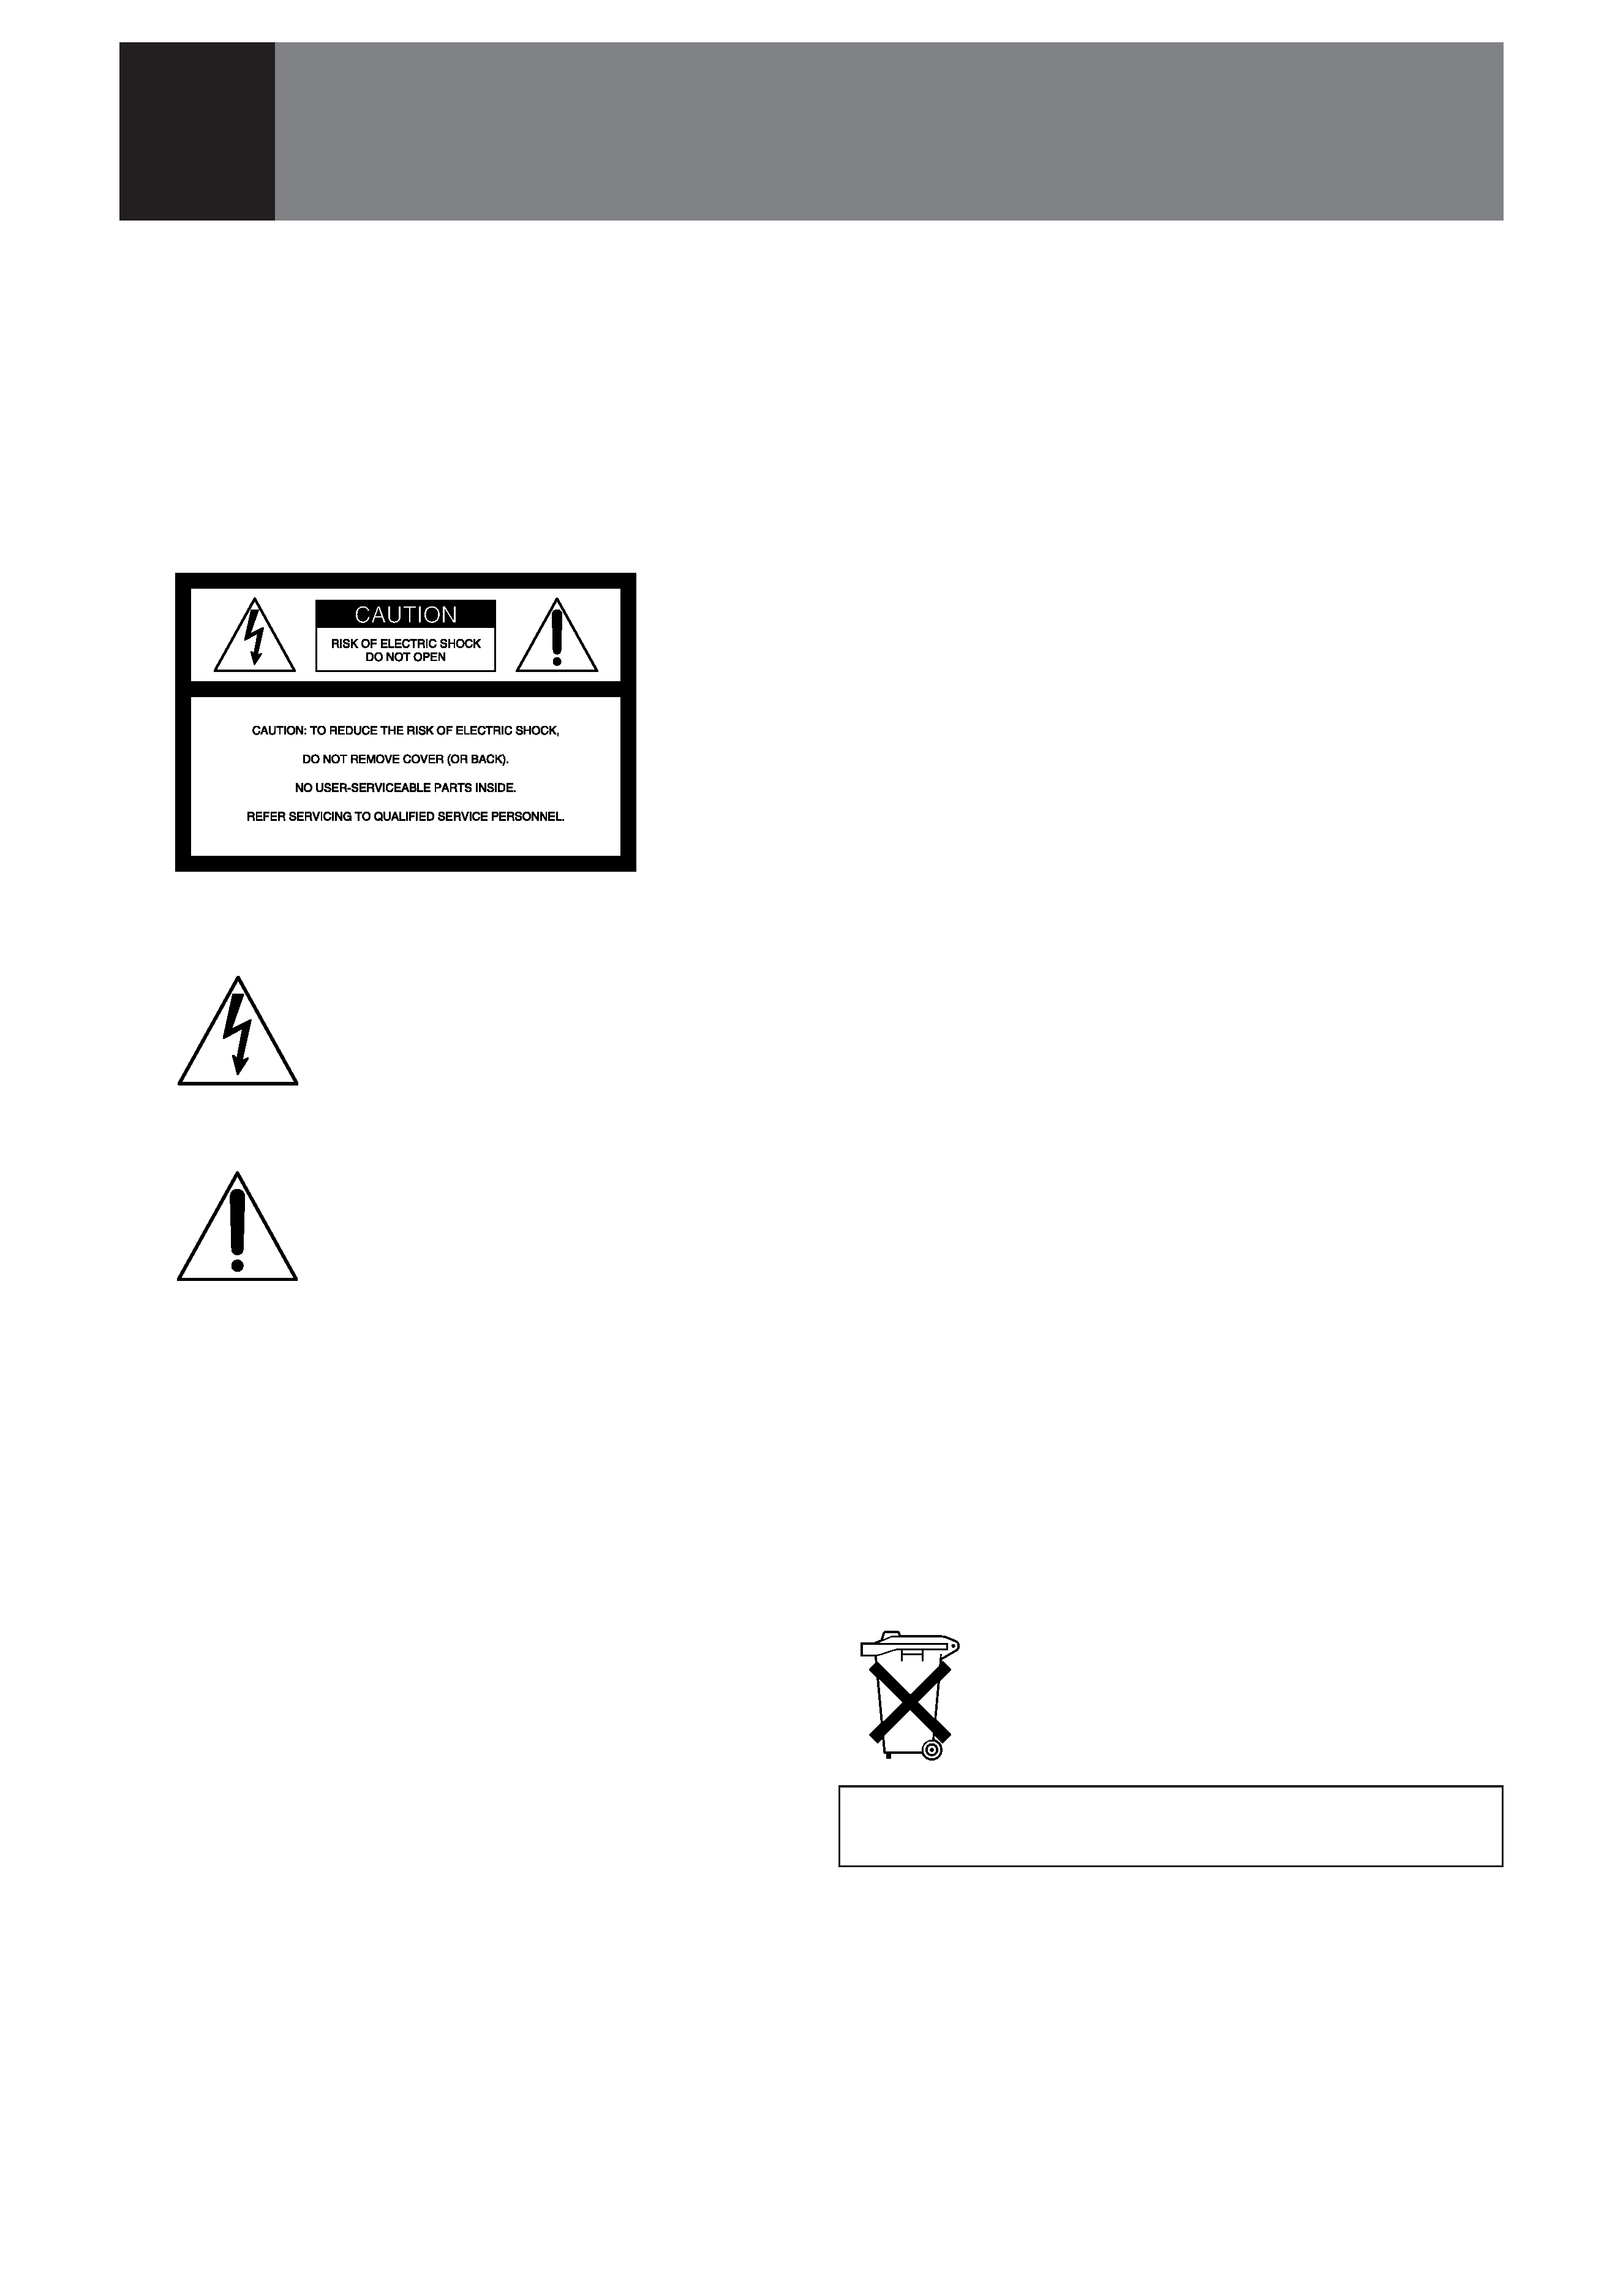
To avoid electrical shock, do not open the
cabinet. Refer servicing to qualified
personnel only.
This symbol is intended to alert the
user to the presence of uninsulated
"dangerous voltage" within the
product's enclosure that may be of
suffcient magnitude to constitute a risk
of electric shock to persons.
This symbol is intended to alert the
user to the presence of important
operating and maintenance (servicing)
instructions in the literature
accompanying the appliance.
Connect the equipment into an outlet on a circuit different
from that to which the receiver is connected.
Consult the dealer or an experienced radio/TV technician
for help.
You are cautioned that any changes or modifications not
expressly approved in this manual could void your authority
to operate this equipment.
For the customers in Canada
This Class B digital apparatus meets all requirements of the
Canadian Interference-Causing Equipment Regulations.
For the customers in the United Kingdom
WARNING
THIS APPARATUS MUST BE EARTHED
IMPORTANT
This wires in this mains lead are coloured in accordance with
the following code:
Green-and-Yellow: Earth
Blue:
Neutral
Brown:
Live
As the colours of the wires in the mains lead of this
apparatus may not correspond with the coloured markings
identifying the terminals in your plug proceed as follows:
The wire which is coloured green-and-yellow must be
connected to the terminal in the plug which is marked by the
letter E or by the safety earch symbol Y or coloured green or
green-and-yellow.
The wire which is coloured blue must be connected to the
terminal which is marked with the letter N or coloured black.
The wire which is coloured brown must be connected to the
terminal which is marked with the letter L or coloured red.
Voor de klanten in Nederland
Bij dit produkt zijn batterijen geleverd.
Wanneer deze leeg zijn, moet u ze niet
weggooien maar inleveren als KCA.
The socket-outlet should be installed near the equipment
and be easily accessible.
For the customers in the USA
This equipment has been tested and found to comply with
the limits for a Class B digital device, pursuant to Part 15 of
the FCC Rules. These limits are designed to provide
reasonable protection against harmful interference in a
residential installation. This equipment generates, uses, and
can radiate radio frequency energy and, if not installed and
used in accordance with the instructions, may cause harmful
interference to radio communications. However, there is no
guarantee that interference wll not occur in a particular
installation. If this equipment does cause harmful
interference to radio or television reception, which can be
determined by turning the equipment off and on, the user is
encouraged to try to correct the interference by one or more
of the following measures:
Reorient or relocate the receiving antenna.
Increase the separation between the equipment and
receiver.
WARNING
English

3 (EN)
Table of Contents
EN
English
Overview
Precautions ......................................................................... 4
Features .............................................................................. 6
Location and Function of Controls .................................. 7
Setting up and projecting
Installing the Projector ....................................................13
Connecting with a VCR ....................................................14
Projecting .......................................................................... 15
Adjustments and settings
using the menu
Using the Menu ................................................................ 20
The INPUT SELECT Menu ............................................... 21
The MEMORY SELECT Menu .......................................... 22
The ASPECT SELECT Menu ............................................24
The SET SETTING Menu .................................................. 26
The INPUT INFO Menu .....................................................29
Installation/connection
examples
Installation Examples ...................................................... 30
Floor Installation ............................................................. 30
Ceiling Installation .......................................................... 31
Connection Example ........................................................ 32
Connecting 15k RGB/Component Equipment ................ 32
Maintenance
Maintenance .....................................................................33
Replacing the Lamp ........................................................ 33
Cleaning the Air Filter .................................................... 33
Troubleshooting ............................................................... 34
Other
Specifications ................................................................... 36
Index .................................................................................. 39

4 (EN)
On safety
· Check that the operating voltage of your unit is identical with the voltage
of your local power supply. If voltage adaptation is required, consult with
qualified Sony personnel.
· Should any liquid or solid object fall into the cabinet, unplug the unit and
have it checked by qualified personnel before operating it further.
· Unplug the unit from the wall outlet or set the MAIN POWER switch to
OFF if it is not to be used for several days.
· To disconnect the cord, pull it out by the plug. Never pull the cord itself.
· The wall outlet should be near the unit and easily accessible.
· The unit is not disconnected from the AC power source (mains) as long
as it is connected to the wall outlet, even if the unit itself has been turned
off.
· Do not look into the lens while the lamp is on.
On installation
· When the projector is mounted on the ceiling, the Sony PSS-500
Projector Suspension Support must be used for installation.
· Allow adequate air circulation to prevent internal heat build-up. Do not
place the unit on surfaces (rugs, blankets, etc.) or near materials (curtains,
draperies) that may block the ventilation holes. Leave space of more than
10 cm (4 inches) between the wall and the projector. Be aware that room
heat rises to the ceiling; check that the temperature near the installation
location is not excessive.
· Do not install the unit in a location near heat sources such as radiators or
air ducts, or in a place subject to direct sunlight, excessive dust or
humidity, mechanical vibration or shock.
· To avoid moisture condensation, do not install the unit in a location
where the temperature may rise rapidly.
Caution
The projector is equipped with suction holes at the bottom and exhaust
holes on the rear. Do not block these holes, or internal heat build-up may
occur, causing picture degradation or damage to the projector.
Precautions

5 (EN)
On illumination
· To obtain the best picture, the front of the screen should not be exposed
to direct lighting or sunlight.
· Ceiling-mounted spot lighting is recommended. Use a cover over
fluorescent lamps to avoid lowering the contrast ratio.
· Cover any windows that face the screen with opaque draperies.
· It is desirable to install the projector in a room where floor and walls are
not of light-reflecting material. If the floor and walls are of reflecting
material, it is recommended that the carpet and wall paper be changed to
a dark color.
On cleaning
· To keep the cabinet looking new, periodically clean it with a soft cloth.
Stubborn stains may be removed with a cloth lightly dampened with a
mild detergent solution. Never use strong solvents, such as thinner,
benzene, or abrasive cleansers, since these will damage the cabinet.
· Avoid touching the lens. To remove dust on the lens, use a soft dry cloth.
Do not use a damp cloth, detergent solution, or thinner.
· Clean the filter at regular intervals.
On repacking
· Save the original shipping carton and packing material; they will come in
handy if you ever have to ship your unit. For maximum protection,
repack your unit as it was originally packed at the factory.
Overview
