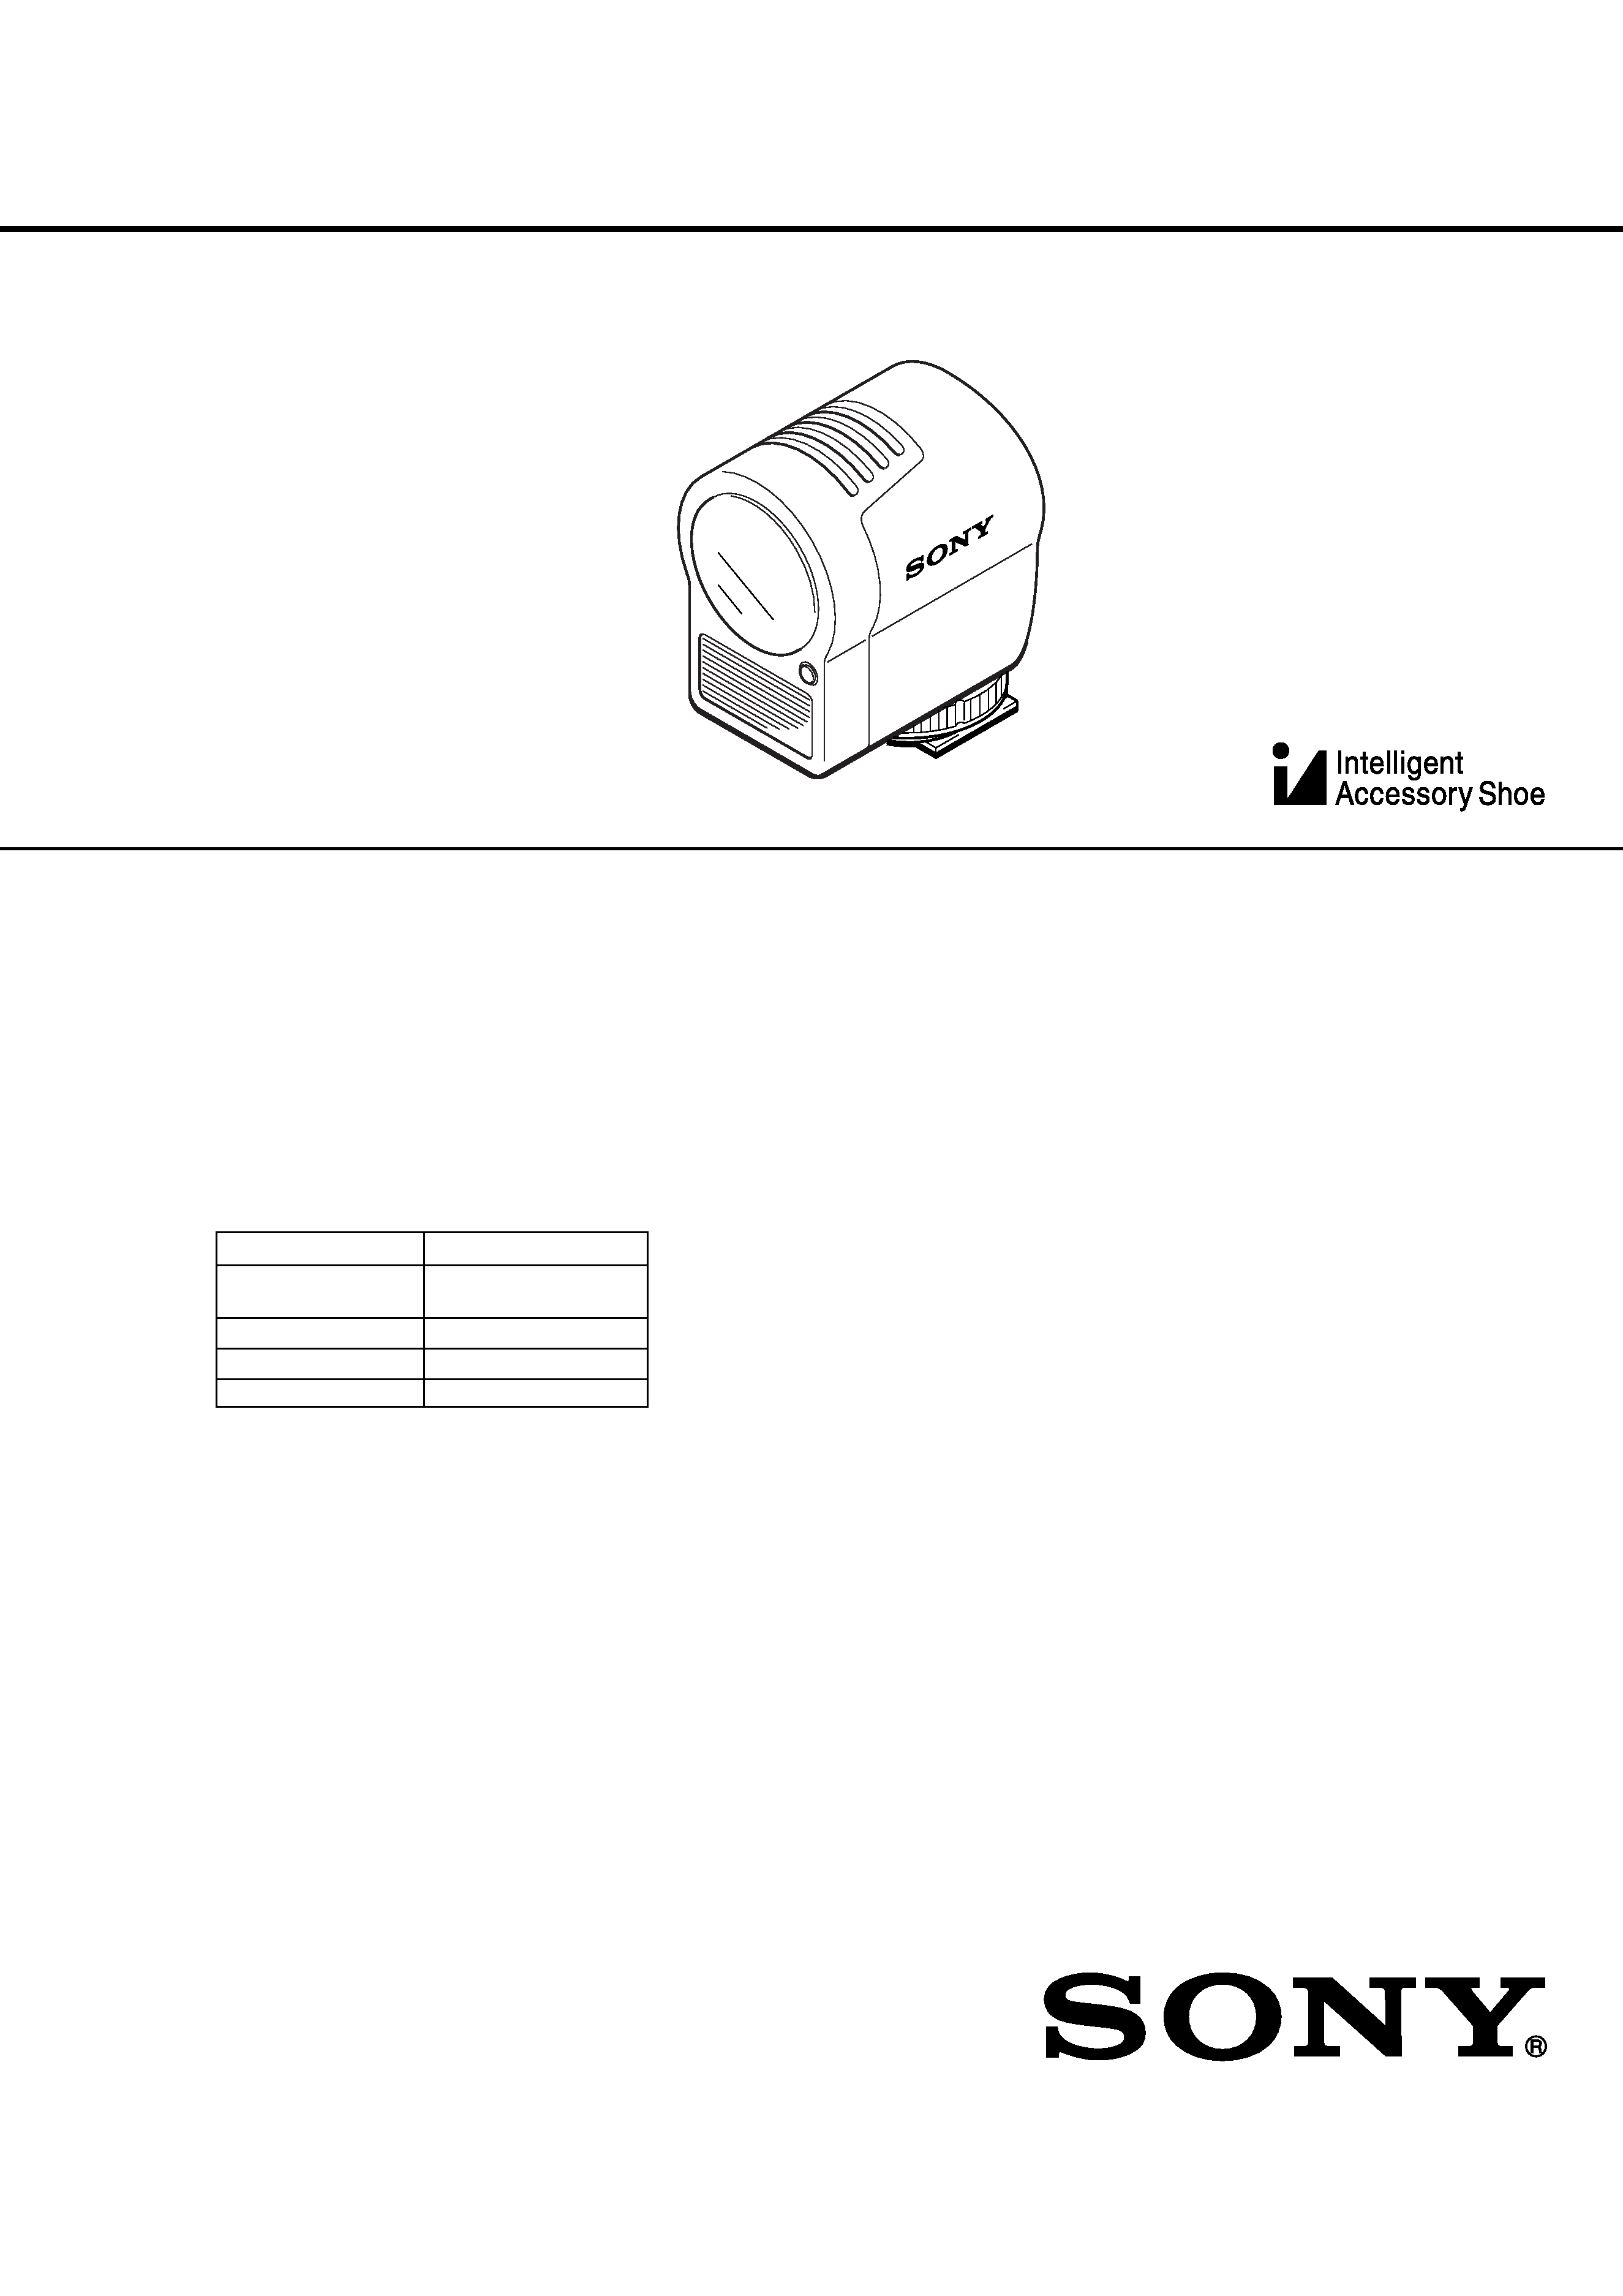
HVL-FDH4
SERVICE MANUAL
US Model
Canadian Model
AEP Model
VIDEO FLASH LIGHT
Ver 1.0 2002.04
SPECIFICATIONS
This set does not support the repair of individual faulty parts.
In care of failure, the main assembly must be replaced.
The part code of main assembly is as listed below.
FEATURES
·When attached to a camcorder this unit functions
as a video light and flash.
· Can only be used with a camcorder that has the
intelligent accessory shoe attached.
·Video light ON/OFF/AUTO is controlled from
the Standby mode. When set to AUTO the video
light comes on automatically in dark places.
· The video flash can only be used on a camcorder
with the PHOTO recording function. As the
brightness of the flash is automatically adjusted
according to the distance of the subjects, your
picture does not become whitish with too much
brightness.
Video light segment
Power requirements
6 V DC
Lamp
3 W
Maximum luminous intensity
Approx. 100 cd
Lighting direction
Horizontal
Lighting angle
20 degrees
Continuous lighting time
Lighting duration
Type of battery
Used with camcorder
pack
(DCR-TRV50)*
NP-FM50
55 (50)
NP-QM70
115 (100)
NP-QM91
200 (180)
(Approx. minutes using fully-charged battery
pack)
*When used in automatic mode with the LCD
panel closed. Duration with the LCD panel
open is shown in parentheses.
Illumination range
Approx. 1 m (3 1/5 ft) 100 lux,
Approx. 2 m (6 1/2 ft) 25 lux,
Approx. 3 m (9 4/5 ft) 12 lux
Color temperature
3 000 K
Average life of bulb
Approx. 100 hours
Video flash segment
Flash life
Approx. 1 500 times
Guide no.
equivalent to 14 (Memory
Photo recording)
Others
Power consumption
3.5 W
Dimensions
Approx. 35
× 69 × 53 mm
(1 7/16
× 2 3/4 × 2 1/8 inches)
(w/h/d)
Mass
Approx. 70 g (2 1/2 oz)
Accessories (supplied) Pouch (1)
Operating instructions (1)
Accessory (not supplied)
Halogen lamp XB-3D
Design and specifications are subject to change
without notice.
2
HVL-FDH4
Replacing the bulb
1
2
1
2
3
2
1
Use the Sony XB-3D halogen lamp (optional).
The bulb is hot when it has just burned out. Wait
until the bulb cools down before removing it.
1 Remove the front cover after making sure
that the unit is cool enough to handle.
Push in the direction of 1 to loosen the lock
knob.
Pull in the direction of 2 to remove the front
cover.
2 When the bulb has cooled sufficiently,
grasp it securely and pull it out to replace.
Insert the new bulb into the socket
straightly.
3 After the bulb has been inserted, attach the
front cover straightly.
1
Align the front cover with 1.
2
Push 2 in the direction of the arrow until the
knob is locked.
Notes
· The bulb is hot when it has just burned out. Make
sure that the bulb is cool enough to handle.
· To prevent the bulb from being smudged with
fingerprints, handle it with a dry cloth. If the bulb
is smudged, wipe it completely clean.
· The interior of this unit contains high voltage,
opening it can cause electrical shock. To inspect the
unit's interior, consult your nearest Sony dealer or
Sony Service facility.
PARTS LIST
Ref. No.
Part No.
Description
1
A-7012-408-A OVERALL ASSY, MAIN (US, Canadian)
1
A-7012-409-A OVERALL ASSY, MAIN (AEP)
2
X-3952-393-1 FRONT ASSY
3
1-517-531-11 LAMP, TUNGSTEN HALOGEN
3-074-943-11 MANUAL, INSTRUCTION
(ENGLISH, FRENCH, SPANISH, ITALIAN)
3-074-943-21 MANUAL, INSTRUCTION (GERMAN, DUTCH,
SWEDISH, PORTUGUESE) (AEP)
3-074-943-31 MANUAL, INSTRUCTION (RUSSIAN, ARABIC,
TRADITIONAL CHINESE, KOREAN) (AEP)
3-970-278-01 PORCH
Refer to "Replacing the bulb" for a reference number.
Sony EMCS Co.
9-929-944-11
2002D0500-1
C
2002. 4
Published by DI Customer Center
Revision History
Reverse
Ver.
1.0
Date
2002.04
History
Official Release
Contents
--
S.M. Rev.
issued
--
992994411.pdf