
Operating Instructions
FM Stereo
FM-AM Receiver
4-238-377-72(1)
HT-6500DP
HT-5500D
HT-1700D
Owner's Record
The model and serial numbers are located on the rear panel. Record the serial number
in the space provided below. Refer to them whenever you call upon your Sony dealer
regarding this product.
Model No. HT-6500DP/5500D/1700D
Serial No.
© 2002 Sony Corporation
US
2US
WARNING
To prevent fire or shock hazard, do not
expose the unit to rain or moisture.
To prevent fire, do not cover the ventilation of the
apparatus with newspapers, table-cloths, curtains, etc.
And don't place lighted candles on the apparatus.
To prevent fire or shock hazard, do not place objects
filled with liquids, such as vases, on the apparatus.
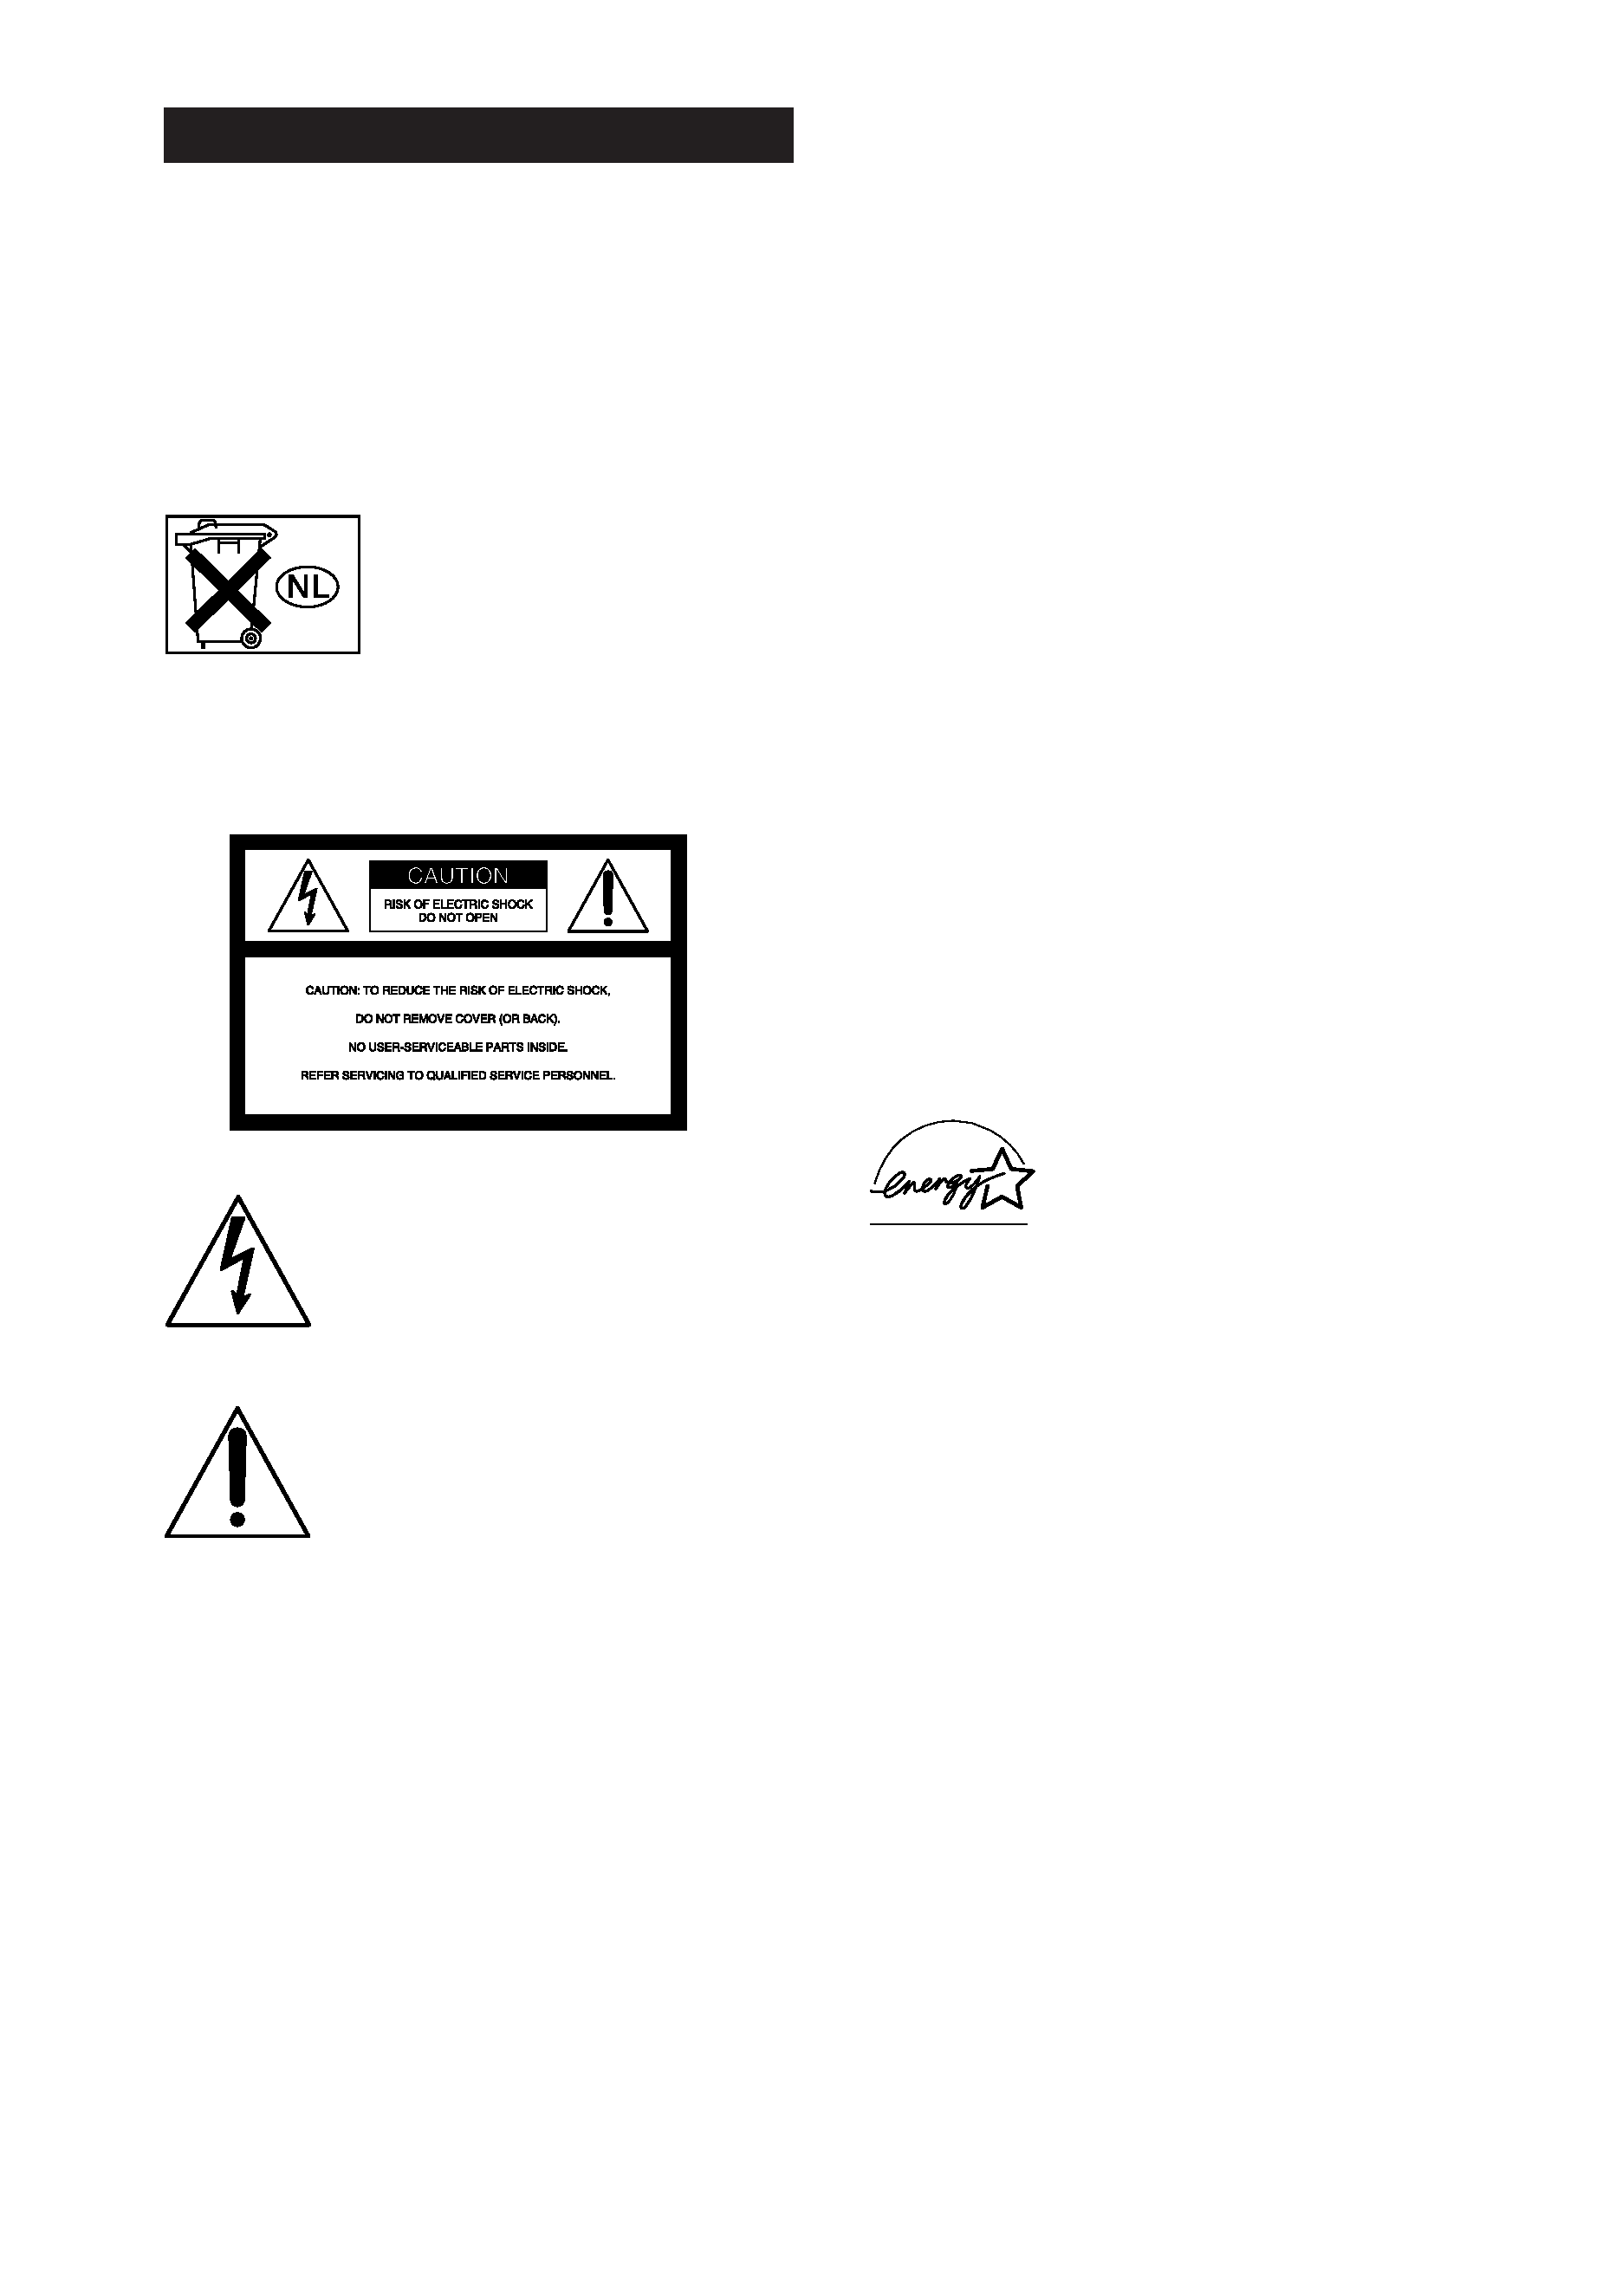
Don't throw away the battery with
general house waste, dispose of it
correctly as chemical waste.
Do not install the appliance in a confined space, such
as a bookcase or built-in cabinet.
For customers in the United States
This symbol is intended to alert the
user to the presence of uninsulated
"dangerous voltage" within the
product's enclosure that may be of
sufficient magnitude to constitute a
risk of electric shock to persons.
This symbol is intended to alert the
user to the presence of important
operating and maintenance (servicing)
instructions in the literature
accompanying the appliance.
WARNING
This equipment has been tested and found to comply
with the limits for a Class B digital device, pursuant
to Part 15 of the FCC Rules. These limits are
designed to provide reasonable protection against
harmful interference in a residential installation. This
equipment generates, uses, and can radiate radio
frequency energy and, if not installed and used in
accordance with the instructions, may cause harmful
interference to radio communications. However, there
is no guarantee that interference will not occur in a
particular installation. If this equipment does cause
harmful interference to radio or television reception,
which can be determined by turning the equipment
off and on, the user is encouraged to try to correct the
interference by one or more of the following
measures:
Reorient or relocate the receiving antenna.
Increase the separation between the equipment and
receiver.
Connect the equipment into an outlet on a circuit
different from that to which the receiver is
connected.
Consult the dealer or an experienced radio/TV
technician for help.
CAUTION
You are cautioned that any changes or modification
not expressly approved in this manual could void
your authority to operate this equipment.
Note to CATV system installer:
This reminder is provided to call CATV system
installer's attention to Article 820-40 of the NEC that
provides guidelines for proper grounding and, in
particular, specifies that the cable ground shall be
connected to the grounding system of the building, as
close to the point of cable entry as practical.
For customers in Canada
CAUTION
TO PREVENT ELECTRIC SHOCK, DO NOT USE
THIS POLARIZED AC PLUG WITH AN
EXTENSION CORD, RECEPTACLE OR OTHER
OUTLET UNLESS THE BLADES CAN BE FULLY
INSERTED TO PREVENT BLADE EXPOSURE.
ENERGY STAR® is a U.S. registered
mark.
As an
ENERGY STAR® partner, Sony
Corporation has determined that this
product meets the
ENERGY STAR®
guidelines for energy efficiency.
This receiver incorporates Dolby* Digital and Pro
Logic Surround and the DTS** Digital Surround
System.
* Manufactured under license from Dolby
Laboratories.
"Dolby", "Pro Logic" and the double-D symbol are
trademarks of Dolby Laboratories.
** "DTS" and "DTS Digital Surround" are registered
trademarks of Digital Theater Systems, Inc.

3US
Table of Contents
US
List of Button Locations and
Reference Pages
Main unit ............................................... 5
Hooking Up the Components
Required cords ....................................... 6
Antenna hookups ................................... 7
Audio component hookups .................... 8
Video component hookups .................... 9
Digital component hookups ................. 10
Multi channel input hookups1) ............. 11
Other hookups ..................................... 12
Hooking Up and Setting Up
the Speaker System
Speaker system hookups ..................... 13
Performing initial setup operations ..... 15
Multi channel surround setup .............. 15
Checking the connections .................... 21
Basic Operations
Selecting the component ..................... 22
Changing the display ........................... 23
Enjoying Surround Sound
Automatically decoding the input
audio signal ................................... 24
Selecting a sound field ........................ 24
Using only the front speakers
(2 Channel Stereo) ......................... 26
Enjoying stereo sound in multi channel
(Dolby Pro Logic
)1) ................... 26
Understanding the multi channel
surround displays .......................... 27
Customizing sound fields .................... 28
Receiving Broadcasts
Direct tuning ........................................ 31
Automatic tuning ................................. 32
Preset tuning ........................................ 32
Other Operations
Naming preset stations and program
sources ........................................... 34
Recording ............................................ 34
Using the Sleep Timer ......................... 35
Adjustments using the SET UP
button ............................................ 35
Operations Using the Remote
RM-PP4111)
Before you use your remote ................ 37
Remote button description ................... 37
Selecting the mode of the remote ........ 40
Programming the remote ..................... 41
Operations Using the Remote
RM-U3062)
Before you use your remote ................ 44
Remote button description ................... 44
Changing the factory setting of a
function button .............................. 47
Additional Information
Precautions .......................................... 48
Troubleshooting ................................... 48
Specifications ...................................... 51
Tables of settings using SURR,
LEVEL, SET UP, BASS and
TREBLE buttons ........................... 54
Adjustable parameters for each
sound field ..................................... 55
1)
HT-6500DP and HT-5500D only.
2)
HT-1700D only.
4US
About This Manual
The instructions in this manual are for models
HT-6500DP, HT-5500D and HT-1700D. Check your
model number by looking at the lower right corner of
the front panel. In this manual, the STR-K840P is
used for illustration purpose unless stated otherwise.
Any difference in operation is clearly indicated in the
text, for example, "HT-6500DP only".
The HT-6500DP consists of:
Receiver
STR-K840P
Speaker system
· Front/surround speakers
SS-MSP2
· Center speaker
SS-CNP2
· Sub woofer
SA-WMSP4
DVD player
DVP-NC655P
The HT-5500D consists of:
Receiver
STR-K840P
Speaker system
· Front/surround speakers
SS-MSP2
· Center speaker
SS-CNP2
· Sub woofer
SA-WMSP4
DVD player
DVP-NC615
The HT-1700D consists of:
Receiver
STR-K740P
Speaker system
· Front/surround speakers
SS-MSP2
· Center speaker
SS-CNP2
· Sub woofer
SA-WMSP4
DVD player
DVP-NS315
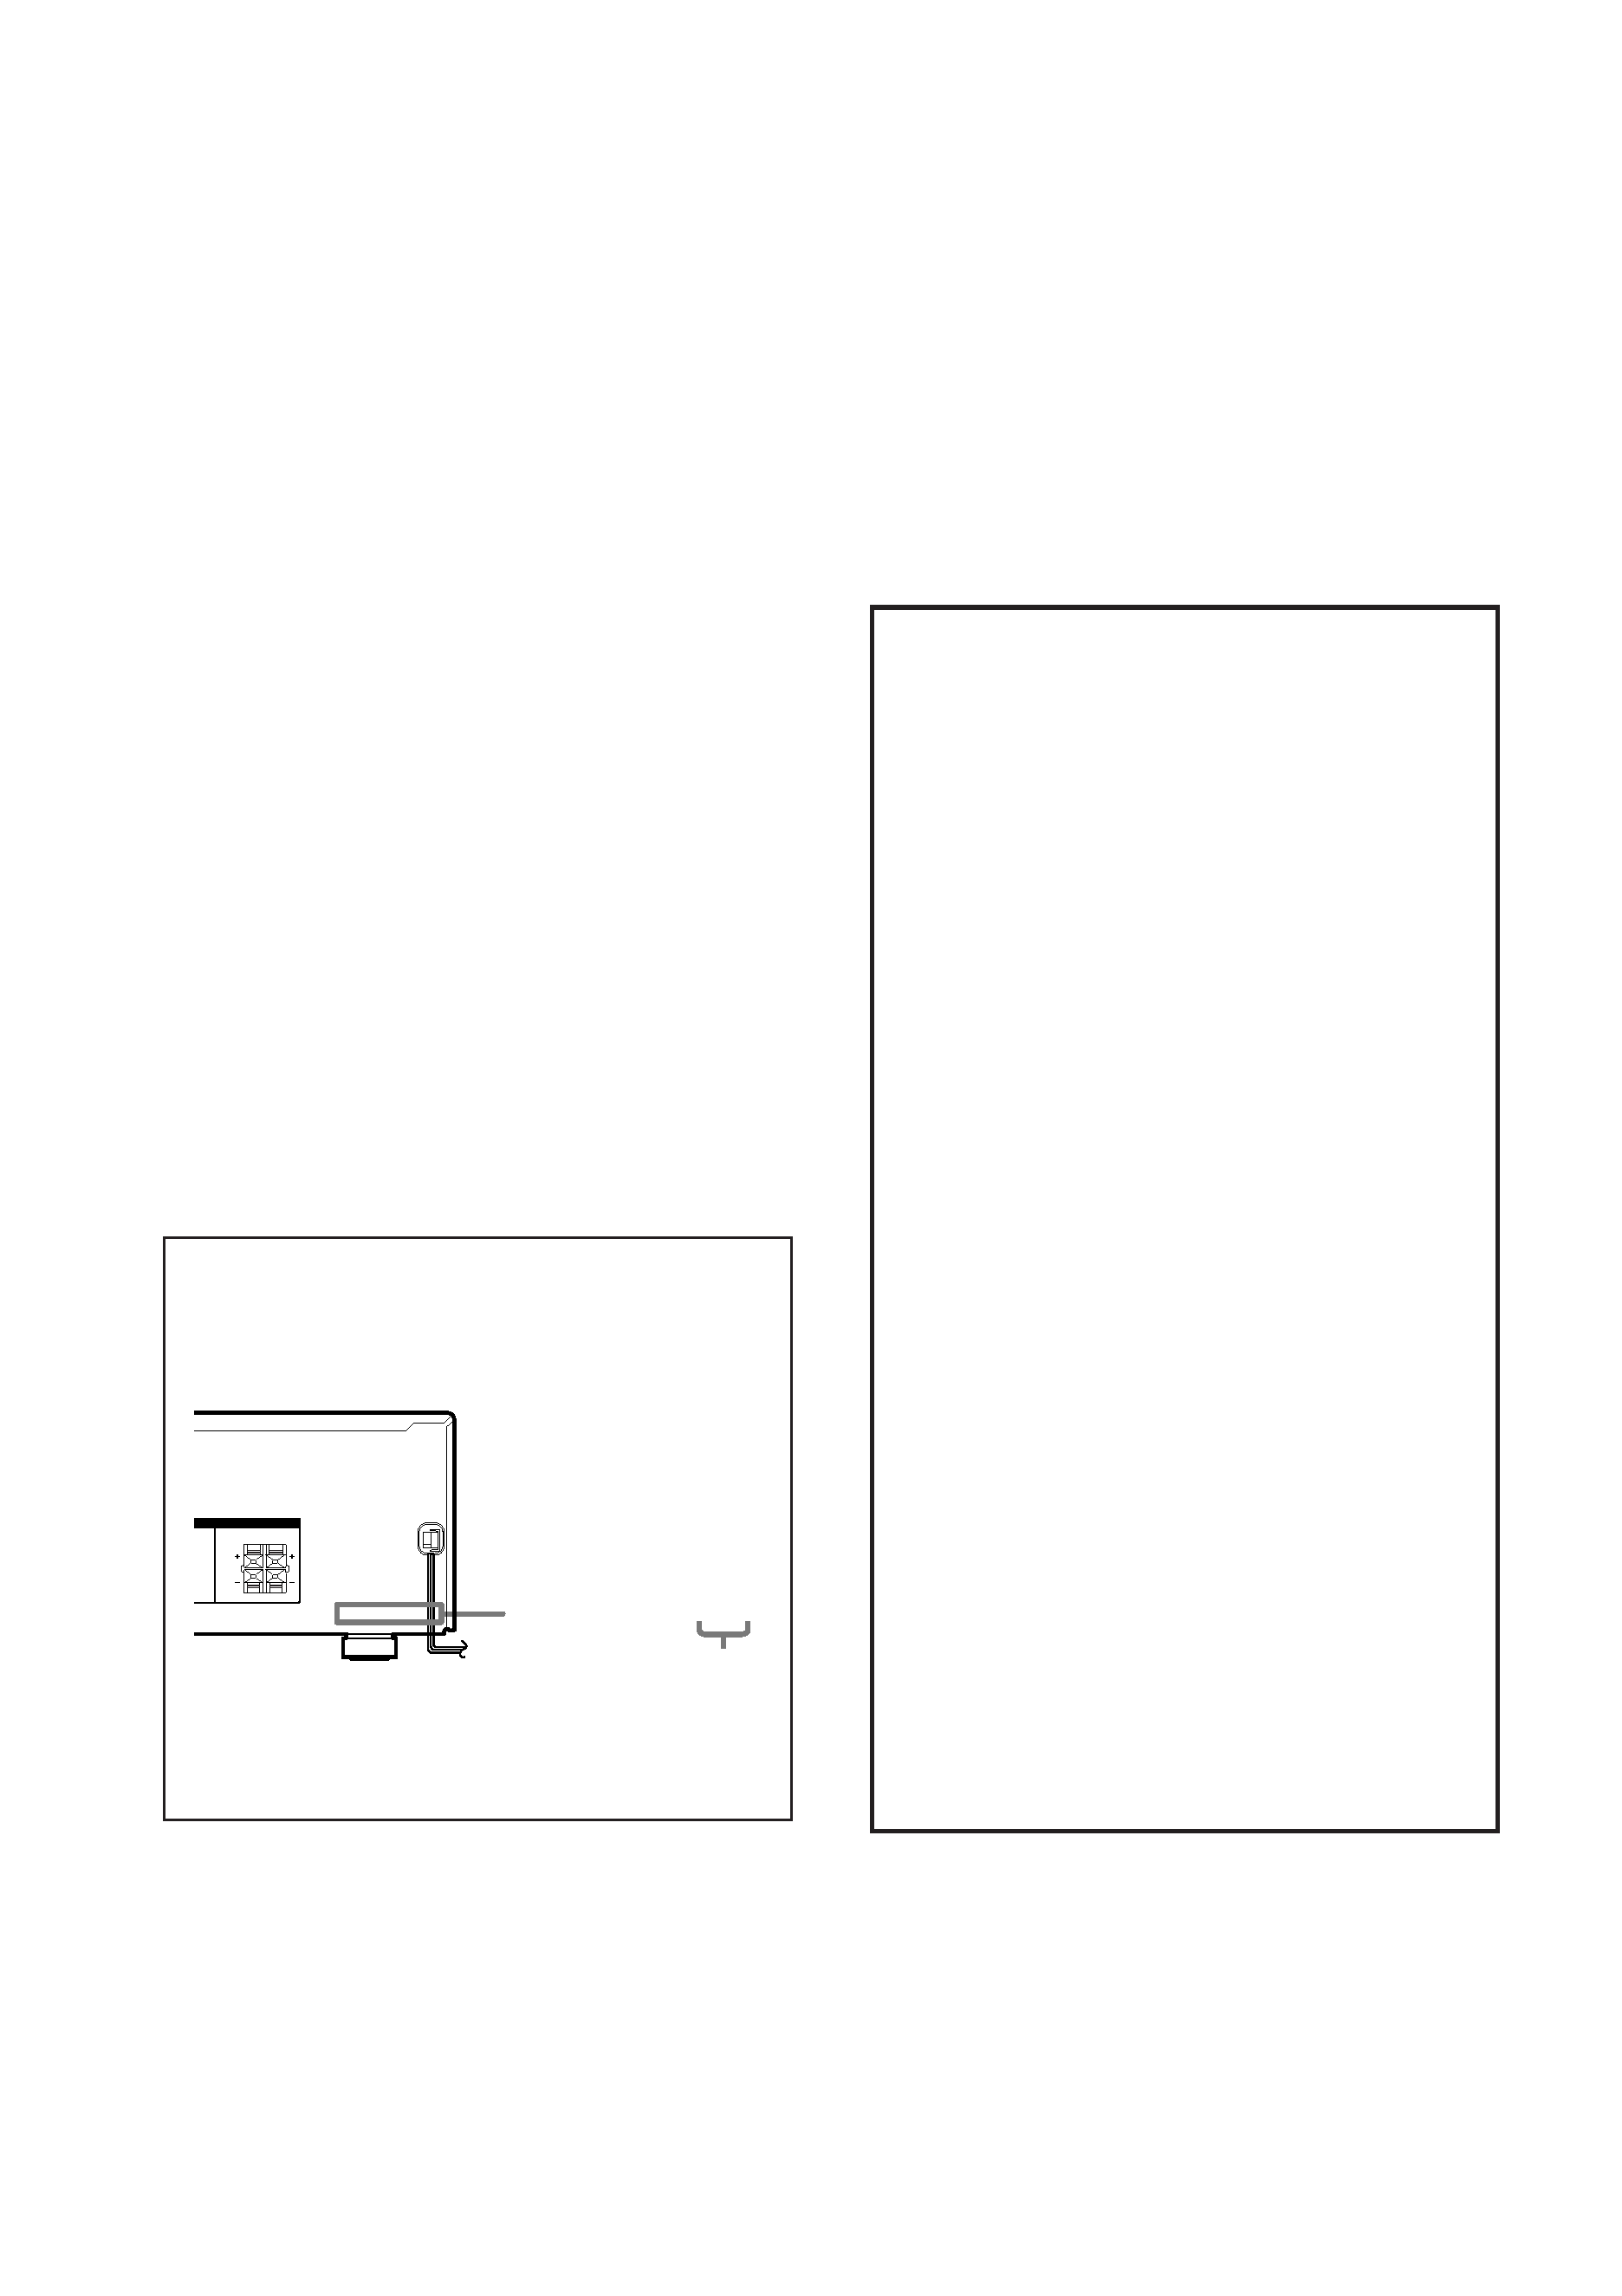
About area codes
The area code of the receiver you purchased is
shown on the lower portion of the rear panel (see
the illustration below).
Any differences in operation, according to the
area code, are clearly indicated in the text, for
example, "Models of area code AA only".
Tip
The instructions in this manual describe the controls
on the receiver. You can also use the controls on the
supplied remote if they have the same or similar
names as those on the receiver. For details on the use
of your remote, see pages 37 43 for RM-PP411
(HT-6500DP and HT-5500D only) and pages 44 47
for RM-U306 (HT-1700D only). For details on the
use of your DVD player, refer to the separate
operating instructions supplied with the DVD player.
Note for the supplied remote
For RM-PP411 (HT-6500DP and
HT-5500D only)
The VIDEO 3, TV/SAT, PHONO, AUX,
SOURCE, MPX/DUAL, ANALOG DIRECT,
12 and ON SCREEN buttons on the remote are
not available.
For RM-U306 (HT-1700D only)
The MULTI CH button on the remote is not
available.
Demonstration Mode
The demonstration will activate the first time you
turn on the power. When the demonstration starts,
the following message appears in the display:
"NOW DEMONSTRATION MODE IF
YOU FINISH DEMONSTRATION
PLEASE PRESS POWER KEY WHILE
THIS MESSAGE APPEARS IN THE
DISPLAY THANK YOU"
To cancel the demonstration
Press ?/1 to turn the receiver off while the above
message is being displayed. The next time you
turn the receiver on, the demonstration will not
appear.
To view the demonstration
Hold down SET UP and press ?/1 to turn on the
power.
Notes
· Running the demonstration will clear the
receiver's memory. For details on what will be
cleared, see "Clearing the receiver's memory"
on page 15.
· There will be no sound when the demonstration
mode is activated.
· You cannot cancel demonstration if you did not
press ?/1 while the above message is being
displayed. To cancel demonstration after the
above message appears, press ?/1 twice to
activate the demonstration again. Then, press
?/1 while the above message is being
displayed.
4-XXX-XXX-XX AA
FRONT
ENTER
RL
RL
IMPEDANCE USE 8 16
IMPEDANCE USE 8 16
Area code
List
of
Button
Locations
and
Reference
Pages
5US
g
+
wd
wf
wh
wj
wk
wl
es
ed
ef
eg
eh
ek
ej
wg
1
7
8
4
qs
0qa
5
23
6
qf qg
qj
qh
qkqlw;
qd
waws
9
e;
ea
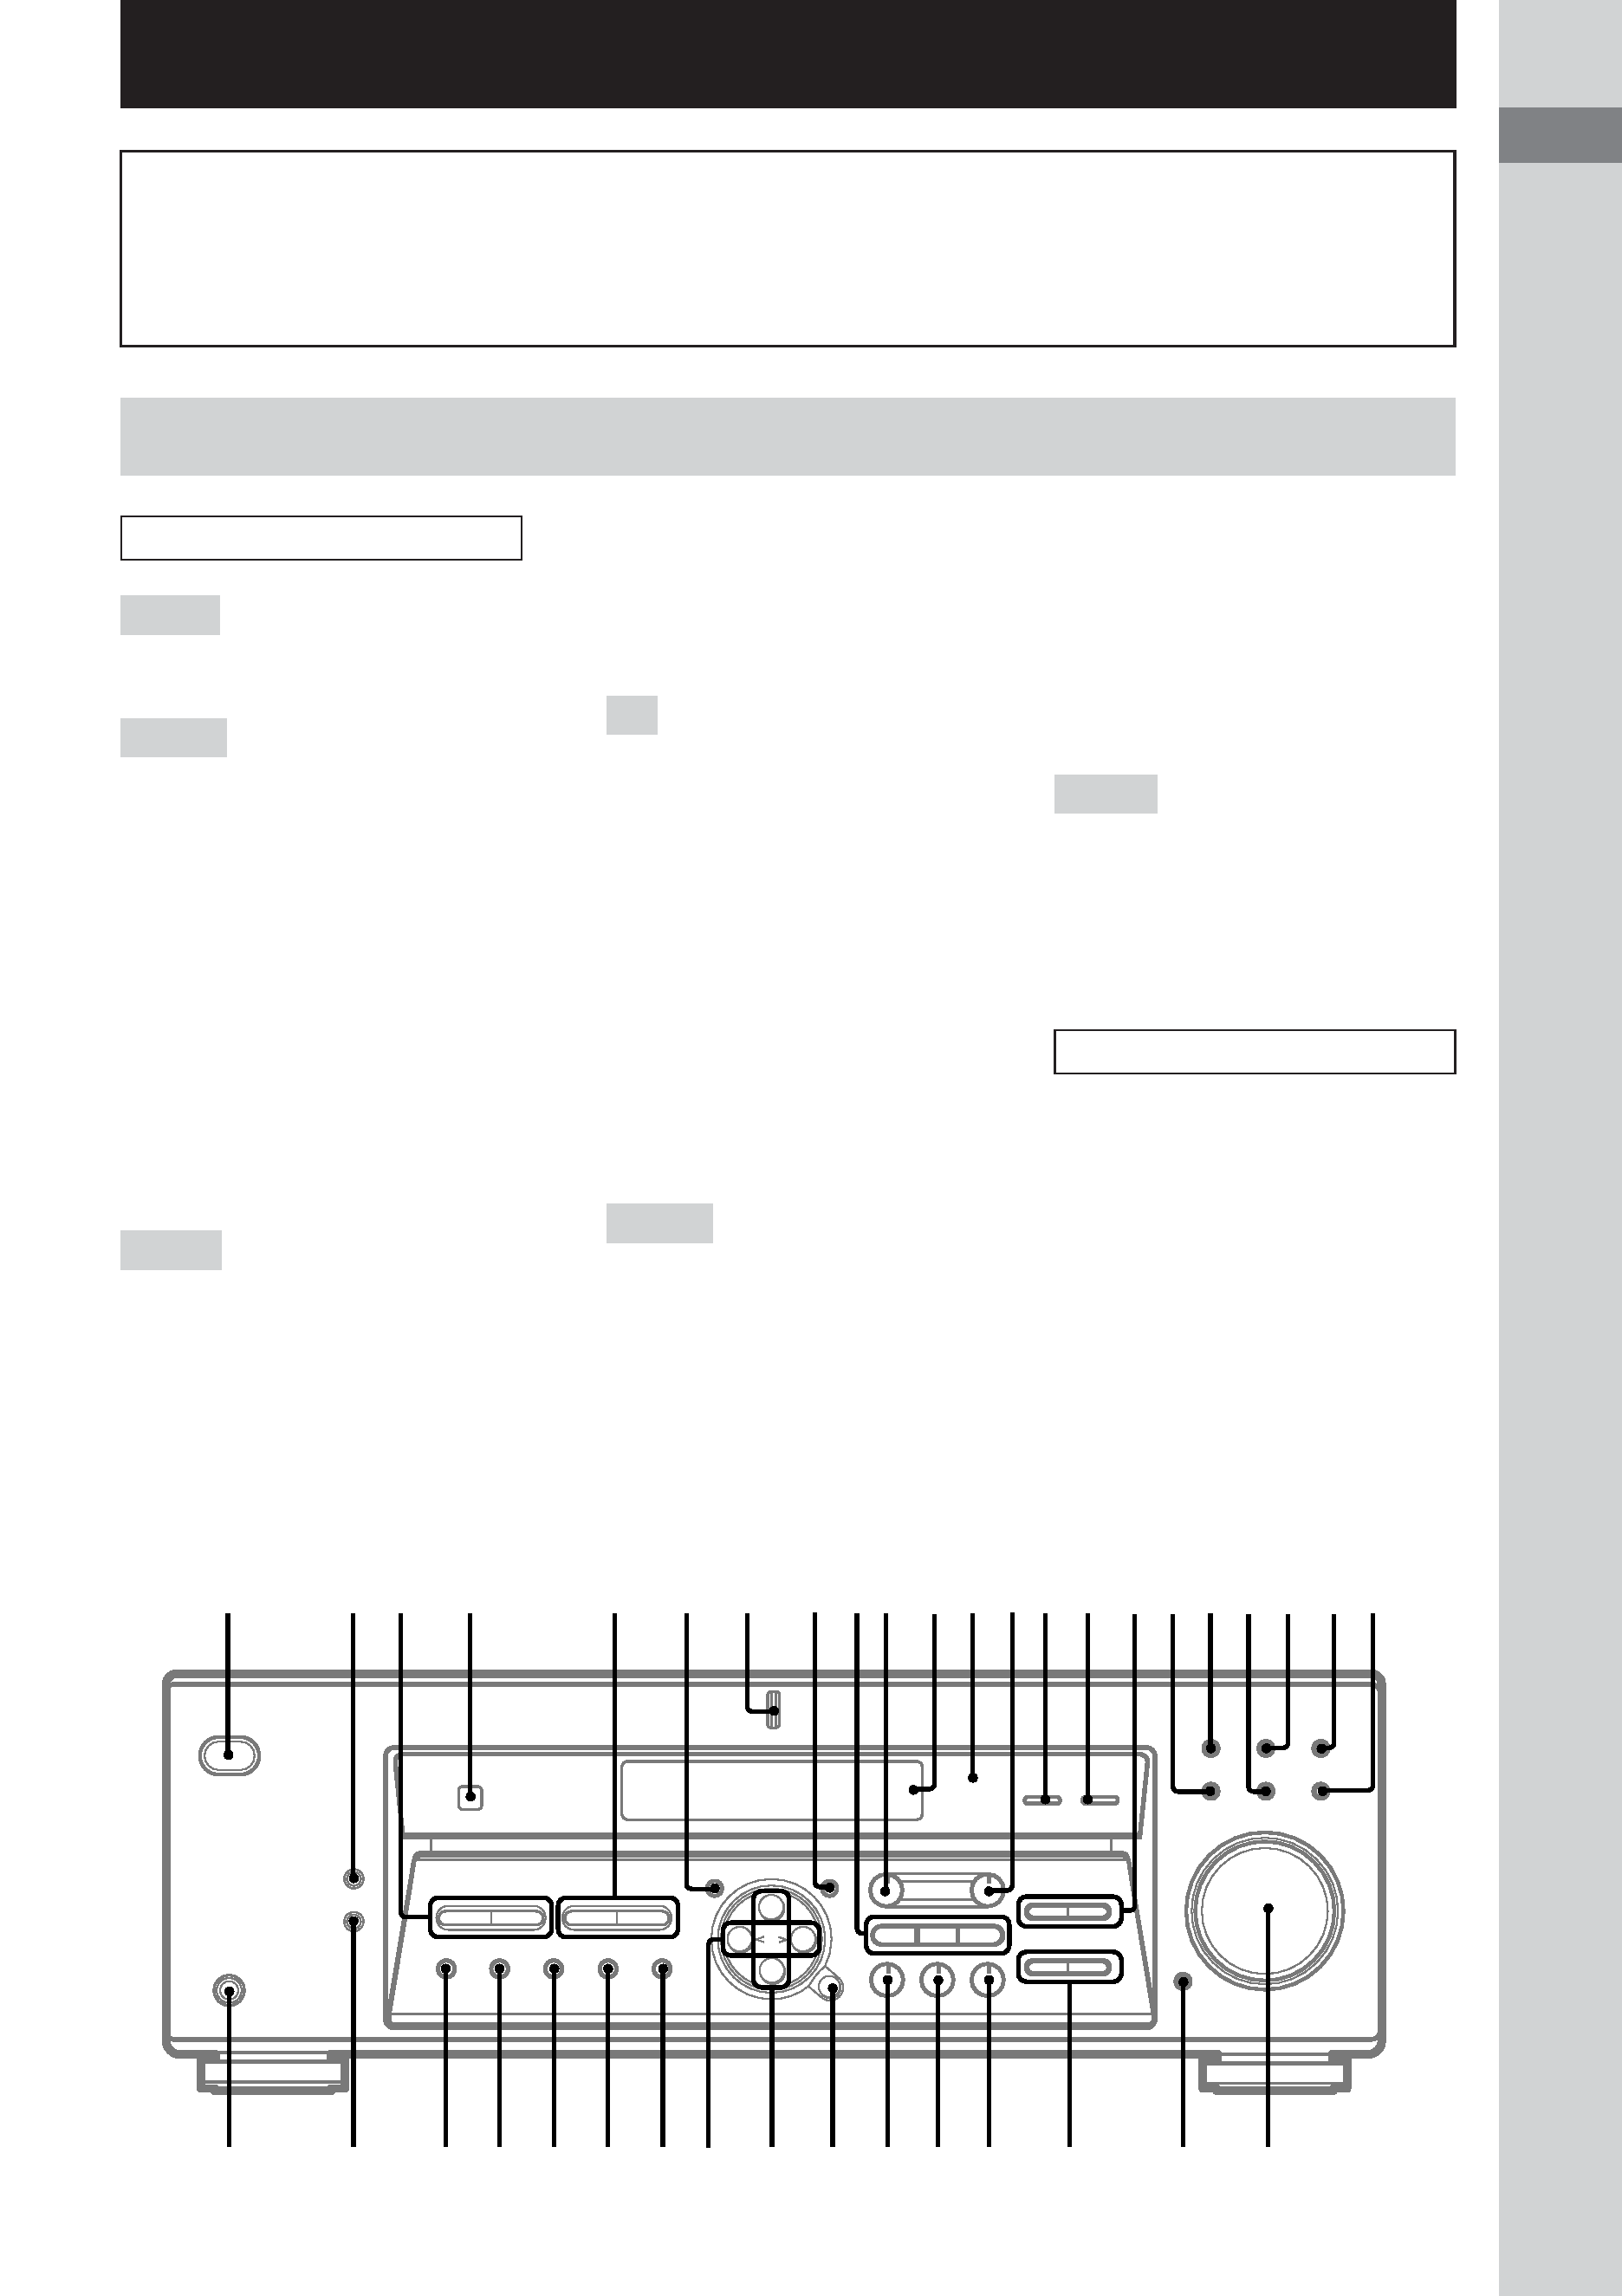
List of Button Locations and Reference Pages
Main unit
How to use this page
Use this page to find the location of buttons that
are mentioned in the text.
FM MODE ef (31)
INPUT MODE qg (22)
IR (receptor) 4 (37, 44, 50)
LEVEL 0 (16, 20, 28, 54)
M
MASTER VOLUME wd (20, 48)
MD/TAPE qj (22)
MEMORY eh (32)
MENU +/ e; (16, 28, 34, 35, 54)
MENU </> ea (16, 28, 34, 35, 54)
MODE wj (25, 30, 49)
MULTI CHANNEL DECODING
(indicator) (HT-6500DP and
HT-5500D only) 7 (22)
MULTI CH IN (HT-6500DP and
HT-5500D only) qf (22)
MUTING wf (22, 48)
N S
NAME 8 (34)
PHONES (jack) ek (22, 49)
PRESET TUNING +/ 3 (32,
33, 52)
SET UP 6 (4, 16, 35, 54)
SHIFT eg (32)
SLEEP (HT-1700D only) qf (35)
SURR qd (28, 54)
T Z
TREBLE +/ qh (30, 54)
TUNER ws (22, 32-34)
TUNING +/ 5 (31, 32)
VIDEO 1 qk (22)
VIDEO 2 w; (22)
BUTTON DESCRIPTIONS
`/1 (power) 1 (4, 15, 20, 21,
30, 52)
ALPHABETICAL ORDER
0 9
2 CH wh (26)
A D
A.DEC wk (24, 26)
AM es (31, 32)
BASS +/ wg (19, 30, 54)
CD ql (22)
CINEMA STUDIO EX A, B, C
9 (25)
Digital Cinema Sound (indicator)
qs (24)
DIMMER ej (23)
DISPLAY 2 (23, 50)
Display qa (23)
DVD/LD wa (22)
E L
ENTER wl (34)
FM ed (31, 32)
Illustration number
r
NAME
8 (34)
RR
Name of button/part
Reference page