
Sony Corporation
Printed in Japan
3-860-322-13 (1)
©1997 by Sony Corporation
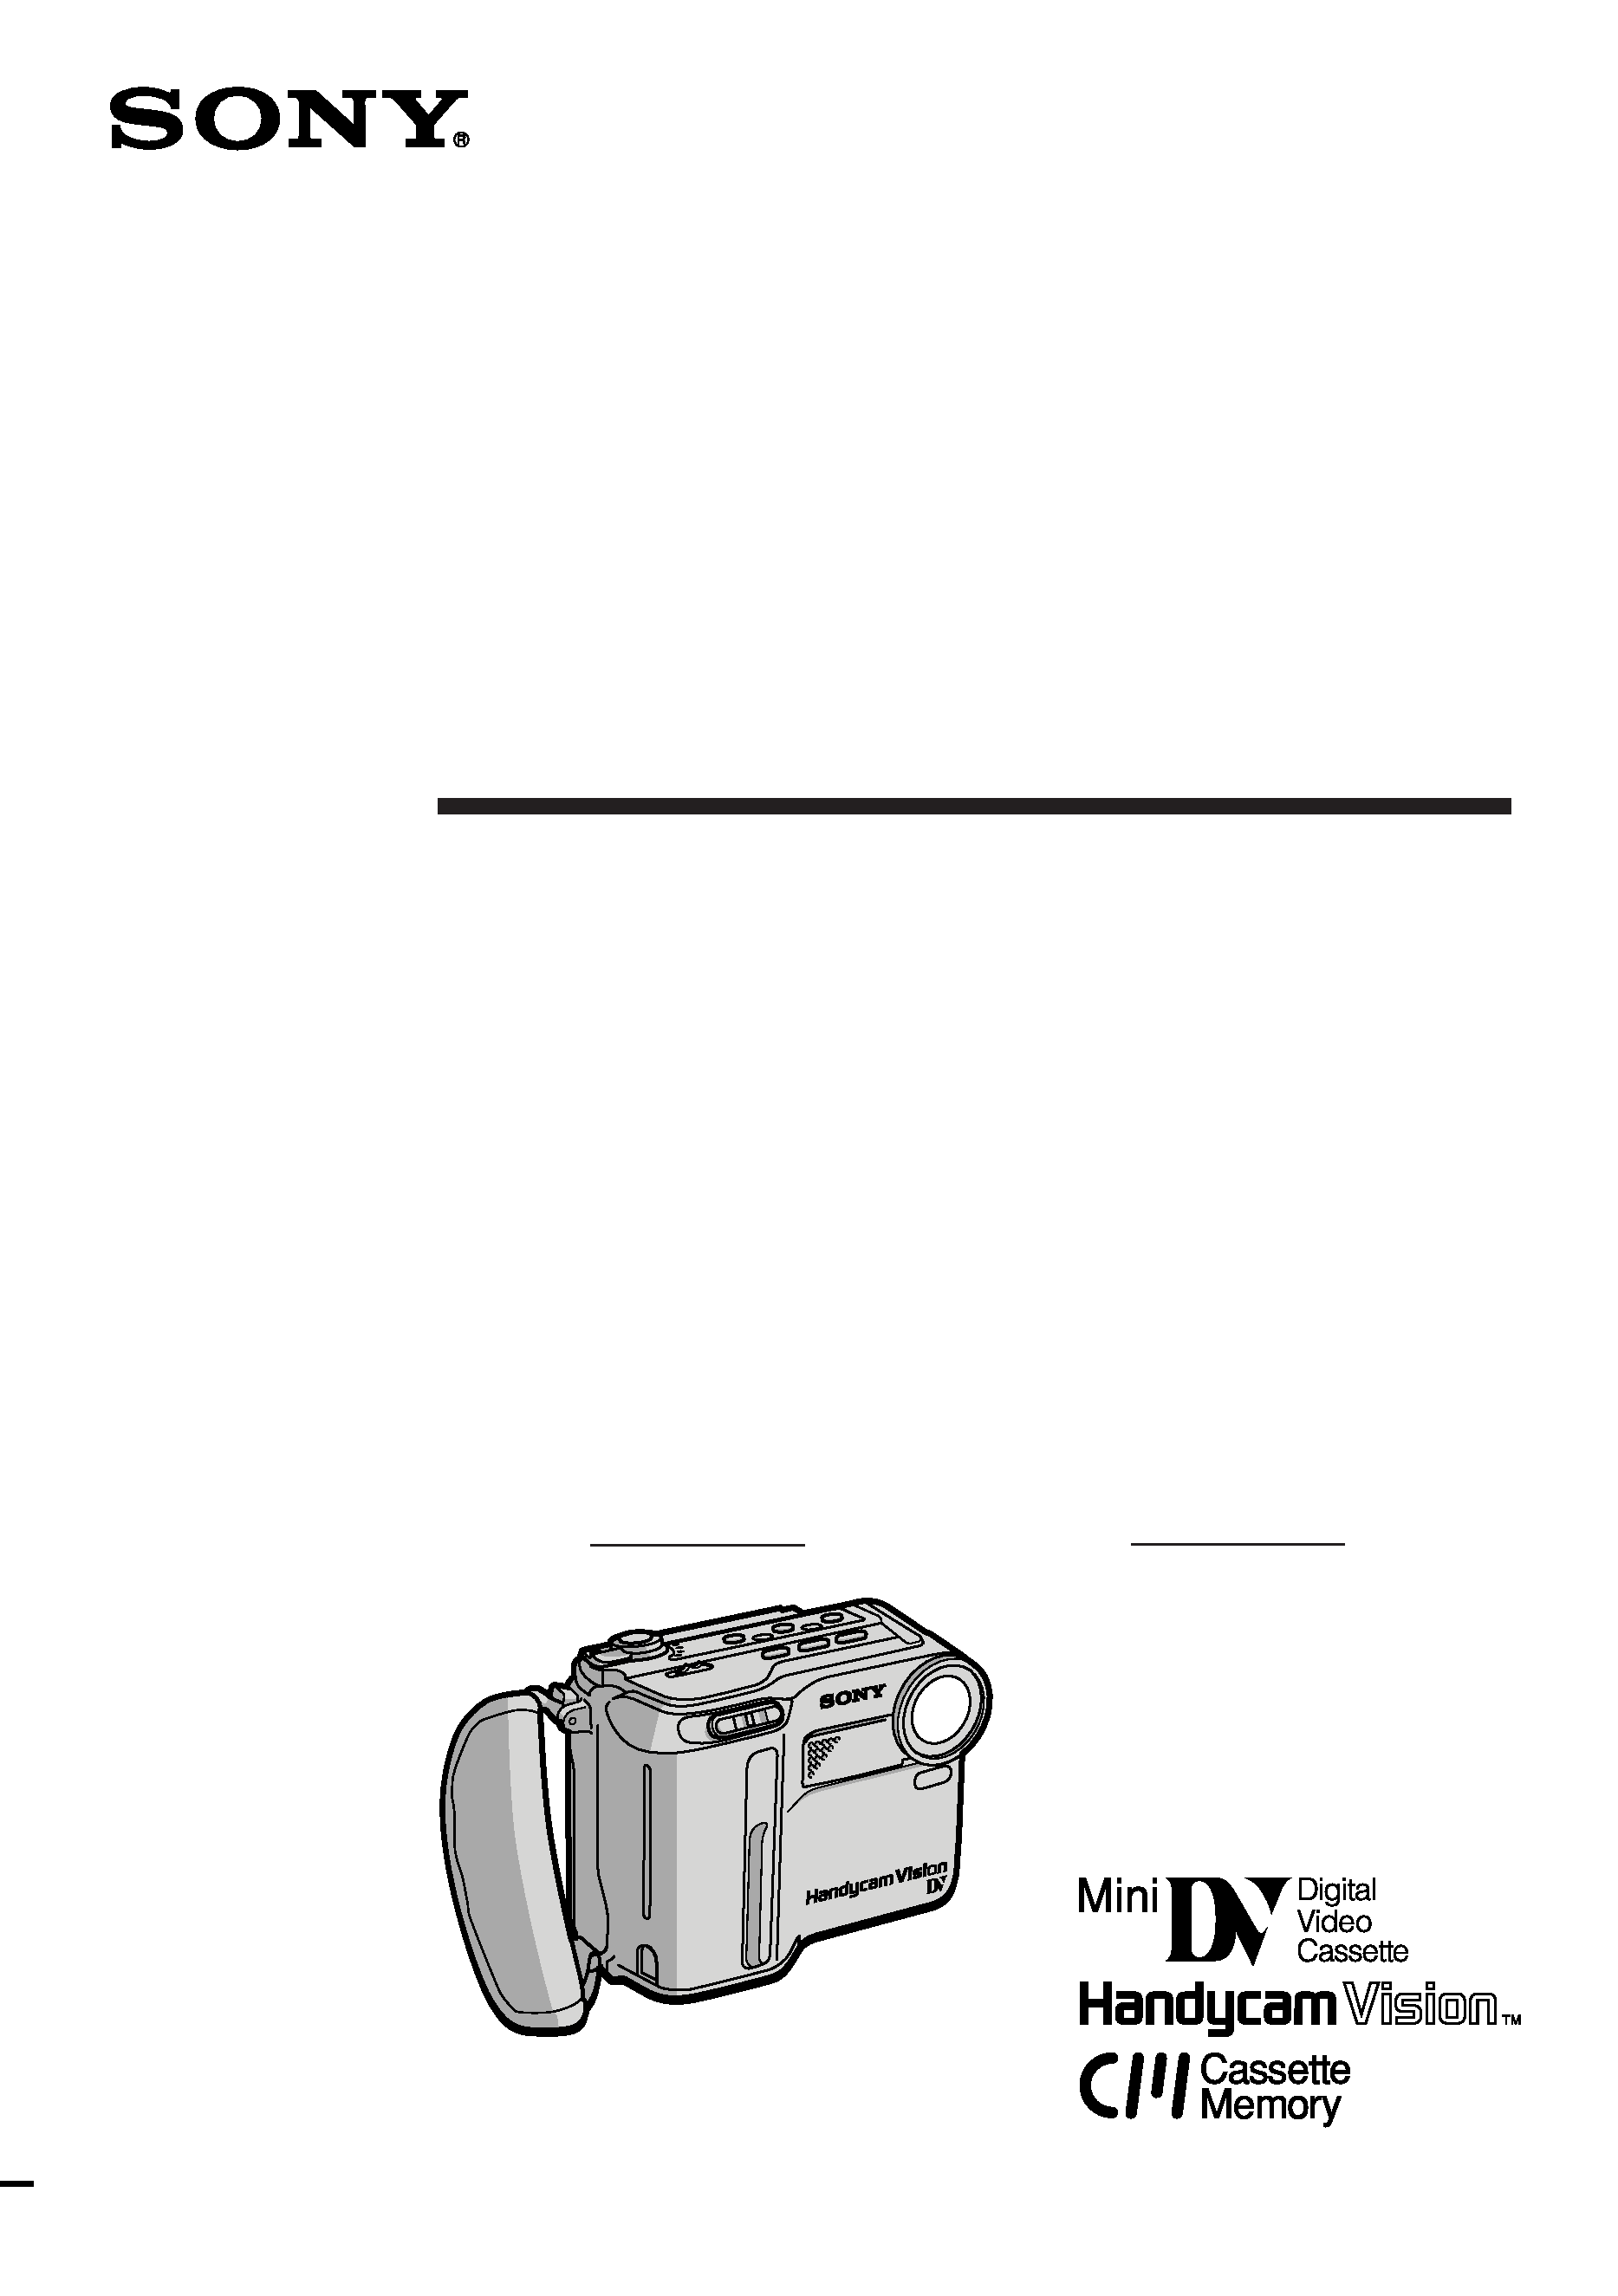
DCR-SC100
Digital Video
Camera Recorder
Operating Instructions
Before operating the unit, please read this manual thoroughly,
and retain it for future reference.
Manual de instrucciones
Antes de utilizar la unidad, lea este manual por completo y
consérvelo para consultar.
Owner's Record
The model and serial numbers are located on the bottom. Record
the serial number in the space provided below. Refer to these
numbers whenever you call upon your Sony dealer regarding this
product.
Model No. DCR-SC100
Model No. AC-V615
Serial No.
Serial No.
2
RISK OF ELECTRIC SHOCK
DO NOT OPEN
CAUTION : TO REDUCE THE RISK OF ELECTRIC SHOCK,
DO NOT REMOVE COVER (OR BACK).
NO USER·SERVICEABLE PARTS INSIDE.
REFER SERVICING TO QUALIFIED SERVICE PERSONNEL.
CAUTION
English
WARNING
To prevent fire or shock hazard, do
not expose the unit to rain or
moisture.
This symbol is intended to alert the
user to the presence of uninsulated
"dangerous voltage" within the
product's enclosure that may be of
sufficient magnitude to constitute a
risk of electric shock to persons.
This symbol is intended to alert the
user to the presence of important
operating and maintenance
(servicing) instructions in the
literature accompanying the
appliance.
For the customers in the
United States and Canada
DISPOSAL OF LITHIUM ION BATTERY.
LITHIUM ION BATTERY.
DISPOSE OF PROPERLY.
You can return your unwanted lithium ion batteries to
your nearest Sony Service Center or Factory Service
Center.
Note: In some areas the disposal of lithium ion batteries
in household or business trash may be prohibited.
For the Sony Service Center nearest you call
1-800-222-SONY (United States only).
For the SONY Factory Service Center nearest you call
416-499-SONY (Canada only).
Caution: Do not handle damaged or leaking lithium ion
batteries.
For the Customers in the U.S.A.
WARNING
This equipment has been tested and found to comply
with the limits for a Class B digital device, pursuant to
Part 15 of the FCC Rules. These limits are designed to
provide reasonable protection against harmful
interference in a residential installation. This equipment
generates, uses, and can radiate radio frequency energy
and, if not installed and used in accordance with the
instructions, may cause harmful interference to radio
communications. However, there is no guarantee that
interference will not occur in a particular installation. If
this equipment does cause harmful interference to radio
or television reception, which can be determined by
turning the equipment off and on, the user is
encouraged to try to correct the interference by one or
more of the following measures:
-- Reorient or relocate the receiving antenna.
-- Increase the separation between the equipment and
receiver.
-- Connect the equipment into an outlet on a circuit
different from that to which the receiver is connected.
-- Consult the dealer or an experienced radio/TV
technician for help.
CAUTION
You are cautioned that any changes or modifications not
expressly approved in this manual could void your
authority to operate this equipment.
For the customers in CANADA
CAUTION
TO PREVENT ELECTRIC SHOCK, MATCH WIDE
BLADE OF PLUG TO WIDE SLOT. FULLY INSERT.
Español
ADVERTENCIA
Para evitar riesgos de incendio o descargas,
no exponga la unidad a la lluvia ni a la
humedad.
Para evitar descargas eléctricas, no abra la
unidad y solicite asistencia técnica sólo a
personal cualificado.
FORMA DE DESHACERSE DE LAS
PILAS DE IONES DE LITIO
PILA DE IONES DE LITIO
FORMA APROPIADA DE DESHACERSE DE LAS
PILAS
Usted podrá devolver las pilas de iones de litio a
un centro de reparaciones Sony o a una fábrica
Sony.
Note: En ciertas zonas puede estar prohibido
tirar las pilas de iones de litio a la basura.
Para información sobre el centro de reparaciones
Sony más cercano, llame a 1-800-222-SONY
(EE.UU. solamente)
Para información sobre la fábrica Sony más
cercana, llame a 416-499-SONY (Canadá
solamente)
Precaución: No utilice pilas de iones de litio
dañadas o con fugas de electrólito.

3
Before
you
begin
/
Antes
de
comenzar
Antes de comenzar
Uso de este manual 4
Comprobación de los accesorios suministrados 6
Procedimientos iniciales
Carga e instalación del paquete de pilas 7
Inserción de videocassettes 11
Uso del parasol 12
Operaciones básicas
Grabación con la cámara 13
Uso de la función de zoom 17
Selección del modo de inicio/parada 18
Fijación momentánea del enfoque 19
Control de la filmación por el sujeto 19
Sugerencias para filmar mejor 21
Reproducción de cintas 23
Búsqueda del final de la imagen 26
Operaciones avanzadas
Uso de fuentes de alimentación alternativas 27
Uso de corriente doméstica 28
Cambio de los ajustes de modo 30
--para grabar con la cámara--
Aparición y desaparición gradual de imágenes 35
Filmación con luz de fondo 37
Grabación fotográfica 38
Función de efecto de imagen 40
Uso de la función de modo panorámico 42
Uso de la función PROGRAM AE 44
Desactivación de la función de estabilización de
imagen STEADYSHOT 46
--para reproducir/editar--
Visualización de imágenes en la pantalla de un TV
48
Búsqueda de los límites de la cinta grabada con
fecha 51
Búsqueda de escenas con título 53
Búsqueda de fotografías - búsqueda/exploración de
fotografías 54
Localización de posiciones previamente registradas
57
Visualización de datos de grabación - función de
código de datos 58
Edición en otra cinta 59
Sustitución de una grabación en una cinta edición
de inserción 62
Copia de audio 64
Superposición de títulos 66
Creación de títulos personalizados 69
Etiquetado de videocassettes 71
Información complementaria
Videocassettes utilizables y modos de reproducción
72
Carga de la pila de vanadio-litio de la videocámara
74
Reajuste de la fecha y hora 75
Consejos para utilizar el paquete de pilas 77
Información y precauciones sobre mantenimiento 83
Uso de la videocámara en el extranjero 88
Solución de problemas 95
Indicación de autodiagnóstico 100
Especificaciones 102
Identificación de los componentes 103
Indicadores de aviso 112
Indice alfabético 115
Indice
Table of contents
Before you begin
Using this manual 4
Checking supplied accessories 6
Getting started
Charging and installing the battery pack 7
Inserting a cassette 11
Using the sunshade 12
Basic operations
Camera recording 13
Using the zoom feature 17
Selecting the start/stop mode 18
Fixing the focus momentarily 19
Letting the subject monitor the shot 19
Hints for better shooting 21
Playing back a tape 23
Searching for the end of the picture 26
Advanced operations
Using alternative power sources 27
Using the house current 28
Changing the mode settings 30
--for camera recording--
Fade-in and fade-out 35
Shooting with backlighting 37
Photo recording 38
Enjoying picture effect 40
Using the wide mode function 42
Using the PROGRAM AE function 44
Releasing the STEADYSHOT function 46
--for playing back/editing--
Watching on a TV screen 48
Searching the boundaries of recorded tape with date
51
Searching the scene with title 53
Searching for a photo - photo search/photo scan 54
Returning to a pre-registered position 57
Displaying recording data - data code function 58
Editing onto another tape 59
Replacing recording on a tape - insert recording 62
Audio dubbing 64
Superimposing a title 66
Making a custom title 69
Labeling a cassette 71
Additional Information
Usable cassettes and playback modes 72
Charging the vanadium-lithium battery in the
camcorder 74
Resetting the date and time 75
Tips for using the battery pack 77
Maintenance information and precautions 83
Using your camcorder abroad 88
Trouble check 89
Self-diagnosis display 94
Specifications 101
Identifying the parts 103
Warning indicators 112
Index 114
4
Antes de comenzar
Uso de este manual
¡Bienvenido!
Enhorabuena por la adquisición de esta
videocámara de Sony Handycam Vision
TM.
Con ella, podrá capturar los momentos más
preciosos de su vida con una calidad superior
de imagen y sonido.
La Handycam Vision dispone de gran número
de funciones avanzadas, que resultan de fácil
uso. Pronto estará realizando vídeos
domésticos de los que disfrutará durante
muchos años.
En este manual, las teclas y los ajustes de la
videocámara aparecen en letras mayúsculas.
Ejemplo: Ajuste el interruptor POWER en
CAMERA.
Como se indica con
en las ilustraciones, es
posible escuchar pitidos para confirmar
operaciones.
Nota sobre los sistemas de
color de TV
Los sistemas de color de TV varían en función del
país. Para ver las grabaciones en un TV, éste debe
estar basado en el sistema NTSC.
Nota sobre la memoria en
cassette
Esta videocámara está basada en el formato DV.
Sólo es posible utilizar videocassettes mini DV
con esta videocámara.
Se recomienda emplear videocassettes mini
DV con memoria en cassette.
Para más información, consulte la página 72.
Las funciones que dependen de la existencia o no
de memoria en cassette en la cinta son las
siguientes:
·Búsqueda de imágenes finales (p. 26)
·Búsqueda de fechas (p. 51)
·Búsqueda de fotografías (p. 54).
Las funciones que sólo pueden utilizarse con
memoria en cassette son las siguientes:
·Búsqueda de títulos (p. 53)
·Superposición de títulos (p. 66)
·Creación de títulos personalizados (p. 69)
·Etiquetado de videocassettes (p. 71)
Before you begin
Using this manual
Welcome!
Congratulations on your purchase of this Sony
Handycam Vision` camcorder. With your
Handycam Vision you can capture life's
precious moments with superior picture and
sound quality.
Your Handycam Vision is loaded with
advanced features, but at the same time it is
very easy to use. You will soon be producing
home video that you can enjoy for years to
come.
As you read through this manual, buttons and
settings on the camcorder are shown in capital
letters.
e.g., Set the POWER switch to CAMERA.
As indicated with
in the illustrations, you can
hear the beep sound to confirm your operation.
Note on TV color systems
TV color systems differ from country to country.
To view your recordings on a TV, you need an
NTSC system-based TV.
Note on Cassette Memory
This camcorder is based on the DV format. You
can only use mini DV cassettes with this
camcorder.
We recommend you to use a mini DV
cassette tape with cassette memory.
For details, see page 72.
The functions which depend on whether the tape
has the cassette memory or not are:
·End Search (p. 26)
·Date Search (p. 51)
·Photo Search (p. 54).
The functions you can operate only with the
cassette memory are:
·Title Search (p. 53)
·Superimposing Titles (p. 66)
·Making a custom title (p. 69)
·Labeling a cassette (p. 71)