Operating Instructions
Discover the benefits of registering your product online at
www.pioneer.co.uk
(www.pioneer-eur.com)
DVR-540H-S
DVR-440H-S
DVD RECORDER
DV
D
RECORDER
Operating
Instructions
<VRB1411-A>
Printed in UK
K002_A_En
Published by Pioneer Corporation.
Copyright © 2006 Pioneer Corporation.
All rights reserved.
PIONEER CORPORATION
4-1, Meguro 1-Chome, Meguro-ku, Tokyo 153-8654, Japan
PIONEER ELECTRONICS (USA) INC.
P.O. BOX 1540, Long Beach, California 90810-1540, U.S.A. TEL: (800) 421-1404
PIONEER ELECTRONICS OF CANADA, INC.
300 Allstate Parkway, Markham, Ontario L3R OP2, Canada TEL: 1-877-283-5901
PIONEER EUROPE NV
Haven 1087, Keetberglaan 1, B-9120 Melsele, Belgium TEL: 03/570.05.11
PIONEER ELECTRONICS ASIACENTRE PTE. LTD.
253 Alexandra Road, #04-01, Singapore 159936 TEL: 65-6472-7555
PIONEER ELECTRONICS AUSTRALIA PTY. LTD.
178-184 Boundary Road, Braeside, Victoria 3195, Australia, TEL: (03) 9586-6300
PIONEER ELECTRONICS DE MEXICO S.A. DE C.V.
Blvd.Manuel Avila Camacho 138 10 piso Col.Lomas de Chapultepec, Mexico,D.F. 11000 TEL: 55-9178-4270
®
®
00 Cover_back_WV.fm 1
Thank you for buying this Pioneer product.
Please read through these operating instructions so you will know how to operate your model properly.
After you have finished reading the instructions, put them away in a safe place for future reference.
The exclamation point within an equilateral
triangle is intended to alert the user to the
presence of important operating and
maintenance (servicing) instructions in the
literature accompanying the appliance.
The lightning flash with arrowhead symbol,
within an equilateral triangle, is intended to
alert the user to the presence of uninsulated
"dangerous voltage" within the product's
enclosure that may be of sufficient
magnitude to constitute a risk of electric
shock to persons.
CAUTION:
TO PREVENT THE RISK OF ELECTRIC
SHOCK, DO NOT REMOVE COVER (OR
BACK). NO USER-SERVICEABLE PARTS
INSIDE. REFER SERVICING TO QUALIFIED
SERVICE PERSONNEL.
CAUTION
RISK OF ELECTRIC SHOCK
DO NOT OPEN
IMPORTANT
D3-4-2-1-1_En-A
WARNING
This equipment is not waterproof. To prevent a fire
or shock hazard, do not place any container filed
with liquid near this equipment (such as a vase or
flower pot) or expose it to dripping, splashing, rain
or moisture.
D3-4-2-1-3_A_En
WARNING
The voltage of the available power supply differs
according to country or region. Be sure that the
power supply voltage of the area where this unit
will be used meets the required voltage (e.g., 230 V
or 120 V) written on the rear panel.
D3-4-2-1-4_A_En
Before plugging in for the first time, read the following
section carefully.
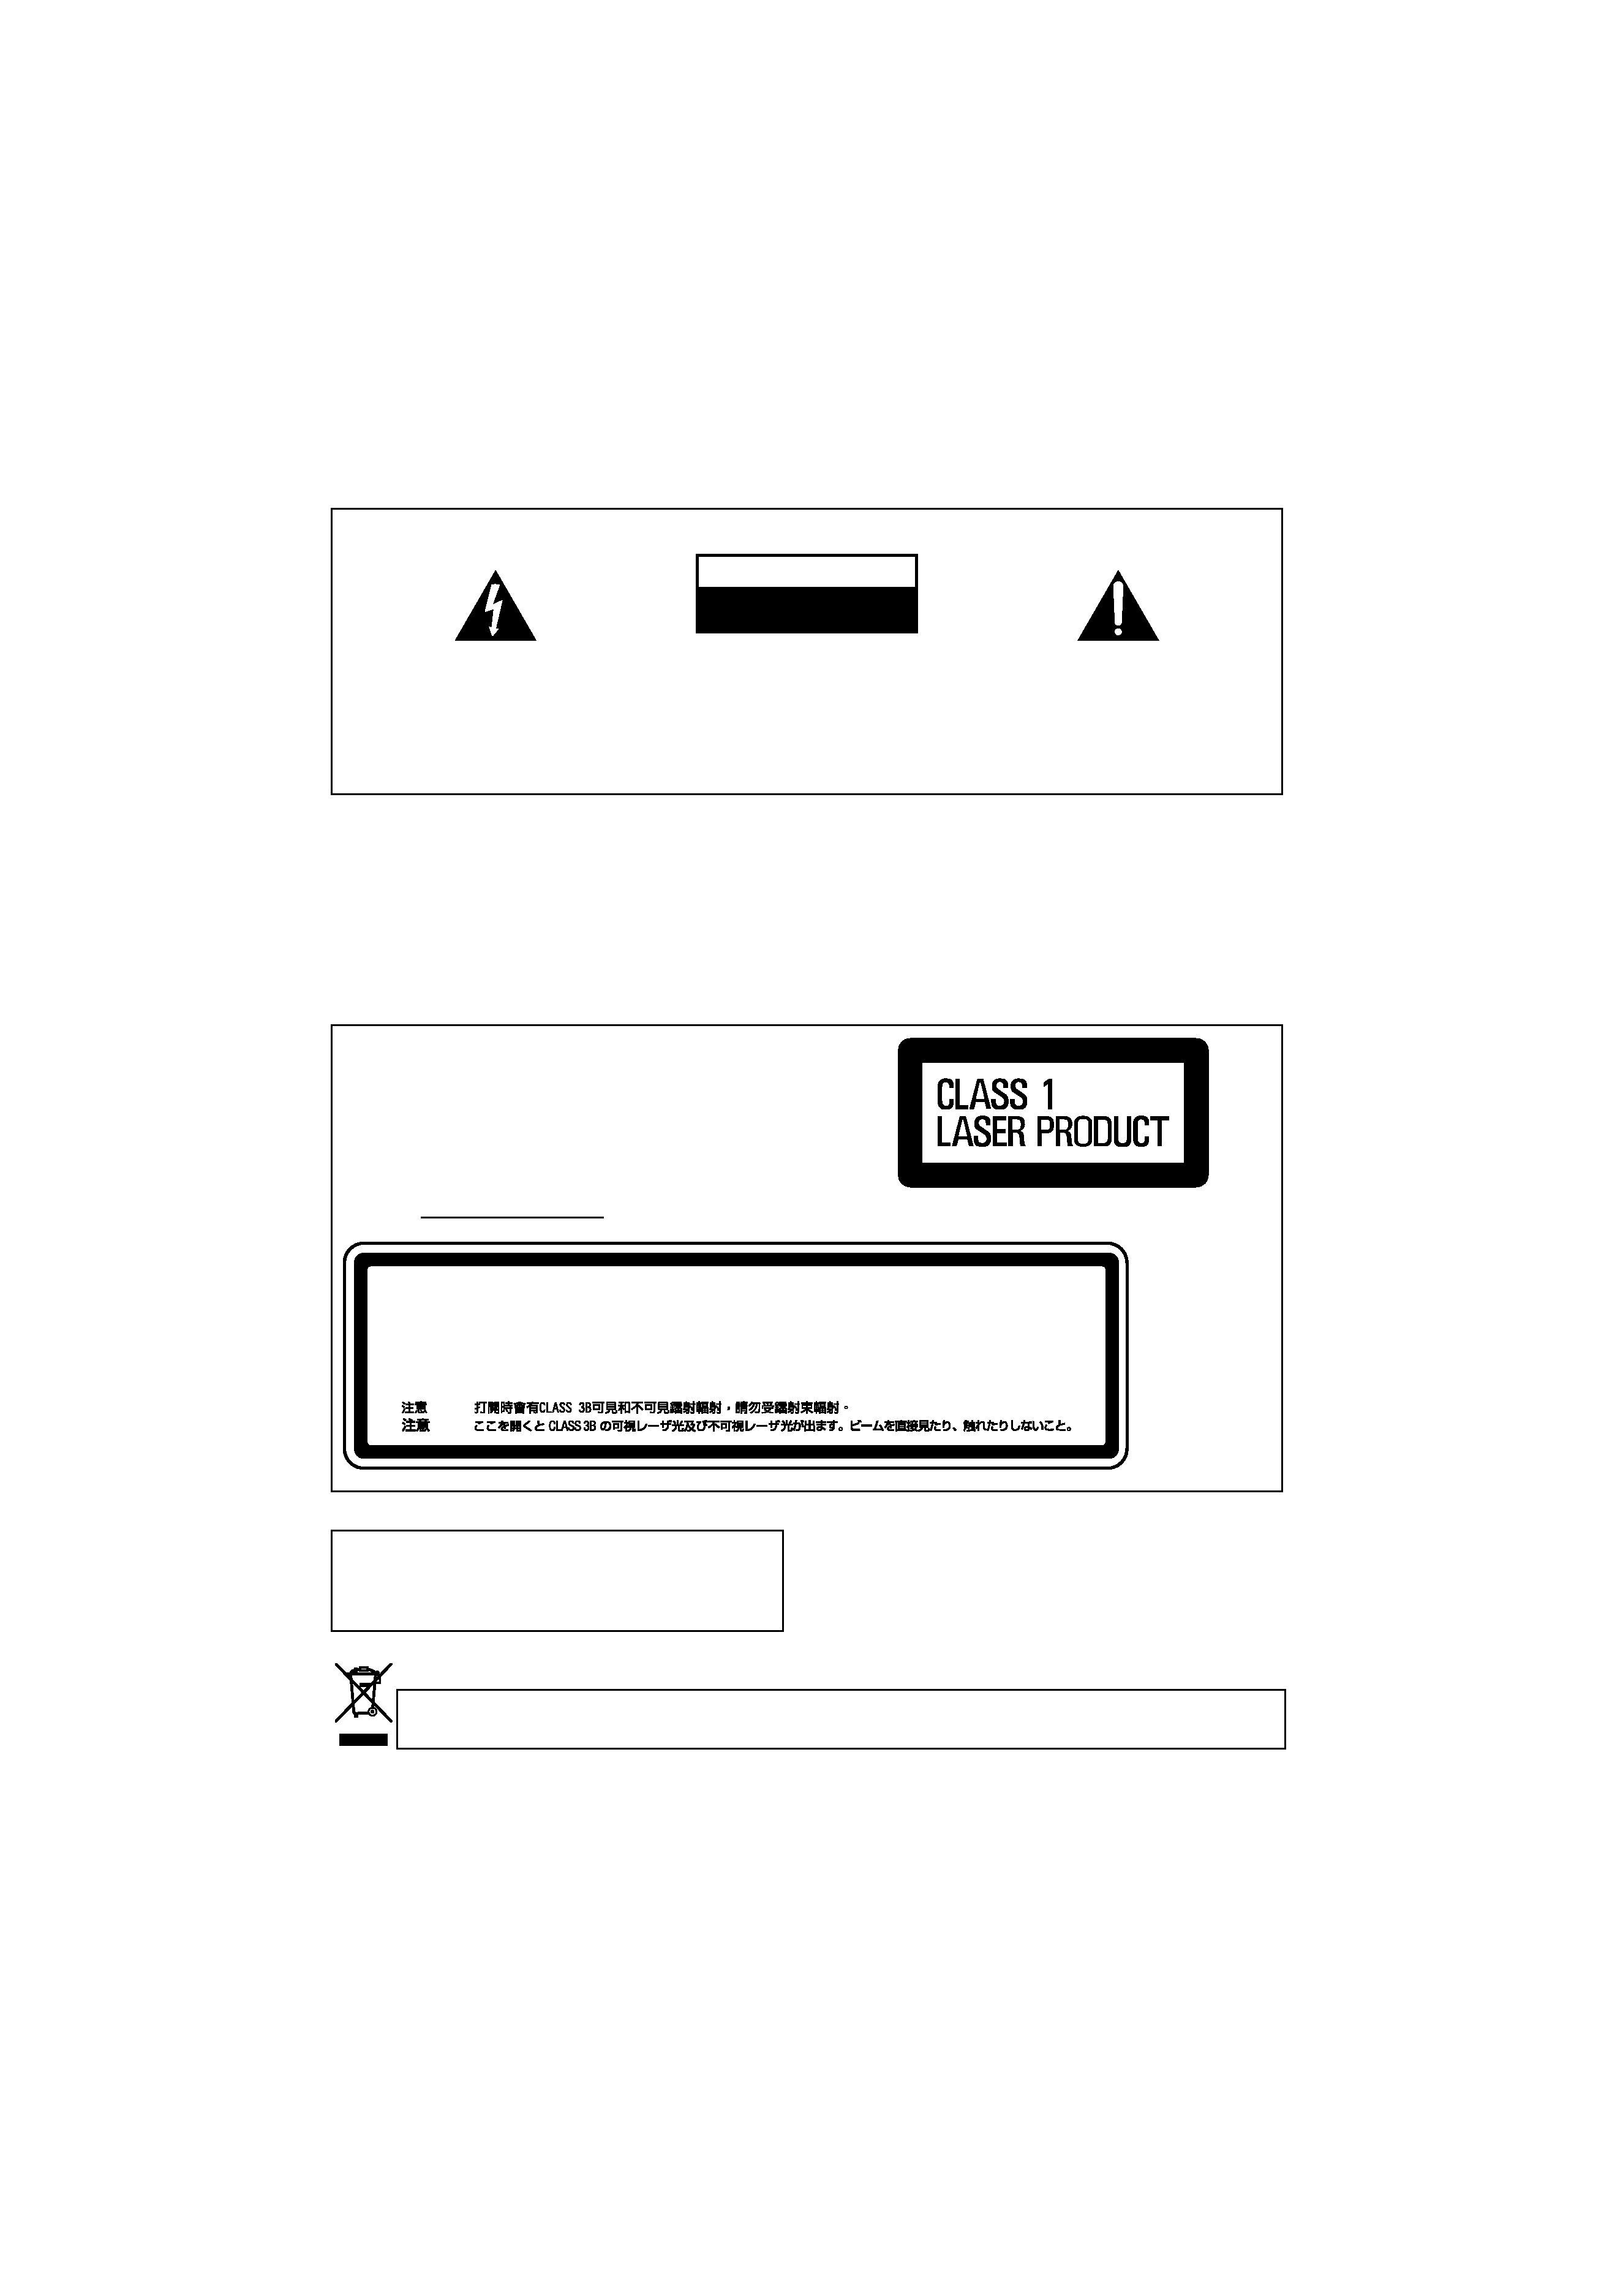
CAUTION
This product is a class 1 laser product, but this product
contains a laser diode higher than Class 1.
To ensure continued safety, do not remove any covers or
attempt to gain access to the rear of the product.
Refer all servicing to qualified personnel.
The following caution labels appear on your unit.
Location: top and rear of the unit
D3-4-2-1-8_B_En
CAUTION
ATTENTION
CLASS 3B VISIBLE AND INVISIBLE LASER RADIATION WHEN OPEN, AVOID EXPOSURE TO THE BEAM.
VRW2262 - A
RADIATIONS LASER VISIBLES ET INVISIBLES DE CLASSE 3B QUAND OUVERT. ÉVITEZ TOUT EXPOSITION AU FAISCEAU.
ADVARSEL
KLASSE 3B SYNLIG OG USYNLIG LASERSTRÅLING VED ÅBNING. UNDGÅ UDSÆTTELSE FOR STRÅLING.
VARNING
KLASS 3B SYNLIG OCH OSYNLIG LASERSTRÅLNING NÄR DENNA DEL ÄR ÖPPNAD. UNDVIK ATT UTSÄTTA DIG FÖR STRÅLEN.
VARO!
AVATTAESSA OLET ALTTIINA NÄKYVÄLLE JA NÄKYMÄTTÖMÄLLE LUOKAN 3B LASERSÄTEILYLLE. ÄLÄ KATSO SÄTEESEEN.
PRECAUCIÓN CUANDOSE ABRE HAY RADIACIÓN LÁSER DE CLASE 3B VISIBLE E INVISIBLE. EVITE LA EXPOSICIÓN A LOS RAYOS LÁSER.
VORSICHT
BEI GEÖFFNETER ABDECKUNG IST SICHTBARE UND UNSICHTBARE LASERSTRAHLUNG DER KLASSE 3B IM GERÄTEINNEREN VORHANDEN.
NICHT DEM LASERSTRAHL AUSSETZEN!
This product complies with the Low Voltage Directive
(73/23/EEC, amended by 93/68/EEC), EMC Directives
(89/336/EEC, amended by 92/31/EEC and
93/68/EEC).
D3-4-2-1-9a_En
WARNING
To prevent a fire hazard, do not place any naked
flame sources (such as a lighted candle) on the
equipment.
D3-4-2-1-7a_A_En
If you want to dispose this product, do not mix it with general household waste. There is a separate collection system for used
electronic products in accordance with legislation that requires proper treatment, recovery and recycling.
Private households in the 25 member states of the EU, in Switzerland and Norway may return their used electronic products free of charge to
designated collection facilities or to a retailer (if you purchase a similar new one).
For countries not mentioned above, please contact your local authorities for the correct method of disposal.
By doing so you will ensure that your disposed product undergoes the necessary treatment, recovery and recycling and thus prevent potential
negative effects on the environment and human health.
K058_En
DVR540H_WV_EN.book 2
CAUTION
The STANDBY/ON switch on this unit will not
completely shut off all power from the AC outlet.
Since the power cord serves as the main disconnect
device for the unit, you will need to unplug it from
the AC outlet to shut down all power. Therefore,
make sure the unit has been installed so that the
power cord can be easily unplugged from the AC
outlet in case of an accident. To avoid fire hazard,
the power cord should also be unplugged from the
AC outlet when left unused for a long period of time
(for example, when on vacation).
D3-4-2-2-2a_A_En
Operating Environment
Operating environment temperature and humidity:
+5 ºC to +35 ºC (+41 ºF to +95 ºF); less than 85 %RH
(cooling vents not blocked)
Do not install this unit in a poorly ventilated area, or in
locations exposed to high humidity or direct sunlight (or
strong artificial light)
D3-4-2-1-7c_A_En
VENTILATION CAUTION
When installing this unit, make sure to leave space
around the unit for ventilation to improve heat
radiation (at least 10 cm at top, 10 cm at rear, and
10 cm at each side).
WARNING
Slots and openings in the cabinet are provided for
ventilation to ensure reliable operation of the
product, and to protect it from overheating. To
prevent fire hazard, the openings should never be
blocked or covered with items (such as newspapers,
table-cloths, curtains) or by operating the
equipment on thick carpet or a bed.
D3-4-2-1-7b_A_En
If the AC plug of this unit does not match the AC
outlet you want to use, the plug must be removed
and appropriate one fitted. Replacement and
mounting of an AC plug on the power supply cord of
this unit should be performed only by qualified
service personnel. If connected to an AC outlet, the
cut-off plug can cause severe electrical shock. Make
sure it is properly disposed of after removal.
The equipment should be disconnected by removing
the mains plug from the wall socket when left
unused for a long period of time (for example, when
on vacation).
D3-4-2-2-1a_A_En
This product is for general household purposes. Any
failure due to use for other than household purposes
(such as long-term use for business purposes in a
restaurant or use in a car or ship) and which
requires repair will be charged for even during the
warranty period.
K041_En
POWER-CORD CAUTION
Handle the power cord by the plug. Do not pull out the
plug by tugging the cord and never touch the power
cord when your hands are wet as this could cause a
short circuit or electric shock. Do not place the unit, a
piece of furniture, etc., on the power cord, or pinch the
cord. Never make a knot in the cord or tie it with other
cords. The power cords should be routed such that they
are not likely to be stepped on. A damaged power cord
can cause a fire or give you an electrical shock. Check
the power cord once in a while. When you find it
damaged, ask your nearest PIONEER authorized
service center or your dealer for a replacement.
S002_En
Replacement and mounting of an AC plug on the power supply cord of this unit should be performed only by qualified
service personnel.
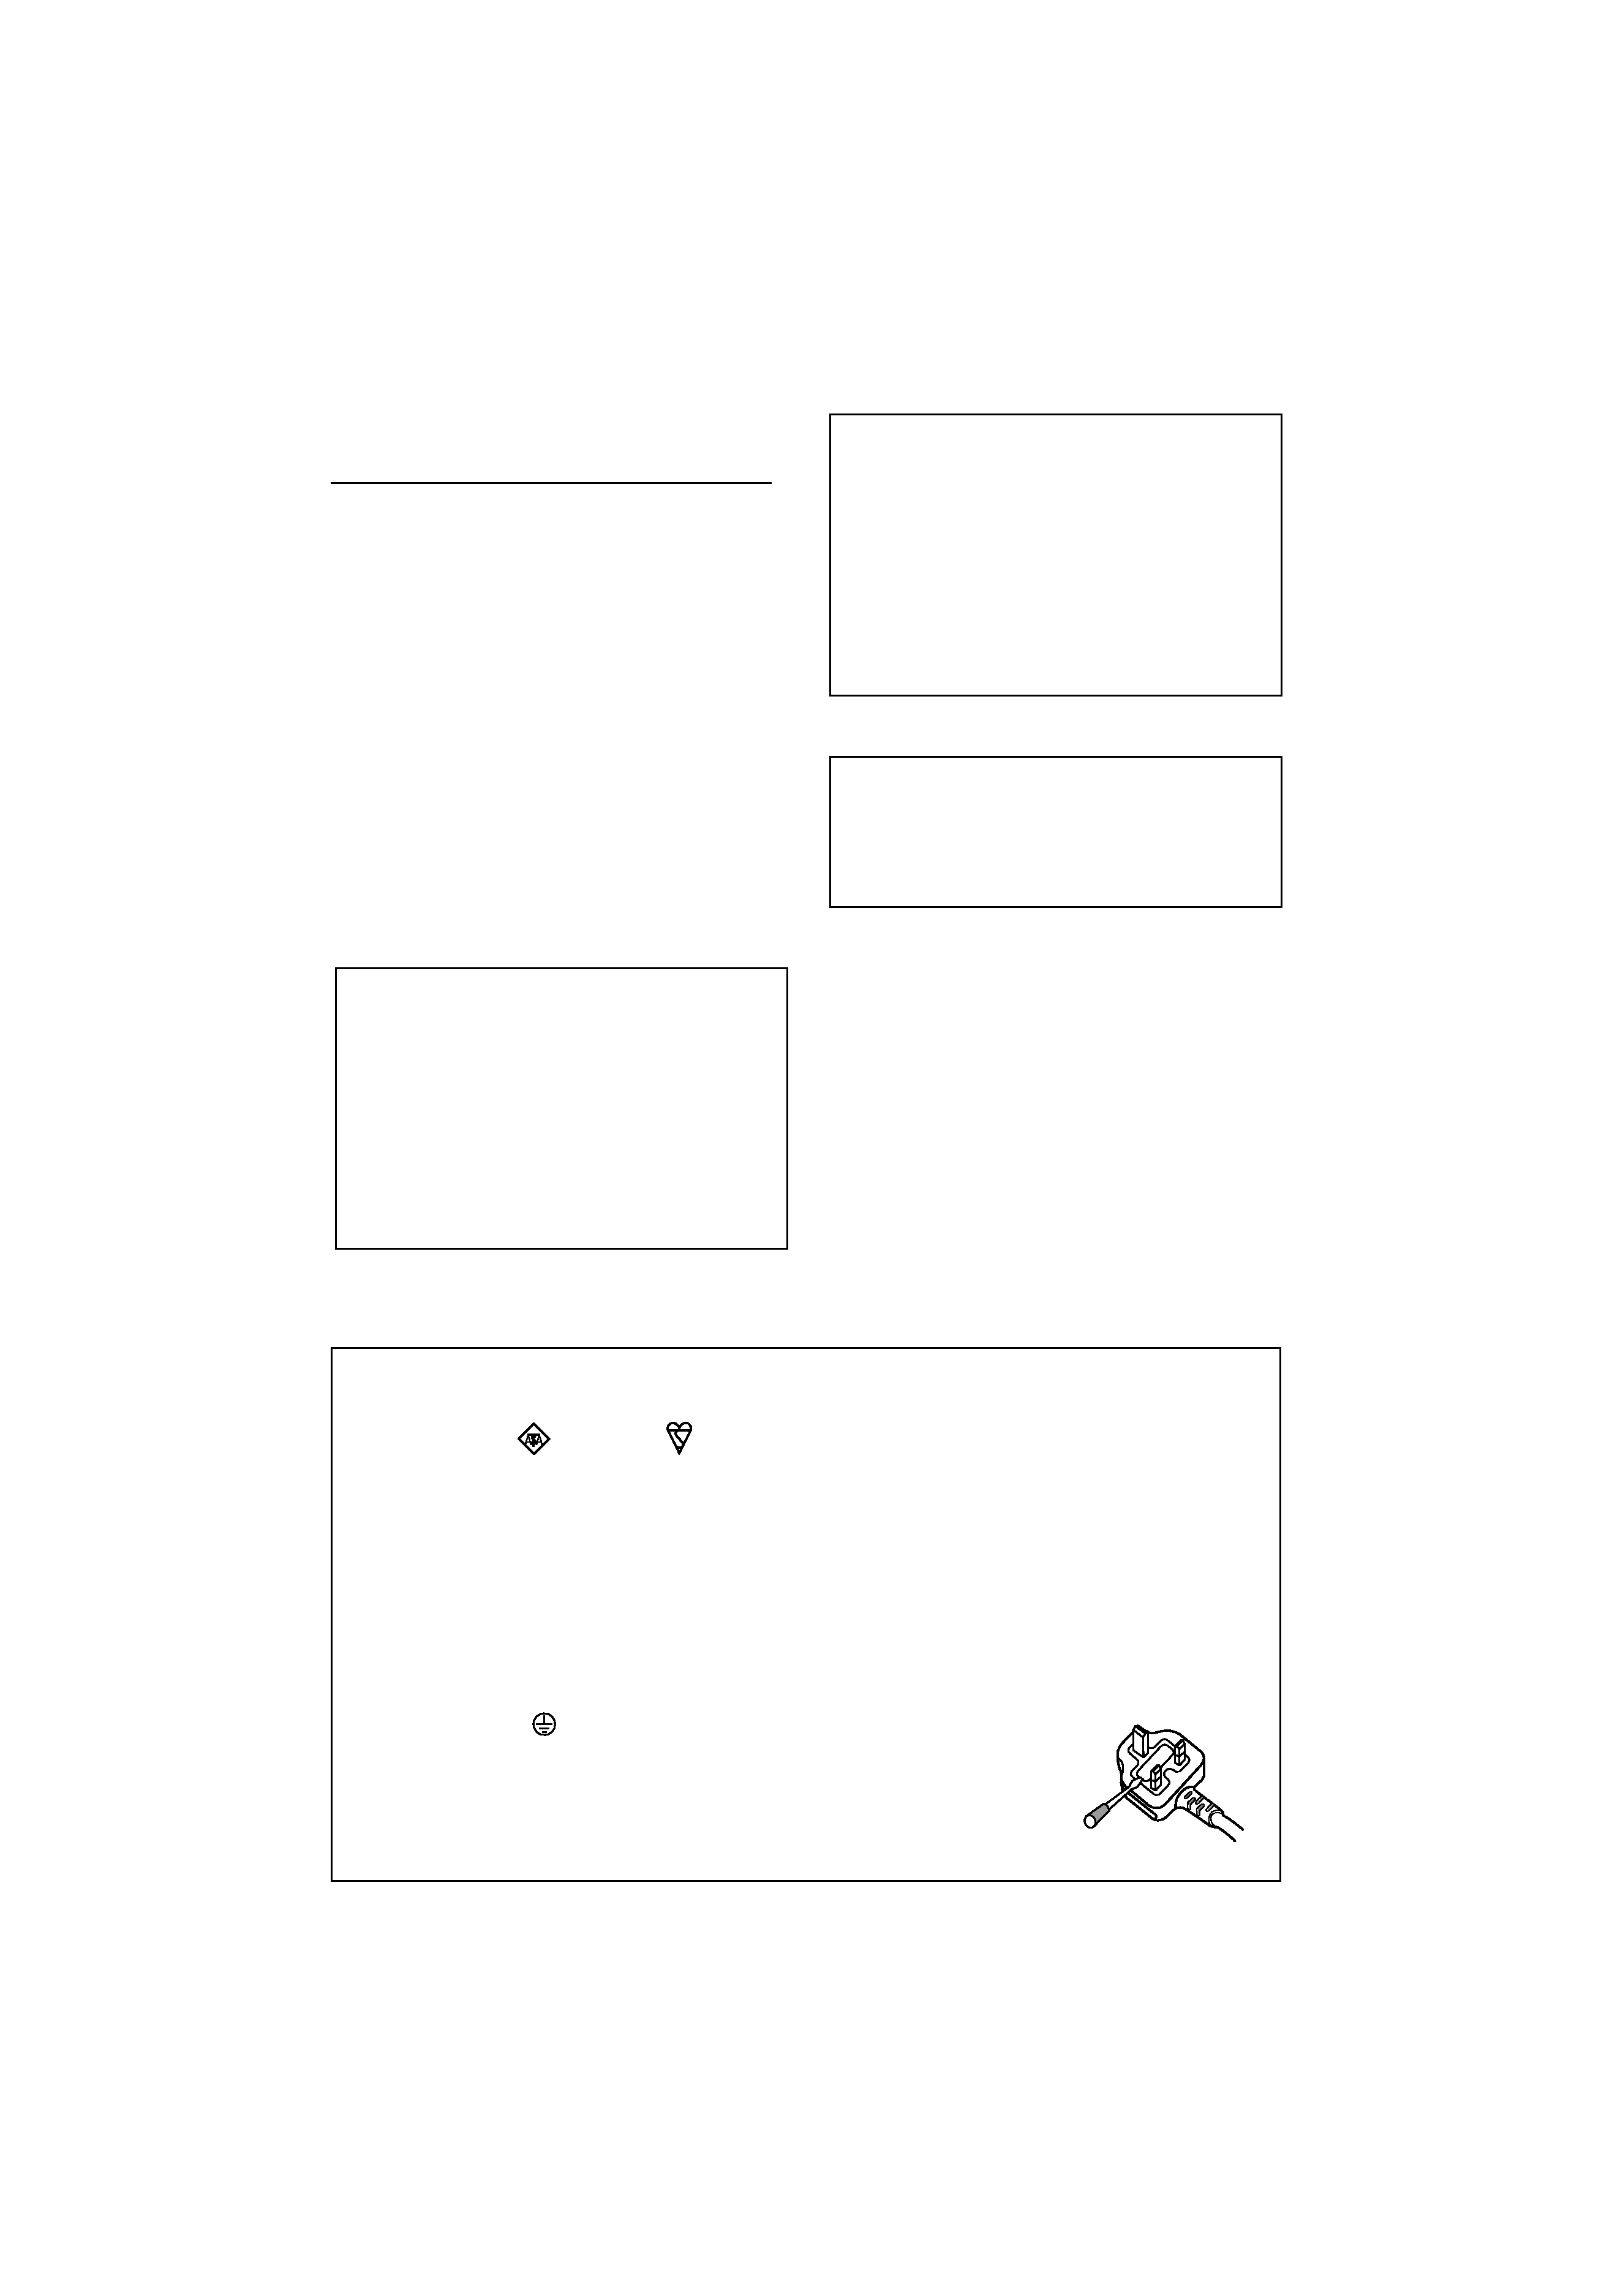
IMPORTANT: THE MOULDED PLUG
This appliance is supplied with a moulded three pin mains plug for your safety and convenience. A 5 amp fuse is fitted in this plug. Should the
fuse need to be replaced, please ensure that the replacement fuse has a rating of 5 amps and that it is approved by ASTA or BSI to BS1362.
Check for the ASTA mark
or the BSI mark
on the body of the fuse.
If the plug contains a removable fuse cover, you must ensure that it is refitted when the fuse is replaced. If you lose the fuse cover the plug
must not be used until a replacement cover is obtained. A replacement fuse cover can be obtained from your local dealer.
If the fitted moulded plug is unsuitable for your socket outlet, then the fuse shall be removed and the plug cut off and disposed of
safely. There is a danger of severe electrical shock if the cut off plug is inserted into any 13 amp socket.
If a new plug is to be fitted, please observe the wiring code as shown below. If in any doubt, please consult a qualified electrician.
WARNING : THIS APPARATUS MUST BE EARTHED.
IMPORTANT: The wires in this mains lead are coloured in accordance with the following code:
Green & Yellow : Earth
Blue : Neutral
Brown : Live
As the colours of the wires in the mains lead of this appliance may not correspond with the coloured markings identifying the terminals in
your plug, proceed as follows ;
The wire which is coloured GREEN-AND-YELLOW must be connected to the terminal in the plug which is marked with the letter
E or
by the earth symbol
or coloured GREEN or GREEN-AND-YELLOW.
The wire which is coloured BLUE must be connected to the terminal which is marked with the
letter
N or coloured BLACK.
The wire which is coloured BROWN must be connected to the terminal which is marked with the
letter
L or coloured RED.
How to replace the fuse: Open the fuse compartment with a screwdriver and replace the fuse.
D3-4-2-1-2-1_B_En
DVR540H_WV_EN.book 3

4
En
Contents
01 Before you start
What's in the box
. . . . . . . . . . . . . . . . . . . 6
Putting the batteries in the
remote control
. . . . . . . . . . . . . . . . . . . . . . 6
Using the remote control
. . . . . . . . . . . . . . 6
Disc / content format playback
compatibility
. . . . . . . . . . . . . . . . . . . . . . . 7
About the internal hard disk drive
. . . . . . 12
Symbols used in this manual
. . . . . . . . . 13
02 Connecting up
Rear panel connections
. . . . . . . . . . . . . . 14
Front panel connections
. . . . . . . . . . . . . 15
Easy connections
. . . . . . . . . . . . . . . . . . 16
Using other types of audio/video output
.17
Connecting to a cable box, satellite
receiver or digital terrestrial receiver
. . . . 18
Connecting an external decoder box (1)
.20
Connecting an external decoder box (2)
.21
Connecting to an AV amplifier/receiver
. . 22
Connecting other AV sources
. . . . . . . . . 23
Plugging in
. . . . . . . . . . . . . . . . . . . . . . . 23
03 Controls and displays
Front panel
. . . . . . . . . . . . . . . . . . . . . . . 24
Display
. . . . . . . . . . . . . . . . . . . . . . . . . . 25
Remote control
. . . . . . . . . . . . . . . . . . . . 26
04 Getting started
Switching on and setting up
. . . . . . . . . . 29
Setting up the GUIDE Plus+® system
. . 32
05 Using the GUIDE Plus+®
electronic program guide
The GUIDE Plus+® system
. . . . . . . . . . 36
Using the GUIDE Plus+® system
. . . . . 37
Areas
. . . . . . . . . . . . . . . . . . . . . . . . . . . 39
GUIDE Plus+® FAQ and
troubleshooting
. . . . . . . . . . . . . . . . . . . 49
06 Recording
About DVD recording
. . . . . . . . . . . . . . . 52
About HDD recording
. . . . . . . . . . . . . . . 53
Recorded audio
. . . . . . . . . . . . . . . . . . . 54
Restrictions on video recording
. . . . . . . 54
Using the built-in TV tuner
. . . . . . . . . . . 55
Setting the picture quality/recording
time
. . . . . . . . . . . . . . . . . . . . . . . . . . . . 56
Basic recording from the TV
. . . . . . . . . . 57
Pause Live TV
. . . . . . . . . . . . . . . . . . . . . 58
Setting a timer recording
. . . . . . . . . . . . 59
Timer recording FAQ
. . . . . . . . . . . . . . . 62
Simultaneous recording and playback
(Chase Play)
. . . . . . . . . . . . . . . . . . . . . . 63
Recording from an external
component
. . . . . . . . . . . . . . . . . . . . . . . 63
Playing your recordings on other DVD
players
. . . . . . . . . . . . . . . . . . . . . . . . . . 64
Initializing recordable DVD discs
. . . . . . 66
07 Playback
Introduction
. . . . . . . . . . . . . . . . . . . . . . 67
Basic playback
. . . . . . . . . . . . . . . . . . . . 67
Using the Disc Navigator to browse
the contents of a disc
. . . . . . . . . . . . . . . 72
Scanning discs
. . . . . . . . . . . . . . . . . . . . 73
Playing in slow motion
. . . . . . . . . . . . . . 74
Frame advance/frame reverse
. . . . . . . . 74
The Play Mode menu
. . . . . . . . . . . . . . . 74
DVR540H_WV_ENTOC.fm 4

5
En
Displaying and switching subtitles
. . . . . 77
Switching DVD and DivX soundtracks
. . . 78
Switching audio channels
. . . . . . . . . . . . 78
Switching camera angles
. . . . . . . . . . . . 79
Displaying disc information on-screen
. . 79
08 Editing
Editing options
. . . . . . . . . . . . . . . . . . . . 81
The Disc Navigator screen
. . . . . . . . . . . . 82
09 Copying and backup
Introduction
. . . . . . . . . . . . . . . . . . . . . . 94
One Touch Copy
. . . . . . . . . . . . . . . . . . . 95
Using Copy Lists
. . . . . . . . . . . . . . . . . . . 96
Using disc backup
. . . . . . . . . . . . . . . . . 102
10 Using the Jukebox
Copying music to the HDD
. . . . . . . . . . 104
Playing music from the Jukebox
. . . . . . 105
Editing Jukebox albums
. . . . . . . . . . . . 106
11 The PhotoViewer
Locating JPEG picture files
. . . . . . . . . . 107
Playing a slideshow
. . . . . . . . . . . . . . . . 107
12 The Disc Setup menu
Basic settings
. . . . . . . . . . . . . . . . . . . . 109
Initialize settings
. . . . . . . . . . . . . . . . . . 110
Finalize settings
. . . . . . . . . . . . . . . . . . . 110
Optimize HDD
. . . . . . . . . . . . . . . . . . . . 111
Initialize HDD
. . . . . . . . . . . . . . . . . . . . 111
13 The Video Adjust menu
Setting the picture quality for TV and
external inputs
. . . . . . . . . . . . . . . . . . . 112
Setting the picture quality for disc
playback
. . . . . . . . . . . . . . . . . . . . . . . . 114
14 The Initial Setup menu
Using the Initial Setup menu
. . . . . . . . 116
Selecting other languages for language
options
. . . . . . . . . . . . . . . . . . . . . . . . . 128
15 Additional information
Minimum copying times
. . . . . . . . . . . . 129
Manual recording modes
. . . . . . . . . . . 130
Troubleshooting
. . . . . . . . . . . . . . . . . . 131
On-screen displays and recorder
displays
. . . . . . . . . . . . . . . . . . . . . . . . 135
Language code list
. . . . . . . . . . . . . . . . 137
Country/Area code list
. . . . . . . . . . . . . 138
Screen sizes and disc formats
. . . . . . . 139
Handling discs
. . . . . . . . . . . . . . . . . . . 140
Cleaning the pickup lens
. . . . . . . . . . . 140
Condensation
. . . . . . . . . . . . . . . . . . . . 141
Hints on installation
. . . . . . . . . . . . . . . 141
Moving the recorder
. . . . . . . . . . . . . . . 141
Resetting the recorder
. . . . . . . . . . . . . 141
Specifications
. . . . . . . . . . . . . . . . . . . . 142
DVR540H_WV_ENTOC.fm 5