
Operating Instructions
Discover the benefits of registering your product online at
www.pioneer.co.uk
(www.pioneer-eur.com)
TM
TM
RCS-606H
SX-SW606
S-ST606
DVR-640H-AV
Audio Multi-channel Receiver Subwoofer
Speaker System
DVD Recorder
Audio Multi-channel Receiver Subwoofer
Speaker System
DVD Recorder
RCS-505H
SX-SW404
S-ST404
DVR-640H-AV
Audio Multi-channel Receiver Subwoofer
Speaker System
DVD Recorder
RCS-404H
SX-SW404
S-ST404
DVR-440H-AV
D3-4-2-1-1_En-A
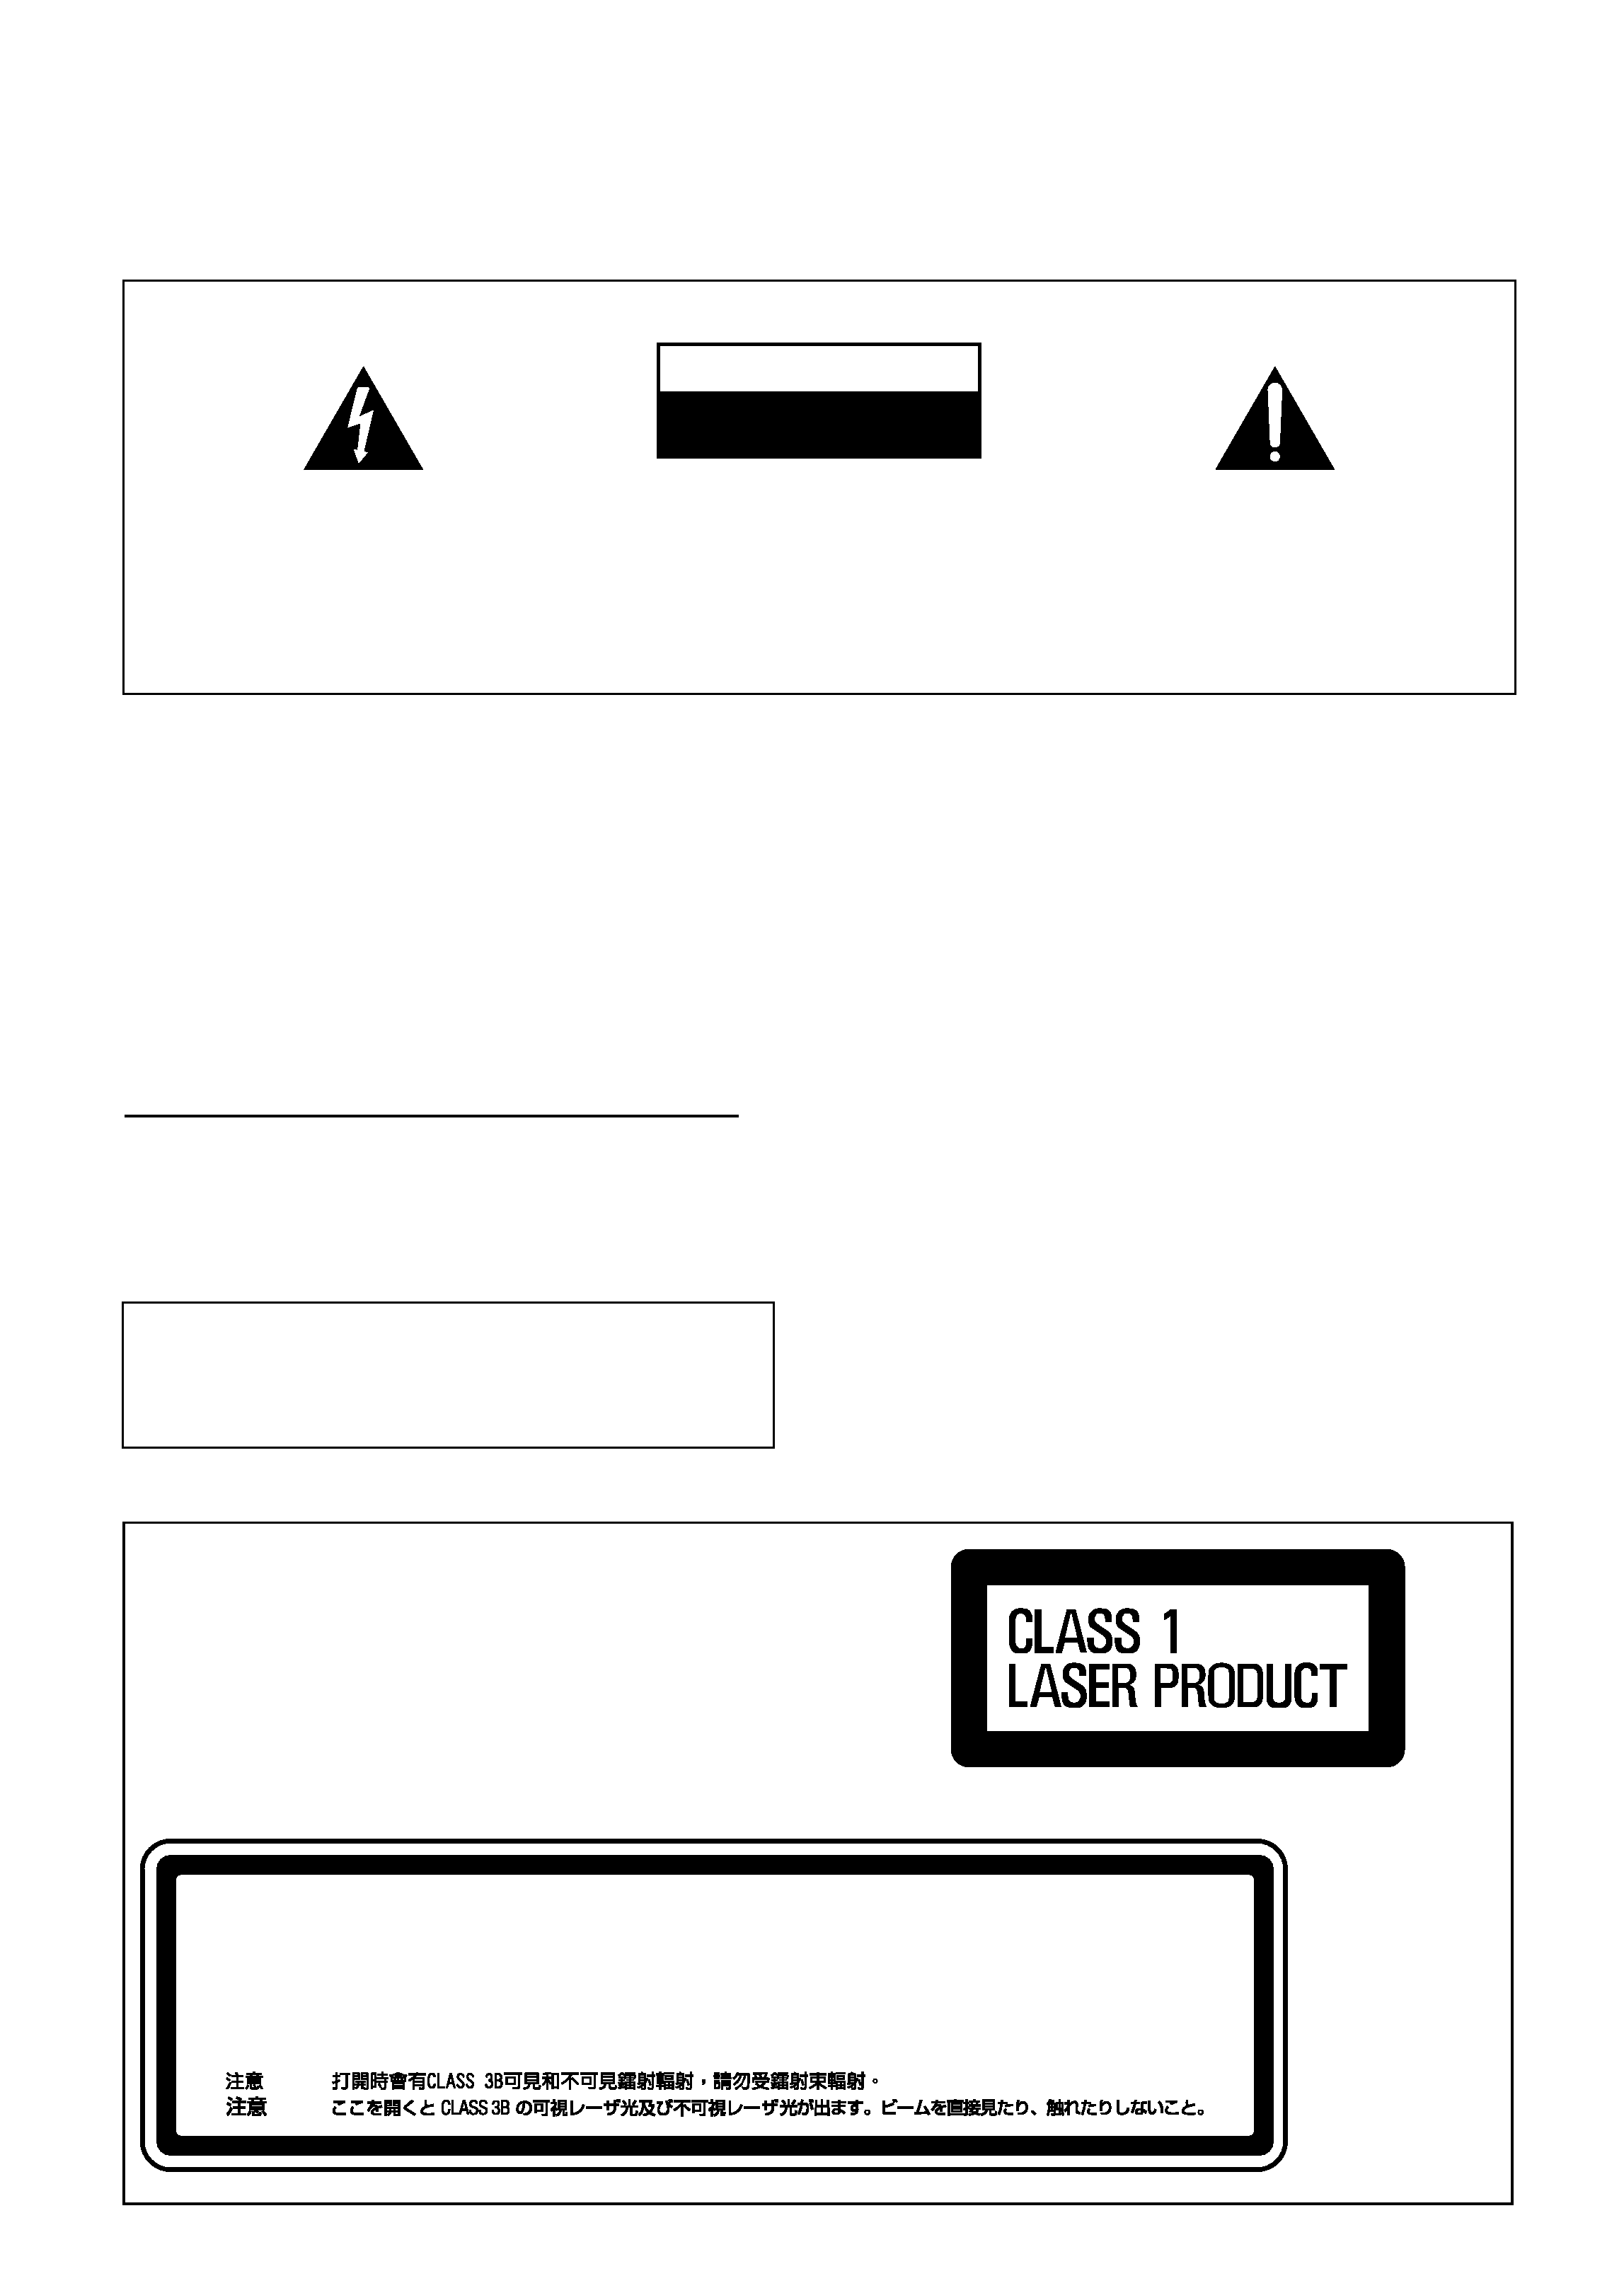
The exclamation point within an equilateral
triangle is intended to alert the user to the
presence of important operating and
maintenance (servicing) instructions in the
literature accompanying the appliance.
The lightning flash with arrowhead symbol,
within an equilateral triangle, is intended to
alert the user to the presence of uninsulated
"dangerous voltage" within the product's
enclosure that may be of sufficient
magnitude to constitute a risk of electric
shock to persons.
CAUTION:
TO PREVENT THE RISK OF ELECTRIC
SHOCK, DO NOT REMOVE COVER (OR
BACK). NO USER-SERVICEABLE PARTS
INSIDE. REFER SERVICING TO QUALIFIED
SERVICE PERSONNEL.
CAUTION
RISK OF ELECTRIC SHOCK
DO NOT OPEN
IMPORTANT
WARNING
This equipment is not waterproof. To prevent a fire
or shock hazard, do not place any container filed
with liquid near this equipment (such as a vase or
flower pot) or expose it to dripping, splashing, rain
or moisture.
D3-4-2-1-3_A_En
WARNING
To prevent a fire hazard, do not place any naked
flame sources (such as a lighted candle) on the
equipment.
D3-4-2-1-7a_A_En
Operating Environment
Operating environment temperature and humidity:
+5 ºC to +35 ºC (+41 ºF to +95 ºF); less than 85 %RH
(cooling vents not blocked)
Do not install this unit in a poorly ventilated area, or in
locations exposed to high humidity or direct sunlight (or
strong artificial light)
D3-4-2-1-7c_A_En
CAUTION
This product is a class 1 laser product, but this
product contains a laser diode higher than Class 1.
To ensure continued safety, do not remove any covers
or attempt to gain access to the inside of the product.
Refer all servicing to qualified personnel.
The following caution label appears on your unit.
Location: top of the unit
D3-4-2-1-8_B_En
CAUTION
ATTENTION
CLASS 3B VISIBLE AND INVISIBLE LASER RADIATION WHEN OPEN, AVOID EXPOSURE TO THE BEAM.
VRW2262 - A
RADIATIONS LASER VISIBLES ET INVISIBLES DE CLASSE 3B QUAND OUVERT. ...
VITEZ TOUT EXPOSITION AU FAISCEAU.
ADVARSEL
KLASSE 3B SYNLIG OG USYNLIG LASERSTR
LING VED BNING. UNDG UDSTTELSEFOR STRLING.
VARNING
KLASS 3B SYNLIG OCH OSYNLIG LASERSTR
LNINGNR DENNA DEL R ÷PPNAD. UNDVIK ATT UTSTTA DIGF÷R STRLEN.
VARO!
AVATTAESSA OLET ALTTIINA NKYVLLE JA NKYMTT
÷MLLE LUOKAN 3B LASERSTEILYLLE. L KATSO STEESEEN.
PRECAUCI"N CUANDOSE ABRE HAY RADIACI"N L¡ SER DE CLASE 3B VISIBLE E INVISIBLE. EVITE LA EXPOSICI"N A LOS RAYOS L¡ SER.
VORSICHT
BEI GE
÷FFNETER ABDECKUNG IST SICHTBARE UNDUNSICHTBARE LASERSTRAHLUNG DER KLASSE 3B IM GERTEINNEREN VORHANDEN.
NICHT DEM LASERSTRAHL AUSSETZEN!
WARNING
The voltage of the available power supply differs
according to country or region. Be sure that the
power supply voltage of the area where this unit
will be used meets the required voltage (e.g., 230V
or 120V) written on the rear panel.
D3-4-2-1-4_A_En
Before plugging in for the first time, read the following
section carefully.
This product complies with the Low Voltage Directive
(73/23/EEC, amended by 93/68/EEC), EMC Directives
(89/336/EEC, amended by 92/31/EEC and
93/68/EEC).
D3-4-2-1-9a_En
Thank you for buying this Pioneer product.
Please read through these operating instructions so that you will know how to operate your model properly. After
you have finished reading the instructions, put them in a safe place for future reference.
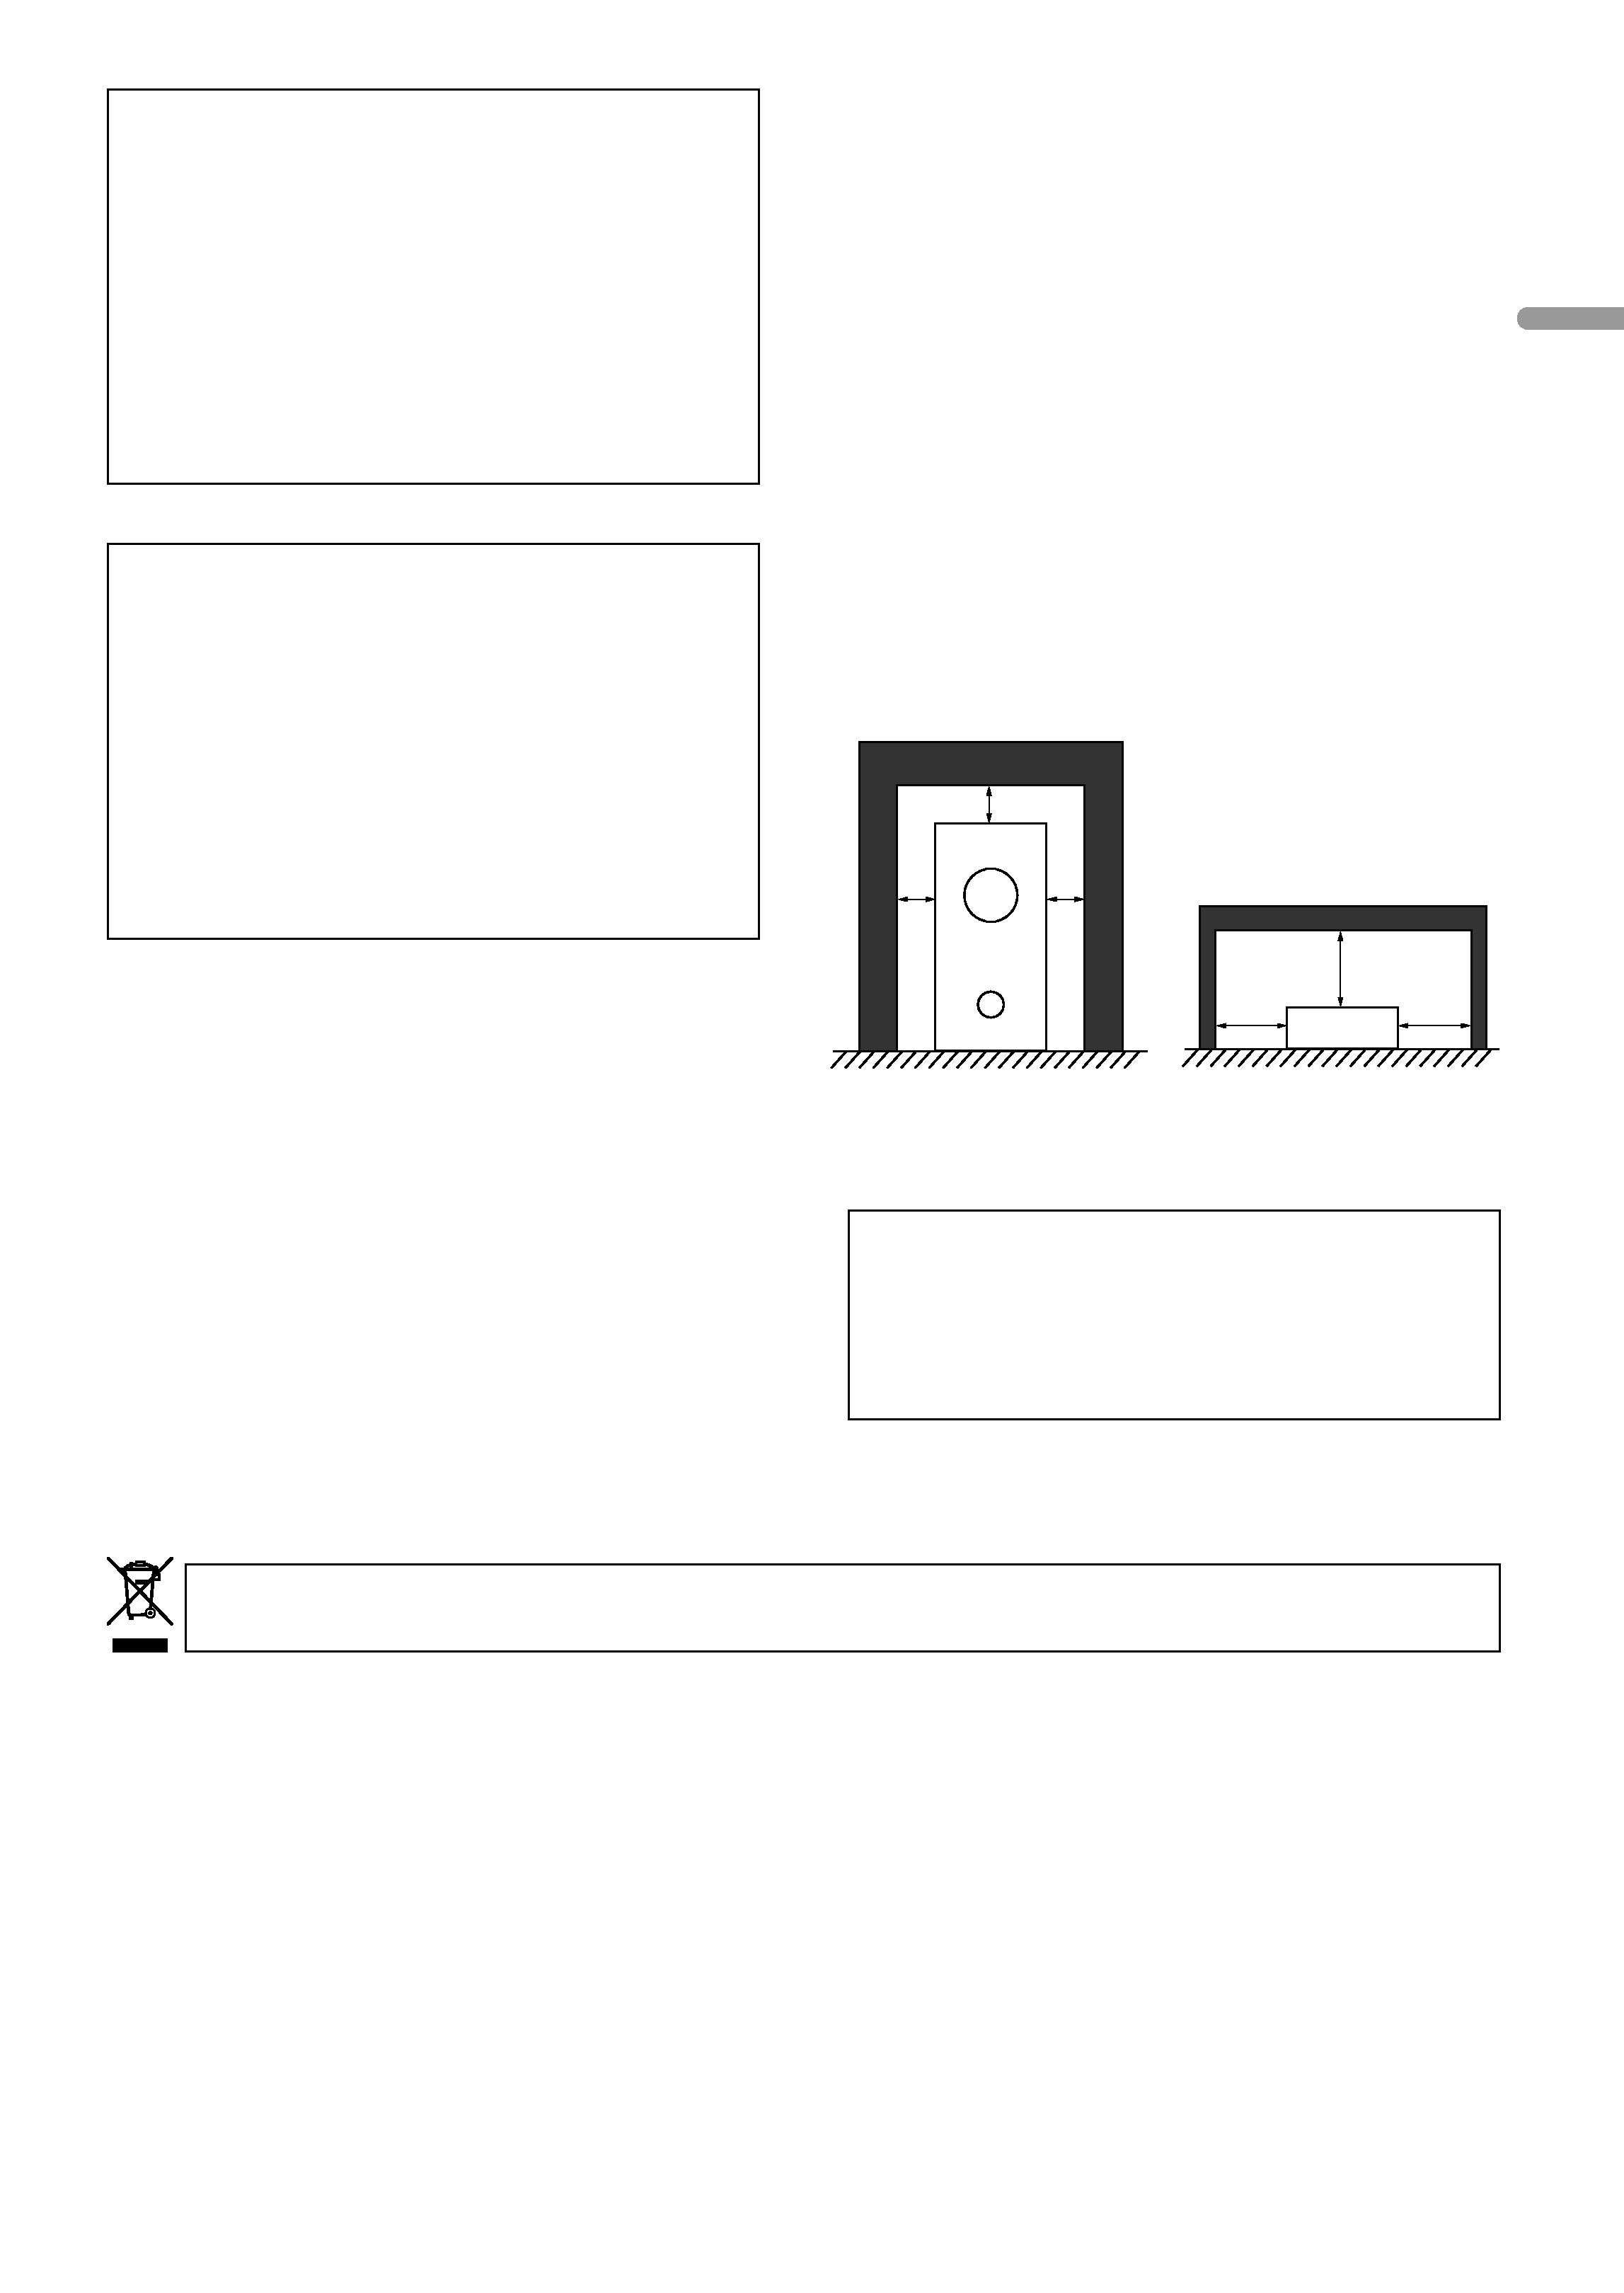
VENTILATION CAUTION (Receiver subwoofer)
When installing this unit, make sure to leave space
around the unit for ventilation to improve heat
radiation (at least 5 cm at top, 5 cm at rear, and 5
cm at each side).
VENTILATION CAUTION (DVD Recorder)
When installing this unit, make sure to leave space
around the unit for ventilation to improve heat
radiation (at least 10 cm at top, 10 cm at rear, and
10 cm at each side).
WARNING
Slots and openings in the cabinet are provided for
ventilation to ensure reliable operation of the
product, and to protect it from overheating. To
prevent fire hazard, the openings should never be
blocked or covered with items (such as newspapers,
table-cloths, curtains) or by operating the
equipment on thick carpet or a bed.
D3-4-2-1-7b_A_En
CAUTION
The
STANDBY/ON switch on this unit will not
completely shut off all power from the AC outlet.
Since the power cord serves as the main disconnect
device for the unit, you will need to unplug it from
the AC outlet to shut down all power. Therefore,
make sure the unit has been installed so that the
power cord can be easily unplugged from the AC
outlet in case of an accident. To avoid fire hazard,
the power cord should also be unplugged from the
AC outlet when left unused for a long period of time
(for example, when on vacation).
POWER-CORD CAUTION
Handle the power cord by the plug. Do not pull out the
plug by tugging the cord and never touch the power
cord when your hands are wet as this could cause a
short circuit or electric shock. Do not place the unit, a
piece of furniture, etc., on the power cord, or pinch the
cord. Never make a knot in the cord or tie it with other
cords. The power cords should be routed such that they
are not likely to be stepped on. A damaged power cord
can cause a fire or give you an electrical shock. Check
the power cord once in a while. When you find it
damaged, ask your nearest PIONEER authorized
service center or your dealer for a replacement.
S002_En
If the AC plug of this unit does not match the AC
outlet you want to use, the plug must be removed
and appropriate one fitted. Replacement and
mounting of an AC plug on the power supply cord of
this unit should be performed only by qualified
service personnel. If connected to an AC outlet, the
cut-off plug can cause severe electrical shock. Make
sure it is properly disposed of after removal.
The equipment should be disconnected by removing
the mains plug from the wall socket when left
unused for a long period of time (for example, when
on vacation).
D3-4-2-2-1a_A_En
5 cm
5 cm
5 cm
10 cm
10 cm
10 cm
Receiver subwoofer
DVD Recorder
This product is for general household purposes. Any
failure due to use for other than household purposes
(such as long-term use for business purposes in a
restaurant or use in a car or ship) and which
requires repair will be charged for even during the
warranty period.
K041_En
If you want to dispose this product, do not mix it with general household waste. There is a separate collection system for used
electronic products in accordance with legislation that requires proper treatment, recovery and recycling.
Private households in the 25 member states of the EU, in Switzerland and Norway may return their used electronic products free of charge to
designated collection facilities or to a retailer (if you purchase a similar new one).
For countries not mentioned above, please contact your local authorities for the correct method of disposal.
By doing so you will ensure that your disposed product undergoes the necessary treatment, recovery and recycling and thus prevent potential
negative effects on the environment and human health.
K058_En
English

4
En
Section One
Chapter 1
Contents
Section One
01 Contents........................................................... 4
What's in the box
. . . . . . . . . . . . . . . . . . . . . . . . . . . . 4
02 Speaker Setup Guide ...................................... 5
Safety precautions when setting up
. . . . . . . . . . . . . . 5
Home theater sound setup
(RCS-606H)
. . . . . . . . . . . . . . . . . . . . . . . . . . . . . . . . . 5
Home theater sound setup
(RCS-404H/RCS-505H)
. . . . . . . . . . . . . . . . . . . . . . . . 6
Standard surround setup
. . . . . . . . . . . . . . . . . . . . . 6
Front surround setup
. . . . . . . . . . . . . . . . . . . . . . . . 7
Wall mounting the center speaker
. . . . . . . . . . . . . . . 8
Wall mounting the speakers
(RCS-404H/RCS-505H)
. . . . . . . . . . . . . . . . . . . . . . . . 8
Before mounting
. . . . . . . . . . . . . . . . . . . . . . . . . . . 8
Additional notes on speaker placement
. . . . . . . . . . 8
03 Connecting up ............................................... 10
Basic connections
. . . . . . . . . . . . . . . . . . . . . . . . . . 10
Using this system for TV audio
. . . . . . . . . . . . . . . . . 14
04 Remote control.............................................. 15
Using the remote control
. . . . . . . . . . . . . . . . . . . . . 17
Putting the batteries in the remote control
. . . . . . . . 17
05 Before you start ............................................ 18
Switching on
. . . . . . . . . . . . . . . . . . . . . . . . . . . . . . 18
Setting up
. . . . . . . . . . . . . . . . . . . . . . . . . . . . . . . . . 18
Basic operation
. . . . . . . . . . . . . . . . . . . . . . . . . . . . 19
Watching a DVD
. . . . . . . . . . . . . . . . . . . . . . . . . . 19
Listening to a CD
. . . . . . . . . . . . . . . . . . . . . . . . . . 19
Watching a title recorded on the HDD
. . . . . . . . . . 19
Listening to the radio
. . . . . . . . . . . . . . . . . . . . . . . 19
Section Two
Operating instructions for the Audio
Multi-channel Receiver Subwoofer and
Speaker System . . . . . . . . . . . . . . . . . . . . . 20
Section Three
Operating instructions for the DVD
Recorder . . . . . . . . . . . . . . . . . . . . . . . . . . . 42
What's in the box
Please confirm that the following items are all supplied.
Receiver subwoofer (SX-SW606/SX-SW404) box:
· Remote control (page 15)
· AA/R6 dry cell batteries (to confirm operation) x2
(page 17)
· Display unit (page 22)
· Power cord (page 12)
· AM loop antenna (page 10)
· FM wire antenna (page 10)
· Control cable (page 10)
· Display cable (page 10)
· Coaxial cable (page 10)
· Microphone (for Auto MCACC setup) (page 23)
· These operating instructions
· Warranty card
DVD recorder (DVR640H-AV/DVR440H-AV) box:
· Audio/video cable (red/white/yellow) (page 13)
· G-LINKTM cable (page 53)
· RF antenna cable (page 12)
· Power cord (page 12)
Speakers (SST404) box:
· Speakers (front x2, surround x2, center x1) (page 12)
· Speaker cables x5 (page 11)
· Non-skid pads (large) x4 (page 6, 7)
· Non-skid pads (small) x20 (page 6, 7)
· Speaker stands x2 (page 7)
· Screws (for speaker stands) x2 (page 7)
Speakers (SST606) box:
· Speakers (front x2, surround x2, center x1) (page 12)
· Speaker cables x5 (page 11)
· Non-skid pads (large) x4 (page 5)
· Non-skid pads (large) x16 (page 5)
· Non-skid pads (small) x4 (page 5)
· Speaker stand bases x 4 (page 5)
· Screws (for bases) x 12 (page 5)

Speaker Setup Guide
5
En
English
Chapter 2
Speaker Setup Guide
Safety precautions when setting up
When assembling the speakers, lay them down flat on
their side to avoid accidents or injury. Make sure to use a
stable surface when assembling, setting up, and placing
the speakers.
Home theater sound setup
(RCS-606H)
· This is a standard multichannel surround sound
speaker setup for optimal 5.1 channel home theater
sound.
1
Attach the speaker stand bases to the stems
using the screws provided.
Once you have aligned the stem and base, secure with
the small screws at the points shown below. Note that
the speaker should face in the direction of the base of the
isosceles triangle (outlined below).
2
Attach the smaller non-skid pads to the base of
the center speaker. The large non-skid pads are for
the front and surround speakers, and the receiver
subwoofer (as shown).
Use the adhesive side of the pads to attach them to the
base (flat surface) of each speaker.
Front
left
Receiver subwoofer
Front
right
Surround
left
Surround
right
Center
Listening position
Rear
Front
Non-skid pads
(large) x 4
Non-skid pads
(small) x 4
Non-skid pads
(large) x 16
Center speaker
Receiver
subwoofer
Front and
surround
speakers