
DJ MIXER
DJM-3000
Operating Instructions
2
<DRB1364>
ChK/En
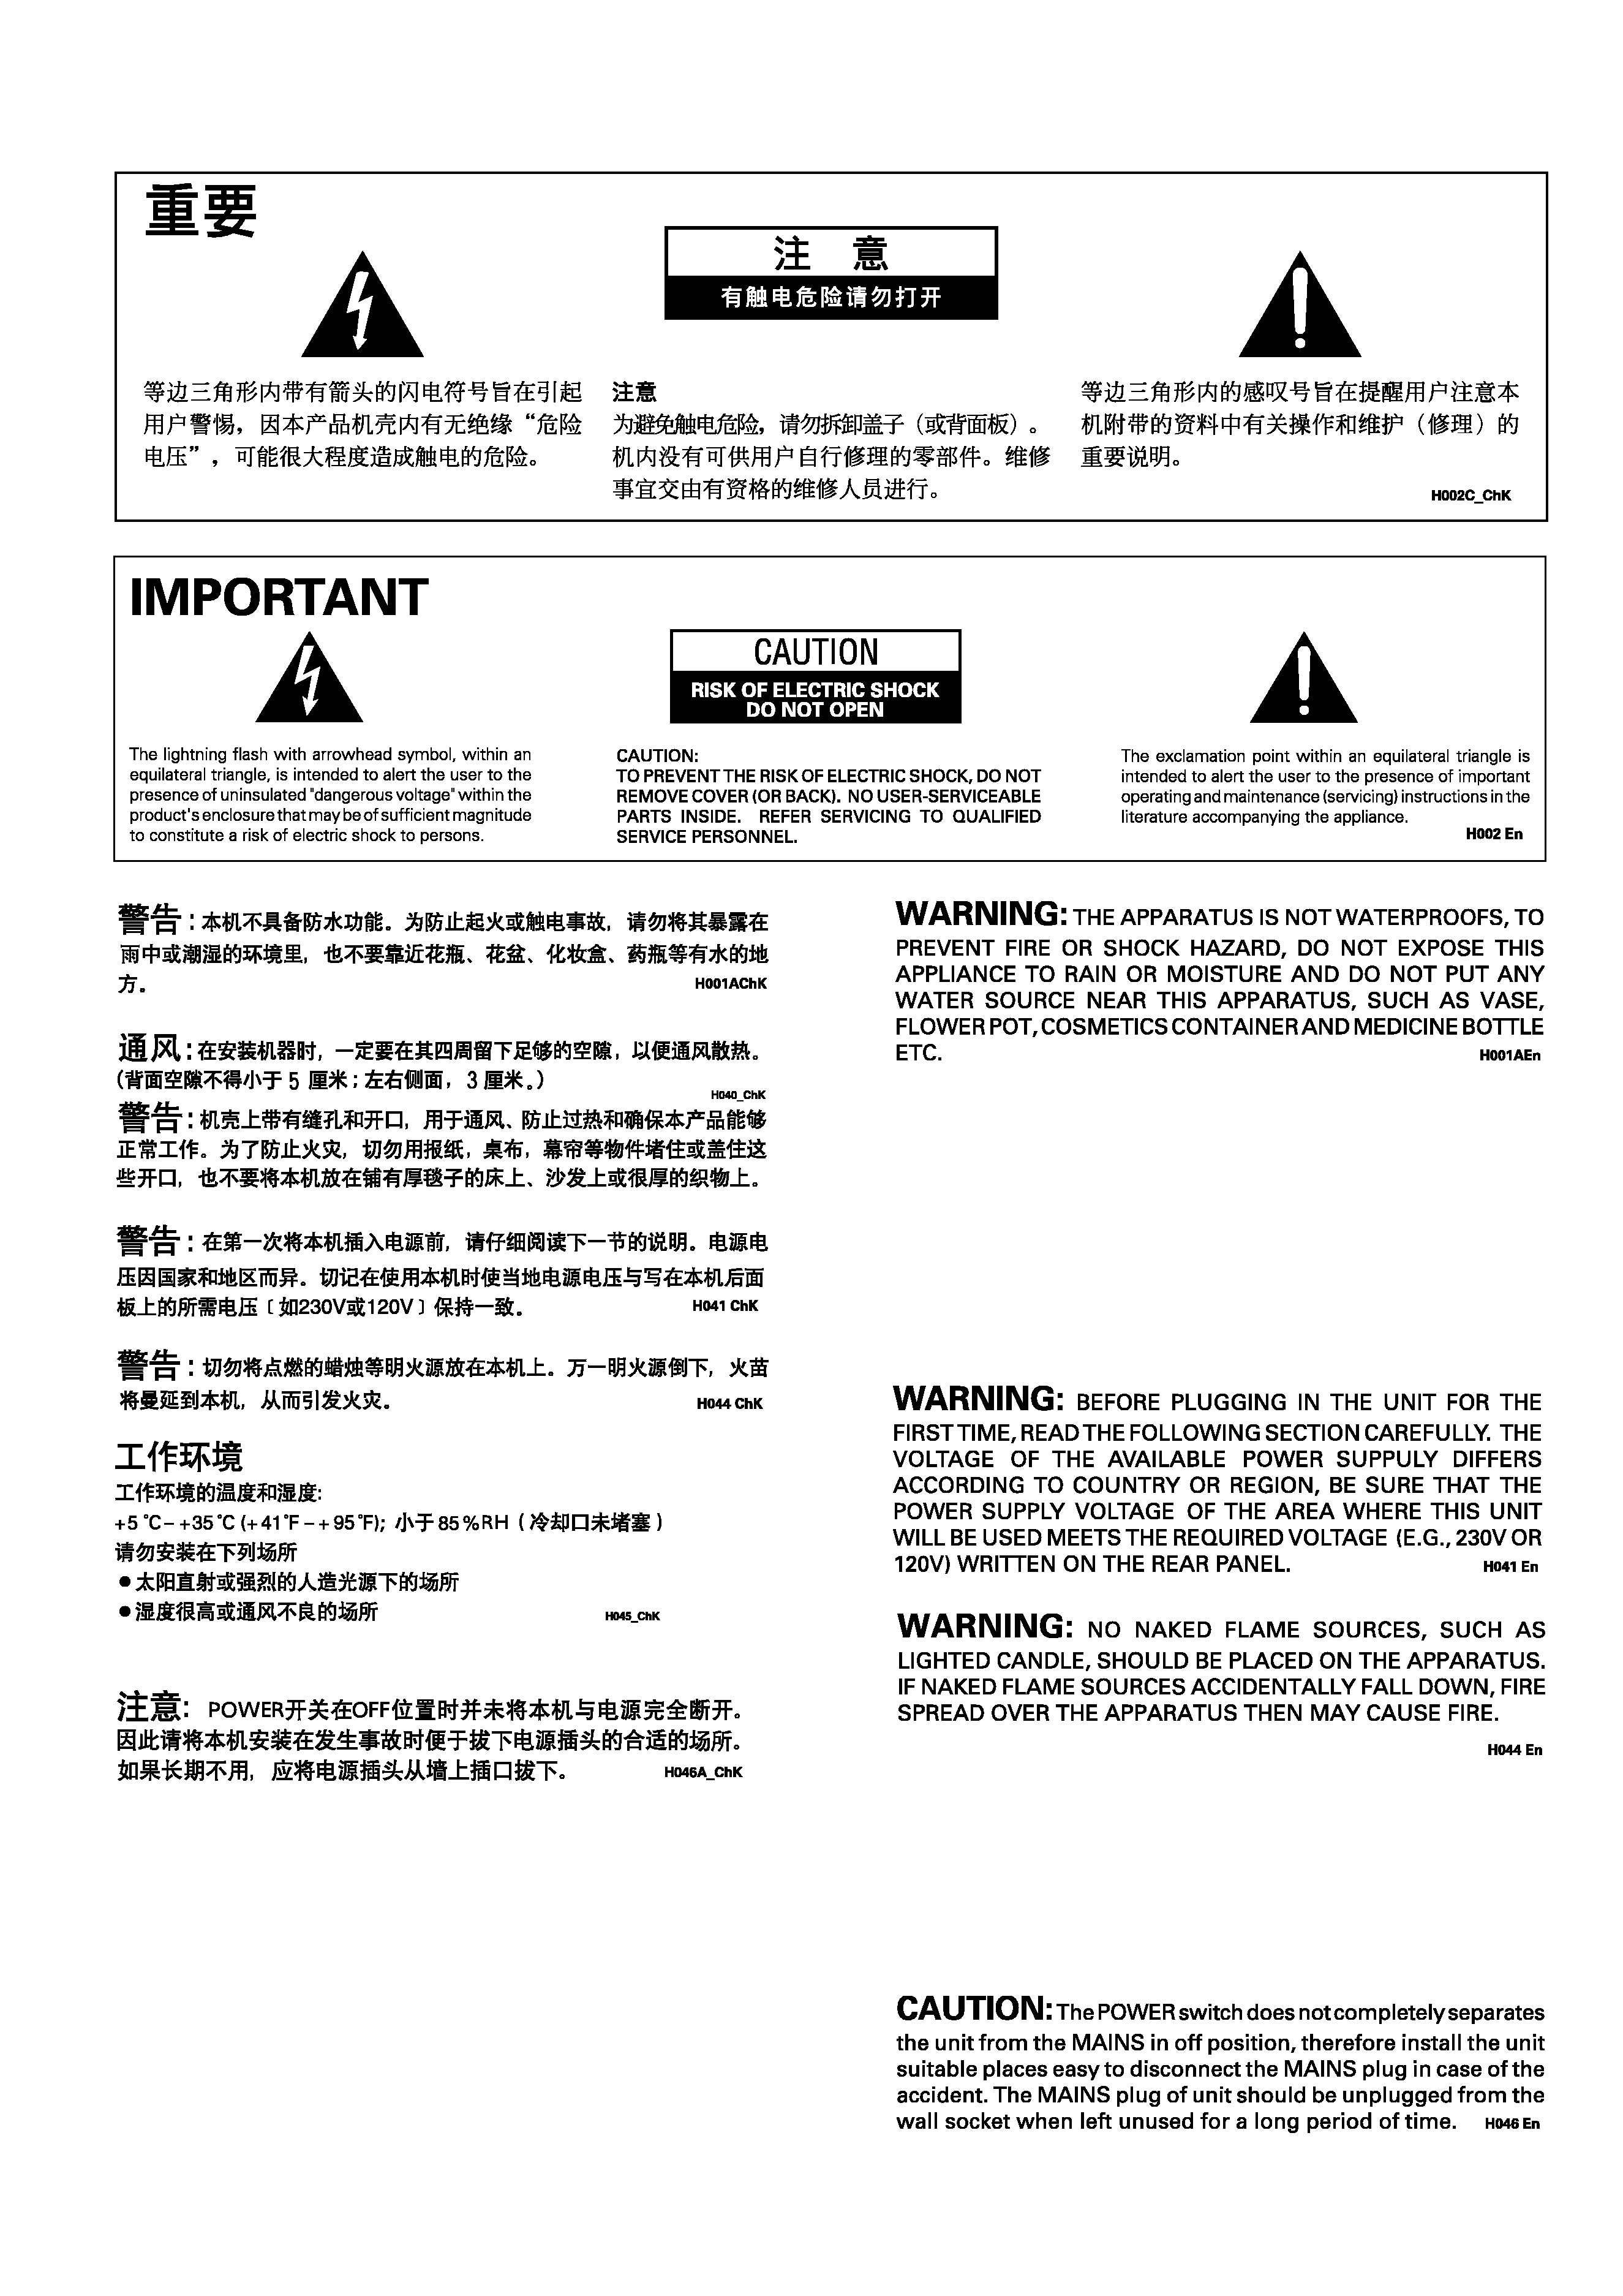
Operating Environment
H045 En
Operating environment temperature and humidity:
+5°C +35°C (+41°F +95°F); less than 85%RH (cooling vents not
blocked)
Do not install in the following locations
÷ Location exposed to direct sunlight or strong artificial light
÷ Location exposed to high humidity, or poorly ventilated location
VENTILATION: When installing this unit, make sure to leave
space around the unit for ventilation to improve heat radiation
(at least 5 cm at rear, and 3 cm at each side).
WARNING: Slot and openings in the cabinet are provided for
ventilation and to ensure reliable operation of the product and
to protect it from overheating, to prevent fire hazard, the open-
ings should never be blocked and covered with items, such as
newspapers, table-cloths, curtains, etc. Also do not put the ap-
paratus on the thick carpet, bed, sofa, or fabric having a thick
pile.

3
<DRB1364>
ChK/En
CONTENTS
CHECKING ACCESSORIES ....................................... 4
FEATURES ................................................................. 4
CAUTIONS REGARDING HANDLING ...................... 5
Location ........................................................................... 5
Condensation .................................................................. 5
Cleaning the Unit ............................................................ 5
Installing the DJM-3000 in an EIA rack .......................... 5
CONNECTIONS ......................................................... 6
PART NAMES AND FUNCTIONS ............................. 9
USING THE EFFECT FUNCTIONS .......................... 15
Features of Various Effectors ....................................... 15
Delay, Echo, Auto Pan, Auto Trans, Filter,
and Flanger Operations ................................................. 18
Operating Reverb and Pitch Shifter .............................. 21
Using an External Effector ............................................ 23
BPM COUNTING ..................................................... 24
Using the Auto Mode to Count BPM ........................... 24
Using the Manual Mode to Count BPM ....................... 25
USING THE FADER START FUNCTION ................ 27
Starting with the Channel Fader ................................... 29
Starting with the Cross Fader ....................................... 30
USING THE EFFECT MIX FUNCTION .................... 31
Effect Mix Features ...................................................... 31
Selecting the Effect Mix Function ................................ 33
Effect Mix Fader Mode ................................................. 35
Effect Mix Auto Mode .................................................. 36
TROUBLESHOOTING .............................................. 39
SPECIFICATIONS .................................................... 40
Thank you for buying this Pioneer product.
Please read through these operating instructions so you will know
how to operate your model properly. After you have finished read-
ing the instructions, put them away in a safe place for future ref-
erence.
In some countries or regions, the shape of the power plug and
power outlet may sometimes differ from that shown in the ex-
planatory drawings. However the method of connecting and op-
erating the unit is the same.
K015 En

4
<DRB1364>
ChK/En
CHECKING ACCESSORIES
÷ 2 short-circuit pin plugs
These are inserted in the PHONO 4 terminals.
÷ Operating instructions
FEATURES
Effect Mixing
Changing between three kinds of effect mix (ECHO, ZIP,
ROLL) can be performed easily merely by operating the
Cross fader lever, or by pressing the Effect select/start
switch.
BPM Counter
The auto BPM counter provided makes music tempo visible
to the eye.
Peak Level Meter
The peak level meter provided is equipped with 11-bit LED
indicators for all channels.
Fader Start/Stop
The CD player can be started or stopped simply by increasing
or decreasing the level of the cross fader or channel fader.
(This function can only be used when the Pioneer CD player
series CMX-3000, CDJ-1000MK2, CDJ-800 or CDJ-100S is
connected.)
3-Band Equalizer and Kill
This 3-band equalizer corresponds to the HI, MID, and LOW
channels. The attenuation level also serves as a kill function,
which can decrease the level to 26 dB.
Variety of Effects
Both internal and external effects can be applied to all
channels, the microphone, and master.
A variety of effects can be enjoyed, including delay, echo,
auto pan, auto trans, filter, flanger, reverb and pitch shifter.
Full range of input and output functions
This DJ Mixer is equipped with 4 (+3*) LINE inputs, 4
PHONO (dedicated MM) inputs, and 2 (+1*) MIC inputs, for a
total of 10 inputs. In addition to 2 master output lines (one
supporting professional-grade XLR mode), a variety of other
independent outputs are also provided, including booth
monitor output, recording output, and two digital outputs.
SEND/RETURN jacks are also provided for the connection of
external effects units.
* These additional connectors can optionally be switched
from PHONO input to make up the total.
*

5
<DRB1364>
ChK/En
CAUTIONS REGARDING
HANDLING
Location
Install the unit in a well-ventilated location where it will
not be exposed to high temperatures or humidity.
÷ Do not install the unit in a location which is exposed to
direct rays of the sun, or near stoves or radiators.
Excessive heat can adversely affect the cabinet and
internal components. Installation of the unit in a damp or
dusty environment may also result in a malfunction or
accident. (Avoid installation near cookers etc., where the
unit may be exposed to oily smoke, steam or heat.)
÷ When the unit is used inside a carrying case or DJ booth,
separate it from the walls or other equipment to improve
heat radiation.
Condensation
When this unit is brought into a warm room from previously
cold surroundings or when the room temperature rises
sharply, condensation may form inside, and the unit may not
be able to attain its full performance. In cases like this, allow
the unit to stand for about an hour or raise the room
temperature gradually.
Cleaning the Unit
÷ Use a polishing cloth to wipe off dust and dirt.
÷ When the surfaces are very dirty, wipe with a soft cloth
dipped in some neutral cleanser diluted five or six times
with water and wrung out well, then wipe again with a dry
cloth. Do not use furniture wax or cleaners.
÷ Never use thinners, benzene, insecticide sprays or other
chemicals on or near this unit, since these will corrode the
surfaces.
Installing the DJM-3000 in an EIA rack
The screw holes on the front panel of the DJM-3000 are
designed for use in attaching the unit to a 19-inch EIA rack.
÷ Attach the unit to the rack using screws of the appropriate
size (screws not provided with the unit).
Note
÷ Never place this unit directly above a power amplifier, as
the heat given off by the amplifier might result in damage
to the unit. Placing the unit directly above a power amplifier
might also result in ham radio signals being picked up or in
other types of interference.
÷ Allow at least 1U (43.7mm) space between this
component and the one mounted above it, so as to assure
that the cords connected to this unit's input/output
connectors and terminals do not touch the component
above.
÷ Always be sure to remove the unit from its rack before
shipping.
÷ When moving the unit while still installed in its rack,
exercise caution to avoid subjecting the unit to shocks or
vibration.