
COMPONENT SYSTEM/COMPACT HI-FI SYSTEM
DIGITAL AUDIO
COMPACT
INSTRUCTION MANUAL
KENWOOD CORPORATION
B60-3000-00 SI
AP
(T)
98/12 11 10 9 8 7 6 5 4 3 2 1 97/12 11 10 9 8 7 6 5 4 3 2 1
XD-980MD
XD-980MD (En)
2
Preparation
section
Basic
section
Application
section
Knowledge
sections
Before applying power
CAUTION: TO REDUCE THE RISK OF ELECTRIC SHOCK, DO NOT REMOVE COVER
(OR BACK). NO USER-SERVICEABLE PARTS INSIDE, REFER SERVICING TO QUALI-
FIED SERVICE PERSONNEL.
RISK OF ELECTRIC SHOCK
DO NOT OPEN
THE LIGHTNING FLASH WITH ARROWHEAD SYMBOL, WITHIN AN EQUILATERAL TRIANGLE, IS IN-
TENDED TO ALERT THE USER TO THE PRESENCE OF UNINSULATED "DANGEROUS VOLTAGE"
WITHIN THE PRODUCT'S ENCLOSURE THAT MAY BE OF SUFFICIENT MAGNITUDE TO CONSTITUTE
A RISK OF ELECTRIC SHOCK TO PERSONS.
THE EXCLAMATION POINT WITHIN AN EQUILATERAL TRIANGLE IS INTENDED TO ALERT THE USER
TO THE PRESENCE OF IMPORTANT OPERATING AND MAINTENANCE (SERVICING) INSTRUCTIONS
IN THE LITERATURE ACCOMPANYING THE APPLIANCE.
Units are designed for operation as follows.
Europe and U.K. ........................................................................ AC 230 V only
Safety precautions
Factory fitted moulded mains plug
1. The mains plug contains a fuse. For replacement, use only a 13-Amp
ASTA-approved (BS 1362) fuse.
2. The fuse cover must be refitted when replacing the fuse in the
moulded plug.
3. Do not cut off the mains plug from this equipment. If the plug fitted
is not suitable for the power points in your home or the cable is too
short to reach.
A power point, then obtain an appropriate safety approved extension
lead or adapter, or consult your dealer.
If nonetheless the mains plug is cut off, remove the fuse and
dispose of the plug immediately, to avoid a possible shock hazard by
inadvertent.
Connection to the mains supply.
IMPORTANT : The wires in the mains lead are coloured in accordance
with the following code :
Blue
: Neutral
Brown : Live
Do not connect those leads to the earth terminal of a three-pin plug.
For the United Kingdom
WARNING : TO PREVENT FIRE OR ELECTRIC SHOCK,
DO NOT EXPOSE THIS APPLIANCE TO
RAIN OR MOISTURE.
CAUTION
The marking is located on the rear panel and says that the com-
ponent uses laser beams that have been classified as Class 1. It
means that the unit is utilizing laser beams that are of a weaker
class. There is no danger of hazardous radiation outside the unit.
CLASS 1
LASER PRODUCT
The marking of products using lasers
(Except for some areas)
Before applying power
Caution : Read this page carefully to ensure safe operation.
REQUIREMENT BY NEDERLAND GAZETTE
Batteries are supplied with this product. When
they empty, you should not throw away. Instead,
hand them in as small chemical waste.

XD-980MD (En)
3
Preparation
section
Basic
section
Application
section
Knowledge
sections
Before applying power
Contents
Preparation section
Application section
Basic section
Knowledge section
Before applying power ................................................ 2
Safety precautions ............................................................. 2
Contents .............................................................................. 3
Special features .................................................................. 4
Handling of discs ................................................................ 5
System connection ....................................................... 6
Connection of the System Accessories ........................... 6
Connection of Options (Optional Parts) .......................... 8
Controls and indicators ............................................. 10
Main unit ........................................................................... 10
Display ............................................................................... 12
Remote control Unit ......................................................... 14
Operation of remote control unit ............................. 15
Let's put out some sound ........................................... 16
Basic use method ............................................................. 16
Playback of CD .................................................................. 18
Playback of Mini Disc ....................................................... 20
Receiving broadcast station ........................................... 24
Let's record .................................................................. 26
Recording on MD .............................................................. 26
Important Items ........................................................... 73
Maintenance ..................................................................... 73
Reference .......................................................................... 73
MD system ........................................................................ 74
Digital recording and SCMS ........................................... 75
In case of difficulty .................................................... 76
Specifications ............................................................. 80
Playback of CD ............................................................ 29
Listening in the desired sequence
(program playback) ........................................................ 29
Repeated playback ........................................................... 31
Listening to an unexpected title sequence
(random playback) .......................................................... 33
Playback of MD........................................................... 34
Listening in the desired sequence
(program playback) ........................................................ 34
Repeated playback ........................................................... 36
R.D.S. (Radio Data System) ....................................... 37
Searching for a desired program type
(PTY search) .................................................................... 38
To be able to listen to the desired information at any time ...
40
Convenient Recording Methods .............................. 42
Selection of the Recording type ..................................... 42
One-touch recording of one CD, MD
(One-touch edit recording of all tracks) ....................... 44
When a desired track is found, only that track is recorded
(One-touch edit recording of one track) ...................... 45
Producing a MD collecting only the first titles
(BEST HITS function) ..................................................... 46
Producing a tape collecting only the first titles
(BEST HITS function) ..................................................... 47
Recording of one CD or several CDs (CD
=MD)
(Program recording) ....................................................... 48
Recording of one CD or several CDs (CD
=TAPE)
(Program recording) ....................................................... 49
Change of the track sequence according to the tape length
(CD
=TAPE only) (Time edit recording) ........................ 50
Fade-out/Fade-in at the tape reversal
(CD
=TAPE only) (Fade edit recording) ........................ 52
MD Edit Functions ...................................................... 53
Selecting the editing function type ............................... 53
Assigning a title to a disc or track ................................. 54
Changing or deleting a title ............................................ 55
Moving several tracks at a time (QUICK MOVE) .......... 56
Moving a single track (TRACK MOVE) ........................... 57
Dividing a track (TRACK DIVIDE) .................................... 58
Combining two tracks (TRACK COMBINE) ................... 59
Erasing a single track (TRACK ERASE) or erasing all tracks on a disc
(ALL ERASE) .................................................................... 60
Effective Sound Field and Sound Quality Adjustment ... 62
Adjustment of balance and input level ......................... 62
Listening with the desired sound
(equalizer function) ........................................................ 63
Enjoying Sound Field Effects .......................................... 65
Enjoying Karaoke ............................................................. 66
Clock adjustment ........................................................ 68
Timer operation ........................................................... 69
Operate easy To use Timer (O.T.T.) ................................ 69
Sleep timer ........................................................................ 69
Timer programming ......................................................... 70
Caution : Read the pages marked
carefully to ensure safe operation.
XD-980MD (En)
4
Preparation
section
Basic
section
Application
section
Knowledge
sections
Before applying power
Special features An MD recorder is standard equipment
)
An MD recorder with high digital sound quality is standard equipment. Digital copying from a CD is
also easy. This recorder has many functions like recording and display of names for discs and titles,
changing the sequence of tracks, etc.
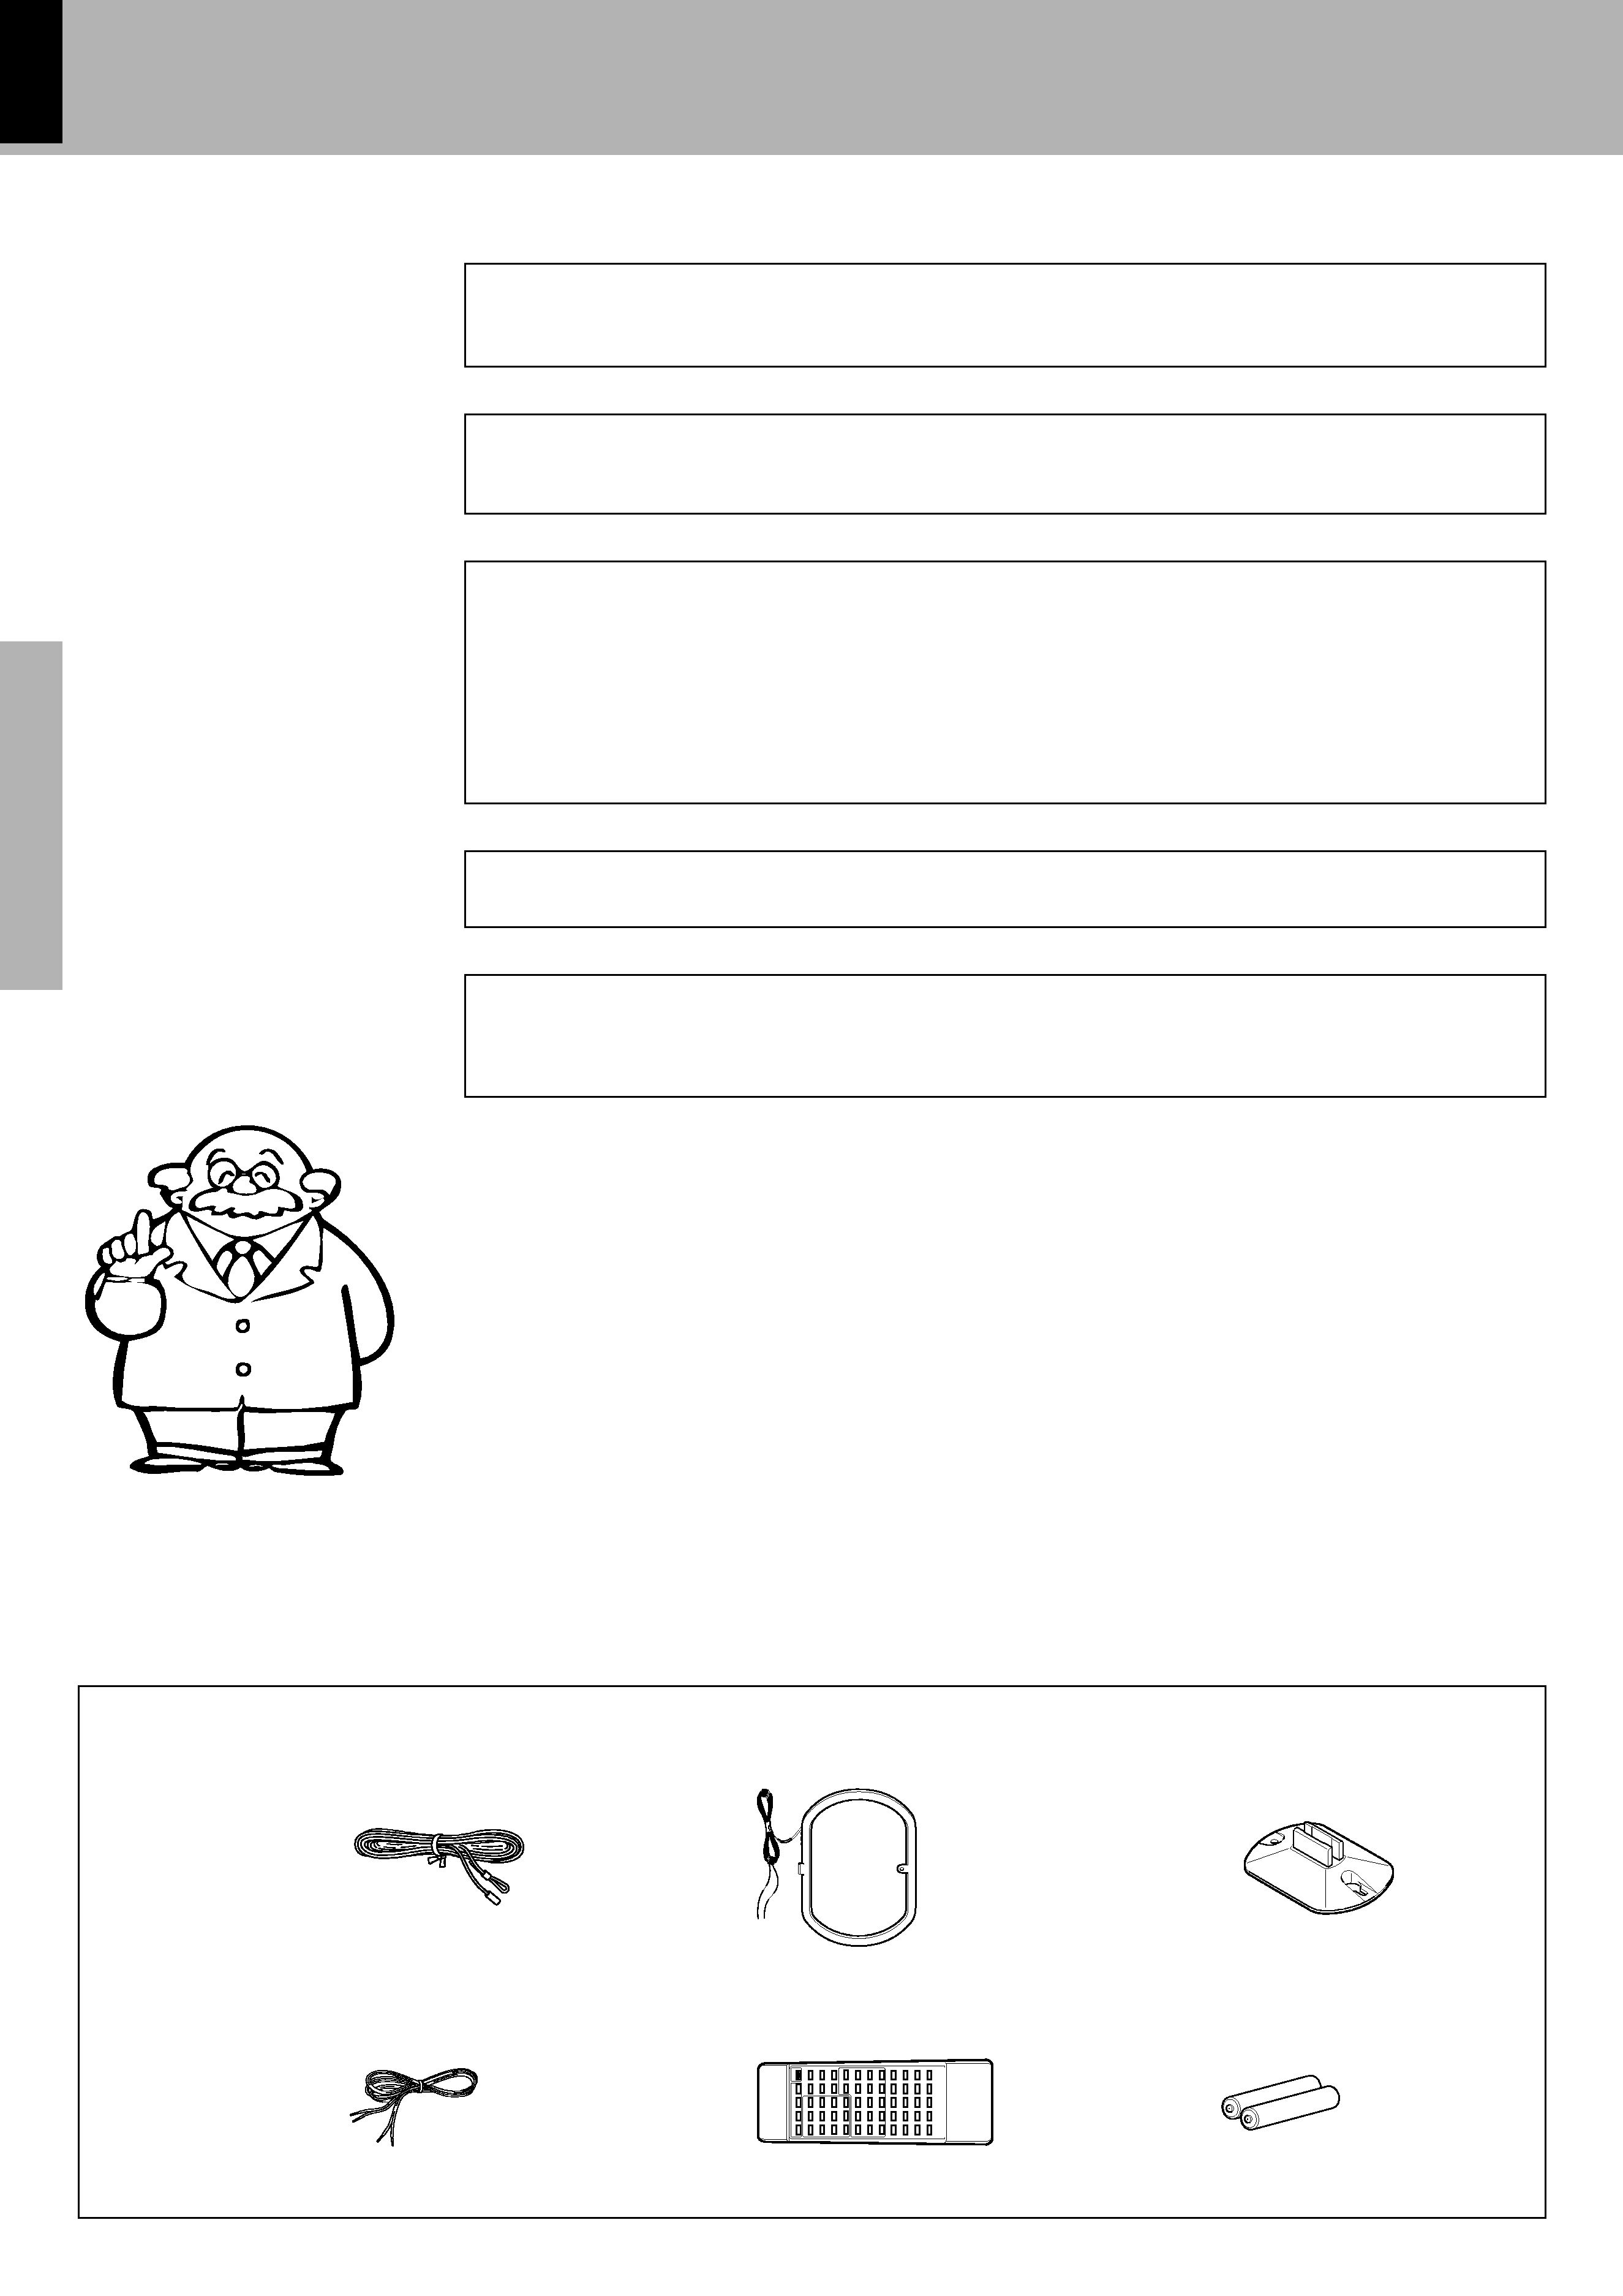
Batteries (R6/AA) (2)
Accessories
FM indoor antenna (1)
Remote control unit (1)
AM loop antenna stand (1)
Various versatile recording functions are provided according to the use purposes.
When the cassette deck X-H9 (sold separately, not sold in some areas or countries) is connected, edit
recording to tape is also possible from other sources.
Convenient Recording Methods
w
SRS 3D stereo system
This is an epochal system called Sound Retrieval System, which creates a three-dimensional sound space. The
feeling of depth, the width of the sound field, the sound image positioning, etc. all are clearly improved, and the
listening area also is widened. (Retrieval is used in the meaning of recovery or restoration.)
In addition to the possibility of storing up to 2 timer programs in memory, the following functions are available.
Convenient timer functions
Ø
The tone can be selected according to the genre of the music played:
POP, ROCK, CLASSIC.
Versatile tone and sound field adjustment
,,
÷ One-touch edit
: Recording of one CD or MD or one track by pressing a single key
÷ BEST HITS function
: Sequential recording of the first track of each CD onto MD or tape
÷ Program recording
: Any desired tracks can be recorded in the desired sequence
÷ Time edit recording
: Recordingsothatnotrackwillbeinterruptedwithinthespecifiedtime(onlyfromCDtotape)
÷ Fade edit recording
: Sequential recording from the first track (only from CD to tape)
÷ AI timer
: When the unit is turned ON by the timer, the sound level increases gradually.
÷ O.T.T.
: A timer with easy setting, which operates only once.
÷ Sleep timer
: Useful when you want to go asleep while listening to music.
Speaker cords (2)
Loop antenna (1)
Unpacking
Unpack the unit carefully and make sure that all accessories are put aside so they will not be lost.
Examine the unit for any possibility of shipping damage. If your unit is damaged or fails to operate, notify your dealer immediately. If your
unit was shipped to you directly, notify the shipping company without delay. Only the consignee (the person or company receiving the unit)
can file a claim against the carrier for shipping damage.
We recommend that you retain the original carton and packing materials for use should you transport or ship the unit in the future.
Please confirm that the following accessories are present.
XD-980MD (En)
5
Preparation
section
Basic
section
Application
section
Knowledge
sections
Before applying power
Label side
Playing side
Cleaning
If fingerprints or foreign matter become at-
tached to the disc, lightly wipe the disc with
a soft cotton cloth (or similar) from the cen-
ter of the disc outwards in a radial manner.
Handling
Hold compact discs so that you do not
touch the playing surface.
Storage
When a disc is not to be played for a long
period of time, remove it from the CD player
and store it in its case.
...........................................................................................................................................................................................................................................
...........................................................................................................................................................................................................................................
Discs which can be played with this unit
CD (12 cm, 8 cm), CDV (only the audio part)
÷ With CD-G (CD Graphics) discs, this unit can play only the audio.
Caution on disc used
Disc handling precautions
Do not attach paper or tape to either
the playing side or the label side of
compact discs.
The paste left on the label surface af-
ter a sticker has been peeled off is a
factor which may cause malfunction.
If the surface is sticky due to remain-
ing paste, be sure to clean it with al-
cohol before use.
Never play cracked or warped disc.
During playback, the disc rotates at high speed in the player.
Therefore, to avoid malfunction, never use a cracked or deformed
disc or a disc repaired with tape or adhesive agent.
Handling of discs
Sticker
Sticky paste
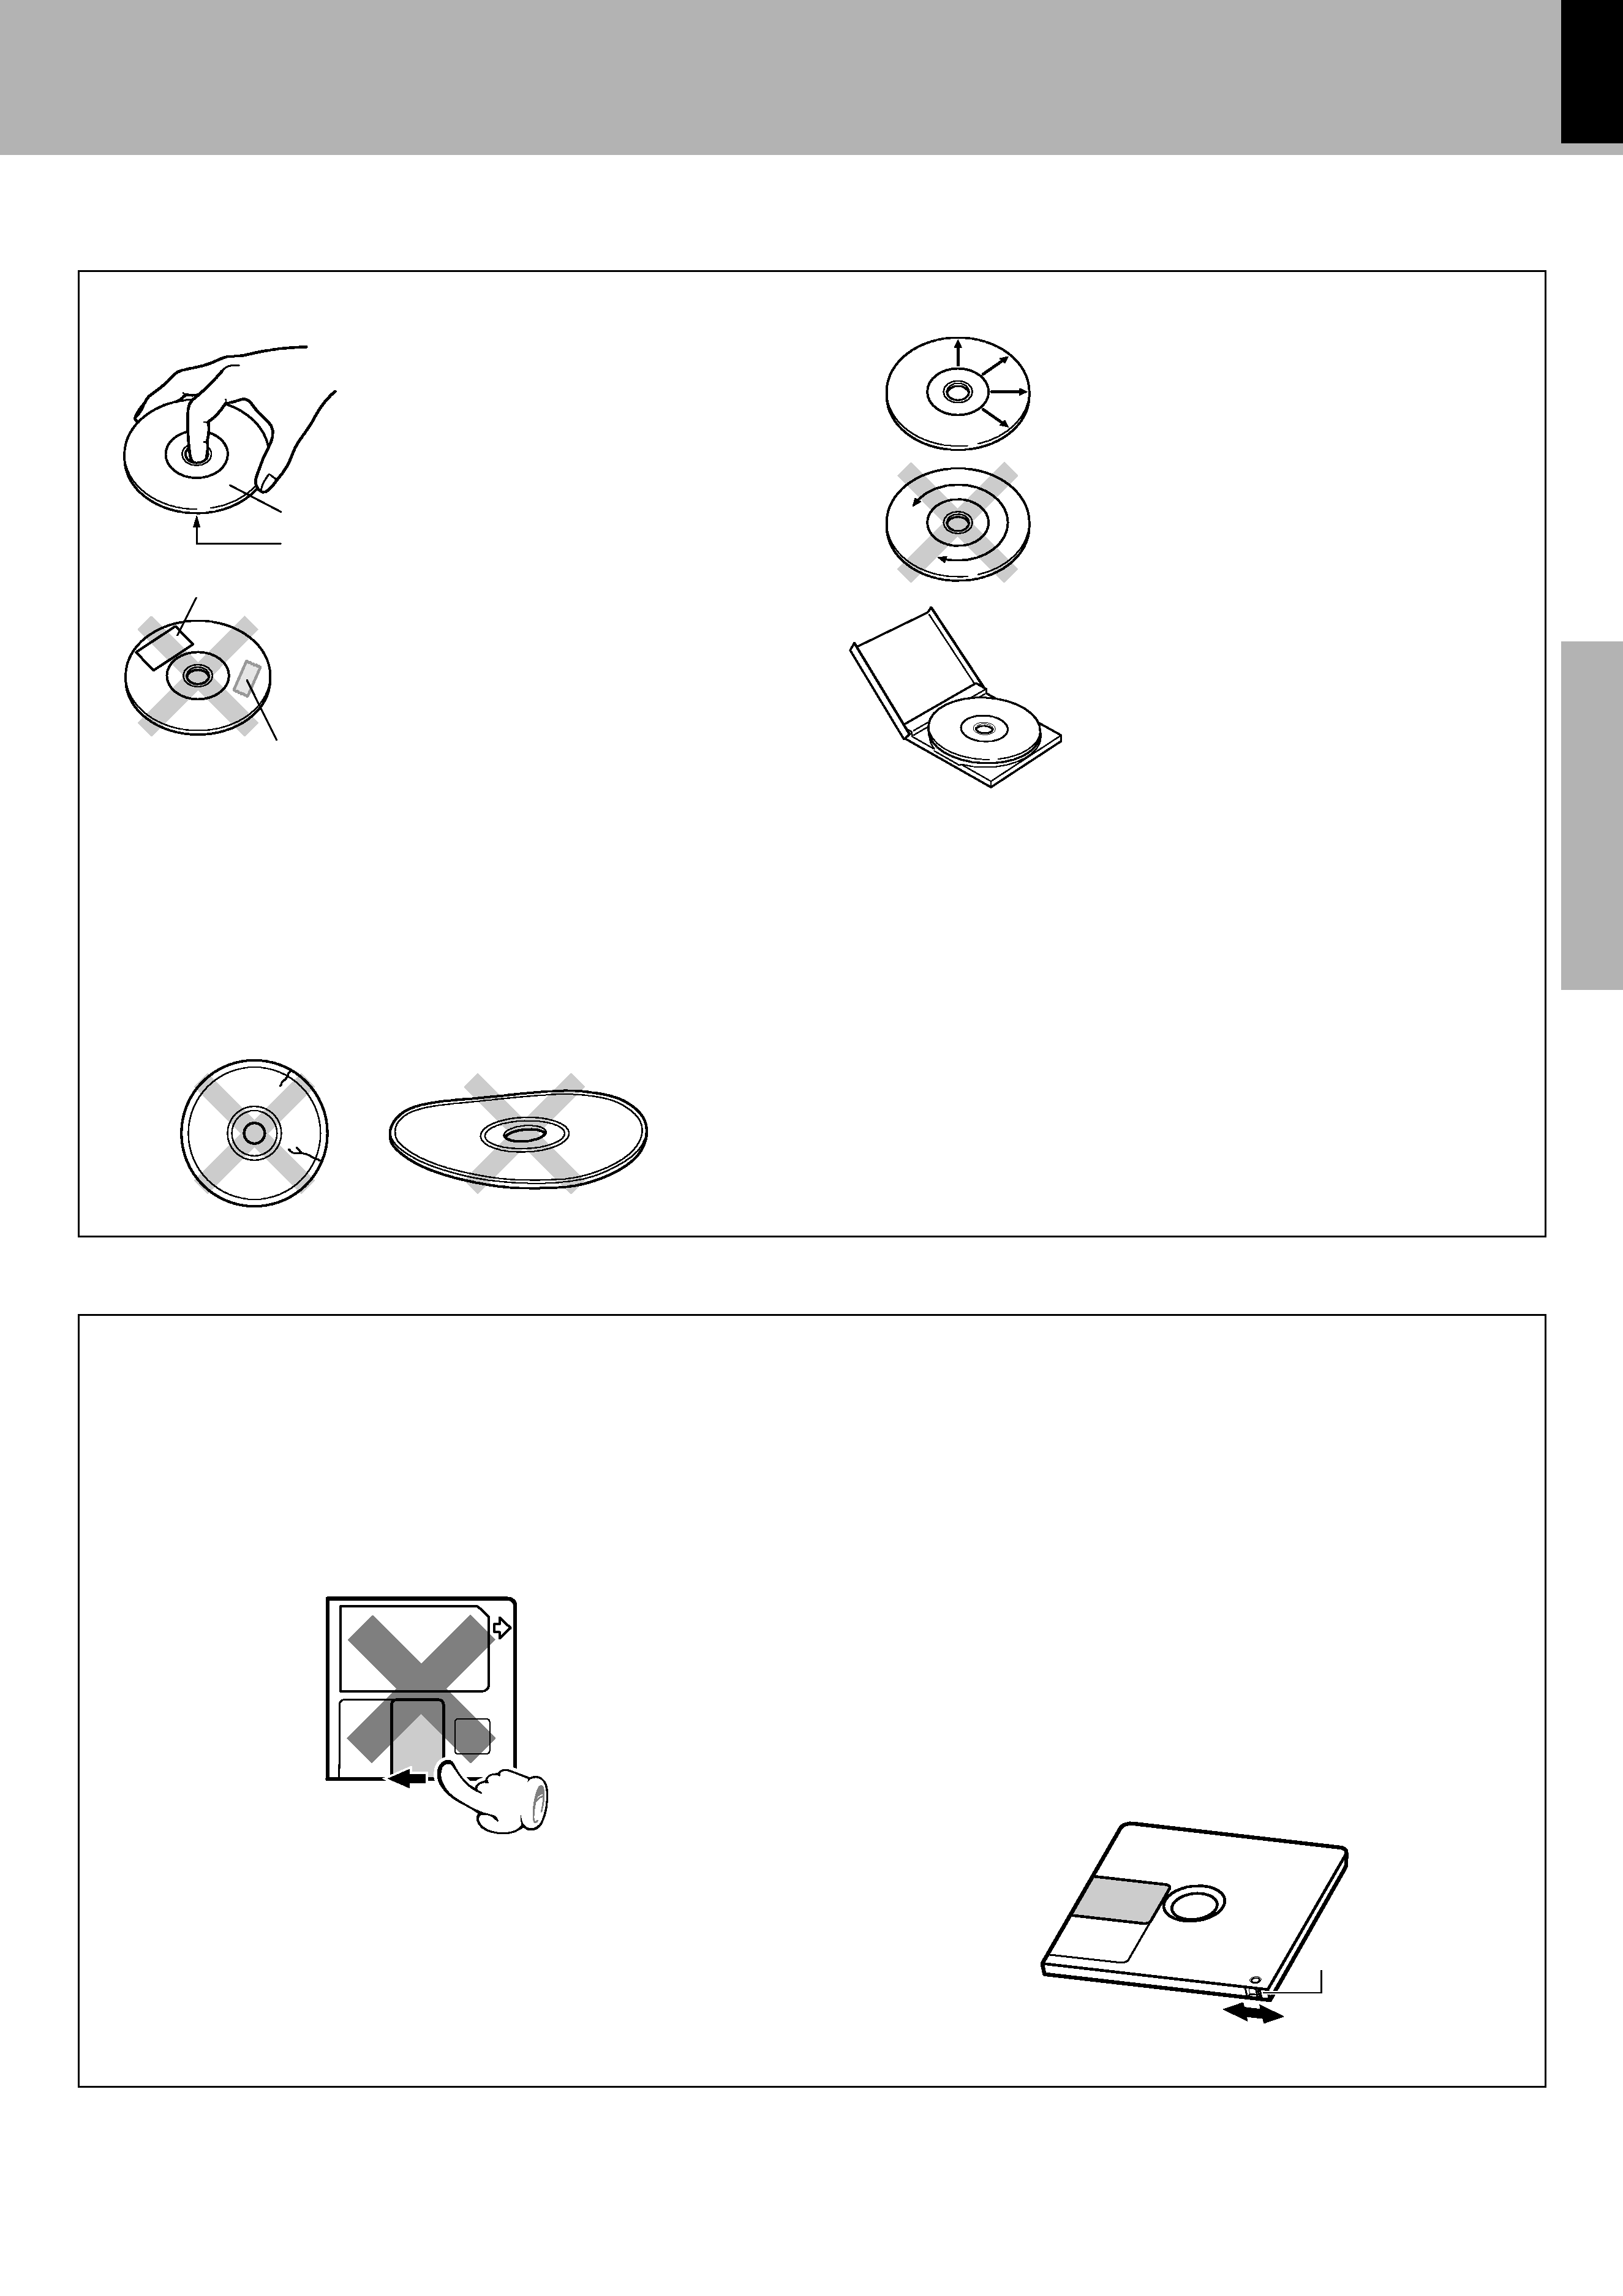
Write protect tab
To protect recorded contents against accidental erasure, set the write
protect tab of the disc open. Return the tab to the original position when
you want to record signals on the disc.
Care
Wipe periodically dust and dirt attached on the cartridge with a dry
cloth.
Write protect tab
Slide close.
(Recording enabled)
Disc back side
Do not touch the disc directly.
Do not touch the disc by opening the shutter with your hand. The
cartridge will be damaged if it is forced open.
Storage position
Do not leave Mini Discs in place where the temperature and/or humidity
are extremely high (for example, in a place subject to direct sunlight).
Handling of Mini Disc
As the Mini Disc is accommodated inside a cartridge, it can be handled without caring about dust or fingerprint. However, stained or
soiled cartridge may cause malfunction. To enjoy beautiful sound for extended period of time, take care on the following points.
Slide open.
(Recording disabled)
Dust countermeasure
The shutter of the disc cartridge is permanently open while the disc is loaded
in the set. Therefore, to prevent dust from penetrating inside the disc, take the
disc out of the unit immediately after completion of recording or playback.