
DIGITAL AUDIO
COMPACT
B60-2915-00 SI (T)
98/12 11 10 9 8 7 6 5 4 3 2 1 97/12 11 10 9 8 7 6 5 4 3 2 1
COMPONENT SYSTEM/COMPACT HI-FI SYSTEM
XD-750
XD-700
XD-550
XD-500
INSTRUCTION MANUAL
KENWOOD CORPORATION
This instruction manual is used for four models.
Model availability and features (functions) may differ depending on the country and sales
area.
MC
XD-750/700/550/500 (En)
2
Preparation
section
Basic
section
Application
section
Knowledge
sections
Before applying power
Units are designed for operation as follows.
Europe and U.K. ........................................................................ AC 230 V only
Factory fitted moulded mains plug
1.The mains plug contains a fuse. For replacement, use only a 13-
Amp ASTA-approved (BS1362) fuse.
2.The fuse cover must be refitted when replacing the fuse in the
moulded plug.
3.Do not cut off the mains plug from this equipment. If the plug
fitted is not suitable for the power points in your home or the ca-
ble is too short to reach a power point, then obtain an appropriate
safety approved extension lead or adapter, or consult your dealer.
If nonetheless the mains plug is cut off, remove the fuse and dis-
pose of the plug immediately, to avoid a possible shock hazard by
inadvertent connection to the mains supply.
IMPORTANT: The wires in the mains lead are coloured in accord-
ance with the following code:
Blue
: Neutral
Brown : Live
Do not connect those leads to the earth terminal of a three-pin
plug.
For the United Kingdom
The marking is located on the rear panel and says that the compo-
nent uses laser beams that have been classified as Class 1. It means
that the unit is utilizing laser beams that are of a weaker class. There
is no danger of hazardous radiation outside the unit.
CLASS 1
LASER PRODUCT
The marking of products using lasers
(Except for some areas)
REQUIREMENT BY NEDERLAND GAZETTE
Safety precautions
WARNING : TO PREVENT FIRE OR ELECTRIC SHOCK, DO NOT EXPOSE THIS APPLIANCE TO
RAIN OR MOISTURE.
CAUTION: TO REDUCE THE RISK OF ELECTRIC SHOCK, DO NOT REMOVE COVER
(OR BACK). NO USER-SERVICEABLE PARTS INSIDE, REFER SERVICING TO QUALI-
FIED SERVICE PERSONNEL.
RISK OF ELECTRIC SHOCK
DO NOT OPEN
THE LIGHTNING FLASH WITH ARROWHEAD SYMBOL, WITHIN AN EQUILATERAL TRIANGLE, IS INTENDED
TO ALERT THE USER TO THE PRESENCE OF UNINSULATED "DANGEROUS VOLTAGE" WITHIN THE
PRODUCT'S ENCLOSURE THAT MAY BE OF SUFFICIENT MAGNITUDE TO CONSTITUTE A RISK OF ELEC-
TRIC SHOCK TO PERSONS.
THE EXCLAMATION POINT WITHIN AN EQUILATERAL TRIANGLE IS INTENDED TO ALERT THE USER TO
THE PRESENCE OF IMPORTANT OPERATING AND MAINTENANCE (SERVICING) INSTRUCTIONS IN THE
LITERATURE ACCOMPANYING THE APPLIANCE.
CAUTION
Batteries are supplied with this product. When
they empty, you should not throw away. Instead,
hand them in as small chemical waste.
Caution : Read this page carefully to ensure safe operation.

XD-750/700/550/500 (En)
3
Preparation
section
Basic
section
Application
section
Knowledge
sections
Contents
Preparation section
Application section
Basic section
Knowledge section
Before applying power ............................................ 2
Safety precautions ....................................................... 2
Contents ........................................................................ 3
Special features ............................................................ 4
Handling of discs and tapes ........................................ 5
System connection ................................................... 6
Connection of the System Accessories ..................... 6
Connection of Options (Optional Parts) .................... 8
Controls and indicators ......................................... 10
Main Unit ..................................................................... 10
Display ......................................................................... 12
Remote control Unit ................................................... 13
Operation of remote control unit .......................... 14
Let's put out some sound ....................................... 16
Basic use method ....................................................... 16
Playback of CD ............................................................ 18
Playback of tape ......................................................... 20
Searching for the desired music program (DPSS) .. 23
Receiving broadcast station ....................................... 24
Let's record .............................................................. 26
Recording (Deck B only) ............................................ 26
Copying tape (Tape dubbing) ..................................... 29
Playback of CD ........................................................ 30
Listening in the desired sequence
(program playback) .............................................. 30
Repeated playback ..................................................... 32
Listening to an unexpected title sequence
(random playback) ................................................ 34
R.D.S. (Radio Data System) ................................... 35
Searching for a desired program type
(PTY search) ............................................................ 36
To be able to listen to the desired information
at any time .................................................................. 38
Convenient CD recording ....................................... 40
Selection of the convenient CD recording type ...... 40
Giving preference to the tape length over the title sequence
(time edit recording) ............................................. 41
Recording only desired titles
(ONE TOUCH EDIT.....single title recording) ...... 42
One-touch recording of an entire CD
(ONE TOUCH EDIT.....recording of all titles) ....... 43
Producing a tape collecting only the first titles
(BEST HITS function) ............................................. 44
Effective Sound Adjustment ................................. 45
Adjustment of balance and input level ..................... 45
Listening with the desired sound
(equalizer function) ............................................... 46
Enjoying Sound Field Effects ..................................... 48
Enjoying Karaoke ......................................................... 49
Clock adjustment ..................................................... 50
Timer operation ....................................................... 51
Timer programming .................................................... 52
Important Items ....................................................... 55
Maintenance ................................................................ 55
Reference ..................................................................... 55
In case of difficulty ................................................. 56
Specifications ......................................................... 59
Before applying power
Caution : Read the pages marked
carefully to ensure safe operation.
XD-750/700/550/500 (En)
4
Preparation
section
Basic
section
Application
section
Knowledge
sections
Easy operation
Playback, recording and input selection can be performed with simplified operations.
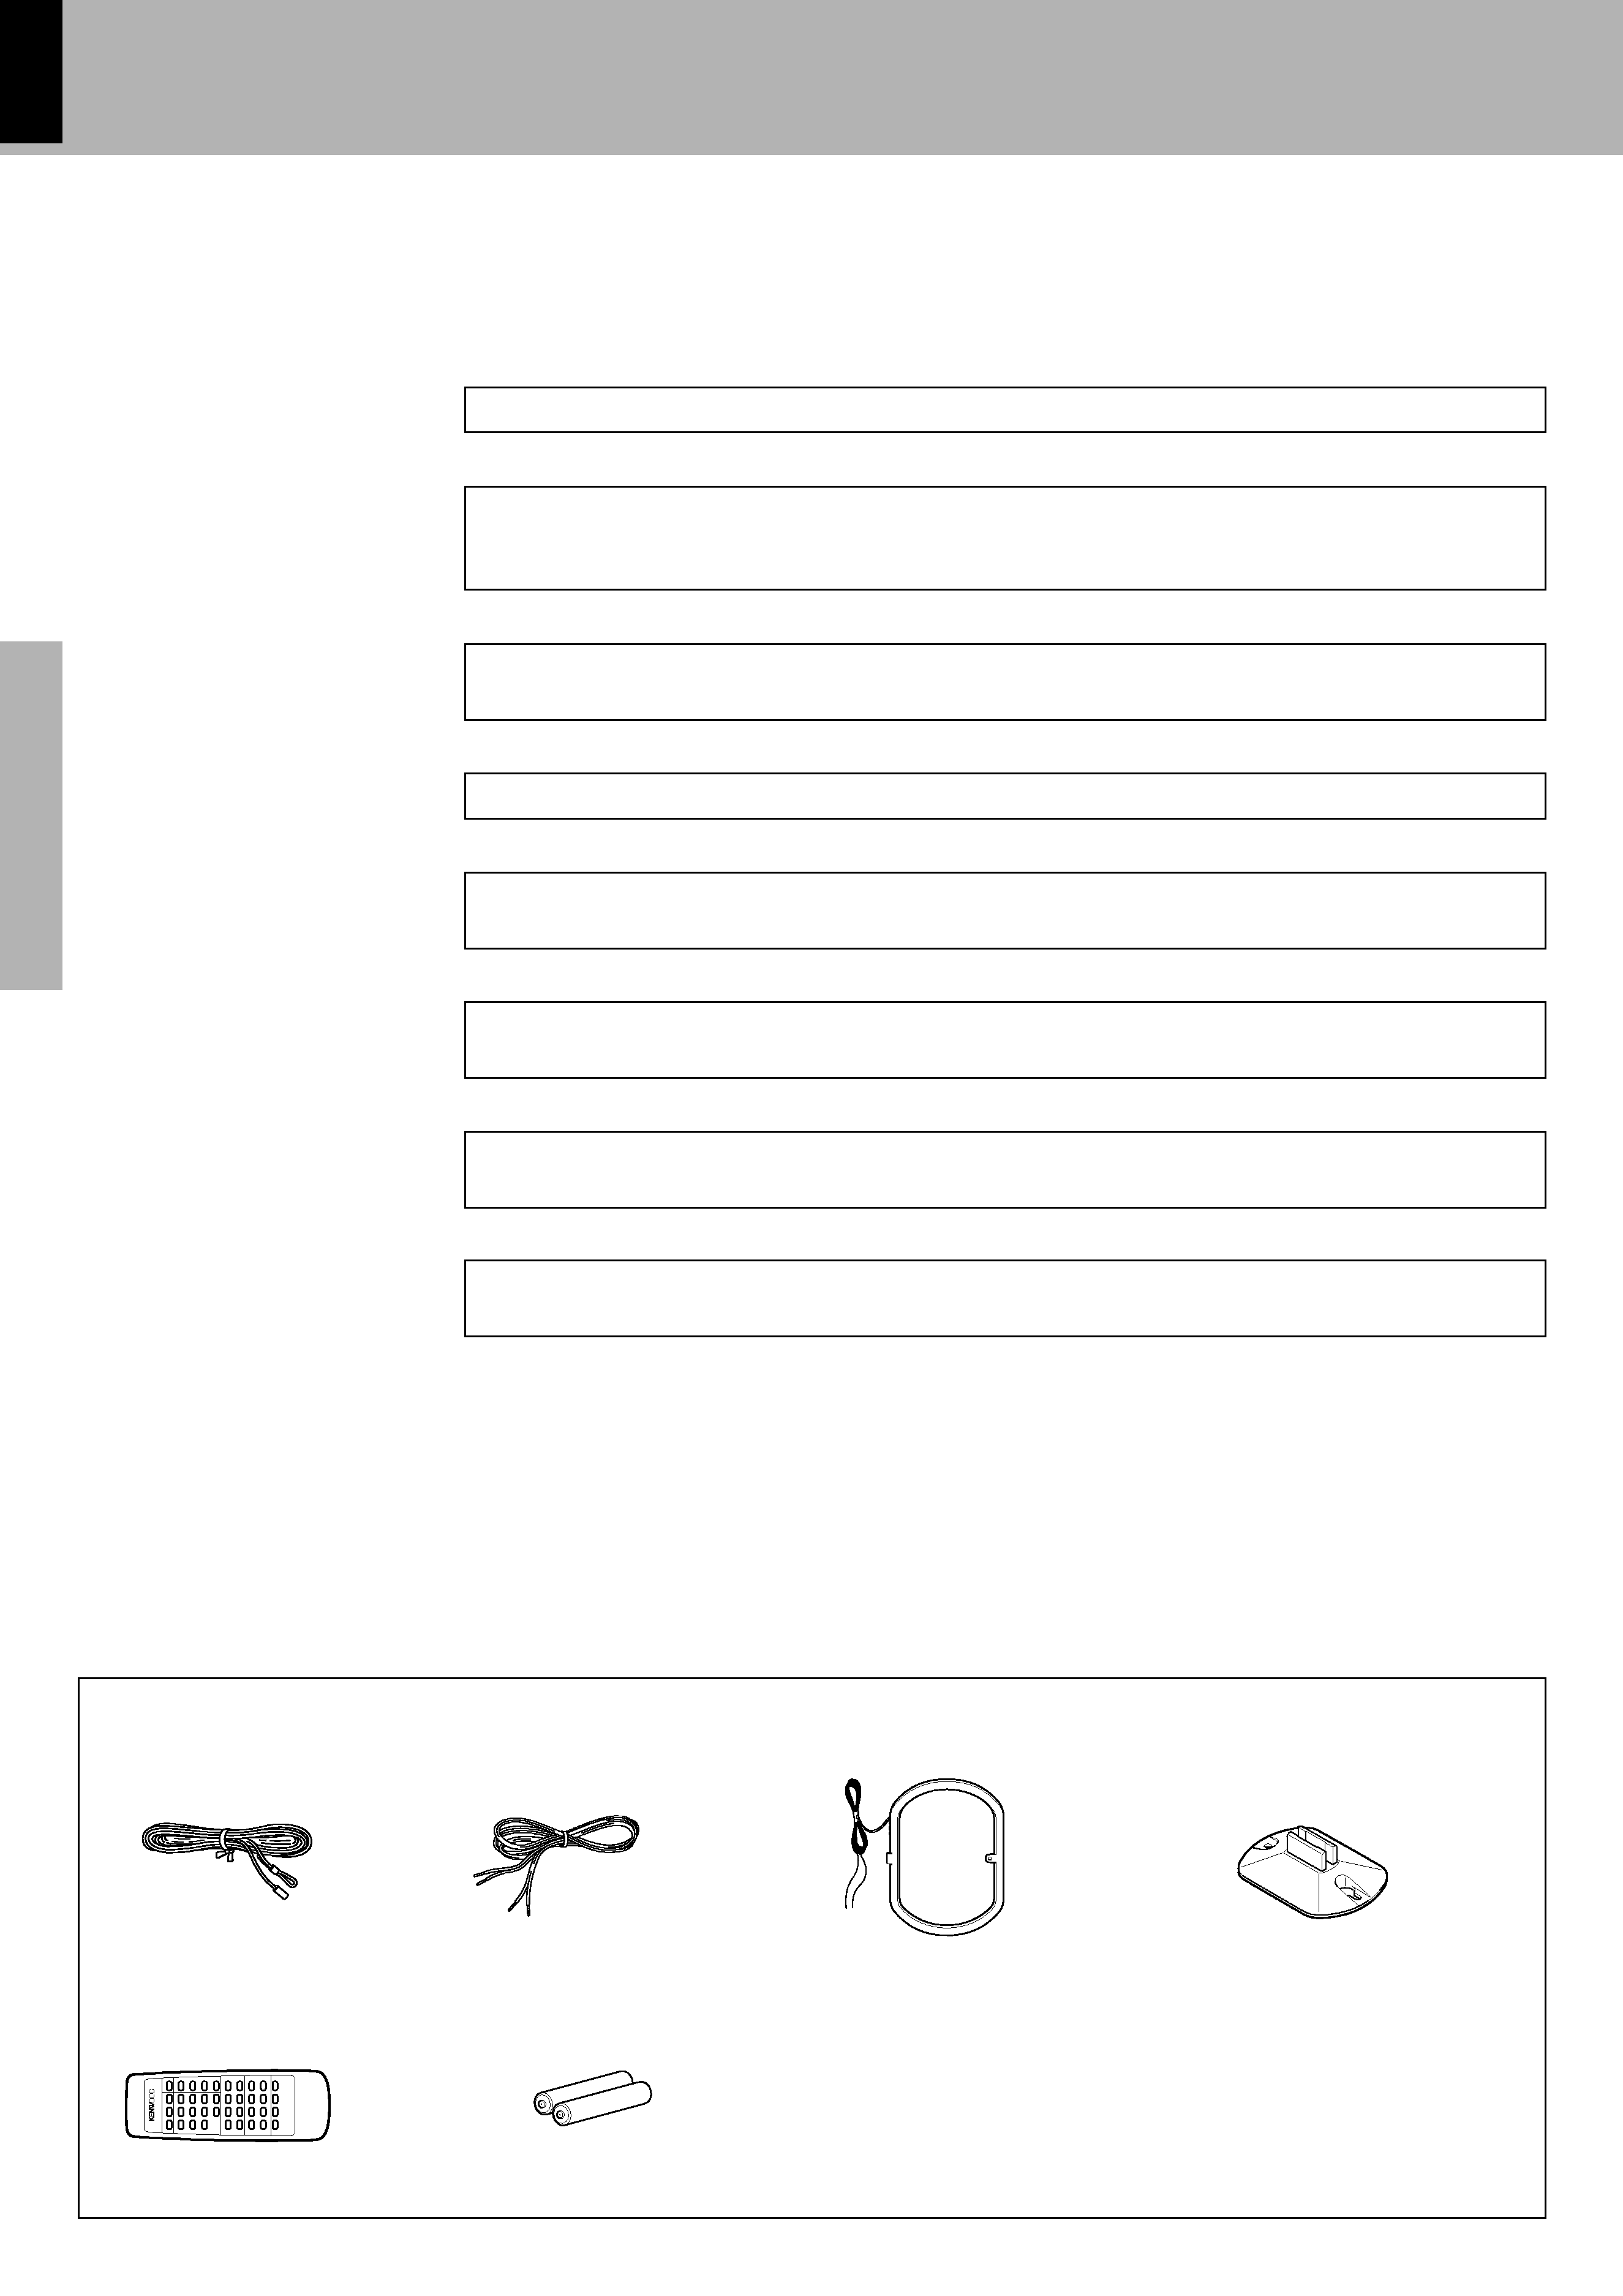
Speaker cords (2)
Batteries (R6/AA) (2)
Accessories
FM indoor antenna (1)
Remote control unit (1)
Loop antenna stand (1)
AM loop antenna (1)
One-touch recording of only a single title or the entire CD is possible while listening to a CD.
One-touch edit
we
Three discs can be set. There are various ways for enjoyment at the time of program playback, repeat
playback, random playback, etc.
3-Disc carousel CD player
*
Dynamic rotary volume control
When adjusting the volume, fast turning of the volume control produces a larger volume change for the
same angle of rotation of the VOLUME (MULTI) CONTROL knob. Slow turning produces a small volume
change, thus permitting fine adjustment.
Wake-up timer and sleep timer setting is simple. There are also two types of program timers operating every
day.
Simple operation timer
Q
When the HIT MASTER function is used with mic mixing, normal CDs and tapes with voice recorded on
them can be used as Karaoke software.
Karaoke also can be enjoyed.
o
Equalizer patterns can not only be selected from preset patterns, but patterns also can be created and
registered. It is possible to recreate a feeling of presence and to recreate a sound field.
Versatile tone and sound field adjustment
t
The RDS data included in FM broadcasts can be used to search for the intended broadcasting contents and
for automatic reception from standby.
R.D.S. (Radio Data System)
fi
Before applying power
Special features
Unpacking
Unpack the unit carefully and make sure that all accessories are put aside so they will not be lost.
Examine the unit for any possibility of shipping damage. If your unit is damaged or fails to operate, notify your dealer immediately. If your
unit was shipped to you directly, notify the shipping company without delay. Only the consignee (the person or company receiving the
unit) can file a claim against the carrier for shipping damage.
We recommend that you retain the original carton and packing materials for use should you transport or ship the unit in the future.
XD-750/700/550/500 (En)
5
Preparation
section
Basic
section
Application
section
Knowledge
sections
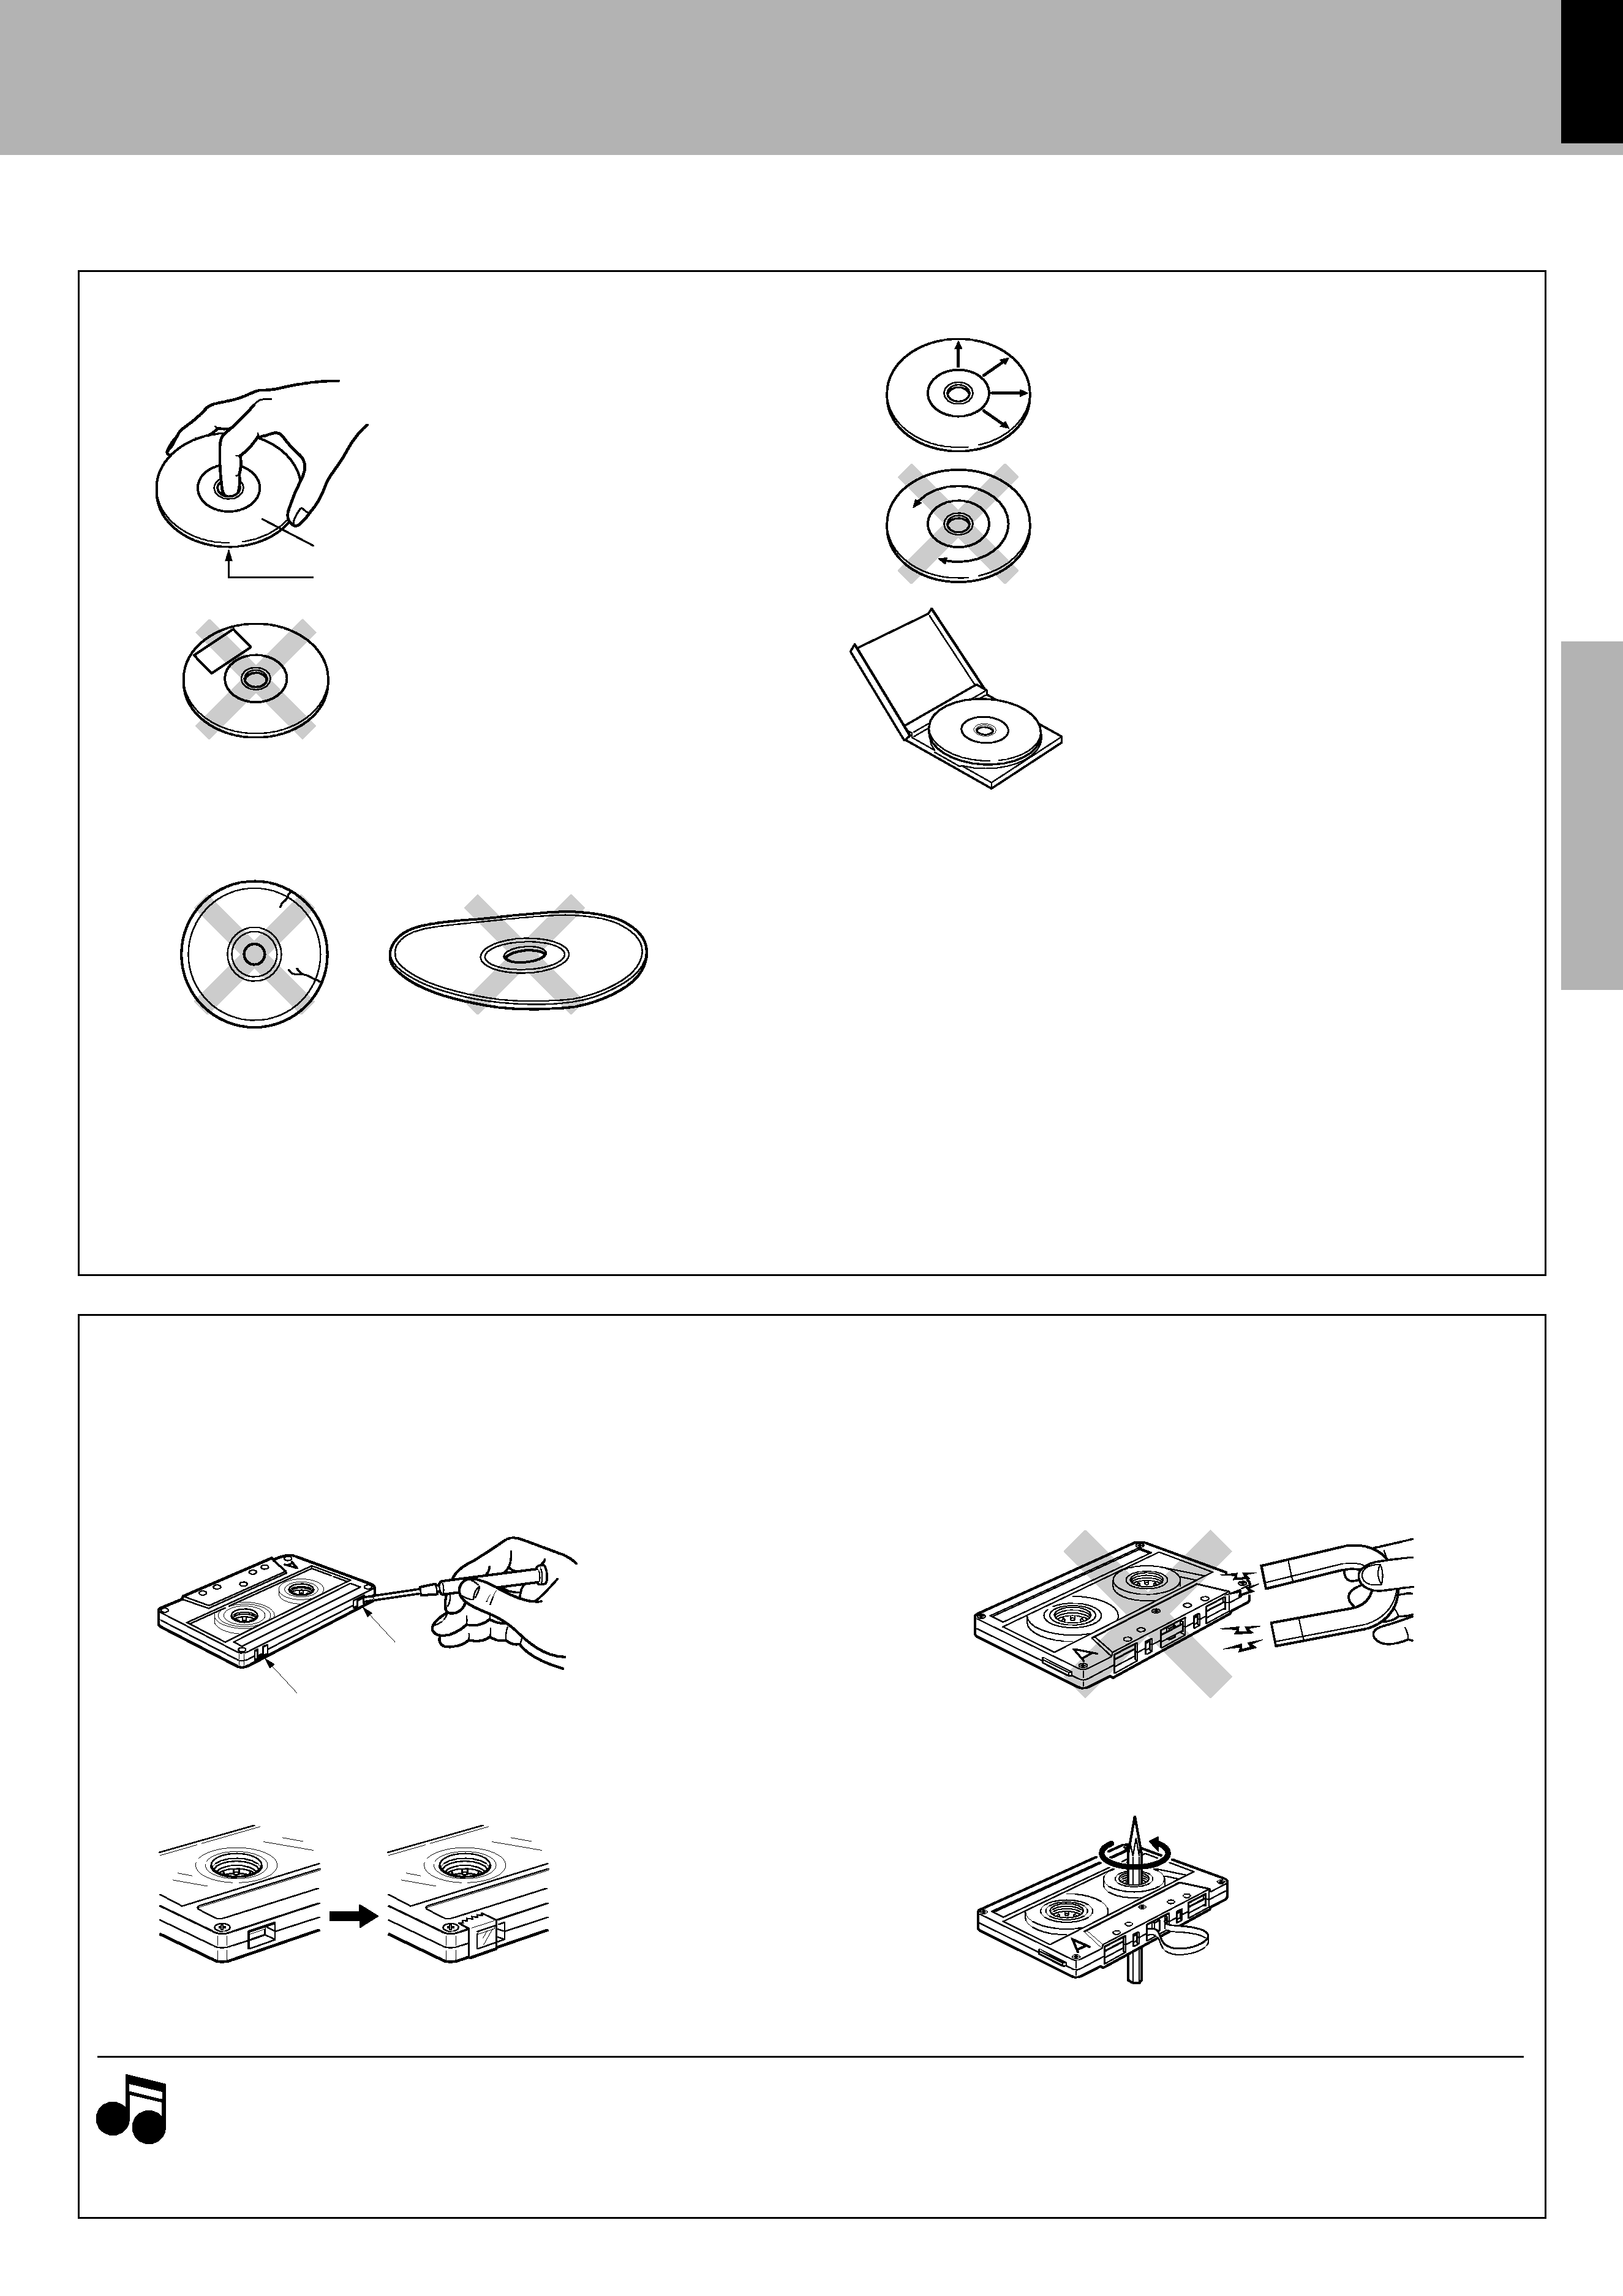
2. Endless tapes
Do not use an endless tape, as this could damage the mechanism of
the unit.
To re-record
Safety tab (accidental erasure prevention tab)
After an important recording has been finished, break the safety tab,
to prevent the recorded contents from being erased or recorded on
accidentally.
When there is slack in the tape
In such a case, insert a pencil into the reel hole and wind the reel hub
to remove the slack.
To store cassette tapes
Do not store the tapes in a place which is subject to direct sunlight, or
near equipment that generates heat. Keep the cassette tapes away
from any magnetic field.
N
S
For A side
For B side
Notes on cassette tape
Apply tape only to the position where
the tab has been removed.
1. Longer tape than 110 minutes cassette tape
Since longer tape than 110 minutes cassette tape is very
thin, the tape could adhere to the pinch roller or be easily cut.
It is recommended that these tapes not be used with this
unit to prevent possible damage.
Notes
Notes
Handling of discs and tapes
Before applying power
Label side
Playing side
Cleaning
If fingerprints or foreign matter become at-
tached to the disc, lightly wipe the disc with a
soft cotton cloth (or similar) from the center of
the disc outwards in a radial manner.
Handling
Hold compact discs so that you do not
touch the playing surface.
Storage
When a disc is not to be played for a long pe-
riod of time, remove it from the CD player and
store it in its case.
...........................................................................................................................................................................................................................................
...........................................................................................................................................................................................................................................
Discs which can be played with this unit
CD (12 cm, 8 cm), CDV (only the audio part)
÷ With CD-G (CD Graphics) discs, this unit can play only the audio.
Caution on disc used
Disc handling precautions
Do not attach paper or tape to either the
playing side or the label side of compact
discs.
Never play cracked or warped disc.
During playback, the disc rotates at high speed in the player.
Therefore, to avoid malfunction, never use a cracked or deformed disc
or a disc repaired with tape or adhesive agent.