
KMD-870R
© B64-1305-00 (E) (MC)
00/2 1 99/12 11 10 9 8 7 6 5 4 3 2 1
MD-RECEIVER
INSTRUCTION MANUAL

-- 2 --
English
Contents
Before use
Safety precautions ........................................................................3
Basic operations
Power............................................................................................5
Switching Modes ..........................................................................5
Volume ..........................................................................................6
Attenuator .....................................................................................6
Loudness ......................................................................................6
Menu System................................................................................6
Tuner features
Selecting Tuning Mode .................................................................8
Tuning ...........................................................................................8
Local Seek Function ......................................................................8
Station Preset Memory .................................................................9
Auto Memory Entry.......................................................................9
Preset station seek with Programme service name ...................10
Monaural Reception ....................................................................10
RDS features
RDS (Radio Data System) ...........................................................11
EON (Enhanced Other Network).................................................11
Alarm...........................................................................................11
AF (Alternative Frequency) Function ...........................................12
Restricting RDS Region (Region Restrict Function) ....................12
Traffic Information Function ........................................................12
Auto TP Seek Function................................................................13
Presetting Volume for Traffic Information/News ........................13
News Bulletin Function with PTY News Timeout Setting...........14
Programme Type (PTY) Function ................................................14
Text Scroll ...................................................................................16
Radio Text ...................................................................................16
MD/External disc control features
Playing MDs ................................................................................18
Playing Other Disc mode ............................................................18
Fast Forwarding and Reversing Disc Play ...................................18
Track Search................................................................................19
Disc Search .................................................................................19
Track / Disc Repeat .....................................................................20
Track Scan...................................................................................20
Disc Scan ....................................................................................20
Random Play ...............................................................................20
Magazine Random Play...............................................................21
Text / Title Scroll..........................................................................21
Presetting Disc Names ...............................................................22
Disc Name Preset Play (DNPP) ..................................................22
Switching Display for Discs.........................................................23
Other features
Audio Control Setting ..................................................................24
Switching Display........................................................................25
Switching Graphic Display...........................................................25
Dimmer .......................................................................................25
Automatic Dimmer Function .......................................................26
TEL Mute ....................................................................................26
Selectable Illumination ................................................................26
Touch Sensor Tone .....................................................................26
Navigation Mute Function ...........................................................26
Contrast Adjustment ...................................................................27
Theft Deterrent Faceplate ...........................................................27
Adjusting Time ............................................................................28
Disabled System Indicator (DSI)..................................................28
Installation
Accessories.................................................................................29
Installation Procedure..................................................................29
Connecting Cables to Terminals .................................................30
Installation ...................................................................................31
Troubleshooting Guide .......................................33
Specifications .....................................................37

-- 3 --
To prevent injury and/or fire, take the
following precautions:
· Insert the unit all the way until it is fully
locked in place. Otherwise it may fly out of
place during collisions and other jolts.
· When extending the ignition, battery or
ground cables, make sure to use automotive-
grade cables or other cables with an area of
0.75mm2 (AWG18) or more to prevent cable
deterioration and damage to the cable
coating.
· To prevent short circuits, never put or leave
any metallic objects (e.g., coins or metal
tools) inside the unit.
· If the unit starts to emit smoke or strange
smells, turn off the power immediately and
consult your Kenwood dealer.
· Make sure not to get your fingers caught
between the faceplate and the unit.
· Be careful not to drop the unit or subject it to
strong shock.
The unit may break or crack because it
contains glass parts.
· Do not touch the liquid crystal fluid if the LCD
is damaged or broken due to shock. The
liquid crystal fluid may be dangerous to your
health or even fatal.
If the liquid crystal fluid from the LCD
contacts your body or clothing, wash it off
with soap immediately.
2WARNING
To prevent damage to the machine,
take the following precautions:
· Make sure to ground the unit to a negative
12V DC power supply.
· Do not open the top or bottom covers of the
unit.
· Do not install the unit in a spot exposed to
direct sunlight or excessive heat or humidity.
Also avoid places with too much dust or the
possibility of water splashing.
· Do not set the removed faceplate or the
faceplate case in areas exposed to direct
sunlight, excessive heat or humidity. Also
avoid places with too much dust or the
possibility of water splashing.
· To prevent deterioration, do not touch the
terminals of the unit or faceplate with your
fingers.
· Do not subject the faceplate to excessive
shock, as it is a piece of precision equipment.
· When replacing a fuse, only use a new one
with the prescribed rating. Using a fuse with
the wrong rating may cause your unit to
malfunction.
· To prevent short circuits when replacing a
fuse, first disconnect the wiring harness.
· Do not place any object between the
faceplate and the unit.
· During installation, do not use any screws
except for the ones provided. The use of
improper screws might result in damage to
the main unit.
2CAUTION
IMPORTANT INFORMATION
You cannot connect the unit directly to the
following CD automatic changers. For users
who want to use older changers with the
unit, follow the directions below according to
the type of changer you own:
· KDC-C200 / KDC-C300 / KDC-C400
Use the extension cable and the control box
attached to the CD changer, and the optional
CA-DS100 converter cable.
· KDC-C301 / KDC-C600 / KDC-C800 / KDC-
C601 / KDC-C401
Use the extension cable attached to the CD
changer, and the optional CA-DS100
converter cable.
· KDC-C100 / KDC-C302 / C205 / C705 /
non-Kenwood CD changers
Cannot be used with this model.
You can damage both your unit and
the CD changer if you connect them
incorrectly.
2CAUTION
Safety precautions
-- 4 --
English
Safety precautions
· If you experience problems during
installation, consult your Kenwood dealer.
· If the unit does not seem to be working right,
try pressing the reset button first. If that does
not solve the problem, consult your Kenwood
dealer.
· Characters in the LCD may become difficult
to read in temperatures below 41 °F (5 °C).
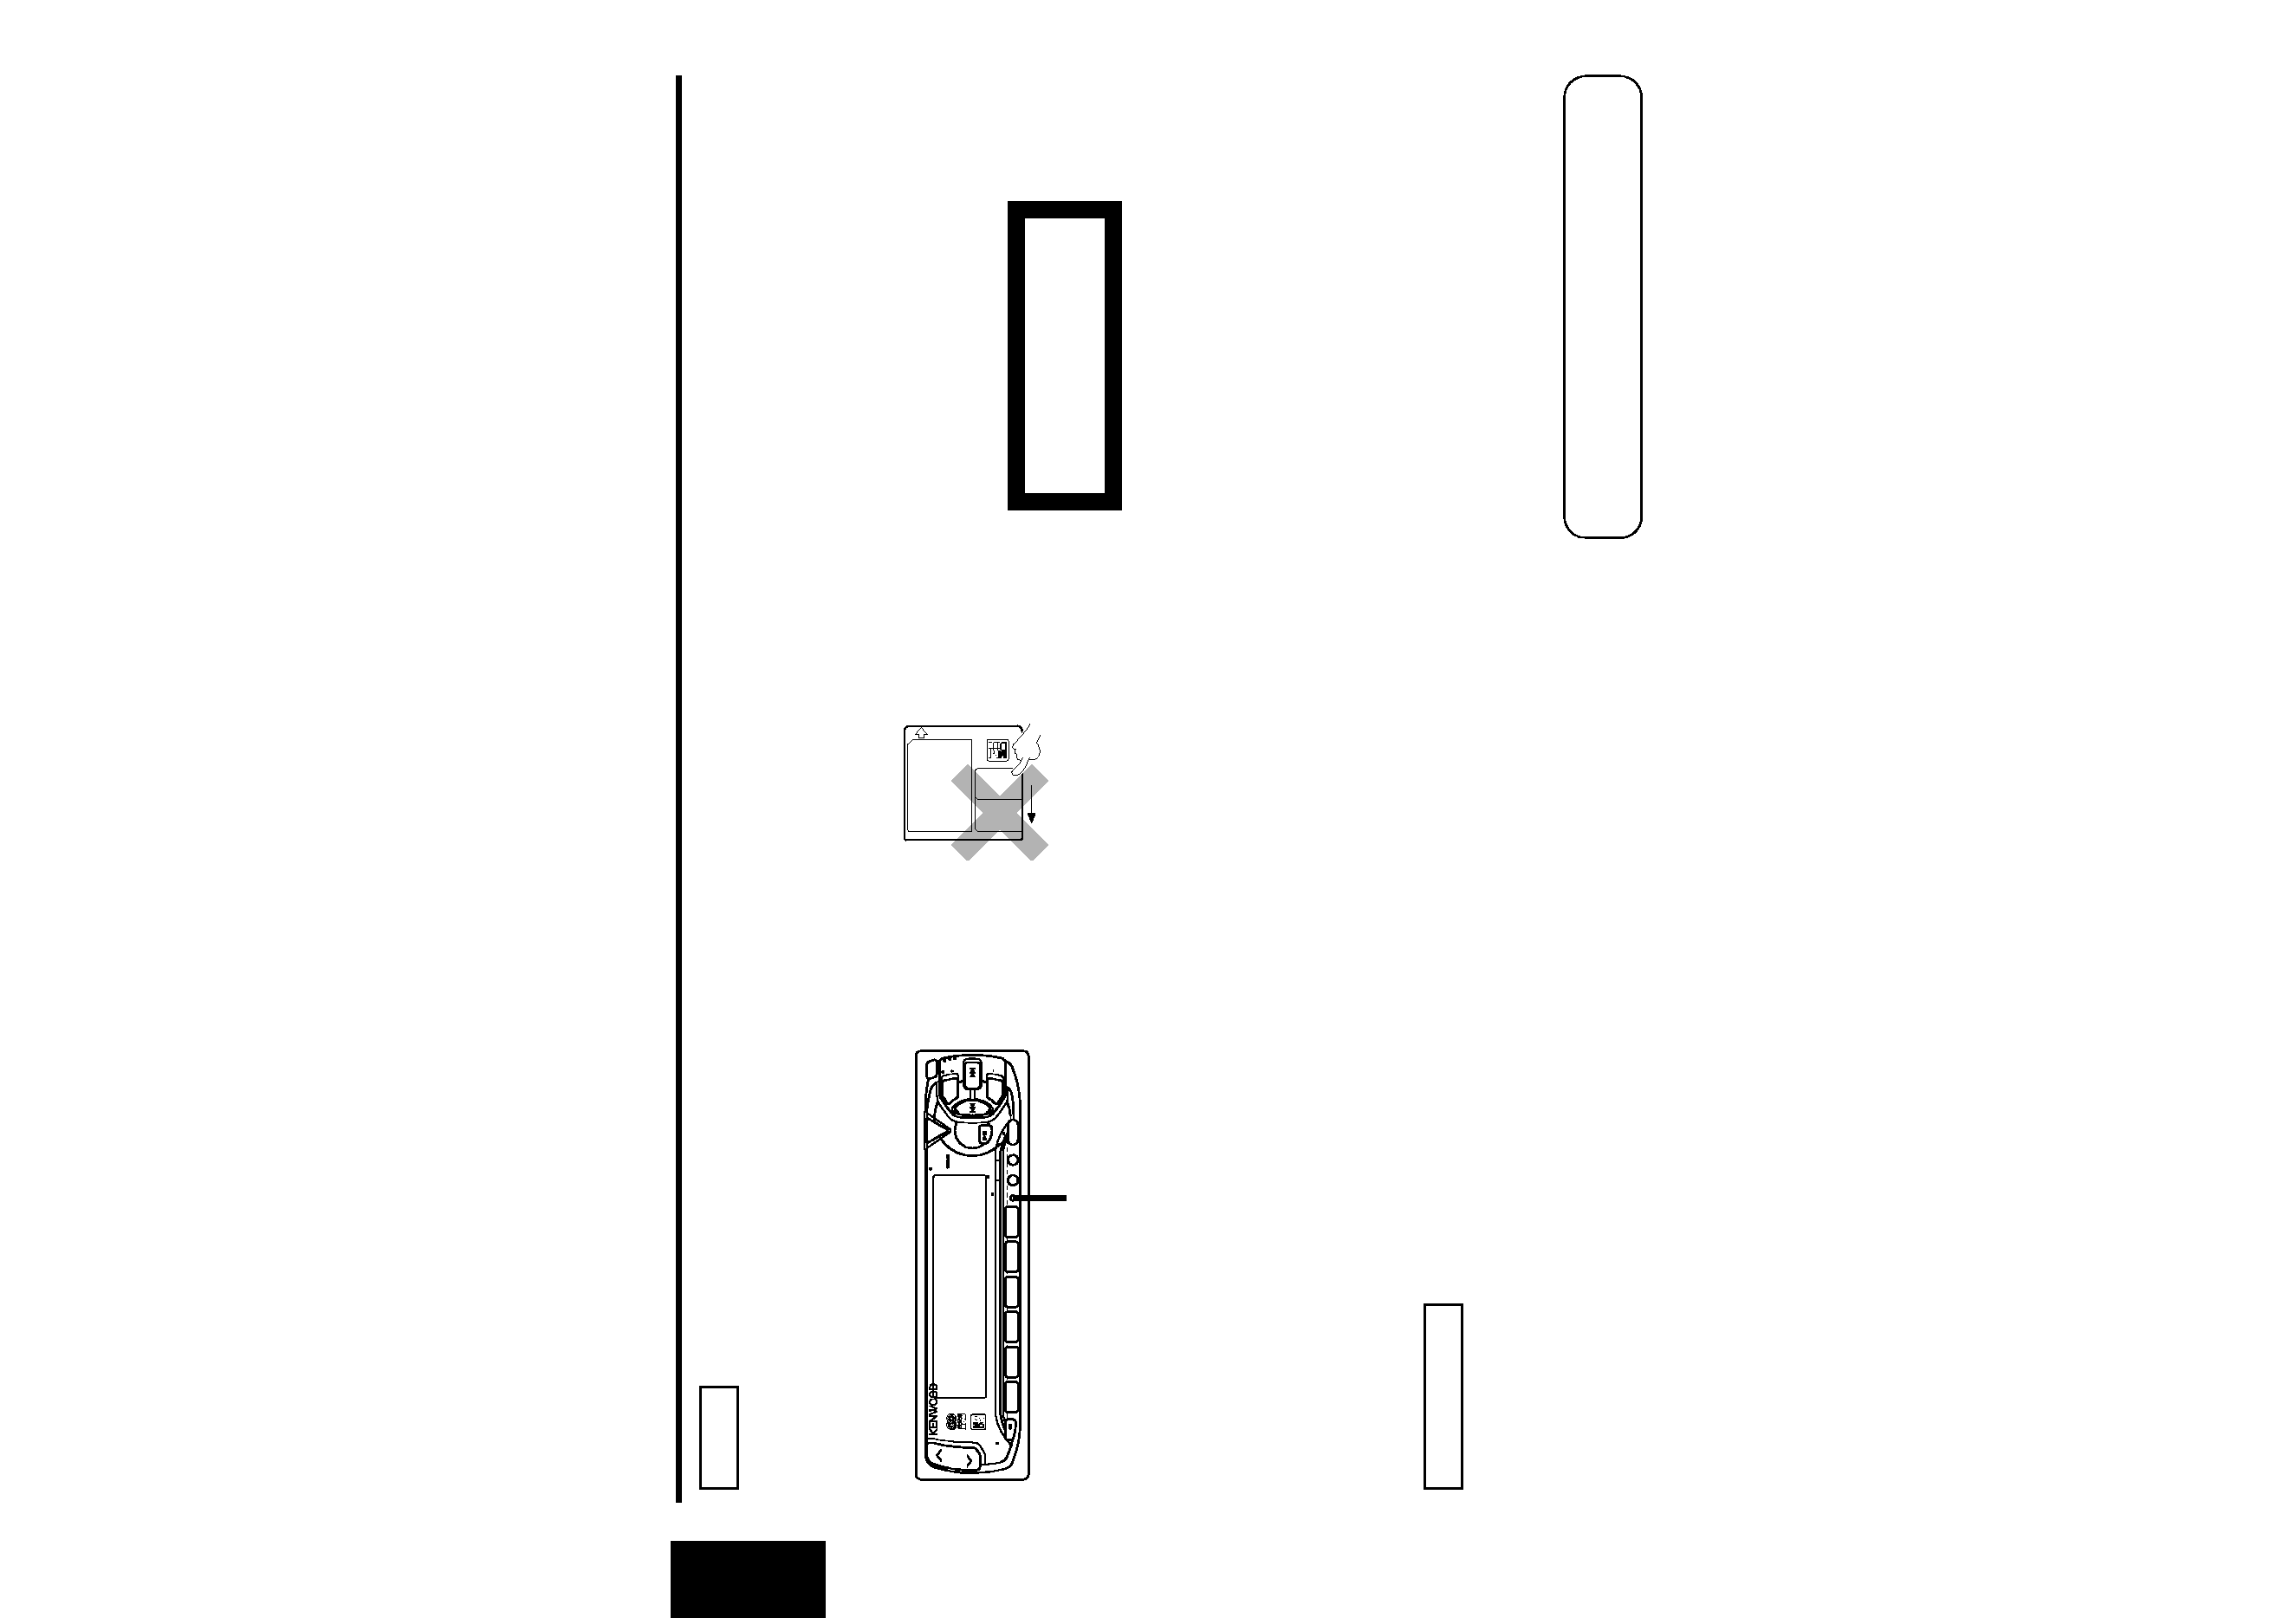
Cleaning the Faceplate Terminals
If the terminals on the unit or faceplate get
dirty, wipe them with a dry, soft cloth.
Cleaning the Unit
If the front panel gets dirty, turn off the
power and wipe the panel with a dry silicon
cloth or soft cloth.
Do not wipe the panel with a stiff cloth or a
cloth dampened by volatile solvents such as
paint thinner and alcohol. They can scratch
the surface of the panel and/or cause the
indicator letters to peel off.
2CAUTION
NOTE
Handling Mini discs
· The MD shutter is designed so that it cannot
be opened. If forced open, the cartridge will
be damaged and use of the MD will no
longer be possible. If the shutter has been
opened due to some cause, be careful not to
touch the recording portion with a finger.
Doing so will cause the sound to skip.
· Do not use an MD that has a peeling label.
Use of an MD that has a loose or peeling
label may cause problems, such as the label
coming off inside the player and the resultant
inability to eject the MD.
· Wipe away dirt or dust from the cartridge
surface with a dry cloth before use. Using an
oil-soiled cartridge in particular may result in
the disc not loading or being unable to eject
it. (At time of cleaning, be careful not to open
the shutter.)
· Do not leave the MD in the unit for a
prolonged period. The ejected MD should be
placed in an MD case for storage.
· Do not leave the MD in a place exposed to
direct sunlight (such as on a instrument
panel) or in other places that reach high
temperatures. The MD cartridge will become
misshapen and will no longer be usable.
· MDs designed for use with data cannot be
used. Please use MDs designed for music.
· Do not use lens cleaners. Doing so will lead
to breakdown.
Lens Fogging
In cold climates, there may be a period after
you turn on your vehicle's heater when the
lens that guides the laser beam used in your
MD player fogs up. If this happens, you
cannot play mini discs. Take out discs and
the fogging will disappear. If it does not
return to normal after several hours, contact
your Kenwood dealer.
The marking of products using lasers
(Except for some areas)
The label is attached to the chassis/case and
says that the component uses laser beams
that have been classified as Class 1. It means
that the unit is utilizing laser beams that are
of a weaker class. There is no danger of
hazardous radiation outside the unit.
CLASS 1
LASER PRODUCT
US and foreign patents Iicensed from Dolby
Laboratories Licensing Corporation.
123
4
56
SRC
AM
AUD
FM
MENU
POWER
OFF
SCAN
RDM
REP
D.SCN
M.RDM
PTY
LOUD
ATT
DISC
DISC
CLK
NAME.S
DISP
VOL ADJ
TI
Reset button
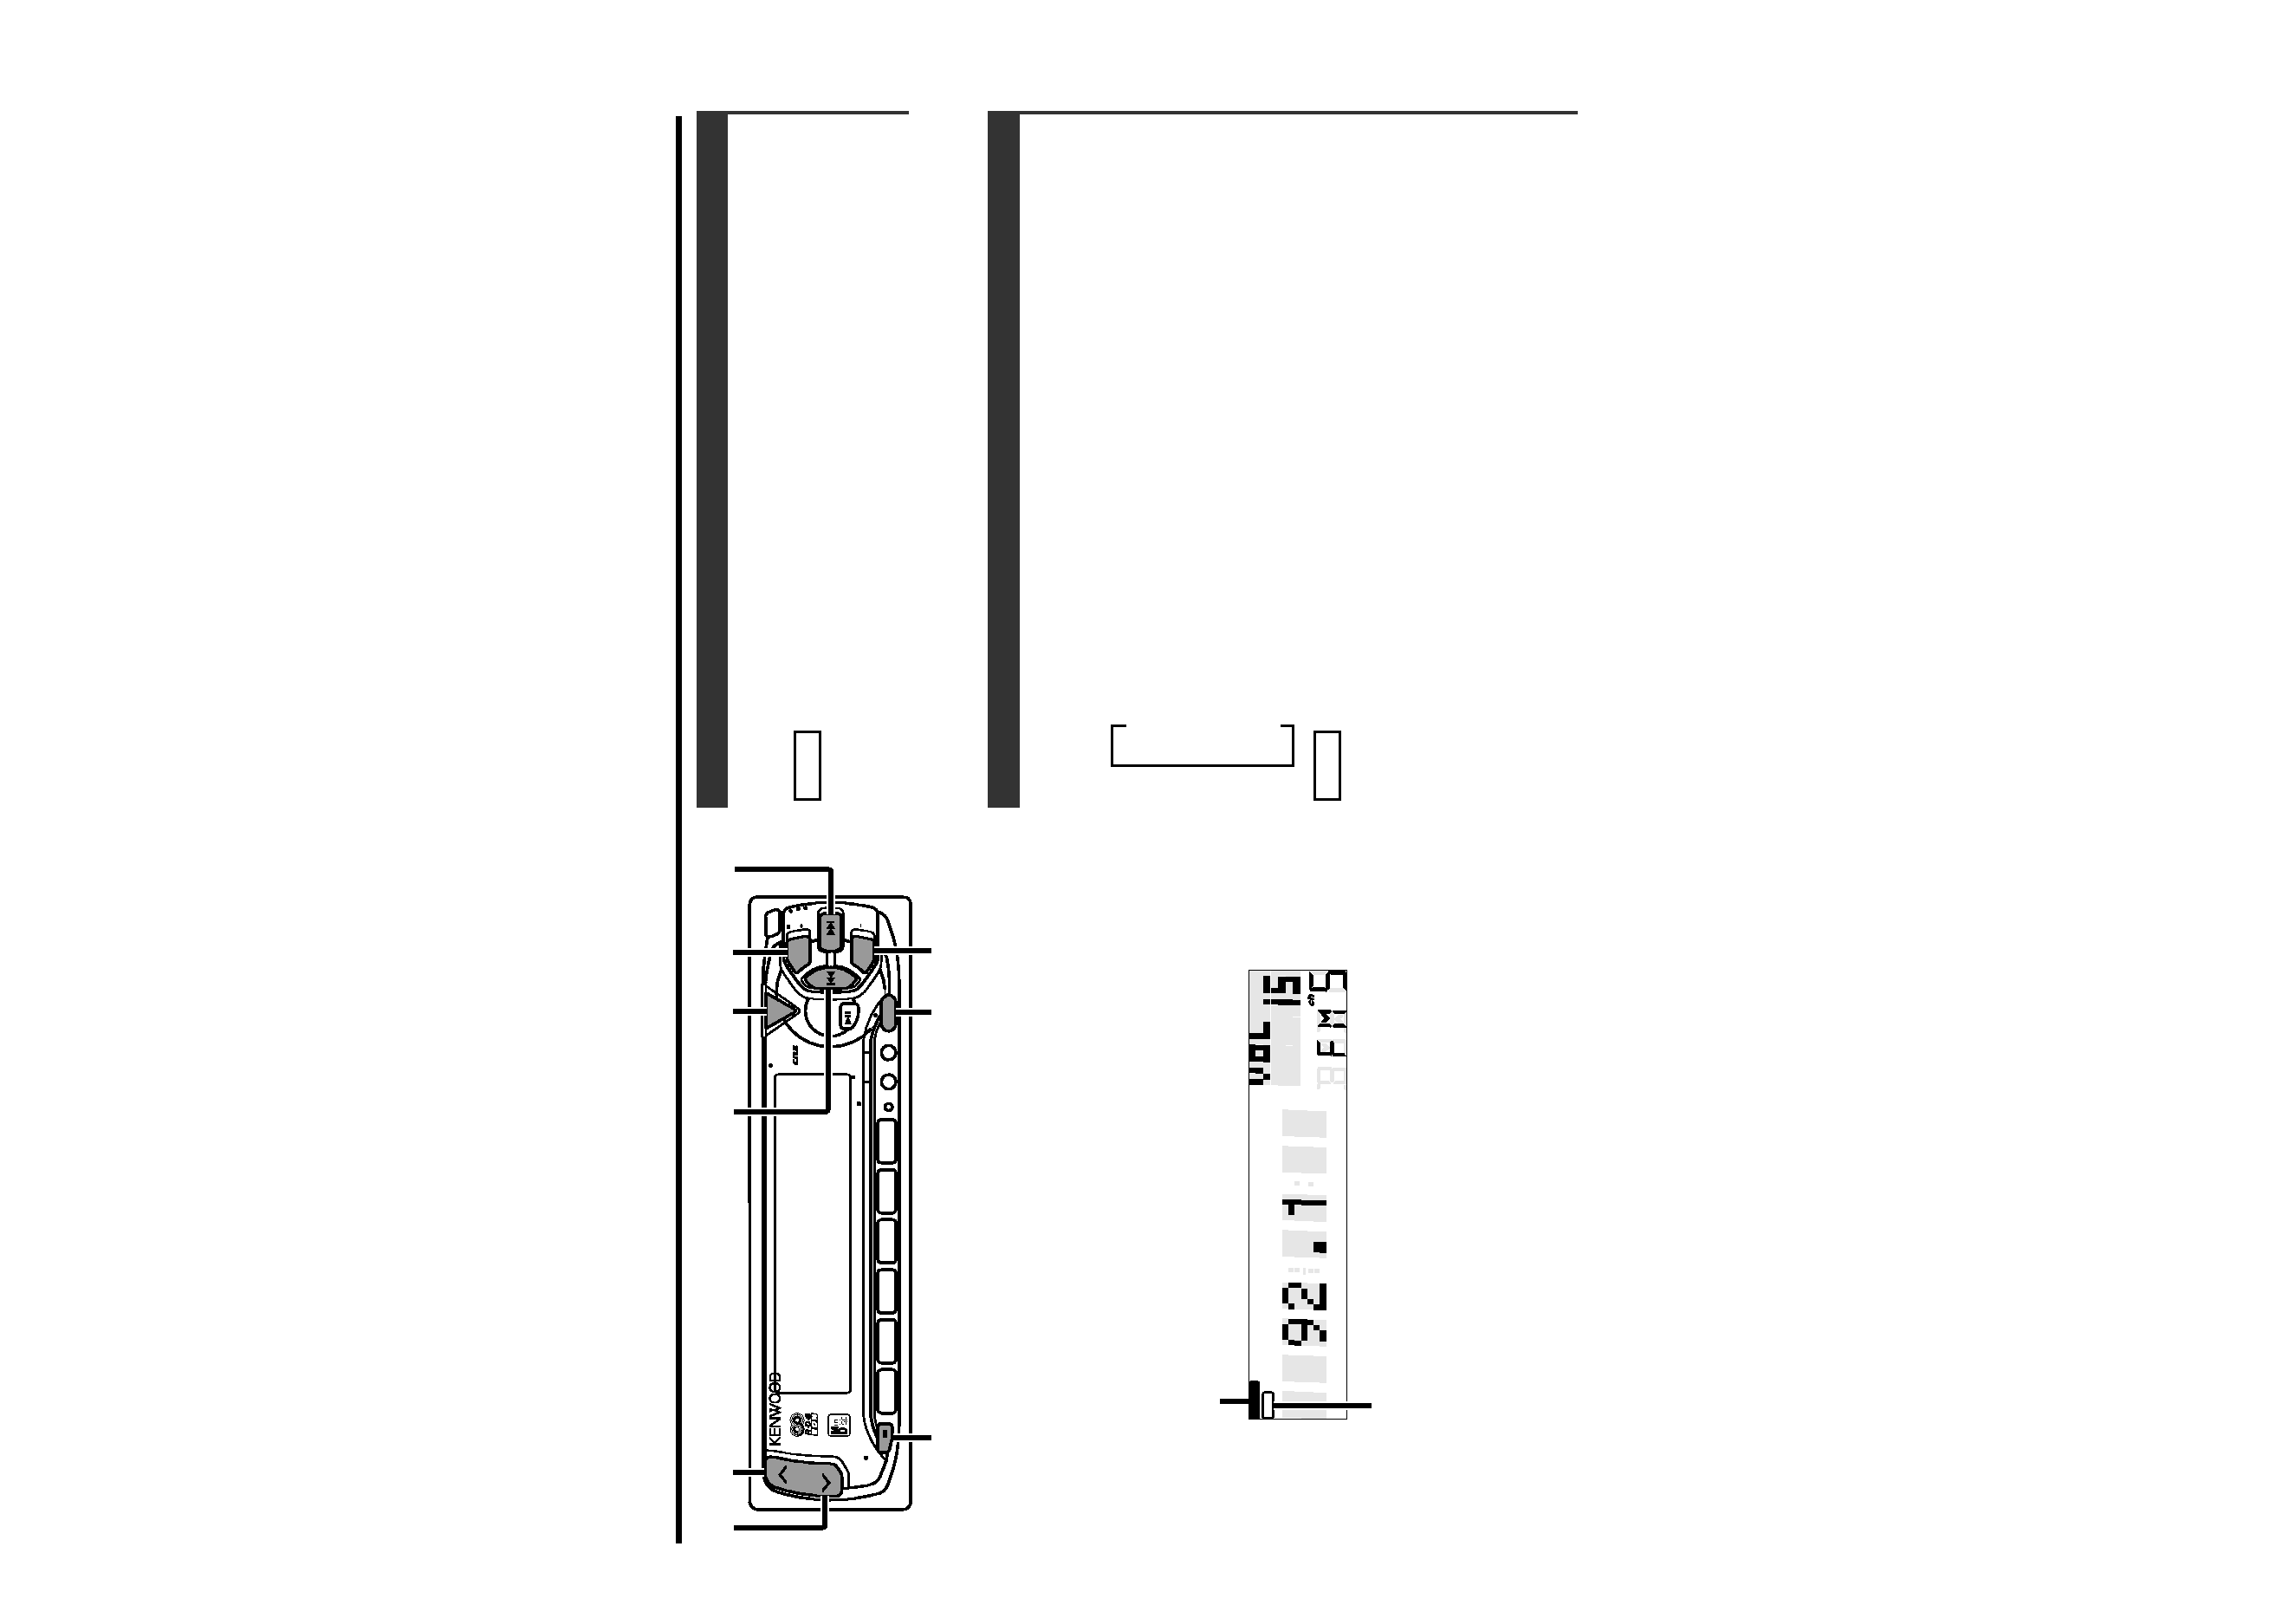
Switching Modes:
Each time you press the SRC button, the mode switches as
follows:
· The mode switches to the next mode from any mode which
cannot be used.
· The external disc control mode will differ depending on the unit
that is connected.
· The AUX mode is available only when the changer / AUX
switching adapter (KCA-S210A or CA-C1AX) or CD changer
(KDC-CPS82 or KDC-CX82) is connected to this unit.
During the AUX mode, "AUX" will show in the display.
When the CA-C1AX is being used, the AUX Mode will replace
the External Disc Control Mode.
NOTE
w
Tuner mode
w
MD mode
w
External disc control mode
w
AUX mode
Switching Modes
Turning on the power:
Press the SRC button.
Turn the power on before carrying out the following procedures.
Turning off the power:
Hold down the PWR OFF button for one second or more.
NOTE
Power
Basic operations
-- 5 --
123
4
56
SRC
AM
AUD
FM
MENU
POWER
OFF
SCAN
RDM
REP
D.SCN
M.RDM
PTY
LOUD
ATT
DISC
DISC
CLK
NAME.S
DISP
VOL ADJ
TI
4
¢
SRC /
PWR OFF
FM
AM
MENU
uATT
d
ATT / LOUD
LOUD
ATT
I
ATT indicator
LOUD indicator