For Customer Use:
Enter below the Model No. and Serial
No. which are located either on the rear,
bottom or side of the cabinet. Retain this
information for future reference.
Model No.
Serial No.
LVT0728-002A
[C]
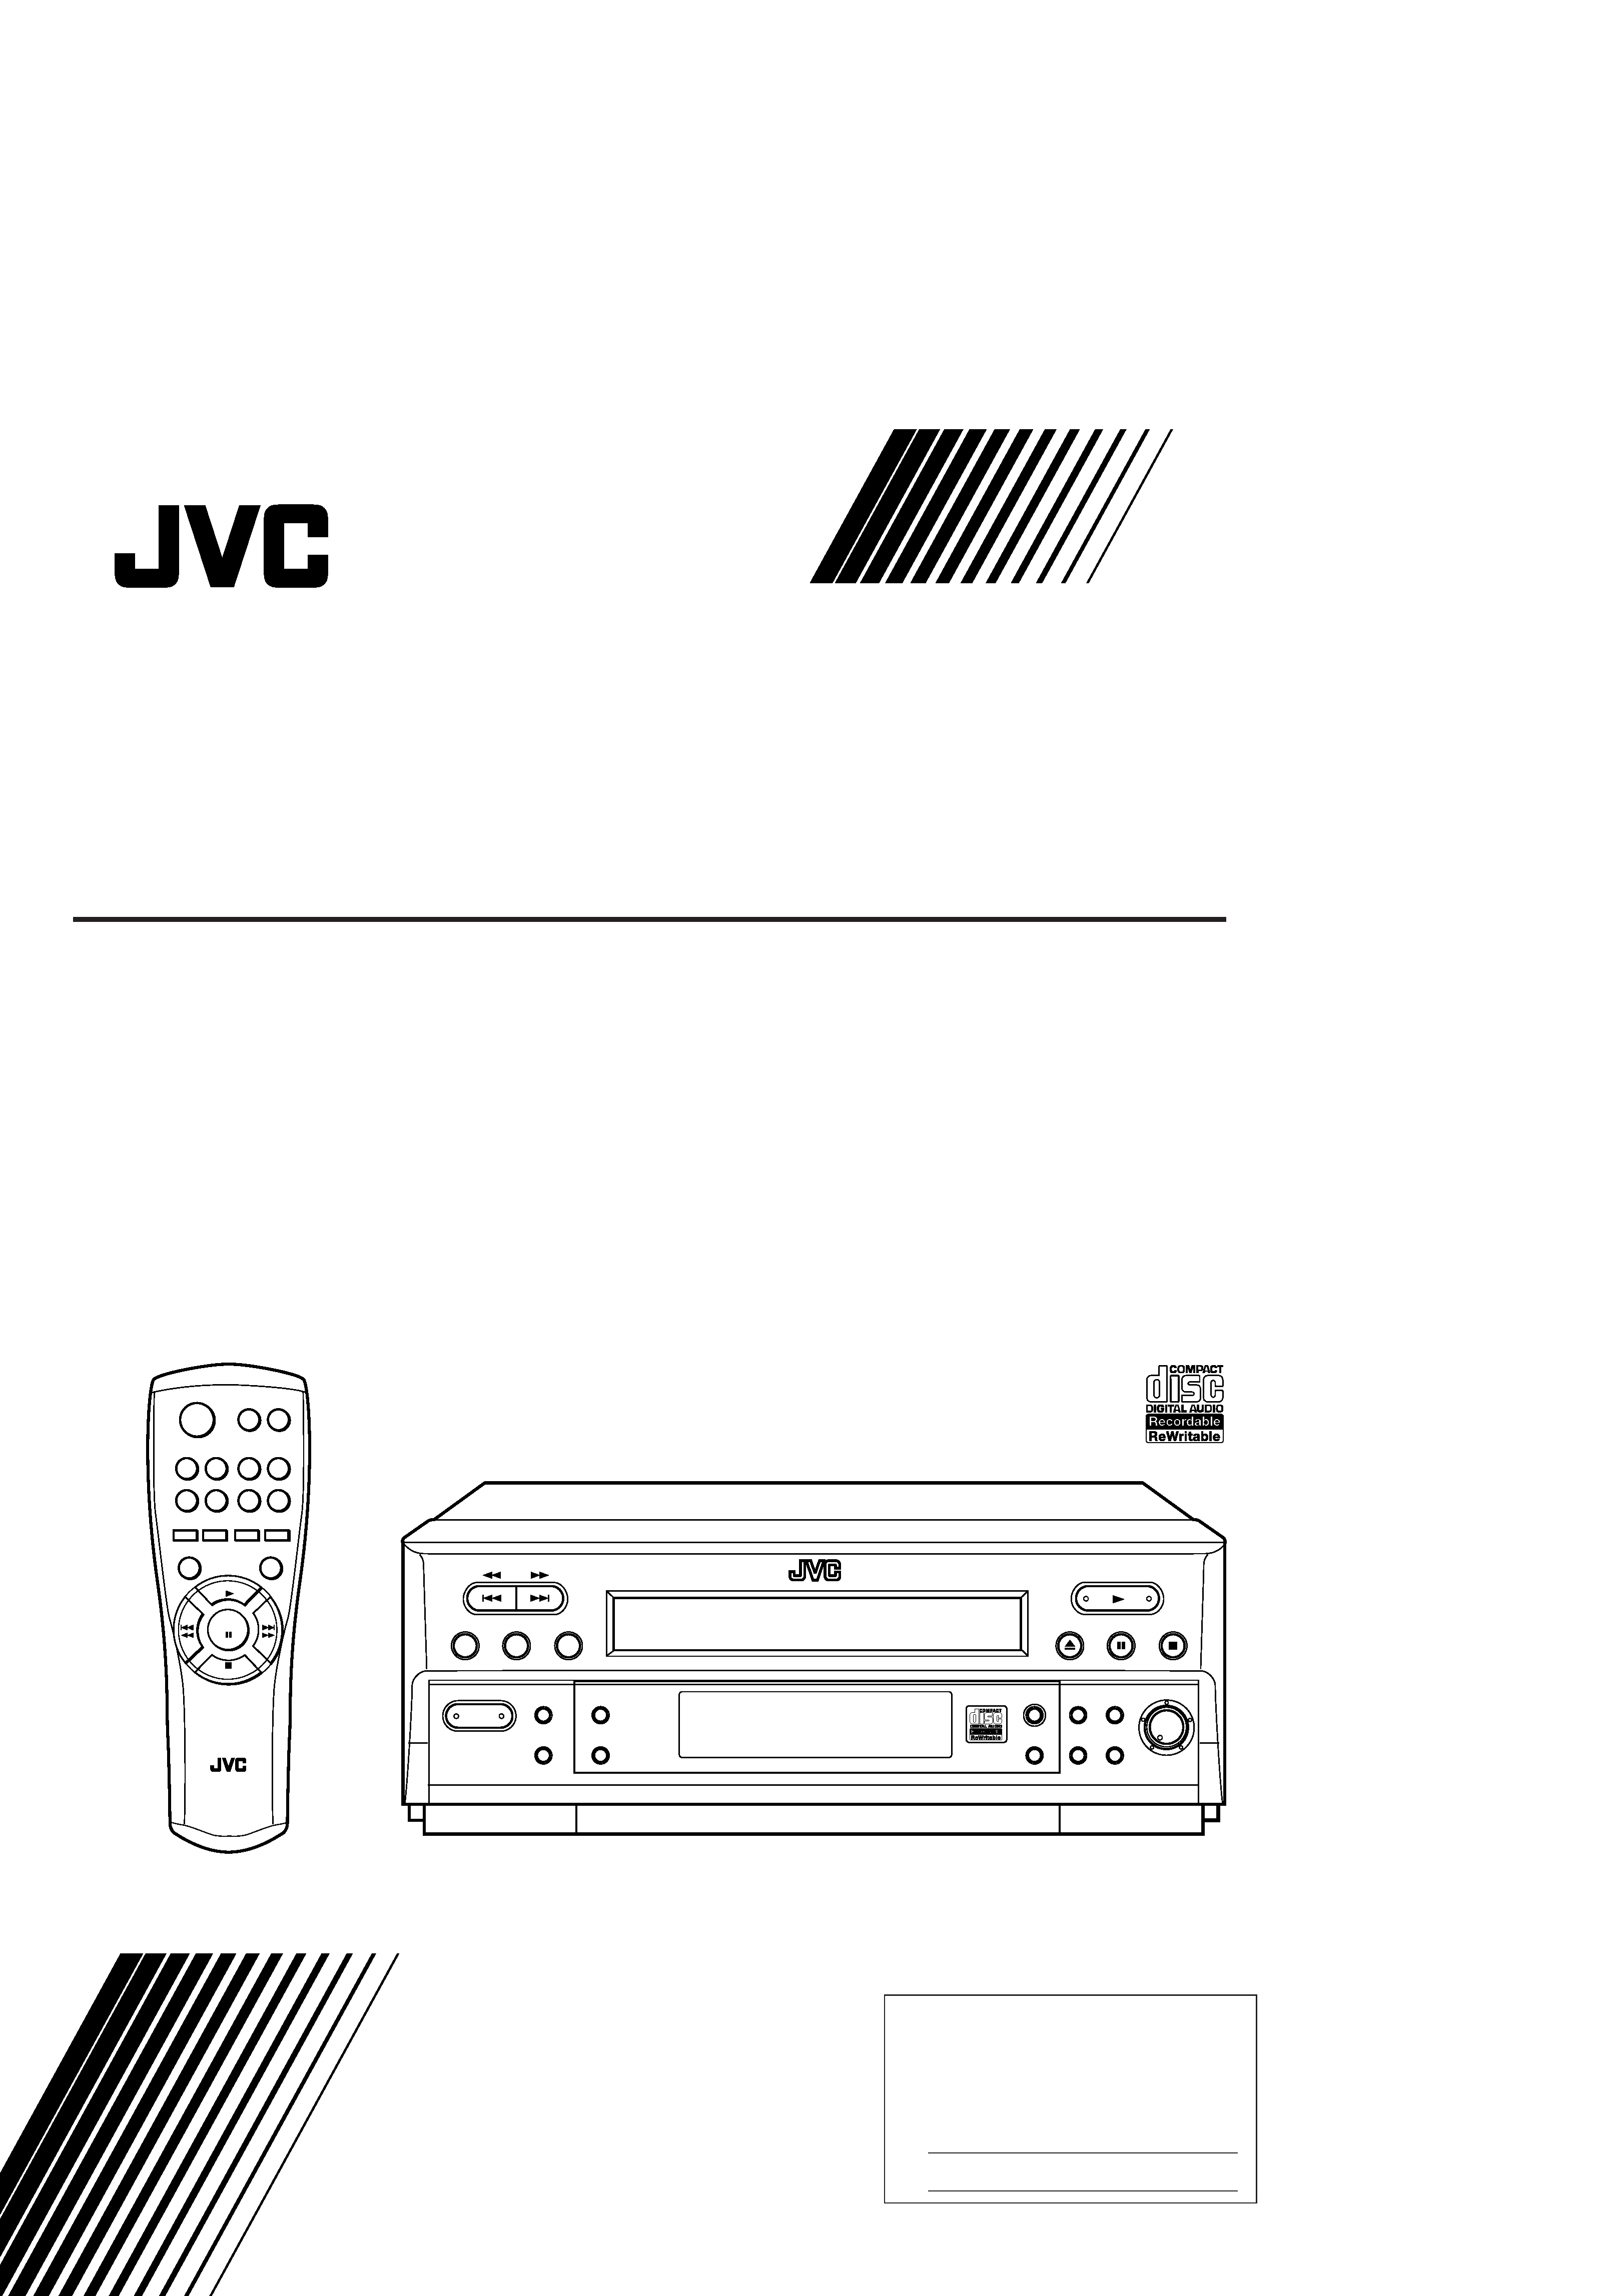
XL-R910SL
COM P ACT DIS C R ECOR DER
P R OGR AM
S ET
CLEAR
R EP EAT
_ON/ Ñ OFF
P OW ER
R AN DOM
AUTO
TR ACK
DIS P LAY
R EC
P AUS E
R EC
R EC LEVEL
M IN
M AX
FIN ALIZE
ER AS E
R EC
S OUR CE
DIGITAL
S YN CHR O
X L -R 9 1 0
OP E N / C LOS E
R M -S X LR 9 1 0 A
R E M OTE C ON TR OL
R E C
P A U S E
R E C
S OUR C E
R E C
R AN DOM
DIS P LAY
P LAY
S TOP
P AUS E
R E P E AT
1
3
4
5
6
7
8
9
0
2
0
INSTRUCTIONS
MANUAL DÕINSTRUCTIONS
COMPACT DISC RECORDER
ENREGISTREUR DE DISQUES LASER
XL-R910[C]_COVER_f
01.3.13, 5:40 PM
1
Warnings, Cautions and Others
G-1
CAUTION:
TO REDUCE THE RISK OF ELECTRIC SHOCK.
DO NOT REMOVE COVER (OR BACK)
NO USER SERVICEABLE PARTS INSIDE.
REFER SERVICING TO QUALIFIED SERVICE PERSONNEL.
RISK OF ELECTRIC SHOCK
DO NOT OPEN
The lightning flash with arrowhead symbol,
within an equilateral triangle is intended to
alert the user to the presence of uninsulated
"dangerous voltage" within the product's
enclosure
that
may
be
of
sufficient
magnitude to constitute a risk of electric
shock to persons.
The exclamation point within an equilateral
triangle is intended to alert the user to the
presence
of
important
operating
and
maintenance (servicing) instructions in the
literature accompanying the appliance.
CAUTION
WARNING: TO REDUCE THE RISK OF FIRE
OR ELECTRIC SHOCK, DO NOT EXPOSE
THIS APPLIANCE TO RAIN OR MOISTURE.
CAUTION
To reduce the risk of electrical shocks, fire, etc.:
1. Do not remove screws, covers or cabinet.
2. Do not expose this appliance to rain or moisture.
ATTENTION
Afin d'éviter tout risque d'électrocution, d'incendie, etc.:
1. Ne pas enlever les vis ni les panneaux et ne pas ouvrir
le coffret de l'appareil.
2. Ne pas exposer l'appareil à la pluie ni à l'humidité.
7 Caution -- POWER switch
This apparatus is provided with a POWER switch to be
able to minimize power consumption for safe use.
Therefore,
1. When doing initial setting, complete all the
connections required, connect the mains plug into the
wall outlet, and set the POWER switch to ON.
2. When not in use, set the POWER switch to OFF.
3. Disconnect the mains plug to shut the power off
completely. The POWER switch in any position do
not disconnect the mains line.
7 Précaution -- interrupteur POWER
Cet appareil est doté d'un interrupteur POWER qui
permet de réduire la consommation d'énergie à des fins
de sécurité. En conséquence,
1. Lors des réglages initiaux, effectuer tous les
raccordements, brancher la fiche secteur dans la
prise secteur, puis mettre l'interrupteur POWER sur
ON.
2. Lorsqu'on ne sert pas de l'appareil, mettre
l'interrupteur POWER sur OFF.
3. Débrancher l'appareil de la prise secteur pour couper
complètement l'alimentation. L'interrupteur POWER
ne coupe pas l'appareil du secteur, quelle que soit la
position sur laquelle il est réglé.
XL-R910[C]_Safety_f
01.3.13, 5:40 PM
2
G-2
For Canada/pour le Canada
CAUTION: TO PREVENT ELECTRIC SHOCK, MATCH WIDE
BLADE OF PLUG TO WIDE SLOT, FULLY INSERT
ATTENTION: POUR EVITER LES CHOCS ELECTRIQUES,
INTRODUIRE LA LAME LA PLUS LARGE DE LA FICHE DANS LA
BORNE CORRESPONDANTE DE LA PRISE ET POUSSER
JUSQUAU FOND
For U.S.A.
This equipment has been tested and found to comply with the limits
for a Class B digital device, pursuant to part 15 of the FCC Rules.
These limits are designed to provide reasonable protection against
harmful interference in a residential installation.
This equipment generates, uses and can radiate radio frequency
energy and, if not installed and used in accordance with the
instructions,
may
cause
harmful
interference
to
radio
communications. However, there is no guarantee that interference
will not occur in a particular installation. If this equipment does cause
harmful interference to radio or television reception, which can be
determined by turning the equipment off and on, the user is
encouraged to try to correct the interference by one or more of the
following measures:
Reorient or relocate the receiving antenna.
Increase the separation between the equipment and receiver.
Connect the equipment into an outlet on a circuit different from that
to which the receiver is connected.
Consult the dealer or an experienced radio/TV technician for help.
For Canada/pour Le Canada
THIS DIGITAL APPARATUS DOES NOT EXCEED THE
CLASS B LIMITS FOR RADIO NOISE EMISSIONS
FROM DIGITAL APPARATUS AS SET OUT IN THE
INTERFERENCE-CAUSING EQUIPMENT STANDARD
ENTITLED "DIGITAL APPARATUS," ICES-003 OF THE
DEPARTMENT OF COMMUNICATIONS.
CET APPAREIL NUMERIQUE RESPECTE LES LIMITES
DE BRUITS RADIOELECTRIQUES APPLICABLES AUX
APPAREILS NUMERIQUES DE CLASSE B
PRESCRITES DANS LA NORME SUR LE MATERIEL
BROUILLEUR; "APPAREILS NUMERIQUES", NMB-003
EDICTEE PAR LE MINISTRE DES COMMUNICATIONS.
IMPORTANT FOR LASER PRODUCTS
Precautions:
1. CLASS 1 LASER PRODUCT
2. DANGER: Invisible laser radiation when open and
interlock failed or defeated. Avoid direct exposure to
beam.
3. CAUTION: Do not open the top cover. There are no
user-serviceable parts inside. Leave all servicing to
qualified service personnel.
IMPORTANT POUR PRODUITS LASER
Precautions
1. PRODUIT LASER CLASSE 1
2. DANGER: Radiation laser invisible quand l'appareil est
ouvert ou que le verrouillage est en panne ou désactivé.
Éviter une exposition directe au rayon.
3. ATTENTION: Ne pas ouvrir le volet supérieur. Il n'y a
pas de pièce réparable par l'utilisateur à l'intérieur.
Confier le service après-vente à un personnel qualifié.
XL-R910[C]_Safety_f
01.3.13, 5:40 PM
3
1
English
Table of Contents
Before Operating the Unit ............................ 2
Before Installation ...................................................................... 2
About Discs and Their Logos ..................................................... 2
Location of the Buttons and Controls ............ 3
Getting Started ........................................... 5
Checking the Supplied Accessories ........................................... 5
Putting Batteries in the Remote Control .................................... 5
Connecting the Unit ................................................................... 5
Playing Back a Disc ..................................... 7
1 Turn On the Power .................................................................. 7
2 Load a Disc ............................................................................. 7
3 Start Playback ......................................................................... 7
Basic Playback Operations ......................................................... 8
Selecting Playback Modes ............................ 9
Programming the Playing Order of the Tracks
-- Program Play .................................................................... 9
Playing at Random -- Random Play ....................................... 10
Recording on a CD-R/CD-RW ...................... 11
· Before You Start Recording ................................................. 11
· Using Automatic Tracking while Recording ....................... 11
· Adjusting the Recording Level through the Analog
Input Jacks ......................................................................... 11
1 Load a Recordable Disc and Prepare the Playback Source .. 12
2 Select the Recording Source (Input) ..................................... 12
3 Start Recording ..................................................................... 12
Other Recording Functions ......................... 13
Synchronized Digital Recording .............................................. 13
Finalizing a Disc -- CD-R/CD-RW ......................................... 14
Unfinalizing a Disc -- CD-RW ............................................... 14
Erasing the Tracks on a CD-RW .............................................. 14
Additional Information ................................ 15
Glossary .................................................................................... 15
Maintenance ............................................. 16
Handling Discs ......................................................................... 16
Troubleshooting ......................................... 17
Specifications ............................................ 18
Remote
ONLY
Remote
NOT
This mark indicates that only the remote control
CANNOT be used for the operation explained.
This mark indicates that the remote control CAN
ONLY be used for the operation explained.
EN01-06.XL-R910[C]_f
01.3.13, 5:42 PM
1

2
English
Before Operating the Unit
Thank you for purchasing this JVC product. Please read these
instructions thoroughly and carefully before starting operation to
ensure that you will derive the optimum performance and a long
service life from your unit.
Before Installation
General Precautions
· DO NOT insert any metal object into the unit.
· DO NOT disassemble the unit or remove screws, covers, or
cabinet.
· DO NOT modify the power cord in any way.
· DO NOT bend the cord at a sharp angle, and do not pull or twist it.
· DO NOT expose the unit to rain or moisture.
Locations
· Install the unit in a location that is level and protected from
moisture.
· The temperature around the unit must be between 41°F and 95°F
(5°C and 35°C).
· Make sure there is good ventilation around the unit. Poor
ventilation could cause overheating and damage the unit.
· Avoid placing the unit on or adjacent to an amplifier. This is to
prevent the humming caused by the unit's proximity to some types
of amplifiers. Move the unit where it will not be affected by the
amplifier.
Handling the unit
· DO NOT touch the power cord with wet hands.
· DO NOT pull on the power cord to unplug the cord. When
unplugging the cord, always grasp the plug so as not to damage
the cord.
· If the power cord is damaged, consult your dealer.
About Discs and Their Logos
Recording
This unit has been designed to record on the discs bearing the
following logos:
In addition to the logos shown above, the phrases shown below or
their equivalent should also be indicated somewhere on the package
or accompanying documentation.
· For Customer Use
· For Music Use
The following discs cannot be used for recording:
· Discs bearing logos other than the above.
· Discs intended for professional use.
· Discs intended for recording computer data.
Playback
This unit has been also designed to play back on the discs bearing
the following logos:
In addition to the above discs, this unit can play back audio data
recorded on CD-G (CD Graphics), CD-EXTRA, and CD-Text discs.
Note:
This unit can playback a CD-R or CD-RW recorded on a personal
computer only if it has been recorded in the CD audio format.
CD Recordable
CD Rewritable
Audio CD
CD Rewritable
CD Recordable
EN01-06.XL-R910[C]_f
01.3.13, 5:42 PM
2