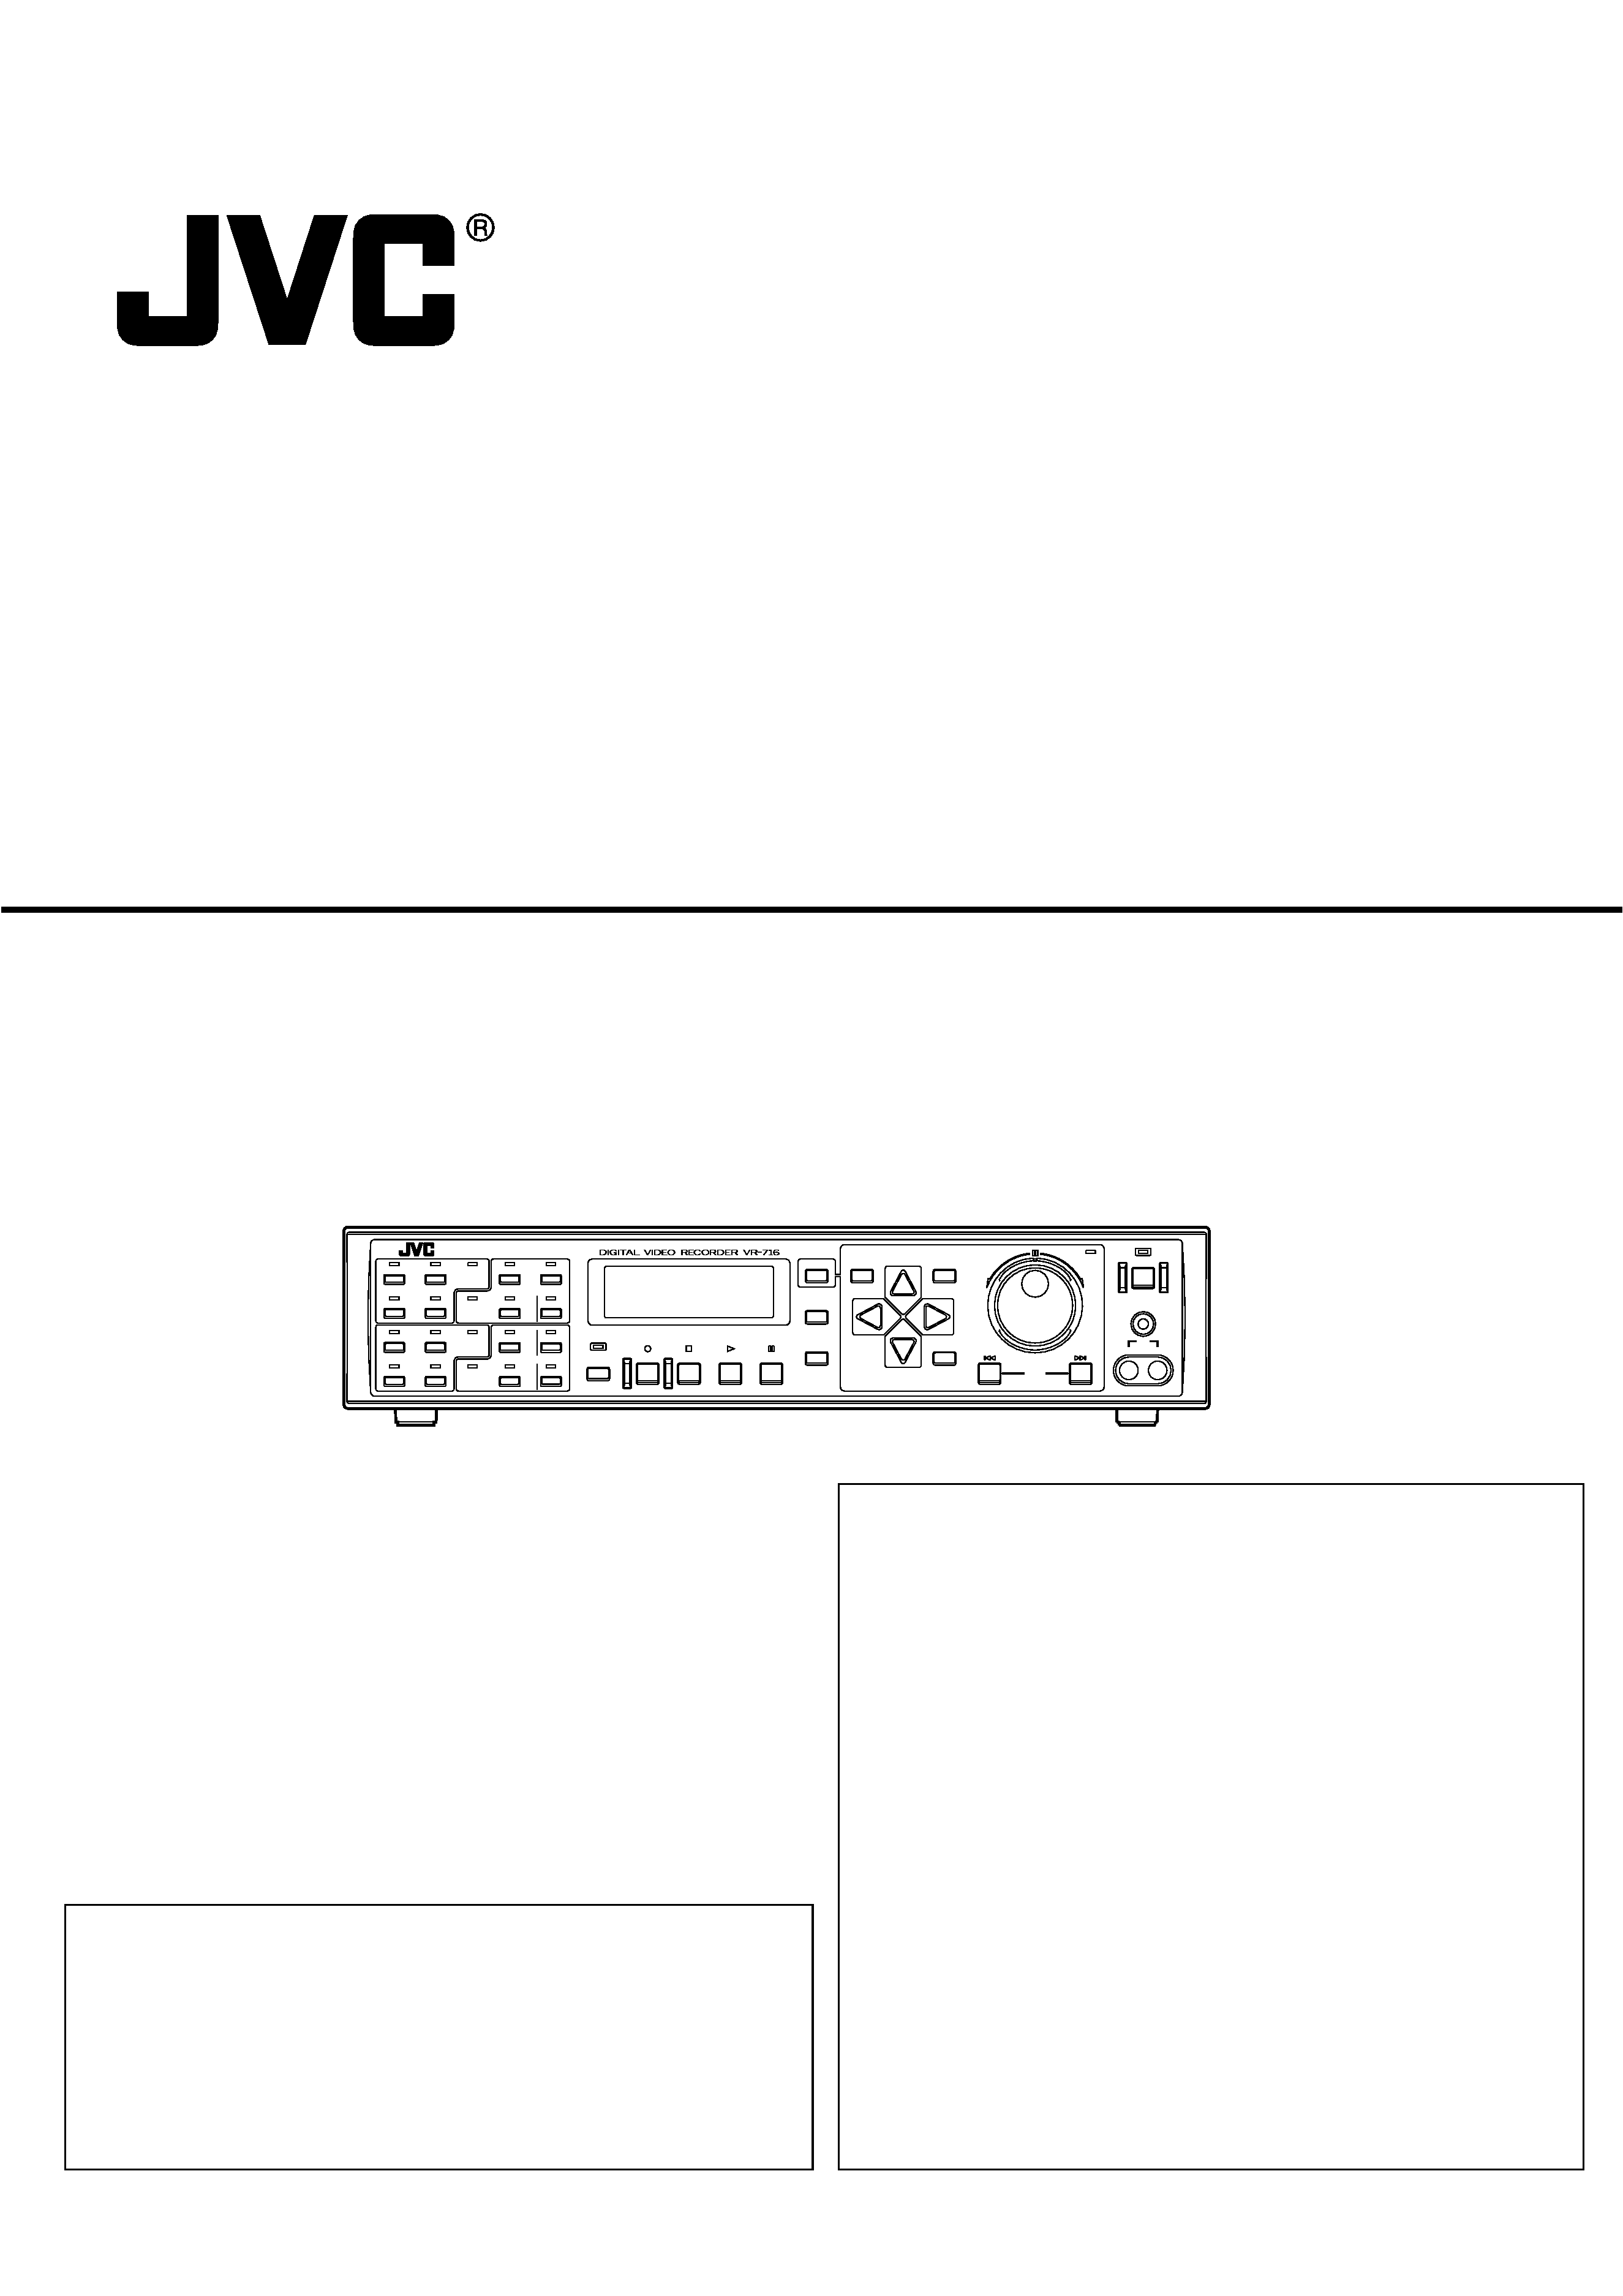
VR-716E
INSTRUCTIONS
DIGITAL VIDEO RECORDER
Please read the followings before getting started:
Thank you for purchasing this JVC product.
Before operating this unit, please read the instructions
carefully to ensure the best possible performance.
Set the "TIME ZONE" before operating this unit.
For the setting method, refer to `Setting the Date/Time'
on page 16.
LST0151-001A
ALARM
SENSOR
SEQUENCE
MULTI
REC
STOP
PLAY
STILL
DISPLAY
CANCEL
SEARCH
MENU
REV
SKIP
FWD
HDD
OPERATE
LOCK
VIDEO
AUDIO
OUT
EXECUTE
ALARM
SENSOR
ALARM
SENSOR
ALARM
SENSOR
11
1
910
34
12
78
56
13
14
15
16
TIMER
[ENGLISH]
The instruction manual in pdf version is stored as `VR-716E_en.pdf'
under the `VR-716E_Manual' folder in the provided CD-ROM. For re-
ference method, please see page 3.
[DEUTSCH]
Die Bedienungsanleitung ist unter dem Namen `VR-716E_de.pdf' im
Ordner `VR-716E_Manual' auf der beiliegenden CD-ROM gespei-
chert. Hinweise zur Benutzung finden Sie auf Seite 3.
[FRANÇAIS]
Le manuel de l'utilisateur est archivé sous le nom de `VR-716E_-
fr.pdf' dans le dossier intitulé `VR-716E_Manual' du CD-ROM fourni.
Pour de plus amples informations sur la méthode de référence, voir
page 3.
[ESPAÑOL]
El manual de instrucciones está guardado como `VR-716E_es.pdf'
en la carpeta `VR-716E_Manual' del CD-ROM proveído. Para méto-
do de referencia, por favor, vea la página 3.
[ITALIANO]
Il manuale delle istruzioni è memorizzato come `VR-716E_it.pdf' nel-
la cartella `VR-716E_Manual' contenuta nel CD-ROM allegato. Per il
sistema di riferimento, si prega consultare pagina 3.
2
IMPORTANT (In the United Kingdom)
Mains Supply (AC 230 V)
WARNING THIS APPARATUS
MUST BE EARTHED
The wires in this mains lead are coloured in
accordance with the following code;
GREEN-and-YELLOW : EARTH
BLUE
: NEUTRAL
BROWN
: LIVE
As the colours of the wires in the mains lead of this
apparatus may not correspond with the coloured
markings identifying the terminals in your plug,
proceed as follows.
The wire which is coloured GREEN-AND-YELLOW
must be connected to the terminal in the plug which is
marked with the letter E or by the safety earth symbol
or coloured GREEN or GREEN-AND-YELLOW.
The wire which is coloured BLUE must be connected
to the terminal which is marked with the letter N or
which is coloured BLACK. The wire which is coloured
BROWN must be connected to the terminal which is
marked with the letter L or coloured RED.
WARNING:
TO REDUCE THE RISK OF FIRE OR ELECTRIC
SHOCK, DO NOT EXPOSE THIS APPLIANCE
TO RAIN OR MOISTURE.
CAUTION
To prevent electric shock, do not open the cabinet.
No user serviceable parts inside. Refer servicing to
qualified service personnel.
Note:
The rating plate and the safety caution are on the rear
of the unit.
The OPERATE button does not completely shut off
mains power from the unit, but switches operating
current on and off.
WARNING
It should be noted that it may be unlawful to re-record
pre-recorded tapes, records, or discs without the
consent of the owner of copyright in the sound or
video recording, broadcast, or cable programme and
in any literary, dramatic, musical or artistic work
embodied therein.
POWER SYSTEM
Connection to the mains supply
This unit operates on voltage of 220 V to 240 V AC,
50 Hz/60 Hz.
CAUTION
RED colour indications on the operation panel are
provided but they are not safety related, RED colour
indications:
(1) For Recording Button.
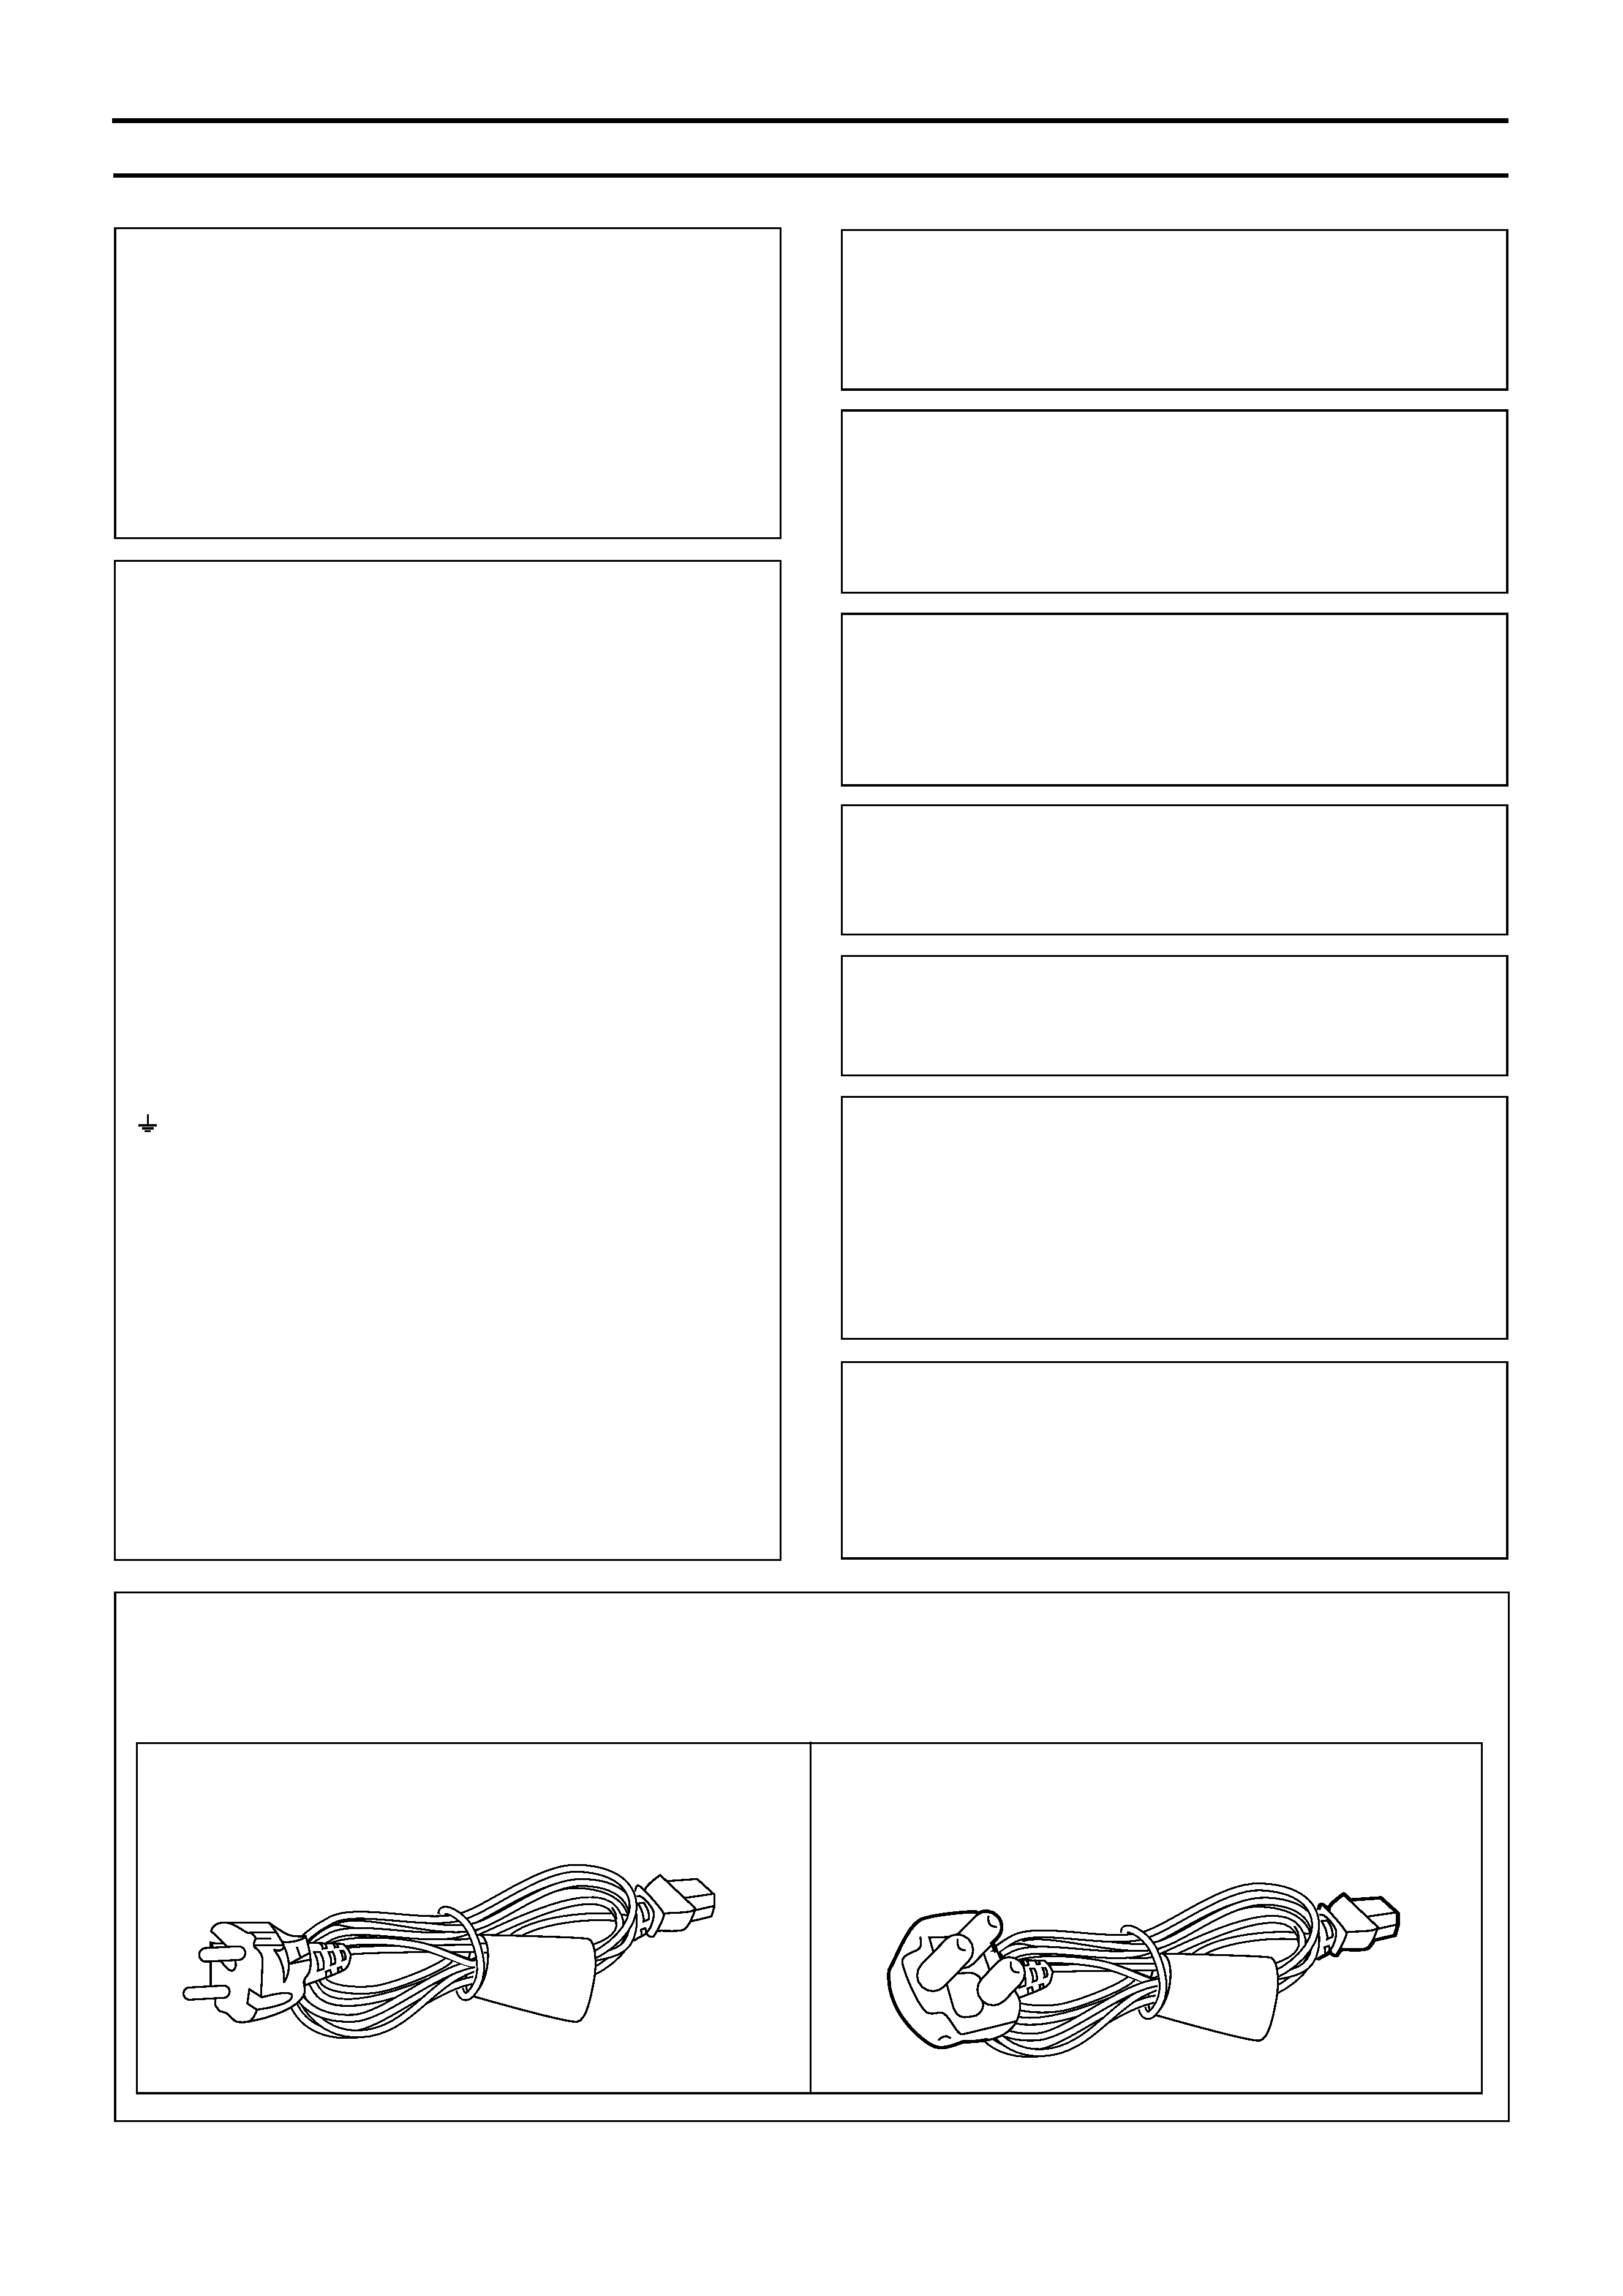
FOR CONTINENTAL EUROPE, ETC.
Not to be used in the U.K.
FOR U.K. ONLY
If the plug supplied is not suitable for your socket
outlet, it should be cut off and appropriate one fitted.
Warning Notice
FOR YOUR SAFETY (Australia)
1.Insert this plug only into effectively earthed three-
pin power outlet.
2.If any doubt exists regarding the earthing, consult a
qualified electrician.
3.Extension cord, if used, must be three-core
correctly wired.
Caution for AC Power Cord
FOR YOUR SAFETY PLEASE READ THE FOLLOWING TEXT CAREFULLY.
Appropriate AC Power Cord must be used in each local area.
SAFETY PRECAUTIONS

3
Place of storage and use
Please avoid storing or using this DVR in the following
places:
· Extremely hot or cold places beyond the allowable tem-
perature for operation (5°C - 40°C).
· Humid or dry places beyond the allowable humidity range
for operation (30 % - 80 % RH).
· Dusty or sandy places.
· Places exposed to oil, smoke or steam, such as the
kitchen vicinity.
· Vibrating or unstable places.
· Places prone to condensation.
· Places that generates strong magnetic fields, e.g., trans-
former or motor.
· Places near devices that generate electric waves, e.g.,
transceiver or mobile phone.
·Places that generate radiation, X-rays or corrosive gases.
Handling the unit
· Please do not place heavy objects on the DVR, like a
monitor or TV.
· Please do not block the ventilation openings.
·Avoid violent shocks to the unit. Do not drop the unit.
Maintaining the unit (Please turn off the power be-
fore performing maintenance work.)
Please wipe the unit with a soft cloth. Do not wipe it with
thinner or benzene lest the surface melts or becomes dull.
For stubborn stains, wipe first with a water-dilluted neutral
detergent and then wipe dry.
Please use the supplied power cord. Using a differ-
ent type or damaged cord may cause fire or electric
shock.
Hard-disk
The hard-disk is a consumable item.
Replacement is recommended after 10000 hours of use (if
use in a 25°C environment).
For information on maintenance planning and costs, con-
sult your nearest JVC dealer.
To save energy, be sure to turn off the system when
not in use.
WARNING
This is a Class A product. In a domestic environment
this product may cause radio interference in which
case the user may be required to take adequate
measures.
WARNING
For PLUGGABLE EQUIPMENT, the socket outlet
shall be installed near the equipment and shall be
easily accessible.
How to read the Instruction manual (pdf file)
SAFETY PRECAUTIONS
[ENGLISH]
1. Insert the provided CD-ROM into PC, click [AdobeRdr60_enu.exe]
in the "AdobeReader" folder to install AdobeReader 6.0.
2. Double-click the [VR-716E_en.pdf] in the "VR-716E_Manual"
folder to read the file.
[DEUTSCH]
1. Legen Sie die beiliegende CD-ROM in das CD-ROM-Laufwerk
Ihres Computers. Öffnen Sie den Ordner "AdobeReader" auf der
CD-ROM und doppelklicken Sie auf das Programm
[AdobeRdr60_deu.exe], um den Adobe Acrobat Reader 6.0 zu
installieren.
2. Doppelklicken Sie dann auf die Datei [VR-716E_de.pdf] im Ord-
ner "VR-716E_Manual", um die Bedienungsanleitung zu öffnen.
[FRANÇAIS]
1. Placez le CD dans le lecteur et cliquez sur [AdobeRdr60_fra.exe]
dans le dossier "AdobeReader" pour installer AdobeReader 6.0.
2. Double-cliquez sur [VR-716E_fr.pdf] dans le dossier "VR-
716E_Manual" pour lire le fichier.
[ESPAÑOL]
1. Introduzca el CD-ROM proveído en el PC, haga click en
[AdobeRdr60_esp.exe] en la carpeta "AdobeReader" para insta-
lar el AdobeReader 6.0.
2. Haga doble click en [VR-716E_es.pdf] en la carpeta "VR-
716E_Manual" para leer el fichero.
[ITALIANO]
1. Inserire il CD-ROM allegato nel PC, fare clic su
[AdobeRdr60_ita.exe] nella cartella "AdobeReader" per installare
6.0.
2. Fare doppio clic su [VR-716E_it.pdf] nella cartella "VR-
716E_Manual" per leggere il file.

4
Getting Started
Table of Content ....................................................................... 4
Main Features ........................................................................... 5
Precautions .............................................................................. 6
Names and Functions .............................................................. 7
Installation and Preparation
System Connection (When Connecting 16 Cameras) ........ 14
Mounting to a Rack ................................................................ 15
Turning On/Off the Power ...................................................... 15
Setting the Date/Time ............................................................ 16
Onscreen Display ................................................................... 19
Menus
Menu Flow Chart .................................................................... 20
Changing Menu Settings ....................................................... 22
Routine Uses
Viewing Live Camera Images
· When connecting the monitor to the [EE OUT] terminal ... 32
· When connecting the monitor to the [VIDEO OUT]
terminal ............................................................................. 33
· Setting Time Interval for Switching Displays in the
Single Picture Mode .......................................................... 34
· Setting Time Interval for Switching Displays in the
Quad Picture Mode ........................................................... 35
Recording Camera Images
· Recording in the Normal Mode ......................................... 36
· Repeat Recording (Repeat Record Feature) .................... 37
Viewing Recorded Images
· Playing Back Recorded Images ........................................ 38
· Viewing Recorded Images in the Split Screen Mode ........ 39
· Searching Image According to Date/Time
("DATE/TIME SEARCH") .................................................. 40
· Searching Image According to Alarm/Sensor Data
("ALARM/SENSOR SEARCH") ........................................ 41
· Adjusting Playback Speed (Jog/Shuttle Playback) ........... 42
· Viewing Recorded Images in the Skip Mode .................... 43
· Enlarging the Still Image (Still Image Zoom) .................... 44
Record Programming Using the Program Timer
·Weekly Timer (For starting recording on a specific
day and time on a weekly basis) ....................................... 46
·Weekly Timer (For starting recording on a specific
time of the day) ................................................................. 48
·Weekly Timer (For starting recording on a specific
day of the week and time) ................................................. 50
· Date Timer ........................................................................ 52
· Canceling a Record Program ............................................ 54
· Changing a Record Program ............................................ 54
Useful Features
· Hard Disk Maintenance .................................................... 55
· Defrag ............................................................................... 57
· Initializing the Hard Disk ("FORMAT") ............................... 58
· Hard Disk Mirroring ........................................................... 59
·To view the list of Power Outage Recovery Records ........ 60
· Series Recording Using 2 or More VR-716 Recorders ..... 61
· Activation of Recording Via External Signals .................... 61
· External Hard Disk Drives ................................................. 62
· Hard Disk Recovery Feature ............................................. 63
· Copying to DVD-RAM ....................................................... 64
· Activation of Recording Via External Alarm/Sensor
Signals .............................................................................. 66
· Using the Motion Detect Feature ...................................... 68
· Motion detect check mode and setting guidance .............. 70
· Continuing with Recording Upon Recovery from
Power Failure .................................................................... 71
· Setting a Title for Each Camera Channel Screen ............. 72
Table of Content
Connecting to a PC
What is a Web Browser?
You can do the followings ..................................................... 73
Cautions for Proper Use of the Web Browser ...................... 74
Setup Flow .............................................................................. 75
Connecting to a Web Browser and Setting Up
Connecting Using a LAN Cable ............................................ 76
Setting Up a Network for VR-716 .......................................... 77
Setting Up a PC Network
· When Using Windows XP ................................................. 78
· When Using Windows 2000 .............................................. 79
Connecting (Login) to the Network ...................................... 81
Routine Uses of the Web Browser
Setting a Title for Each Camera Channel Screen ................ 82
Record Program Using the Program Timer ......................... 83
· Setting Screen .................................................................. 83
· Start recording on a specific time of the week .................. 84
· Start recording at a specific time everyday ....................... 85
· Start recording on a specific day and time ........................ 86
· Start recording at a specific date ...................................... 87
Setting VR-716 to the Program Timer Standby Mode ......... 88
Checking Recording Operation After Release Timer
is Executed ............................................................................. 89
Changing/Deleting Record Programs in the Program
Timer ....................................................................................... 90
Searching Image According to Date/Time (Event Search)
· Searching Alarm/Sensor recording ................................... 91
· Search By Date/Time ........................................................ 92
· Search By Term ................................................................ 93
Useful Browser Features
Restricting Access to VR-716 ............................................... 94
Restricting Access to Recorded Image Files at VR-716 ..... 95
Changing Network Settings of VR-716 from PC .................. 96
Mail Notification Setting During Alarm/Sensor Input ......... 97
Viewing Images of Event Search Results
(Simple Viewer) ....................................................................... 99
Saving VR-716 Settings to a File ......................................... 101
Uploading VR-716 Settings ................................................. 103
Information About Open Source Software ........................ 104
Explanations
Troubleshooting
· Problems Related to Error Code and Onscreen
Display ............................................................................ 105
· Other Problems ............................................................... 106
·Troubleshooting on Use of Browsers .............................. 107
Web Browser Glossary ........................................................ 110
Recording Mechanism
· Normal Recording ........................................................... 111
· Repeat Record ................................................................ 112
· Presensor Recording ...................................................... 113
Skip Jump ............................................................................. 114
Recording Duration .............................................................. 115
RS-232C Connection ........................................................... 115
Notes related to Summer Time ........................................... 116
Others
Specifications ....................................................................... 117

5
SEQUENCE
MULTI
REC
STOP
PLAY
STILL
DISPLAY
CANCEL
SEARCH
MENU
REV
SKIP
FWD
HDD
OPERATE
LOCK
VIDEO
AUDIO
OUT
EXECUTE
TIMER
Built-in hard disk drive with a high
capacity of 160 GB
Simultaneous recording of 400 images /
sec in 16 channels
Recording up to 400 images/second.
Simultaneous Playback mode
Playback, jog/shuttle playback and skip play are
possible during recording.
Monitor with display in quad or 16 split
pictures
16-channel video input can be displayed in quad
or 16 pictures at 25 images per second on the
monitor.
Direct search on the screen
Searches quickly for the date/time and alarm
position to invoke.
Recovery Recording during power out-
age
Upon recovery from a power outage that oc-
curred during recording, VR-716 will resume re-
cording in the mode prior to the failure.
Timer Recording
Daily/Weekly timer recording up to 8 programs.
Thank you for
purchasing this VR-716E
Digital Video Recorder.
In the subsequent sections of this manual, this equipment shall be referred to as VR-716.
Main Features
Alarm/Sensor Recording
Switches automatically to the Alarm Recording
mode as set in the menu when alarm signals
are received during recording.
Supports 16-channel asynchronous
camera inputs
Simultaneous recording/playback of images in
16 asynchronous cameras.
Network-compatible
Recorded images can be viewed on LAN-con-
nected computers.Titles and timer programs can
also be set using computers.
Motion Detect
Automatically detects image motion within the
specified area and starts alarm recording.
Digital Water Mark
Embeds data in images to protect data integrity
against falsification and unauthorized detection
during data replication.
Transmission of alarm e-mails
E-mails can be sent out to any computers dur-
ing alarm (sensor) input.
Turning On the Operation Lock
Press the [LOCK] and [EXECUTE] buttons
simultaneously.
· This locks the operation immediately and keys are disabled.
(However, this does not apply to control via Web brows-
ers.)
· [LOCK] is indicated on the front display.
Turning Off the Operation Lock
Press the [LOCK] and [CANCEL] buttons si-
multaneously.
· This deactivates the operation lock.
For security reasons, it is recommended that you detach
this page and keep it separately.
How to Use the Operation Lock
VR-716 employs a secret operation lock system to prevent its power from being turned off by mistake or tampering with the record
functions.When the operation lock is turned ON, the lock operation can be selected as either "ALL" or "STOP REC" from the menu.
Pg 25 `OPERATION LOCK'
[CANCEL]
[LOCK]
Front Display
[EXECUTE]
Getting Started