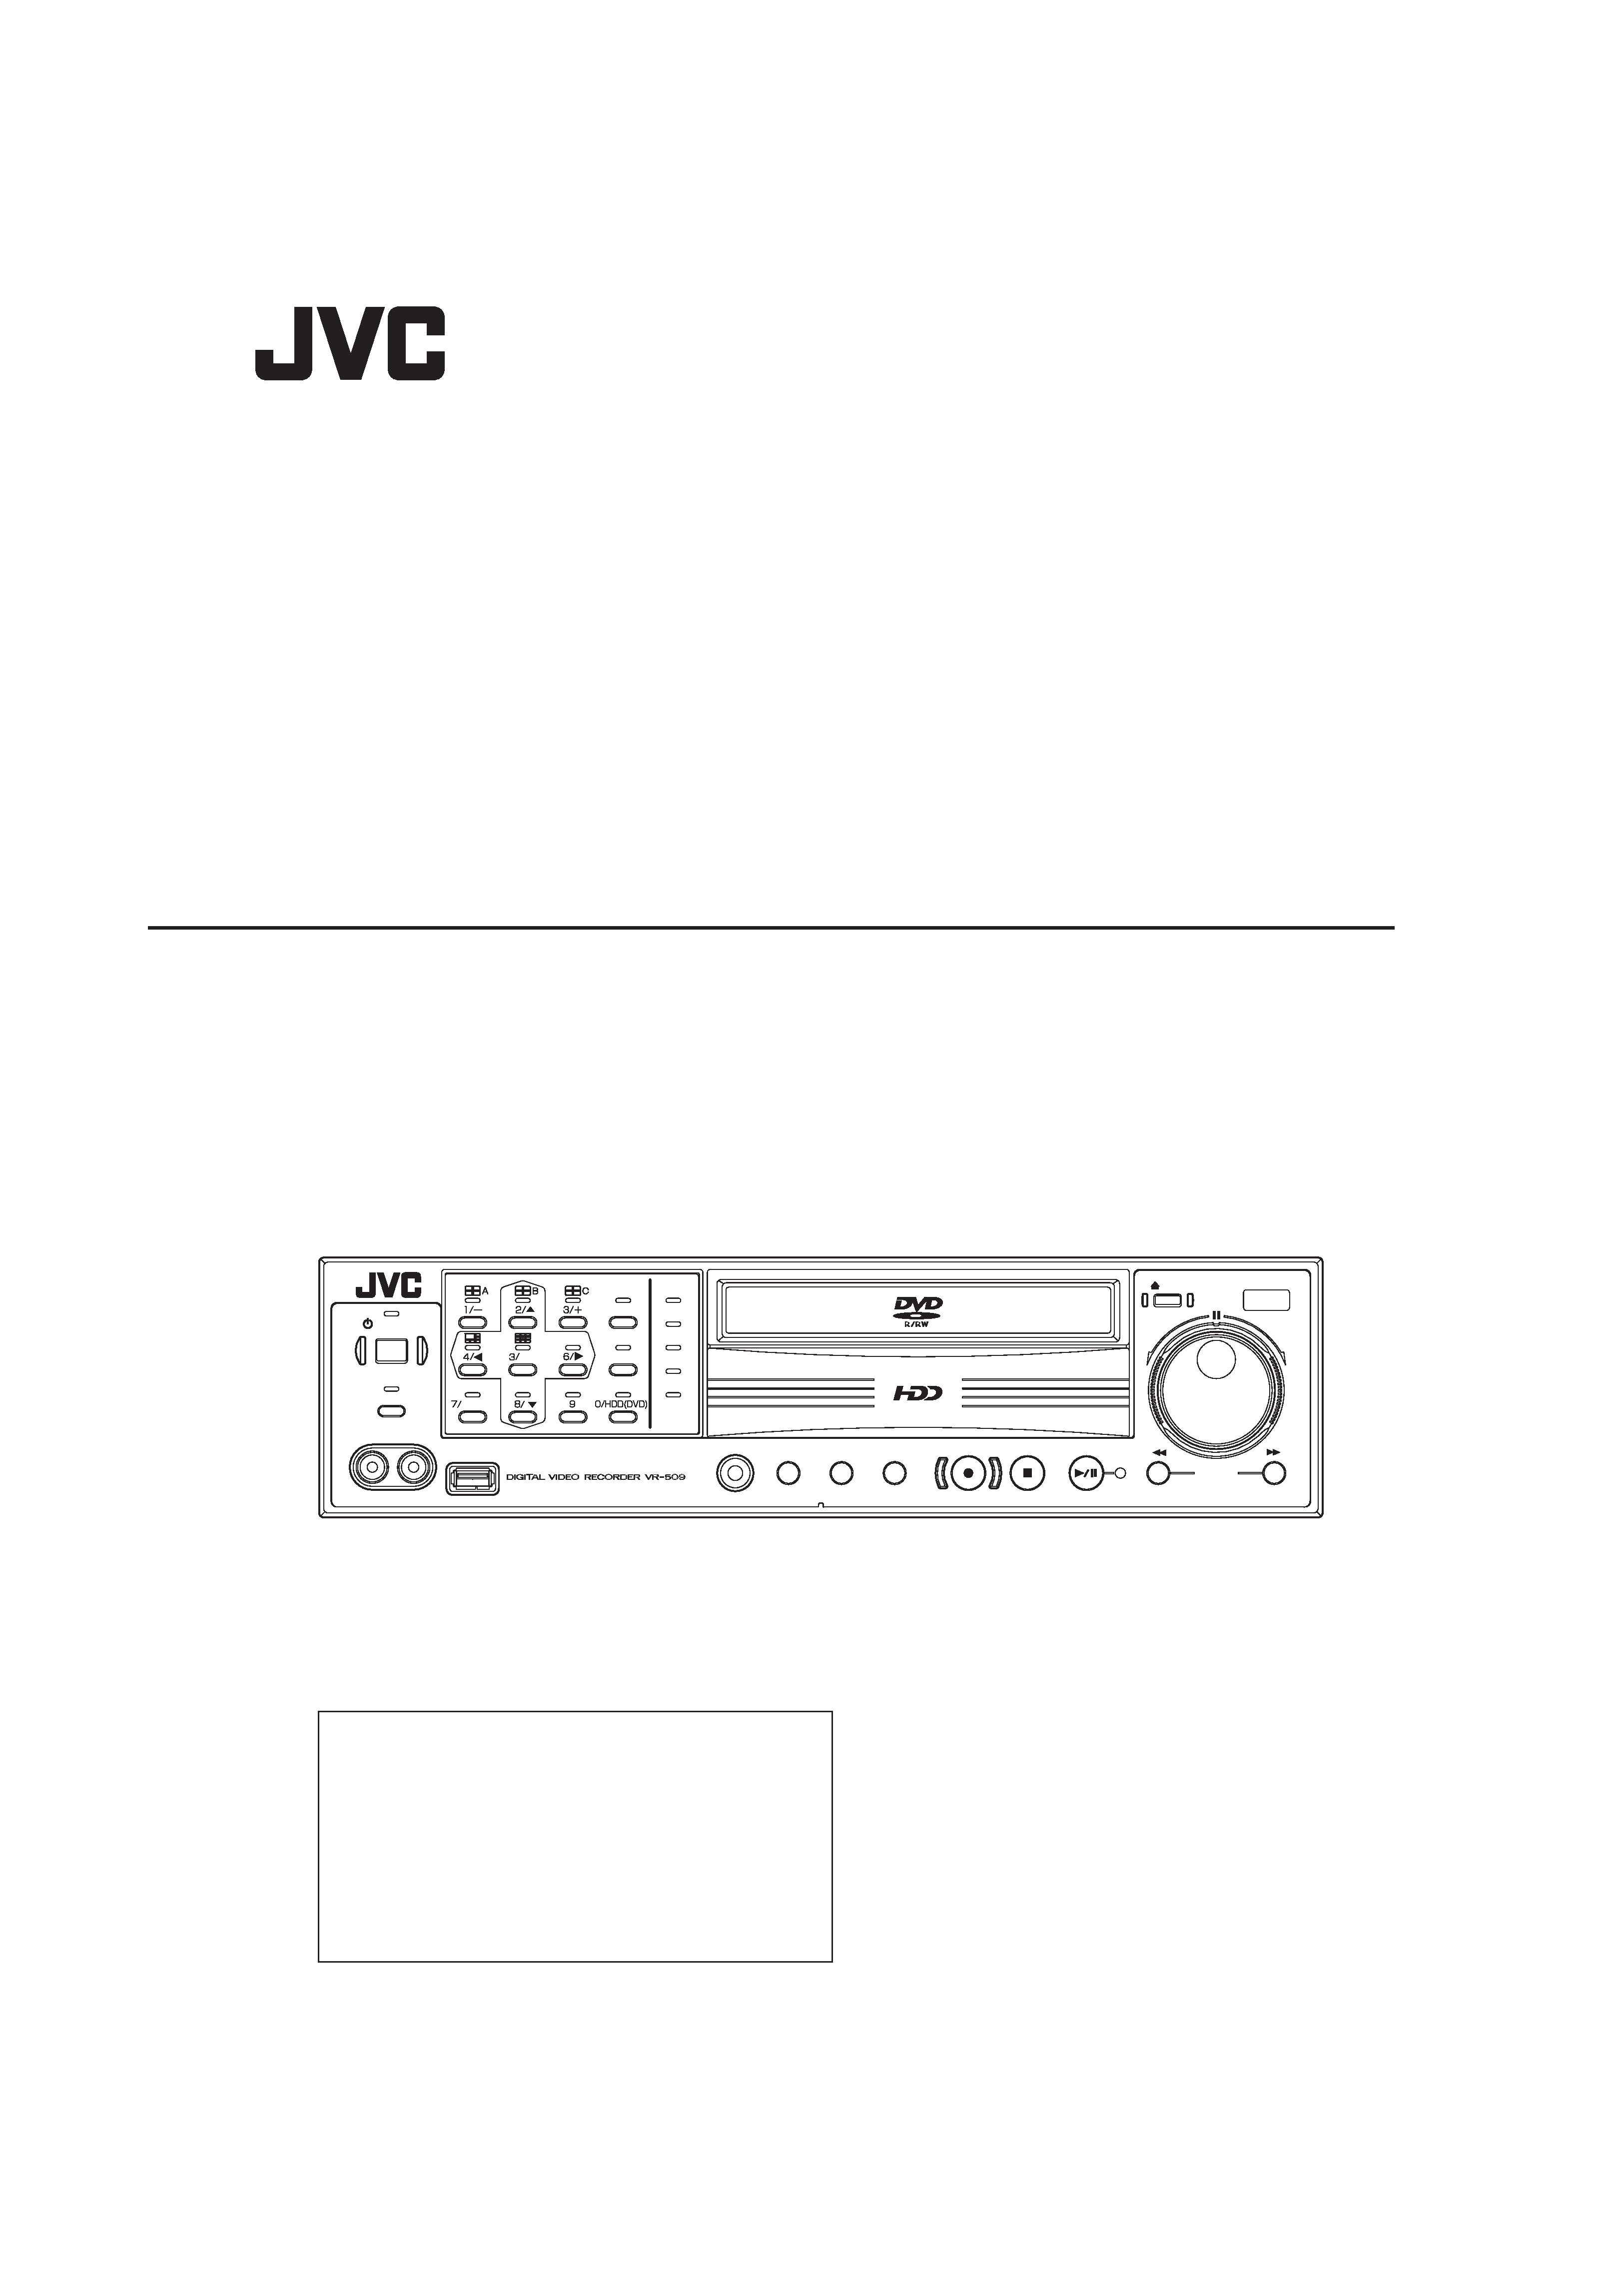
DIGITAL VIDEO RECORDER
VR-509E
INSTRUCTIONS
OPERATE
TIMER/MODE
SERIAL
FUNCTION
MENU
CANCEL
REC/STOP
PLAY STOP
SKIP
REC
PLAY/PAUSE
REW
OPEN/CLOSE
FF
ALARM
RESET
SPLIT
SEQUENCE
WARNING
ALARM
SPOT
HDD
LOCK
RETURN
SET
VIDEO
OUT
AUDIO
OUT
Please read the following before getting started:
Thank you for purchasing this JVC product.
Before operating this unit, please read the instructions
carefully to ensure the best possible performance.
Set the "TIME ZONE" before operating this unit.
For the setting method, refer to `Setting up Areas'
on page 18.
This instruction manual is made from 100% recycled paper.
LLT0094-001A
VR-509e.book Page 1 Wednesday, February 8, 2006 10:45 AM

2
SAFETY PRECAUTIONS
IMPORTANT (In the United Kingdom)
Mains Supply (AC 230 V)
WARNING - THIS APPARATUS
MUST BE EARTHED
The wires in this mains lead are coloured in
accordance with the following code;
GREEN-and-YELLOW : EARTH
BLUE : NEUTRAL
BROWN : LIVE
As the colours of the wires in the mains lead of this
apparatus may not correspond with the coloured
markings identifying the terminals in your plug,
proceed as follows.
The wire which is coloured GREEN-AND-YELLOW
must be connected to the terminal in the plug which is
marked with the letter E or by the safety earth symbol
or coloured GREEN or GREEN-AND-YELLOW.
The wire which is coloured BLUE must be connected
to the terminal which is marked with the letter N or
which is coloured BLACK. The wire which is coloured
BROWN must be connected to the terminal which is
marked with the letter L or coloured RED.
Warning Notice
FOR YOUR SAFETY (Australia)
1.Insert this plug only into effectively earthed threepin
power outlet.
2.If any doubt exists regarding the earthing, consult a
qualified electrician.
3.Extension cord, if used, must be three-core correctly
wired.
Caution for AC Power Cord
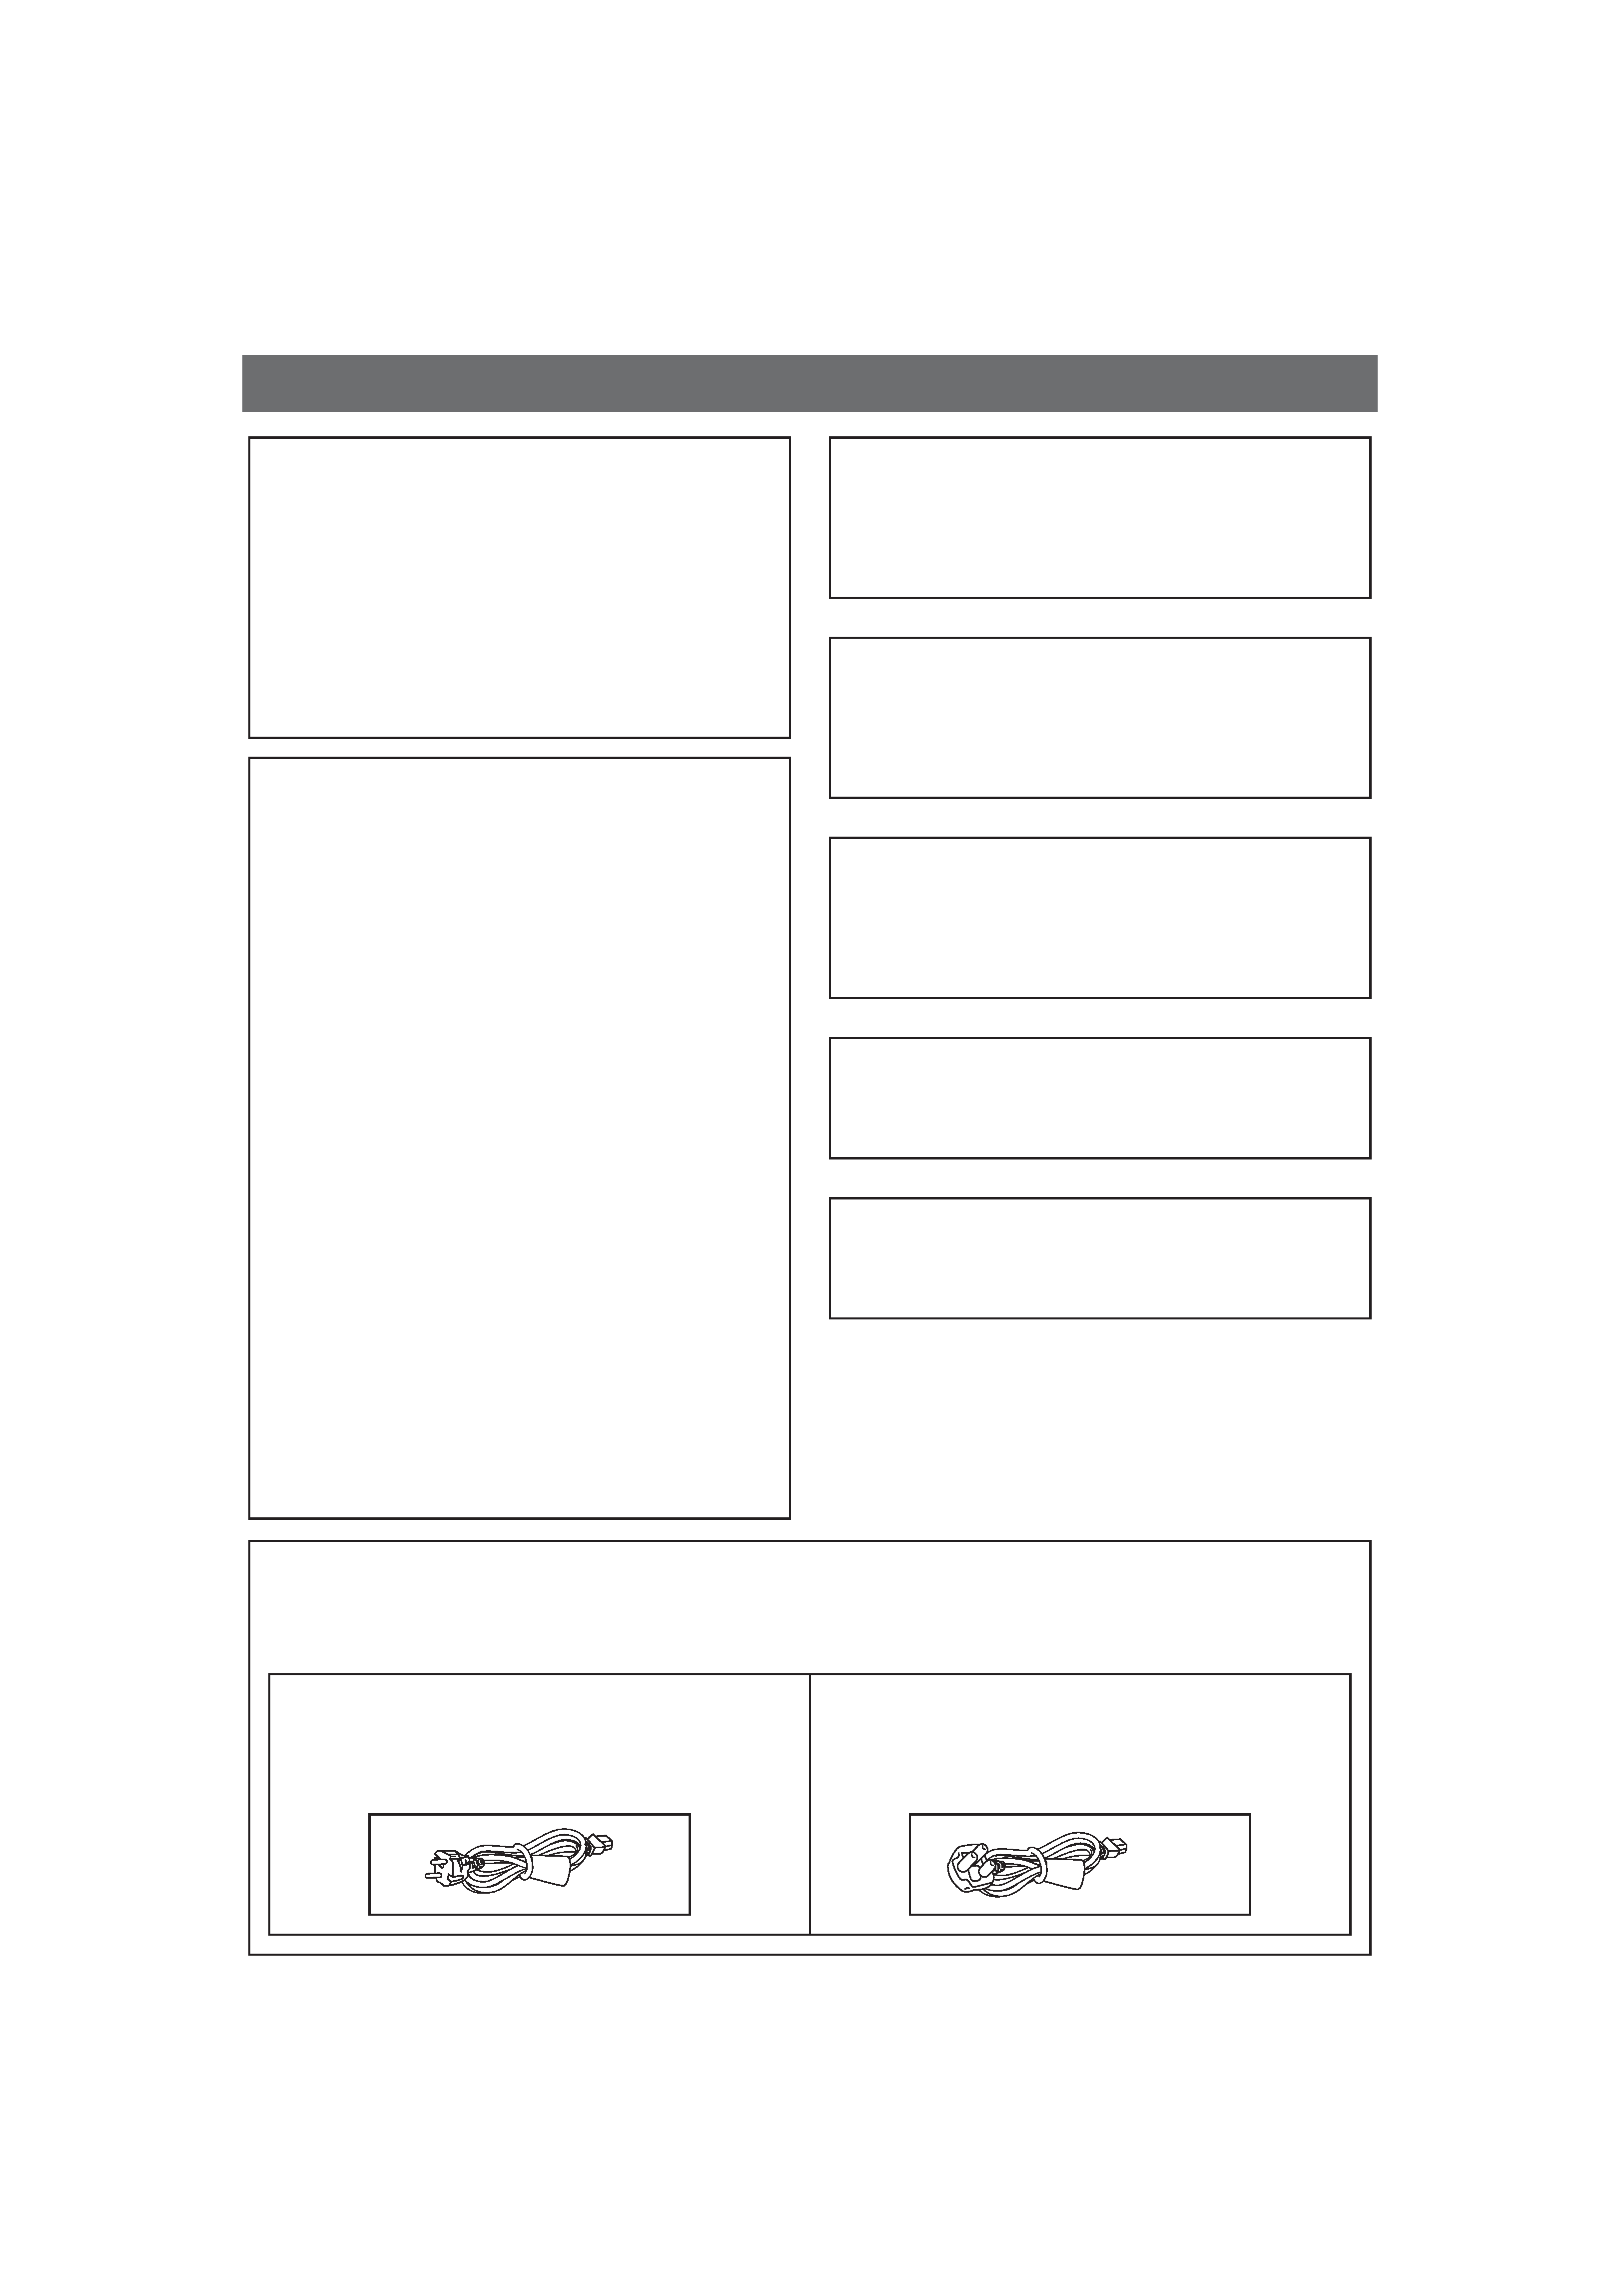
FOR YOUR SAFETY PLEASE READ THE FOLLOWING TEXT CAREFULLY.
Appropriate AC Power Cord must be used in each local area.
POWER SYSTEM
Connection to the mains supply
This unit operates on voltage of 220 V to 240 V AC,
50 Hz/60 Hz.
WARNING:
TO REDUCE THE RISK OF FIRE OR ELECTRIC
SHOCK, DO NOT EXPOSE THIS APPLIANCE
TO RAIN OR MOISTURE.
CAUTION
To prevent electric shock, do not open the cabinet.
No user serviceable parts inside. Refer servicing to
qualified service personnel.
Note:
The rating plate and the safety caution are on the rear
of the unit.
The OPERATE button does not completely shut off
mains power from the unit, but switches operating
current on and off.
Not to be used in the U.K.
FOR CONTINENTAL EUROPE, ETC.
If the plug supplied is not suitable for your socket
outlet, it should be cut off and appropriate one fitted.
FOR U.K. ONLY
VR-509e.book Page 2 Wednesday, February 8, 2006 10:45 AM

3
Information for Users on Disposal of Old Equipment
SAFETY PRECAUTIONS (continued)
WARNING
It should be noted that it may be unlawful to re-record
pre-recorded tapes, records, or discs without the
consent of the owner of copyright in the sound or
video recording, broadcast, or cable programme and
in any literary, dramatic, musical or artistic work
embodied therein.
CAUTION
RED colour indications on the operation panel are
provided but they are not safety related, RED colour
indications:
(1) For Recording Button.
WARNING
For PLUGGABLE EQUIPMENT, the socket outlet
shall be installed near the equipment and shall be
easily accessible.
WARNING
This is a Class A product. In a domestic environment
this product may cause radio interference in which
case the user may be required to take adequate
measures.
Attention:
This symbol is
only valid in
the European
Union.
[European Union]
This symbol indicates that the electrical and electronic equipment should not be disposed as general
household waste at its end-of-life. Instead, the product should be handed over to the applicable collection point
for the recycling of electrical and electronic equipment for proper treatment, recovery and recycling in
accordance with your national legislation.
By disposing of this product correctly, you will help to conserve natural resources and will help prevent
potential negative effects on the environment and human health which could otherwise be caused by
inappropriate waste handling of this product. For more information about collection point and recycling of this
product, please contact your local municipal office, your household waste disposal service or the shop where
you purchased the product.
Penalties may be applicable for incorrect disposal of this waste, in accordance with national legislation.
(Business users)
If you wish to dispose of this product, please visit our web page www.jvc-europe.com to obtain information
about the take-back of the product.
[Other Countries outside the European Union]
If you wish to dispose of this product, please do so in accordance with applicable national legislation or other
rules in your country for the treatment of old electrical and electronic equipment.
Erklärung zum Rauschen (für die Bundesrepublik Deutschland):
Maschinenlärminformations-Verordunung 3. GPSGV, 06.01.2004: Der höchste
Schalldruckpegel beträgt 70 dB(A) oder weniger gemäß EN ISO 7779
JVC Professional Europe Ltd.Frankfult, Germany
Grüner Weg 10,61169 Friedberg/hessen, Germany
Tel. : +49 (06031) 6050
VR-509e.book Page 3 Wednesday, February 8, 2006 10:45 AM

Contents
4
SAFETY PRECAUTIONS....................................................... 2
Main Features ........................................................................ 7
How to Read this Manual ....................................................... 7
Setting/Canceling the Operation Lock .................................... 7
PRECAUTIONS ..................................................................... 8
Part Names and Functions (Front Panel) ............................. 10
Part Names and Functions (Rear Panel).............................. 12
Part Names and Functions (Signal I/O Terminals) ............... 13
System Connection (When connecting 9 Cameras)............. 15
Turning On/Off the Power .................................................... 16
Switching between OPERATE ON/OFF with the button on
the front panel ...................................................................... 16
Switching between OPERATE ON/OFF with the signal I/O
terminal................................................................................. 16
MENU Screen Operations .................................................... 17
Setting up Areas ................................................................... 18
Setting the Date/Time........................................................... 19
Installation Settings .............................................................. 20
Switching between Display Screens..................................... 22
Changing the Layout of the Split Screens ............................ 23
Setting up monitor output ..................................................... 24
SEQUENCE TIME................................................................ 24
QUAD DISPLAY ................................................................... 25
ONSCREEN MODE ............................................................. 25
Viewing Live Images with SPOT Output............................... 26
Changing SPOT Output Manually ........................................ 26
Changing SPOT Output with Terminal Input on
the Rear Panel ..................................................................... 26
COVERT CHANNEL ............................................................ 27
COVERT CHANNEL (WEB)................................................. 27
Types of Recording .............................................................. 28
Making Normal Recordings .................................................. 29
Making Normal Recording with the EXT REC I/O
Terminals.............................................................................. 29
Recording Status Notification ............................................... 29
Setting up the RECORD SETUP.......................................... 30
Setting the REC PATTERN SET .......................................... 31
Operation Setup
(RECOVERY REC, REC INDICATOR, REPEAT REC) ....... 32
ALARM Recording................................................................ 33
Setting the ALARM TERMINAL............................................ 33
Setting the ALARM Recording.............................................. 34
Ending the ALARM Recording.............................................. 34
Using the Motion Detection Function.................................... 35
Motion Detection with Pre-Determined Sensitivity................ 35
Motion Detection with Freely Determined
Sensitivity Levels .................................................................. 36
Setting the MOTION DETECT AREA SET........................... 37
Motion Detection Check Mode ............................................. 37
WEEKLY TIMER .................................................................. 38
DATE TIMER........................................................................ 39
Playing Back Images ............................................................ 40
Playing Back during Recording
(Simultaneous Playback Mode)............................................ 40
Switching between Playback Screens.................................. 41
Searching with the Alarm List ............................................... 42
Searching for Images According to Date/Time..................... 43
Adjusting Playback Speed (Jog/Shuttle Playback)............... 43
Skipping Recorded Images .................................................. 44
Enlarging Images (Image Zoom) .......................................... 45
AUDIO OUT.......................................................................... 45
Getting Started
Installation and Preparation
Viewing Live Camera Images
Recording Camera Images
Playing Back Recorded Images
Contents
VR-509e.book Page 4 Wednesday, February 8, 2006 10:45 AM

5
Contents
Changing the On-screen Display Position............................ 46
Setting Camera Title............................................................. 47
Setting OPERATION LOCK ................................................. 48
Buzzer Setup ........................................................................ 49
REAR TERMINAL ................................................................ 49
Hard Disk Maintenance ........................................................ 50
AUTO SCAN DISK ............................................................... 50
MANUAL SCAN DISK .......................................................... 50
DEFRAG DATABASE .......................................................... 51
Initializing the Hard Disk ("FORMAT") .................................. 51
Setting up the Hard Disk for Mirroring .................................. 52
Deleting Alarm Lists ............................................................. 53
Pass Code Setup ................................................................. 54
Displaying the Power Fail Time List and Log ....................... 54
Rebooting the System .......................................................... 55
Hard Disk Recovery Feature ................................................ 55
DVD for Recording & Playback ............................................ 56
Inserting & Removing DVD................................................... 56
Exporting Data on DVD ........................................................ 57
Playing Back Exported Images on DVD ............................... 60
DVD-Video Format Menus and Playback............................. 61
Capturing Still Images on the Flash Memory........................ 62
Storing Set Data in the Flash Memory.................................. 63
Loading Set Data from the USB Memory ............................. 63
External Hard Disk Drives .................................................... 64
Connecting a UPS ................................................................ 64
You Can Do the Following.................................................... 65
Minimum PC Specifications Required .................................. 65
Connecting Using a LAN Cable............................................ 65
Setting up a Network for VR-509.......................................... 66
Setting up a PC Network ...................................................... 67
Connecting (Login) to the Network ....................................... 68
Live Image Display ............................................................... 69
Adding to the Weekly Timer ................................................. 70
Changing and Deleting the Weekly Timer ............................ 70
Adding to the Date Timer...................................................... 71
Deleting the Date Timer........................................................ 71
TIMER MODE....................................................................... 72
ALARM SEARCH ................................................................. 73
TIME/DATE SEARCH .......................................................... 74
Playback Image Display ....................................................... 75
Inputting a Camera Title ....................................................... 76
Covert Channel Setting for Live image/
Playback display screen ....................................................... 76
Mail Notification Setting During Alarm Input ......................... 77
Adjusting Clocks with the NTP Server.................................. 78
Registering NTP Server........................................................ 78
Canceling NTP Server Registration...................................... 78
Downloading VR-509 Settings.............................................. 79
Uploading VR-509 Settings .................................................. 80
MAINTENANCE ................................................................... 81
OPERATION LOG................................................................ 81
RECORDING LOG ............................................................... 81
OPEN SOURCE ................................................................... 81
STATUS ............................................................................... 81
Setting a Network Address ................................................... 82
Registering an ACCESS USER............................................ 82
ACCESS USER List Screen................................................. 82
* Continued on the next page
Useful Features
Using DVD
Using Other External Devices
Connecting to a PC
Viewing Live Images Using a PC
Record Program Using a PC
Viewing Playback Image Using a PC
Useful Functions Using a PC
Changing Network Settings
VR-509e.book Page 5 Wednesday, February 8, 2006 10:45 AM
