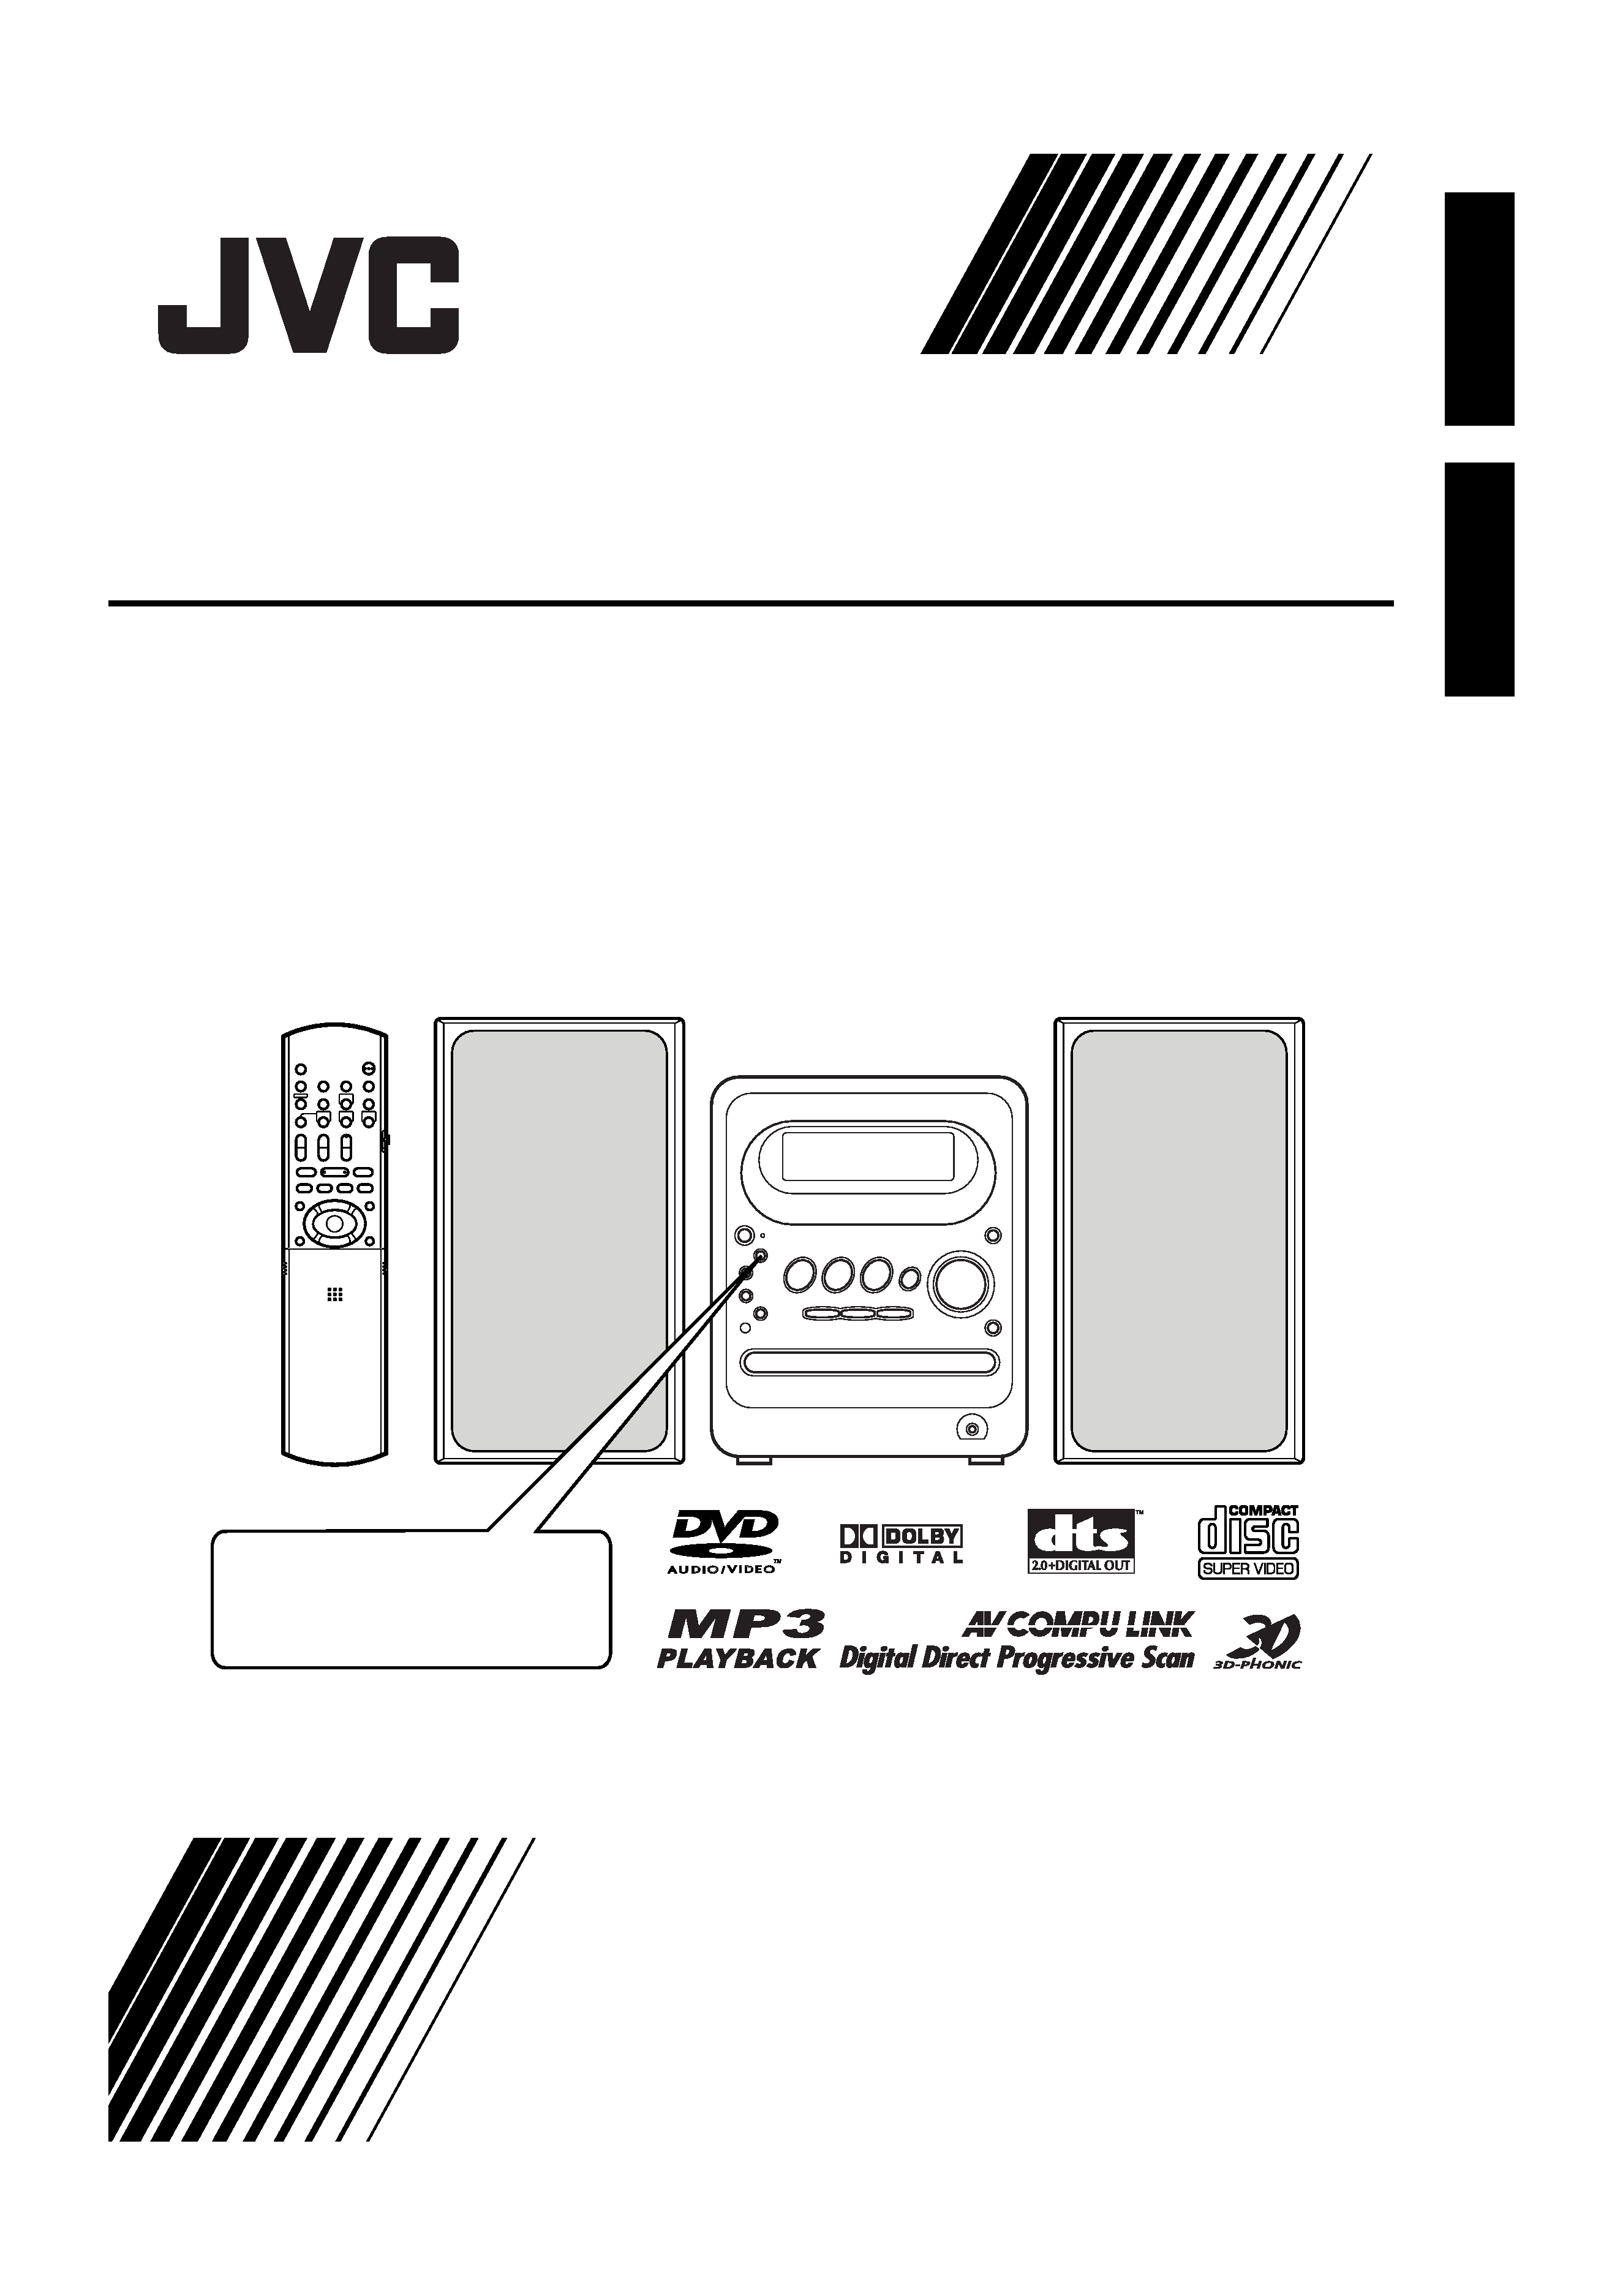
MICRO COMPONENT DVD SYSTEM
DVD
For turning off the demonstration
display, refer to page 15.
15
UX-QD90S
Consists of CA-UXQD90S and SP-UXQD90S
CA-UXQD90S SP-UXQD90S
INSTRUCTIONS
LVT1368-001A
[UN,US]
English
UX-QD90[UNUS]-01.fm Page 1 Thursday, September 29, 2005 2:22 PM
G-1
IMPORTANT FOR LASER PRODUCTS /
CAUTION
To reduce the risk of electrical shocks, fire, etc.:
1. Do not remove screws, covers or cabinet.
2. Do not expose this appliance to rain or moisture.
1.
2.
CAUTION --
F button!
Disconnect the mains plug to shut the power off
completely (the STANDBY lamp goes off).
The
F button in any position does not disconnect the
mains line.
· When the system is on standby, the STANDBY lamp
lights red.
· When the system is turned on, the STANDBY lamp
lights green.
The power can be remote controlled.
F
STANDBY
F
·
STANDBY
·
STANDBY
CAUTION
· Do not block the ventilation openings or holes.
(If the ventilation openings or holes are blocked by a
newspaper or cloth, etc., the heat may not be able to
get out.)
· Do not place any naked flame sources, such as lighted
candles, on the apparatus.
· When discarding batteries, environmental problems
must be considered and local rules or laws governing
the disposal of these batteries must be followed strictly.
· Do not expose this apparatus to rain, moisture, dripping
or splashing and that no objects filled with liquids, such
as vases, shall be placed on the apparatus.
·
·
·
·
1. CLASS 1 LASER PRODUCT
2. CAUTION: Do not open the top cover. There are no
user serviceable parts inside the unit; leave all
servicing to qualified service personnel.
3. CAUTION: Visible and invisible laser radiation when
open and interlock failed or defeated. Avoid direct
exposure to beam.
4. REPRODUCTION OF LABEL: CAUTION LABEL,
PLACED INSIDE THE UNIT.
1.
2.
3.
4.
Introduction
Warnings, Cautions and Others /
G-2
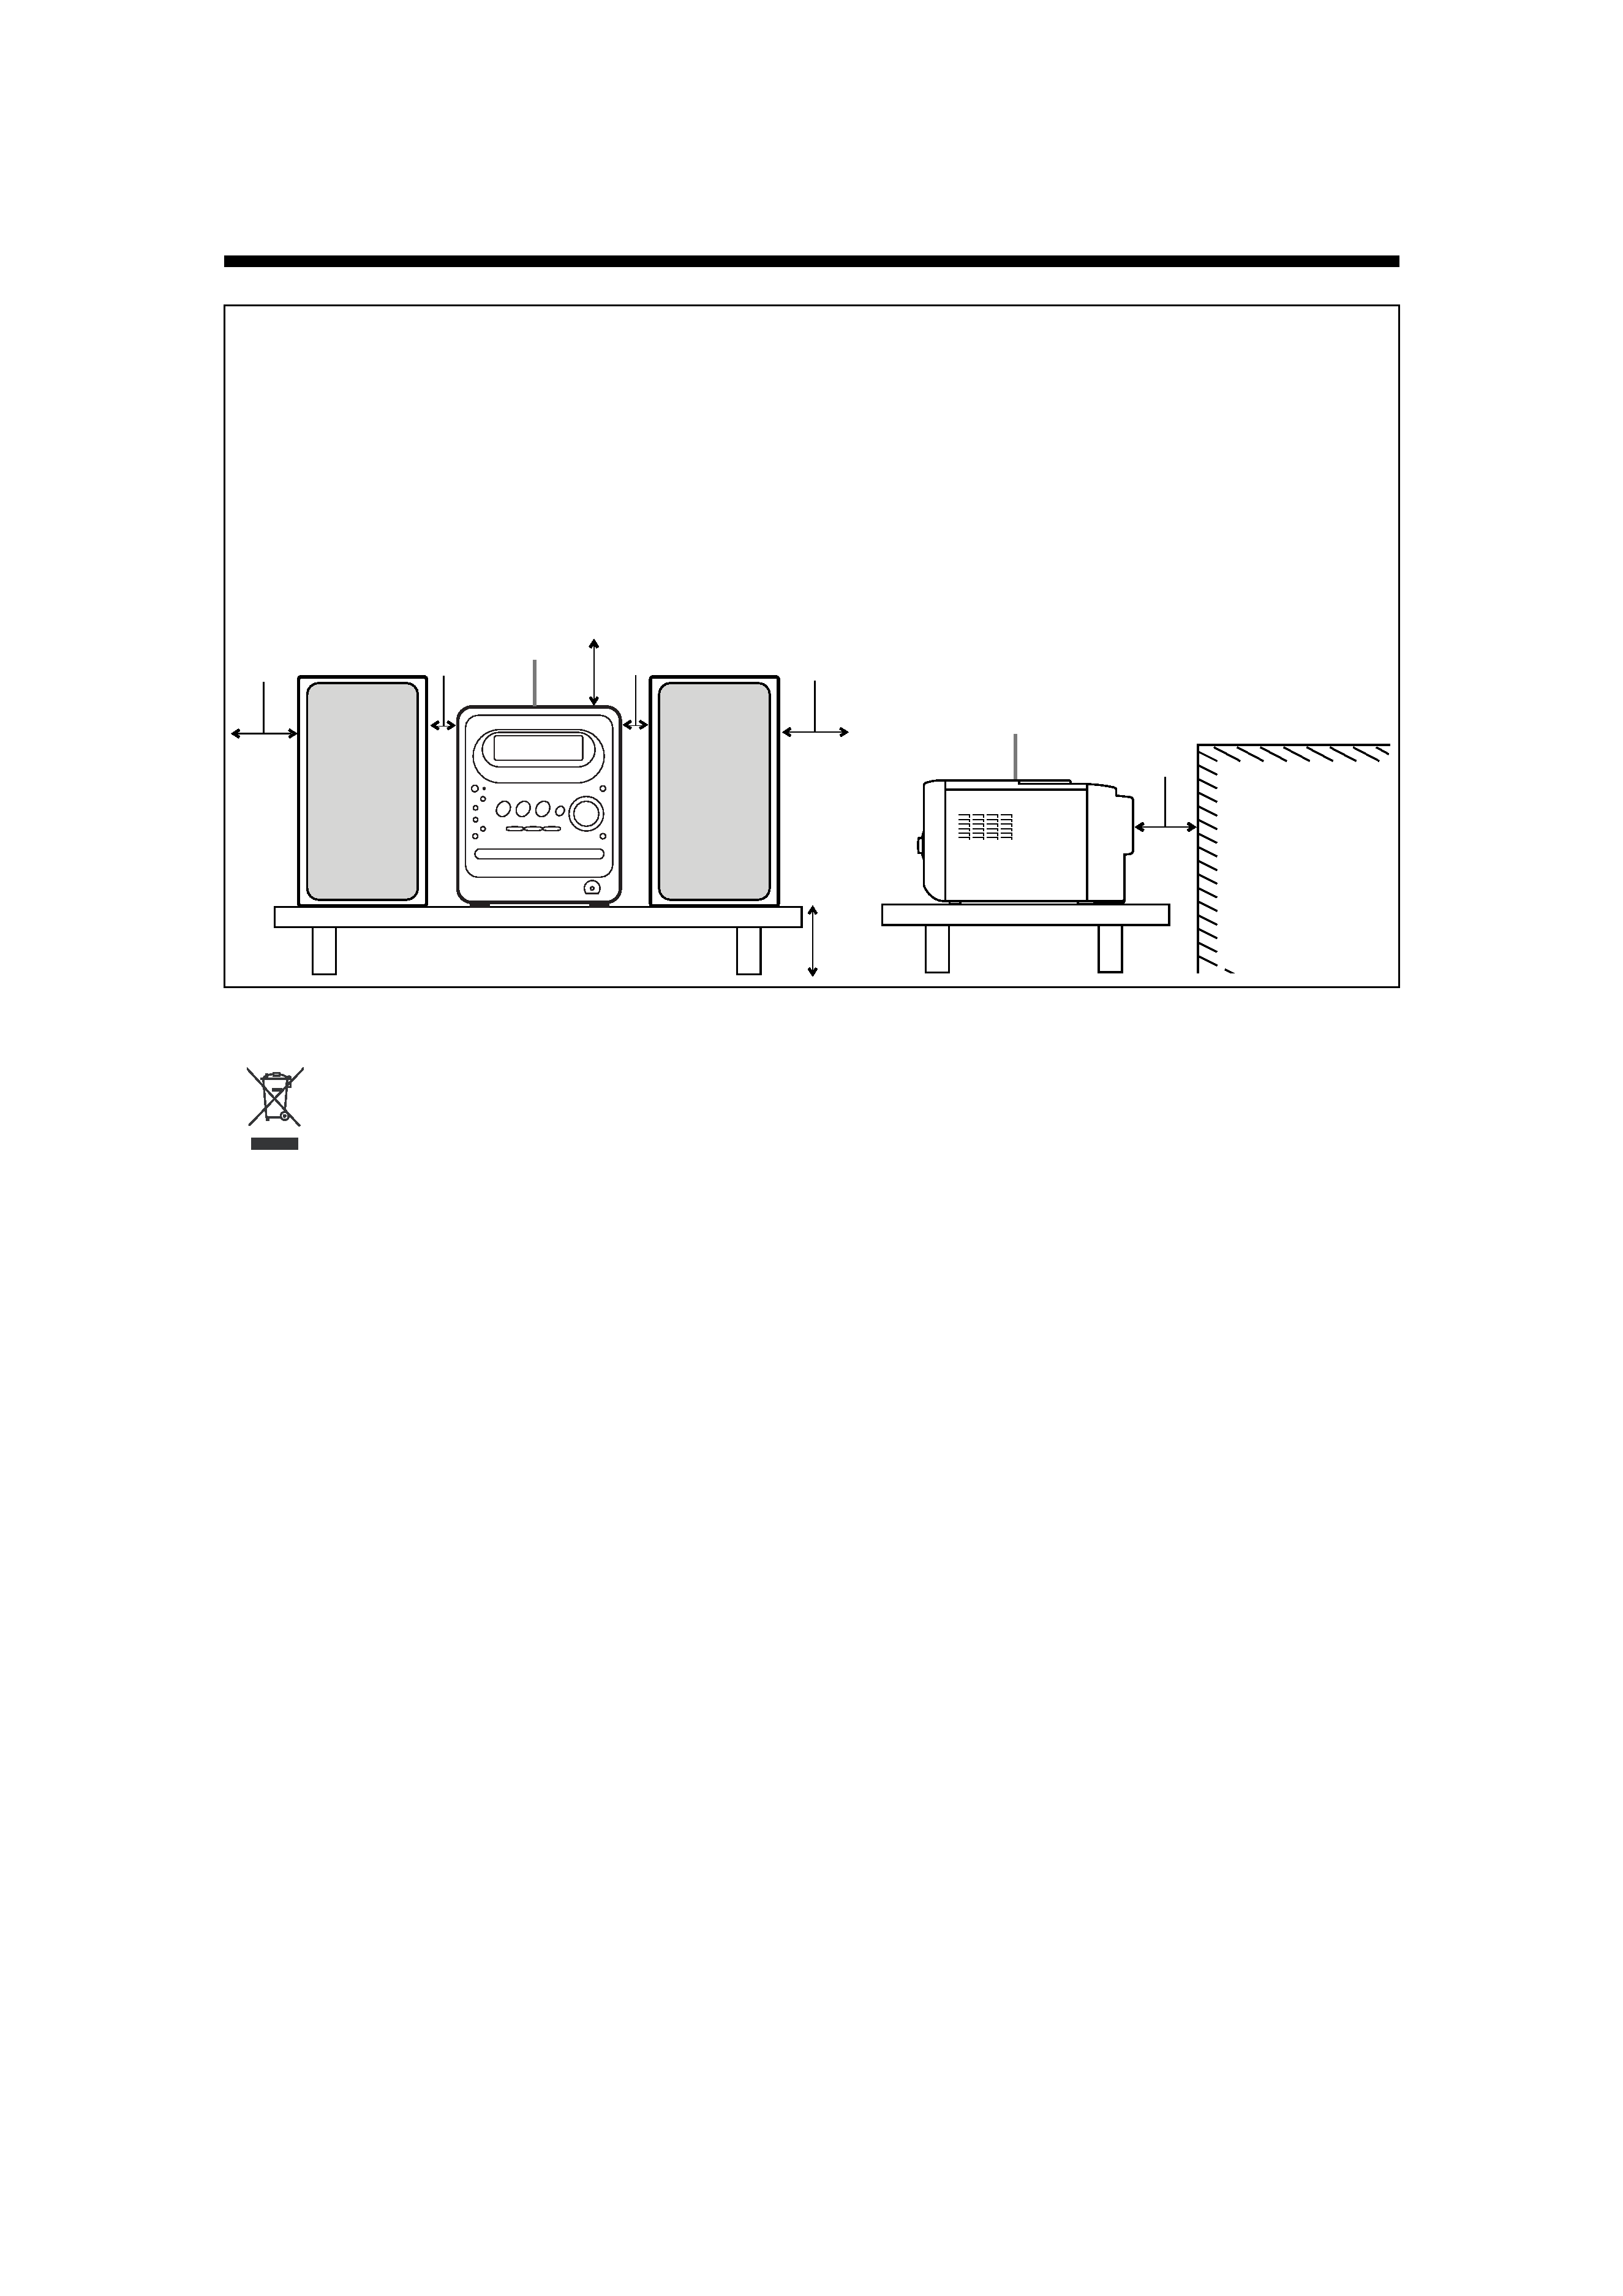
CAUTION -- Proper Ventilation
To avoid risk of electric shock and fire and to protect from
damage, locate the apparatus as follows:
Top/Front/Back/Sides:
No obstructions should be placed in
the areas shown by the dimensions
below.
Bottom:
Place on the level surface. Maintain
adequate air path for ventilation by
placing on a stand with a height of
10 cm or more.
In addition, maintain the best possible air circulation.
--
/ / /
10 cm
15cm
10cm
15cm
15cm
1cm
1cm
15cm
Wall or
obstructions
Front
Main unit
Main unit
Front view
Side view
[European Union only]
[ ]
UX-QD90[UNUS]-02.fm Page 2 Thursday, September 29, 2005 2:22 PM
1
Table of Contents
marks refer to operation used frequently. You can quickly learn the general usage of this
product by reading those parts only.
Notes on Operation .............................. 3
Suitable Locations for the Main Unit ............3
Condensation...............................................3
Cleaning the Main Unit ................................3
Listener's Etiquette ......................................3
Playable DVD/CD Types .............................4
Disc Structure ..............................................5
Special Cautions................................... 6
Notes on Handling .......................................6
Supplied Accessories ..................................6
Voltage Adjustment .............................. 7
Part Description .................................... 8
Remote Control .................................... 9
Inserting Batteries into the Remote
Control.....................................................9
Operating the TV Using the Remote
Control...................................................10
Connections........................................ 11
Connecting the Antennas ..........................11
Connecting the Speakers ..........................13
Connecting Other Equipment ....................14
Connecting with a TV.................................14
When a Clearer Picture Is Desired ............15
Connecting the Power Plug .......................15
Disabling the Demonstration Display.........15
Basic Operations ................................ 16
Setting the Clock........................................16
Turning On/Off the Main Unit .
17
Adjusting the Volume..............
17
Adjusting the Sound Quality ......................17
Temporarily Turning Off the Sound
(FADE MUTING) ...................................18
Emphasizing Heavy Bass Sound
(AHB PRO)............................................18
Changing the Display Brightness
(DIMMER)..............................................18
Changing the Color Patterns .....................18
Selecting the Color System and the Video
Processing System (SCAN MODE).......19
Listening to Radio Broadcasts
................................................
20
Setting the AM Tuner Spacing...................20
Selecting a Radio Station ..........................21
Storing Radio Stations (Preset) .................21
Tuning In to a Preset Radio Station...........21
Basic Operations of the DVD Player ......22
Playback ................................
22
Playing Back from a Position 10 Seconds
Before (One Touch Replay)...................24
Stopping Playback .................
25
Resuming Playback (RESUME) ................25
Pausing Playback ......................................25
Advancing Picture Frame by Frame ..........25
Fast Reverse/Fast Forward
Search ...............................
25
Slow Motion Playback................................26
Skipping to the Beginning of
a Track...............................
26
Skipping to the Beginning of a Track
with the Number Buttons .......................26
Selecting a Track from the Menu Screen ..27
Convenient Functions of the DVD
Player ................................................28
Selecting the Audio
Language ..........................
28
Selecting the Subtitle Language ................29
Selecting a View Angle ..............................29
Magnifying the Picture (ZOOM) .................29
Adjusting the Picture Quality (VFP) ...........30
Creating Realistic Sound
(3D PHONIC).........................................30
Adjusting Playback Level (DVD LEVEL)....31
Playing Back the Bonus Group..................31
Browsable Still Pictures (B.S.P.)................32
Playing Back the Disc in the Desired
Order (Program Playback).....................32
Random Playback......................................34
Repeat Playback........................................34
Status Bar and Menu Bar ....................35
Using the Status Bar and Menu Bar ..........35
Playing Back the Designated Part Repeatedly
(A-B Repeat Playback)..........................36
Designate the Time
(Time Search)........................................36
Introduction
Preparation
Basic Operations
Listening to Radio Broadcasts
Listening to Discs
UX-QD90[UNUS].book Page 1 Thursday, September 29, 2005 1:29 PM
2
En
glis
h
In
tr
od
uc
ti
on
Playing Back MP3/WMA and
JPEG Discs....................................... 37
Playback ....................................................37
Preferences ........................................ 39
Basic Operations .......................................39
LANGUAGE...............................................39
PICTURE ...................................................39
AUDIO .......................................................40
OTHERS....................................................40
Language Codes ................................ 41
Listening to Cassette Tapes
.................................................
42
Listening to Other Equipment ............. 43
Adjusting the Sound Input Level from
Other Equipment ...................................43
Recording Sound to Cassette
Tapes .....................................
44
Quitting Recording .....................................45
Recording Only One Track from a Disc .....45
Recording the Second or Subsequent
Track to the Last Track from a Disc.......45
Program Recording from a Disc ................45
Recording with No Blank Time between
Tracks....................................................45
Erasing Recorded Sound from
a Cassette Tape ....................................45
Using the Timers ................................ 46
Sleep Timer ...............................................46
Recording Timer ........................................47
Playback Timer ..........................................48
Auto Standby ...................................... 50
Disc Ejection Lock .............................. 51
Using AV COMPU LINK ..................... 51
Connection and Setting .............................51
Operations .................................................51
Handling Discs/Cassette Tapes ..........52
Disc Messages ....................................53
Troubleshooting...................................53
Specifications ......................................54
Listening to Cassette Tapes
Listening to Other Equipment
Recording Sound
Convenient Functions
Reference
UX-QD90[UNUS].book Page 2 Thursday, September 29, 2005 1:29 PM