English
GVT0123-002A
[UB]
UX-J99DVD
--Consists of CA-UXJ99DVD and SP-UXJ99DVD
MICRO COMPONENT MD SYSTEM
INSTRUCTIONS
CA-UXJ99DVD
SP-UXJ99DVD
--
Cover_UX-J99DVD[UB].p65
03.11.4, 11:31 AM
3
Warnings, Cautions and Others
G-1
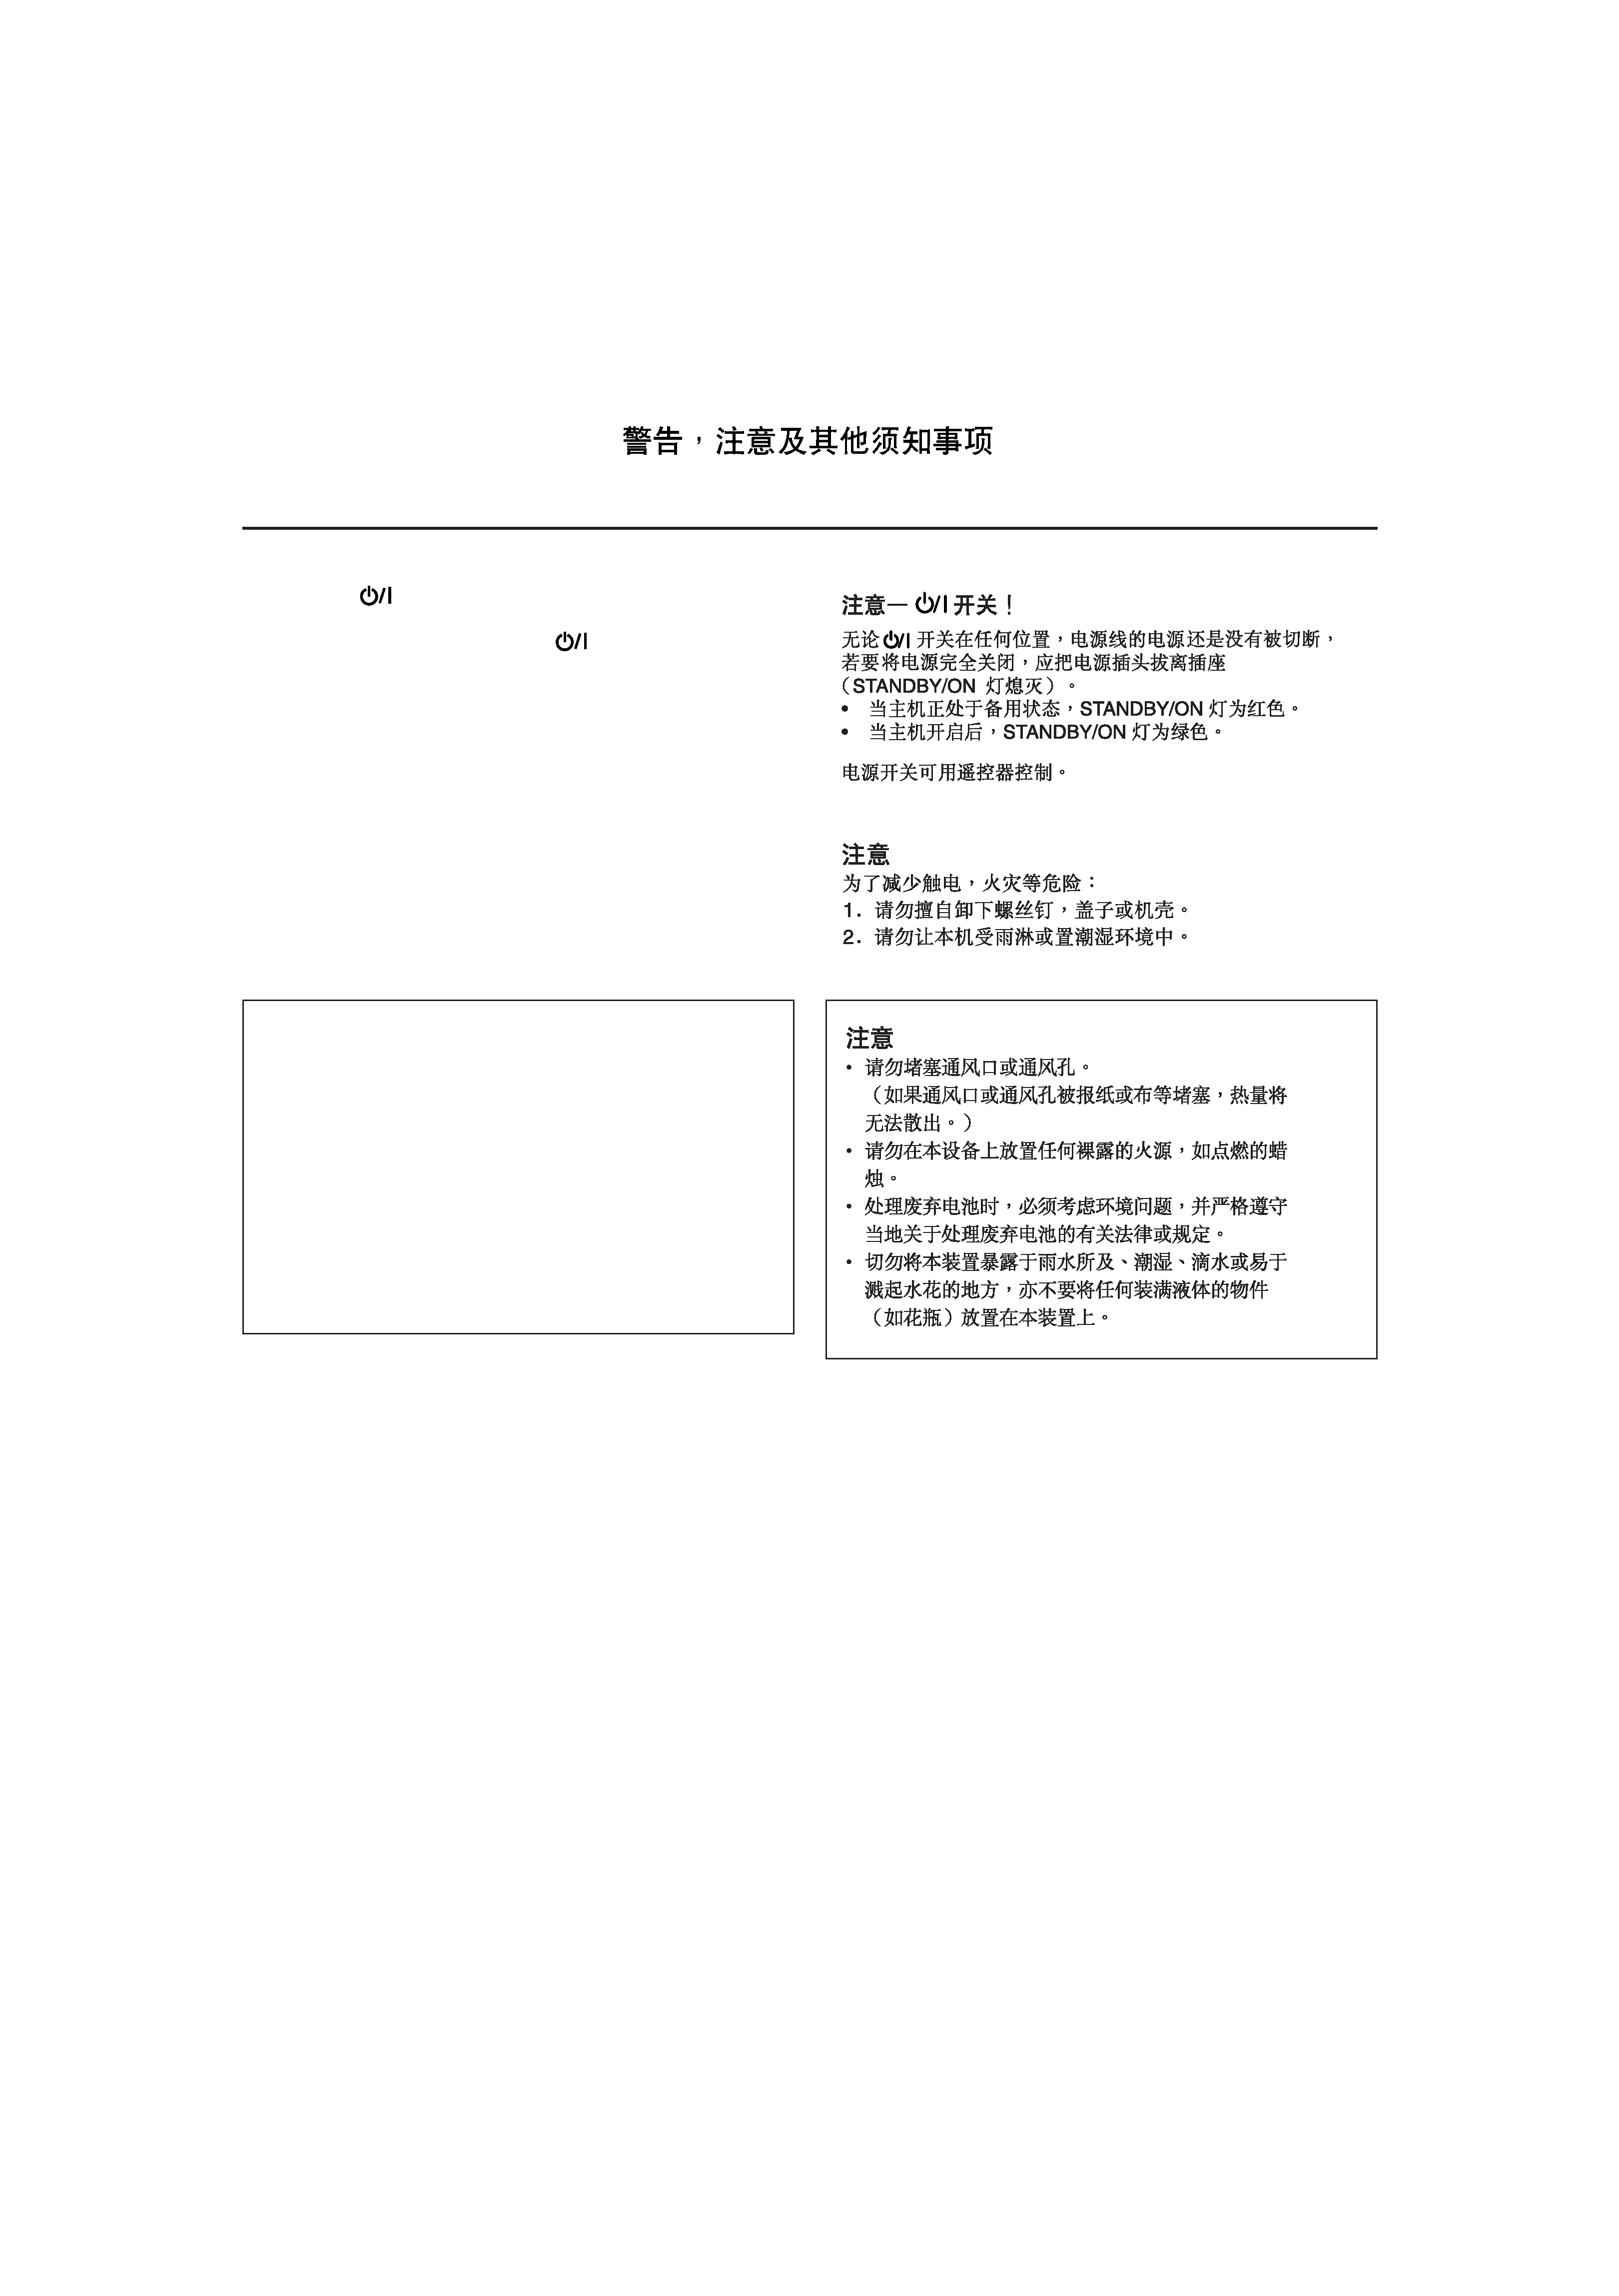
CAUTION
To reduce the risk of electrical shocks, fire, etc.:
1.
Do not remove screws, covers or cabinet.
2.
Do not expose this appliance to rain or moisture.
CAUTION
·
Do not block the ventilation openings or holes.
(If the ventilation openings or holes are blocked by a
newspaper or cloth, etc., the heat may not be able to get
out.)
·
Do not place any naked flame sources, such as lighted
candles, on the apparatus.
·
When discarding batteries, environmental problems must
be considered and local rules or laws governing the
disposal of these batteries must be followed strictly.
·
Do not expose this apparatus to rain, moisture, dripping
or splashing and that no objects filled with liquids, such
as vases, shall be placed on the apparatus.
CAUTION--
button!
Disconnect the mains plug to shut the power off completely (the
STANDBY/ON lamp goes off). The
button in any position
does not disconnect the mains line.
·
When the unit is on standby, the STANDBY/ON lamp lights
red.
·
When the unit is turned on, the STANDBY/ON lamp lights
green.
The power can be remote controlled.
Safety_UX-J99DVD[UB].p65
03.10.30, 10:35 AM
1
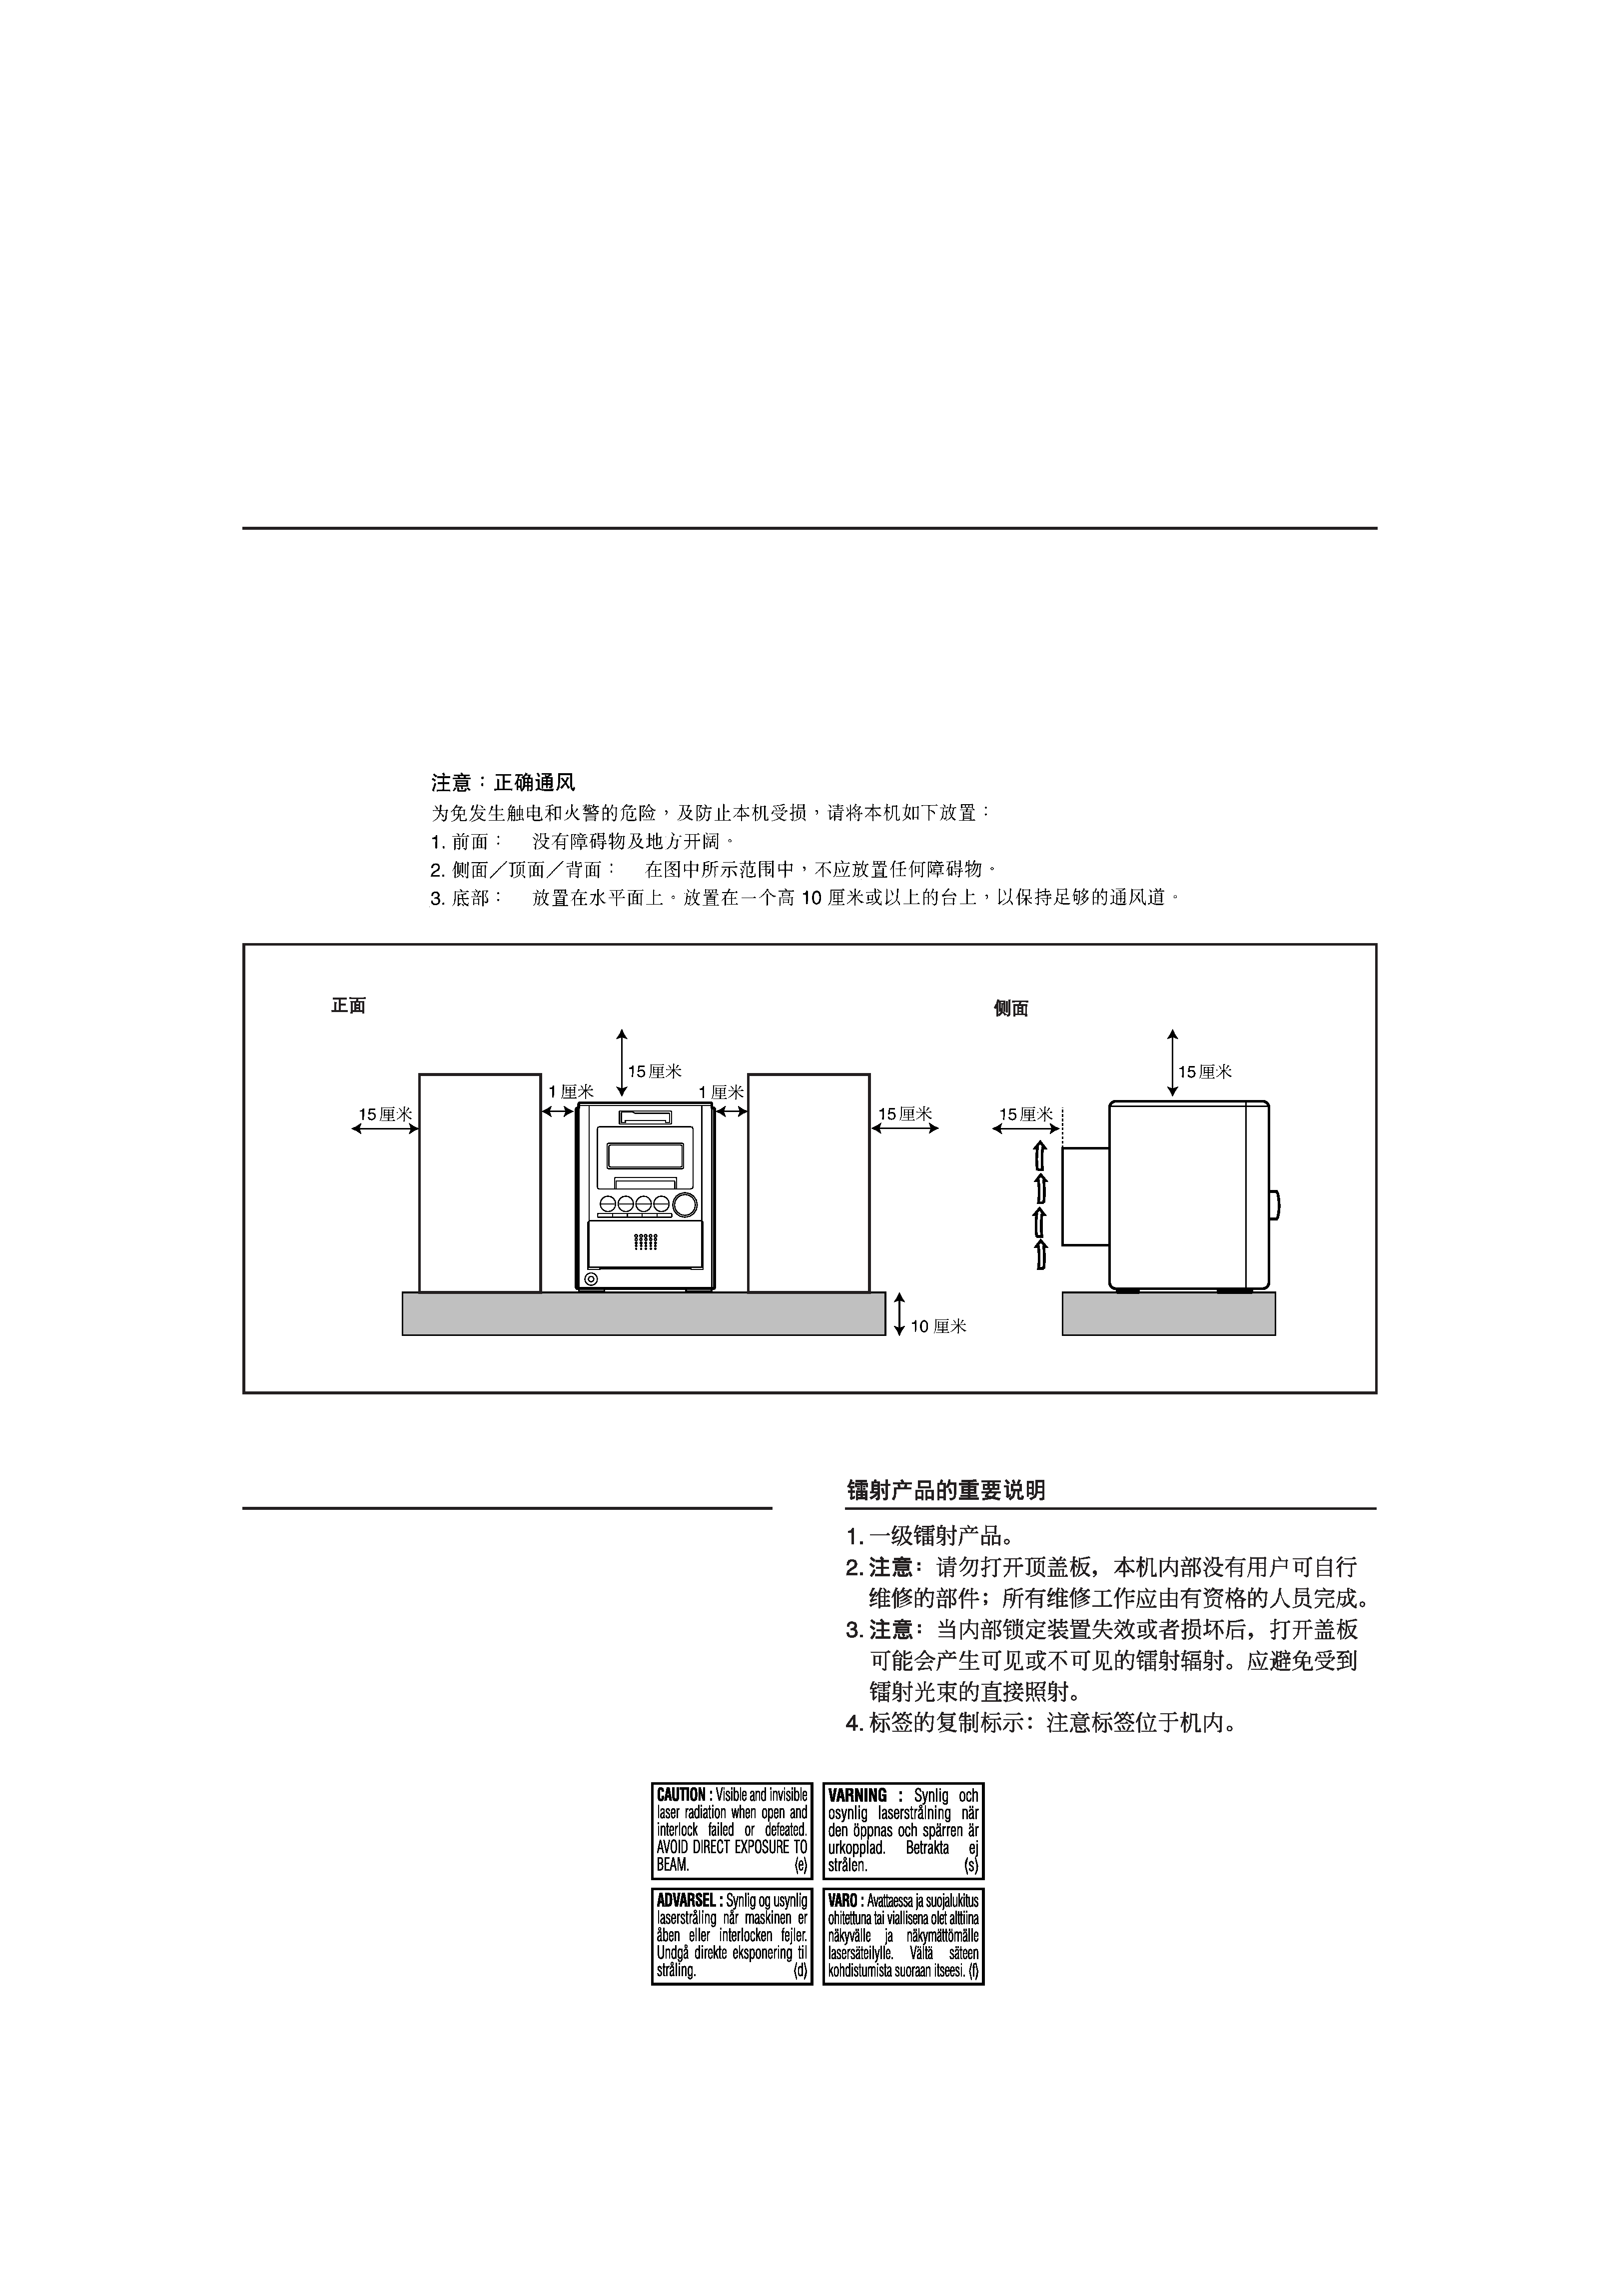
Caution: Proper Ventilation
To avoid risk of electric shock and fire, and to prevent damage, locate the apparatus as follows:
1 Front:
No obstructions and open spacing.
2 Sides/ Top/ Back: No obstructions should be placed in the areas shown by the dimensions
below.
3 Bottom:
Place on the level surface. Maintain an adequate air path for ventilation by
placing on a stand with a height of 10 cm or more.
Front view
Side view
G-2
IMPORTANT FOR LASER PRODUCTS
1. CLASS 1 LASER PRODUCT
2. CAUTION: Do not open the top cover. There are no user
serviceable parts inside the unit; leave all servicing to qualified
service personnel.
3. CAUTION: Visible and invisible laser radiation when open and
interlock failed or defeated. Avoid direct exposure to beam.
4. REPRODUCTION OF LABEL: CAUTION LABEL, PLACED
INSIDE THE UNIT.
1 cm
10 cm
UX-J99DVD
UX-J99DVD
15 cm
15 cm
15 cm
15 cm
15 cm
1 cm
Safety_UX-J99DVD[UB].p65
03.10.30, 10:35 AM
2
1
English
Power sources
· When unplugging the unit from the wall outlet, always pull on the
plug, not the AC power cord.
DO NOT handle the AC power cord with wet
hands.
Moisture condensation
Moisture may condense on the lenses inside the unit in the following
cases:
· After starting to heat the room.
· In a damp room.
· If the unit is brought directly from a cold to a warm place.
Should this occur, the unit may malfunction. In this case, leave the
unit turned on for a few hours until the moisture evaporates, unplug
the AC power cord, then plug it in again.
Others
· Should any metallic object or liquid fall into the unit, unplug the
AC power cord and consult your dealer before operating any
further.
· If you are not going to operate the unit for an extended period of
time, unplug the AC power cord from the wall outlet.
DO NOT disassemble the unit since there are no
user serviceable parts inside.
If anything goes wrong, unplug the AC power cord and consult your
dealer.
About This Manual
This manual is organized as follows:
· This manual mainly explains operations using the buttons on
the remote control.
You can use the buttons both on the remote control and on the
unit for the same operations if they have the same or similar
names (or marks), unless mentioned otherwise.
· Basic and common information that is the same for many
functions is grouped in one place, and is not repeated for each
procedure. For instance, we do not repeat the information about
turning on/off the unit, setting the volume, changing the sound
effects, and others, which are explained in the section "Basic and
Common Operations" on pages 10 to 12.
· The following symbols are used in this manual:
Gives you warning and caution to prevent damage
or risk of fire/electric shock.
In addition, we put information here about
conditions which will prevent getting the best
possible performance from the unit.
Gives you information and hints you need to know.
Precautions
Installation
· Install in a place which is level, dry and neither too hot nor too
cold--between 5°C and 35°C.
· Install the unit in a location with adequate ventilation to prevent
internal heat buildup.
· Leave sufficient distance between the unit and the TV.
· Keep the speakers away from the TV to avoid interference with
TV.
DO NOT install the unit in a location near heat
sources, or in a place subject to direct sunlight,
excessive dust or vibration.
Introduction
We would like to thank you for purchasing one of our JVC products.
Before operating this unit, read this manual carefully and thoroughly to
obtain the best possible performance from your unit, and retain this manual
for future reference.
EN01-05_UX-J99DVD[UB]5.p65
03.12.12, 11:02 PM
1

2
English
Contents
Location of the Buttons and Controls ....................... 3
Remote Control ............................................................................. 3
Front Panel .................................................................................... 4
Getting Started ............................................................ 6
Unpacking ..................................................................................... 6
Putting the Batteries into the Remote Control .............................. 6
Connecting Antennas .................................................................... 6
Connecting Speakers .................................................................... 7
Connecting a TV ........................................................................... 8
Connecting Other Equipment ....................................................... 9
Basic and Common Operations ............................... 10
Setting the Clock ........................................................................ 10
Turning On the Power and Starting Playback ............................. 10
Adjusting the Volume Level ....................................................... 11
Reinforcing the Bass Sound ....................................................... 11
Adjusting the Tone ...................................................................... 12
Changing the Display Brightness ............................................... 12
Changing the Scanning Mode ..................................................... 12
Listening to FM and AM Broadcasts ...................... 13
Setting the AM Tuner Interval Spacing ...................................... 13
Tuning in to a Station .................................................................. 13
Presetting Stations ...................................................................... 14
Tuning in to a Preset Station ....................................................... 14
Playing Back Discs on the 5-DVD Changer ........... 15
Disc Information ......................................................................... 15
Loading Discs ............................................................................. 17
Playing Back All the Discs--Continuous Play ........................... 17
Start Continuous Play while a source other than "DISC" is selected ... 18
Basic Disc Operations ................................................................. 18
Playing Back by Using the Disc Menu ....................................... 20
Programing the Track Playing Order--Program Play ................ 21
Playing at Random--Random Play ............................................ 22
Repeating Playback--Repeat Play ............................................. 23
Prohibiting Disc Ejection--Disc Lock ....................................... 23
Advanced Disc Operations ....................................... 24
About the On-screen Bar ............................................................ 24
Operation through the On-screen Bar ......................................... 25
Selecting the Audio Language .................................................... 29
Selecting the Subtitle Language ................................................. 29
Selecting a View Angle ............................................................... 30
Selecting Browsable Still Pictures recorded on DVD AUDIO ... 30
Creating a Realistic Sound Field ................................................ 31
Selecting the Audio Channel ...................................................... 31
Special Picture Playback ............................................................. 32
Changing the VFP Setting .......................................................... 33
Playing Back a Bonus Group ...................................................... 34
MP3/JPEG Disc Playback .......................................................... 35
Operations through the MP3/JPEG CONTROL Screens ........... 36
Playing Back an MD ................................................. 37
Playing Back the Entire MD--Normal Play .............................. 37
Basic MD Operations ................................................................. 37
Programing the Track Playing Order--Program Play ................ 39
Playing at Random--Random Play ............................................ 40
Playing Tracks in a Group--Group Play .................................... 40
Repeating Tracks--Repeat Play ................................................. 41
Searching for Tracks to Play--MD Title Search ........................ 41
Playing Back a Tape ................................................. 43
Playing Back a Tape ................................................................... 43
Listening to External Equipment ............................ 44
Listening to External Equipment ................................................ 44
Recording on an MD ................................................ 45
Before You Start Recording on an MD ....................................... 45
Setting MD Recording Modes .................................................... 46
Recording discs onto an MD
--Disc-MD Synchronized Recording ..................................... 47
Recording Other Sources onto an MD ........................................ 48
Recording on a Tape ................................................. 50
Before You Start Recording on a Tape ........................................ 50
Recording onto a Tape ................................................................ 51
Recording Disc onto a Tape
--Disc-Tape Synchronized Recording .................................... 52
Recording Discs onto an MD and a Tape
--Disc Synchronized Recording ............................................. 53
Editing an MD ........................................................... 54
Guidance--MD Group Functions ............................................... 54
Introducing Group Editing Functions ......................................... 55
Forming a Group--FORM GR ................................................... 56
Adding a Track to a Group--ENTRY GR .................................. 57
Dividing a Group--DIVIDE GR ................................................ 58
Joining Two Groups--JOIN GR ................................................. 59
Moving a Group--MOVE GR .................................................... 60
Ungrouping Tracks--UNGROUP .............................................. 61
Dissolving All Groups--UNGR ALL ........................................ 61
Erasing Tracks in a Group--ERASE GR ................................... 62
Introducing Track Editing Functions .......................................... 63
Dividing a Track--DIVIDE ....................................................... 64
Joining Two Tracks--JOIN ........................................................ 65
Moving a Track--MOVE ........................................................... 66
Erasing Tracks--ERASE ............................................................ 67
Erasing All Tracks--ALL ERASE ............................................. 67
Assigning Titles to an MD .......................................................... 68
Using the Timers ....................................................... 71
Using Recording Timer .............................................................. 71
Using Daily Timer ...................................................................... 73
Using Sleep Timer ...................................................................... 75
Timer Priority ............................................................................. 75
Initial Setting Using Choice Menu .......................... 76
Introducing the Choice Menus .................................................... 76
Operating Procedure ................................................................... 77
Restricting the Access Level--Parental Lock ............................. 80
Operating Other Manufacturers' TV ..................... 83
Changing the Preset Signal Codes .............................................. 83
Using AV COMPU LINK Control System .............. 84
Glossary ..................................................................... 85
Maintenance .............................................................. 86
Additional Information ............................................ 87
MD Disc Types ........................................................................... 87
ATRAC (Adaptive TRansform Acoustic Coding)/ATRAC3 (
) ... 87
UTOC (User Table Of Contents) ................................................ 87
Sound Skip Guard Memory ........................................................ 87
SCMS (Serial Copy Management System) ................................ 88
Language Code List .................................................................... 88
Output Signals through the DVD OPTICAL DIGITAL OUT Terminal ... 89
Disc/MD Messages .................................................... 89
Troubleshooting ........................................................ 91
Specifications ............................................................. 92
EN01-05_UX-J99DVD[UB]5.p65
03.12.12, 11:02 PM
2