

- 1 -
CONTENTS
Safety Precautions
2
In the box
3
Over Air Download
3
STB buttons
4
Remote control buttons
5
Preparation
7
Connections
7
Switching on
8
Inithial settings
8
Everyday Operation
9
Changing Channels
9
Channel List
10
Electronic Programme Guide
10
Digital Teletext
11
Widescreen
12
Advanced Operation
12
Configuring Your Receiver
12
Editing The Channel List
13
Channel and Menu Protection
14
Favourite Channels
15
Programme Reminders and Timers
15
Installation
16
Specification
18
Connecting the external devices
19
Troubleshooting Guide
20

- 2 -
SAFETY PRECAUTIONS
POWER
Always use the provided AC adapter.
Operate only from the power source specified (AC 100-240 V,50/60Hz) on the AC adapter.
In using, the AC adapter get heat on the surface of the case. It is normal, not defective.
Do not be covered with any material on case of AC adapter while it is in operation. Leave the 15 cm
space(minimum) around the AC adapter.
The rating information and safety caution of the AC adapter are on its case.
LEADS
Ensure the power supply lead, and all other leads, are positioned so they are not likely to be walked on or
pinched by things placed on or against them. Pay particular attention to the power lead, where it enters the
mains plug and where it comes out of the STB. Do not connect or adjust leads when the STB is plugged in.
TEMPERATUREAND MOISTURE
Do not leave or use the STB in a hot, cold or humid area. Do not allow the STB to get wet - from drips or
splashes - as this may be dangerous. Do not place water-filled objects such as flower vases, on top of the
STB.
VENTILATION
Slots and openings in the STB cover are for ventilation. Do not cover or block them as this could lead to
overheating.
CLEANING
Unplug the STB before it is cleaned. Use a lightly dampened cloth only. Do not use liquid or aerosol cleaners.
HEAT AND FLAMES
The receiver should not be placed near to naked flames or sources of intense heat, such as an electric fire.
Ensure that no naked flames sources, such as lighted candles, are placed on top of the STB.
LIGHTNING
Unplug your STB from the wall socket if there is a storm or lightning, or if it is to be unused for a long time.
REPLACEMENT PARTS
If your STB needs a replacement part, ensure the person undertaking the repair uses parts which are specified
by the manufacturer or have the same specifications as the original part. Other parts may cause a fire,
electric shock or other hazards.
BATTERY DISPOSAL
Please ensure that exhausted batteries from the remote control handset are disposed of safely.
SERVICING
Ensure the person who services your STB is qualified to do so. Do not remove the cover yourself - you
could get an electric shock.
We are proud to offer a high-quality product. To keep this level of quality, your STB should be serviced at
a JVC authorised service centre.

- 3 -
IN THE BOX
Thank you for buying this JVC Degital Terrestrial Set Top Box.
Inside your package you should have:
Degital Terrestrial Set Top Box (STB) receiver
AC adaptor x1
Remote control unit: RM-C1890S
Dry battery for the remote control unit AA (R06) x2
Instruction book
Warranty Card
Aerial cable x1
Scart cable x1
OVER AIR DOWNLOAD
Over Air Download (OAD): To ensure that your STB always has the most up todate information. Please ensure
that after use it is set to its standby mode. The STB automatically powers up at 3AM each day and searches
for any new information which may be broadcast and will download this to your receiver automatically. This
operation will normally take approximately 30 seconds.
If you have an important recording to make at 3AM which must not have a 30 second interrupt then you
can disable the auto OAD search by performing the following:
1. Press Menu button and using the up / down buttons to choose Configuration and press the OK button,
2. Use the up and down buttons to choose "RECEIVER UPGRADE" and press OK button.
3. Using the left / right button change function from Enable to Disable.
4. Press OK button then MENU and MENU to return to Normal operation.
Do not forget to re enable the automatic OAD function after you have made your recording by repeating
the above instructions but this time selecting ENABLE.
- 4 -
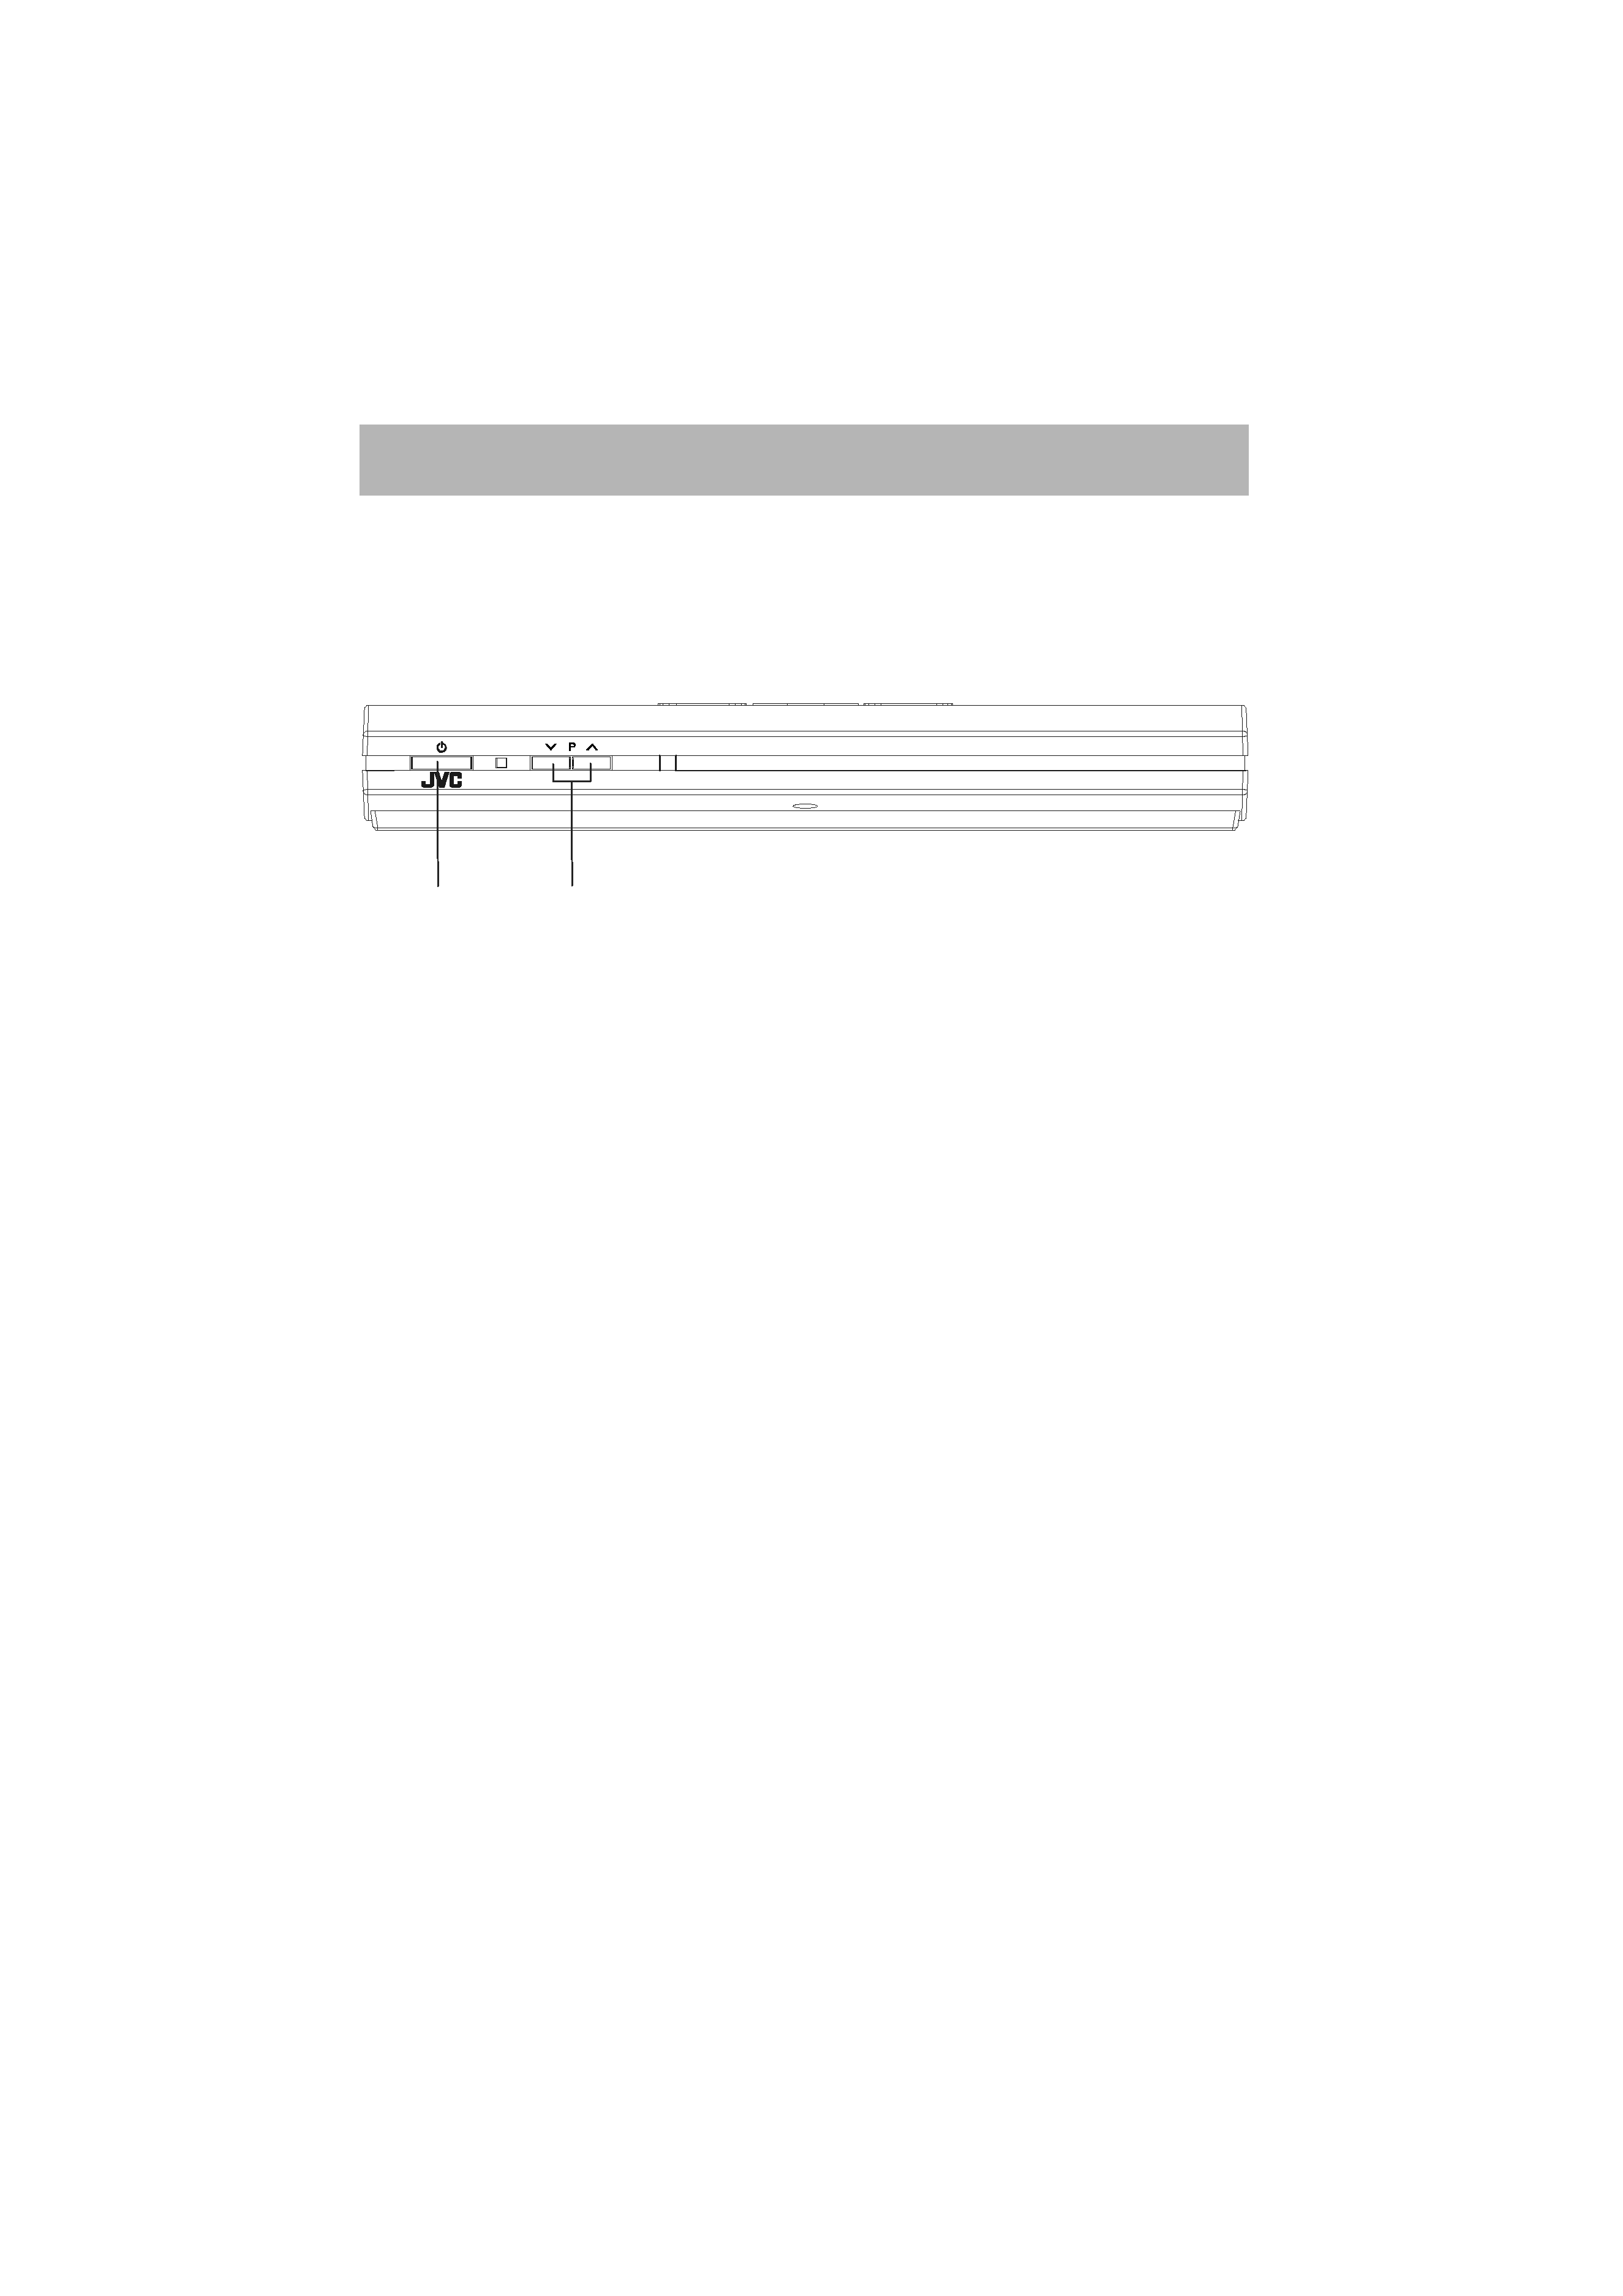
RECEIVER BUTTONS
Front:
ThqiÃi
QthÃqÃi