LVT1111-001B
[J]
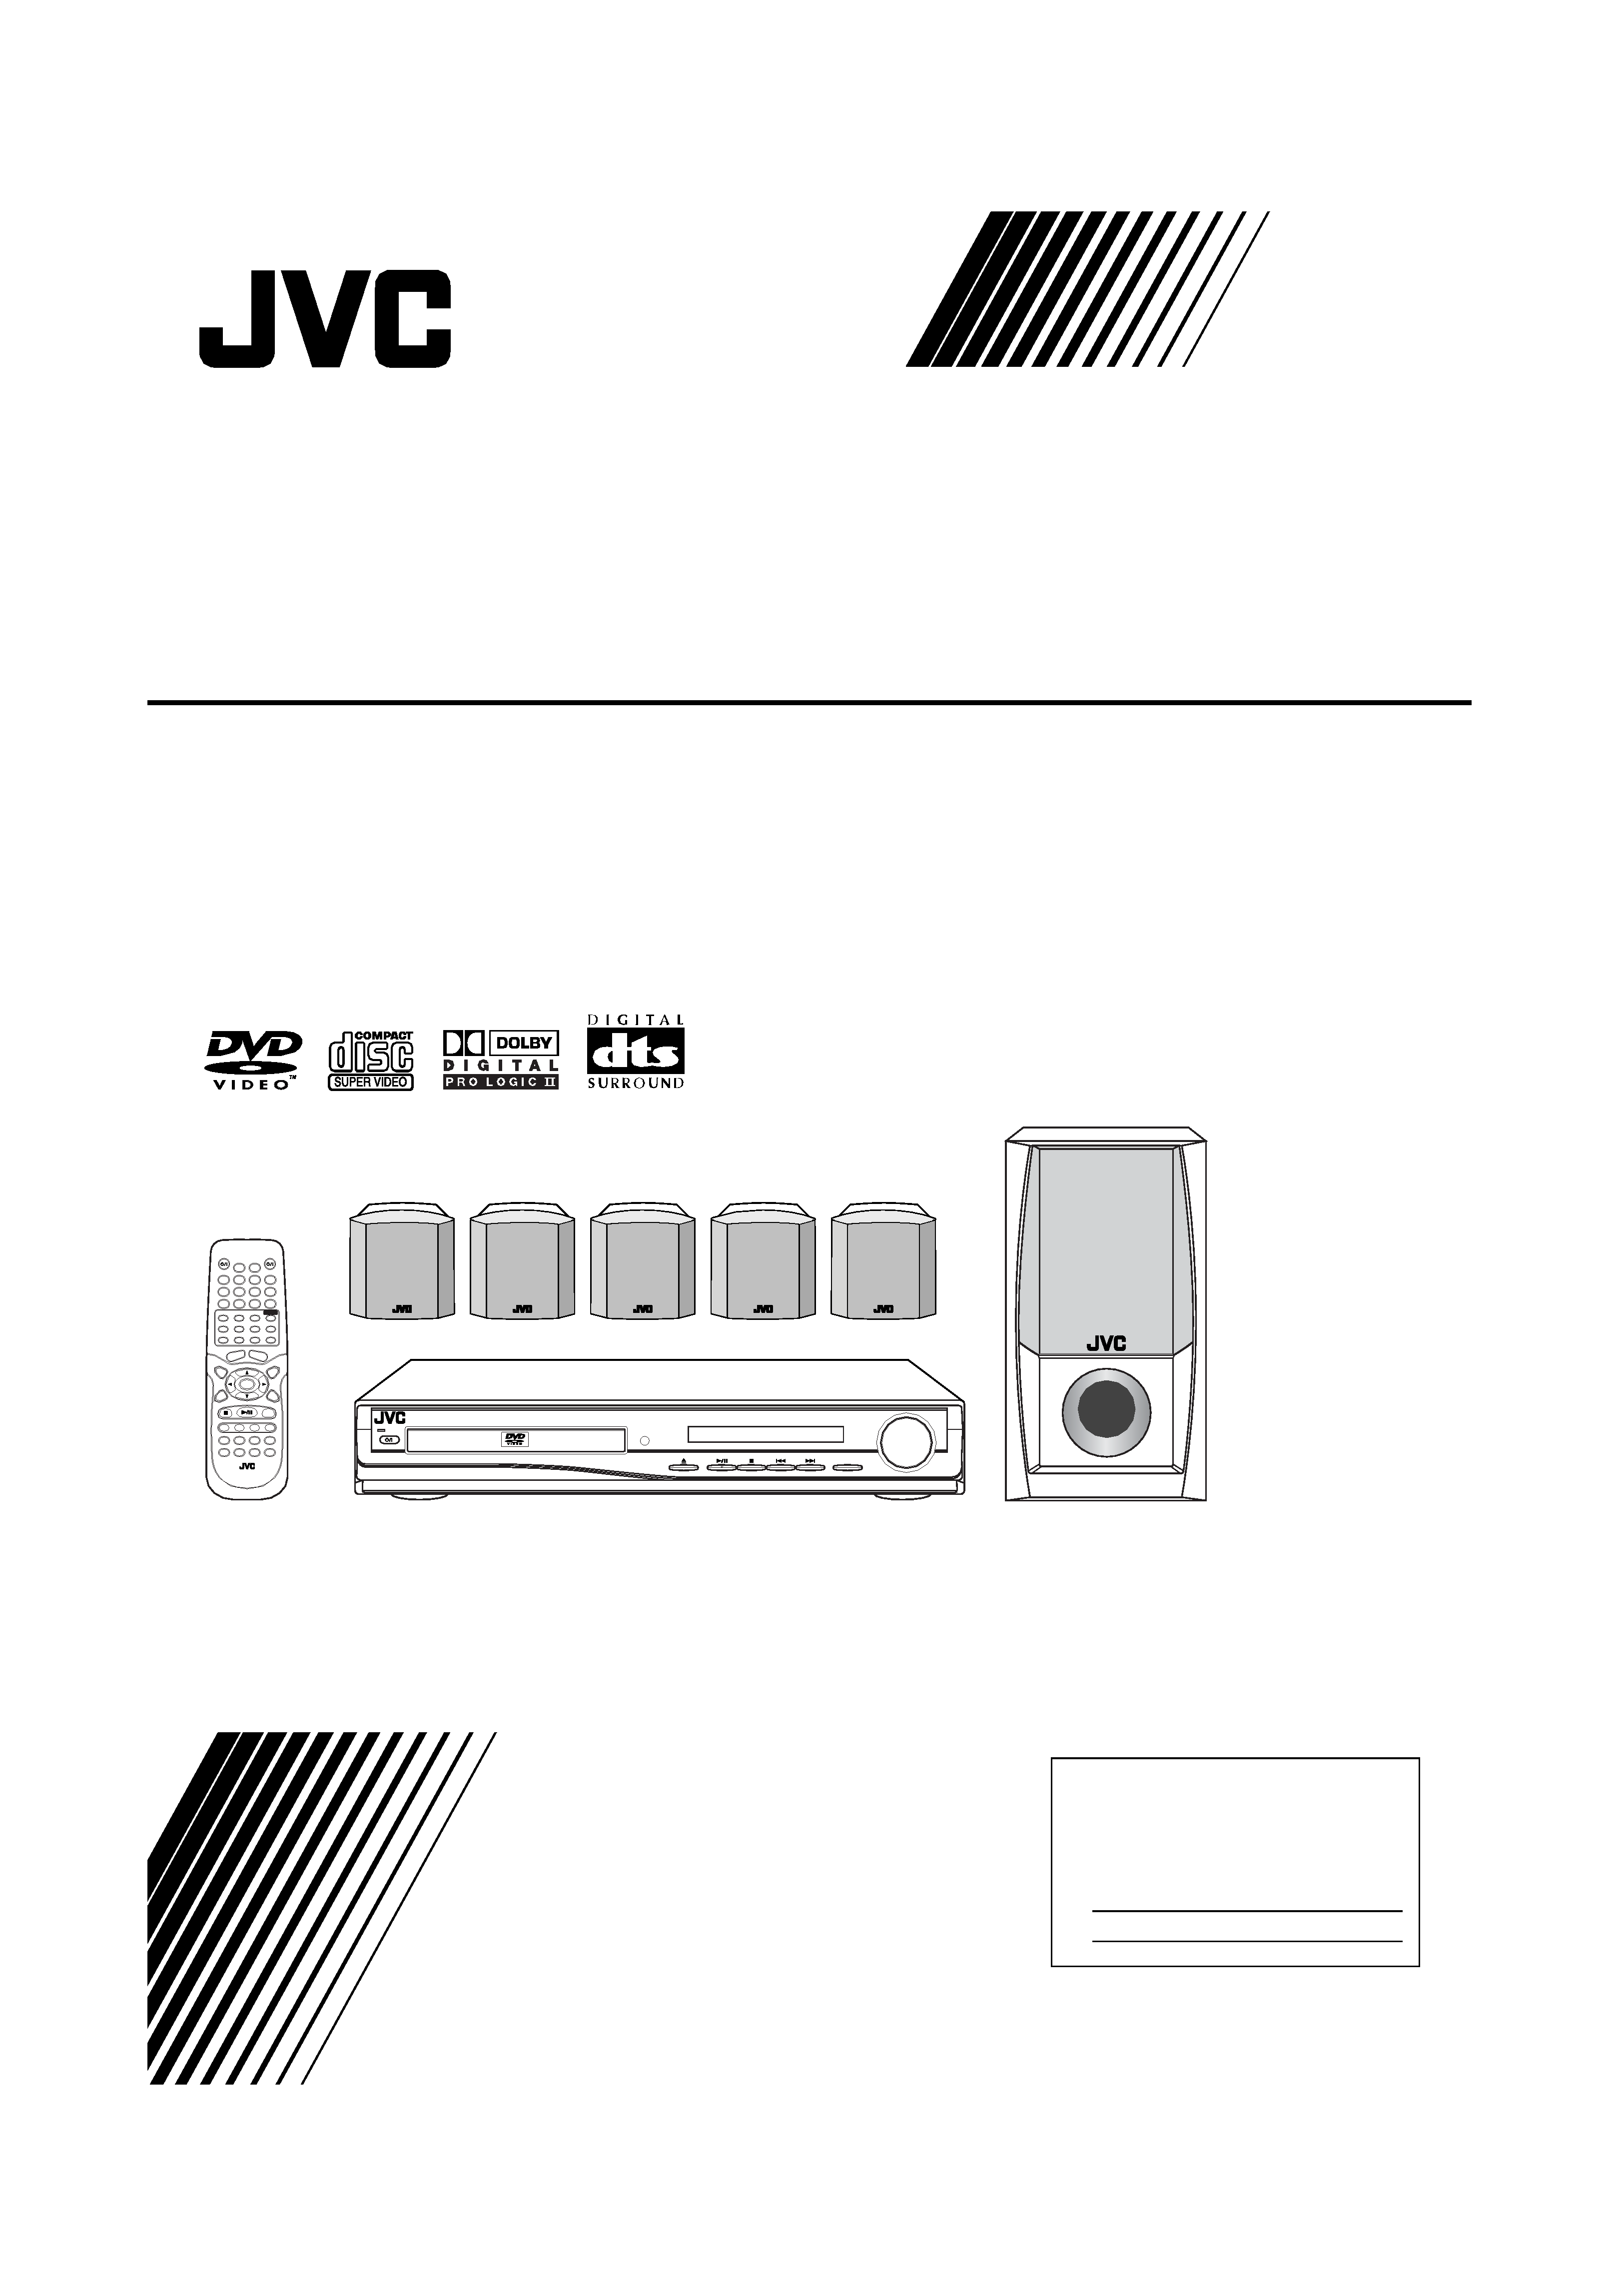
INSTRUCTIONS
DVD DIGITAL THEATER SYSTEM
TH-A25
Consists of XV-THA25 and SP-THA25
SOUND
VOLUME
SOURCE
STANDBY
STANDBY/ON
DVD DIGITAL THEATER SYSTEM TH-A25
For Customer Use:
Enter below the Model No. and Serial No.
which are located either on the rear, bot-
tom or side of the cabinet. Retain this
information for future reference.
Model No.
Serial No.
Cover_TH_A25[J].p65
03.10.15, 11:08 AM
3
G-1
Warnings, Cautions and Others
CAUTION:
TO REDUCE THE RISK OF ELECTRIC SHOCK.
DO NOT REMOVE COVER (OR BACK)
NO USER SERVICEABLE PARTS INSIDE.
REFER SERVICING TO QUALIFIED SERVICE PERSONNEL.
RISK OF ELECTRIC SHOCK
DO NOT OPEN
The lightning flash with arrowhead symbol,
within an equilateral triangle is intended to
alert the user to the presence of uninsulated
"dangerous voltage" within the product's
enclosure
that
may
be
of
sufficient
magnitude to constitute a risk of electric
shock to persons.
The exclamation point within an equilateral
triangle is intended to alert the user to the
presence
of
important
operating
and
maintenance (servicing) instructions in the
literature accompanying the appliance.
CAUTION
CAUTION
To reduce the risk of electrical shocks, fire, etc.:
1.
Do not remove screws, covers or cabinet.
2.
Do not expose this appliance to rain or moisture.
WARNING: TO REDUCE THE RISK OF FIRE
OR ELECTRIC SHOCK, DO NOT EXPOSE
THIS APPLIANCE TO RAIN OR MOISTURE.
Caution STANDBY/ON
switch!
Disconnect the mains plug to shut the power off completely. The
STANDBY/ON
switch in any position does not disconnect.
For U.S.A
This equipment has been tested and found to comply with the limits
for a Class B digital device, pursuant to part 15 of the FCC Rules.
These limits are designed to provide reasonable protection against
harmful interference in a residential installation.
This equipment generates, uses and can radiate radio frequency
energy and, if not installed and used in accordance with the
instructions,
may
cause
harmful
interference
to
radio
communications. However, there is no guarantee that interference
will not occur in a particular installation. If this equipment does cause
harmful interference to radio or television reception, which can be
determined by turning the equipment off and on, the user is
encouraged to try to correct the interference by one or more of the
following measures:
Reorient or relocate the receiving antenna.
Increase the separation between the equipment and receiver.
Connect the equipment into an outlet on a circuit different from that
to which the receiver is connected.
Consult the dealer or an experienced radio/TV technician for help.
Note to CATV system installer:
This reminder is provided to call the CATV system installer's
attention to Section 820-40 of the NEC which provides guidelines
for proper grounding and, in particular, specifies that the cable
ground shall be connected to the grounding system of the
building, as close to the point of cable entry as practical.
IMPORTANT FOR LASER PRODUCTS
1. CLASS 1 LASER PRODUCT
2. CAUTION: Do not open the top cover. There are no user
serviceable parts inside the Unit; leave all servicing to qualified
service personnel.
3. CAUTION: Visible and invisible laser radiation when open and
interlock failed or defeated. Avoid direct exposure to beam.
4. REPRODUCTION OF LABEL: CAUTION LABEL, PLACED
INSIDE THE UNIT.
Caution: Proper Ventilation
To avoid risk of electric shock and fire and to protect from damage.
Locate the apparatus as follows:
Front:
No obstructions open spacing.
Sides:
No obstructions in 10 cm from the sides.
Top:
No obstructions in 10 cm from the top.
Back:
No obstructions in 15 cm from the back
Bottom:
No obstructions, place on the level surface.
In addition, maintain the best possible air circulation as illustrated.
XV-THA25
Front
Spacing 15 cm or more
Floor
Stand height
15 cm or more
Wall or obstructions
Safety_TH_A25[J].p65
03.8.31, 2:08 PM
1

1
Table of Contents
Parts Identification ...................................... 2
Center Unit ................................................................................. 2
Remote Control .......................................................................... 3
Getting Started ........................................... 4
Before Installation ...................................................................... 4
Checking the Supplied Accessories ........................................... 4
Putting Batteries in the Remote Control .................................... 4
Connecting the FM and AM Antennas ....................................... 5
Speaker Layout Diagram ............................................................ 6
Connecting the Speakers ............................................................ 7
Connecting Audio/Video Component ........................................ 8
TV Settings ............................................... 10
Changing the Scanning Mode .................................................. 10
Operating TV ............................................. 11
Basic Disc Operations ................................ 12
1 Turn On the Power ............................................................... 12
2 Select the Source .................................................................. 12
3 Load a Disc .......................................................................... 12
4 Start Playback ...................................................................... 13
5 Adjust the Volume ................................................................ 13
6 Activate Surround ................................................................ 13
Moving to Another Chapter/Track/File .................................... 14
Stopping Playback .................................................................... 14
Basic Tuner Operations .............................. 15
1 Turn On the Power ............................................................... 15
2 Select the Band .................................................................... 15
3 Adjust the Volume ................................................................ 15
4 Tune into a Station ............................................................... 15
Other Basic Operations .............................. 16
Enjoying Sounds from the External Component ..................... 16
Turning Off the Power with the Timer ..................................... 16
Adjusting the Display Brightness ............................................. 16
Creating Realistic Sound Fields ................... 17
Using the Test Tone .................................................................. 17
Adjusting the Sound ................................................................. 17
7 Basic sound adjustment procedure ....................................... 18
Surround Mode Introduction .................................................... 19
7 Dolby Digital and DTS Digital Surround............................. 19
7 Dolby Pro Logic II modes .................................................... 19
Activating the Surround Mode ................................................. 20
Disc Introduction--DVD/VCD/SVCD/CD ...... 21
Disc Playback ............................................ 22
Using the On-Screen Bar ......................................................... 22
7 Showing the On-Screen Bar ................................................. 22
7 Basic operation through the On-Screen Bar ......................... 23
Selecting the Audio Languages ................................................ 24
Selecting the Subtitles .............................................................. 24
Selecting the Playback Channel ............................................... 25
Selecting the Multi-Angle Views ............................................. 25
Checking the Remaining Time ................................................. 25
Disc Menu-Driven Playback .................................................... 26
Moving to a Particular Portion Directly ................................... 27
Searching for a Particular Point ............................................... 27
Repeating Playback .................................................................. 28
7 Repeat Play ........................................................................... 28
7 AB Repeat .......................................................................... 28
Special Picture Playback .......................................................... 29
7 Still Picture/Frame-by-Frame Playback ............................... 29
7 Slow Motion Playback ......................................................... 29
7 Zoom .................................................................................... 29
MP3/JPEG Introduction ............................ 30
MP3/JPEG Playback ................................. 31
Starting Playback ..................................................................... 31
Showing the On-Screen Bar ..................................................... 31
Operations Using the On-Screen Display ................................ 32
Selecting a Particular File/Folder Directly ............................... 33
Repeating Playback .................................................................. 33
Browsing Pictures in the Current Folder .................................. 33
Rotating and Flipping a Picture ................................................ 33
Tuner Operations ....................................... 34
Tuning in Stations .................................................................... 34
Using Preset Tuning ................................................................. 35
Selecting the FM Reception Mode ........................................... 35
Setting Up the DVD Preferences ................. 36
Setting the System Preferences ................................................ 36
7 The basic procedure to set up the system preferences .......... 37
7 To adjust the DRC (Dynamic Range Compression)............. 37
Setting the Preferences ............................................................. 38
7 The basic procedure to set up preferences ............................ 38
7 To set the parental (rating) level ........................................... 39
7 To change the password ........................................................ 39
7 To release the parental lock temporarily .............................. 40
7 Language Code List ............................................................. 40
Maintenance ............................................. 41
Troubleshooting ......................................... 42
Specifications ............................................ 43
01_11_TH_A25[J].p65
03.10.15, 11:13 AM
1
2
Parts Identification
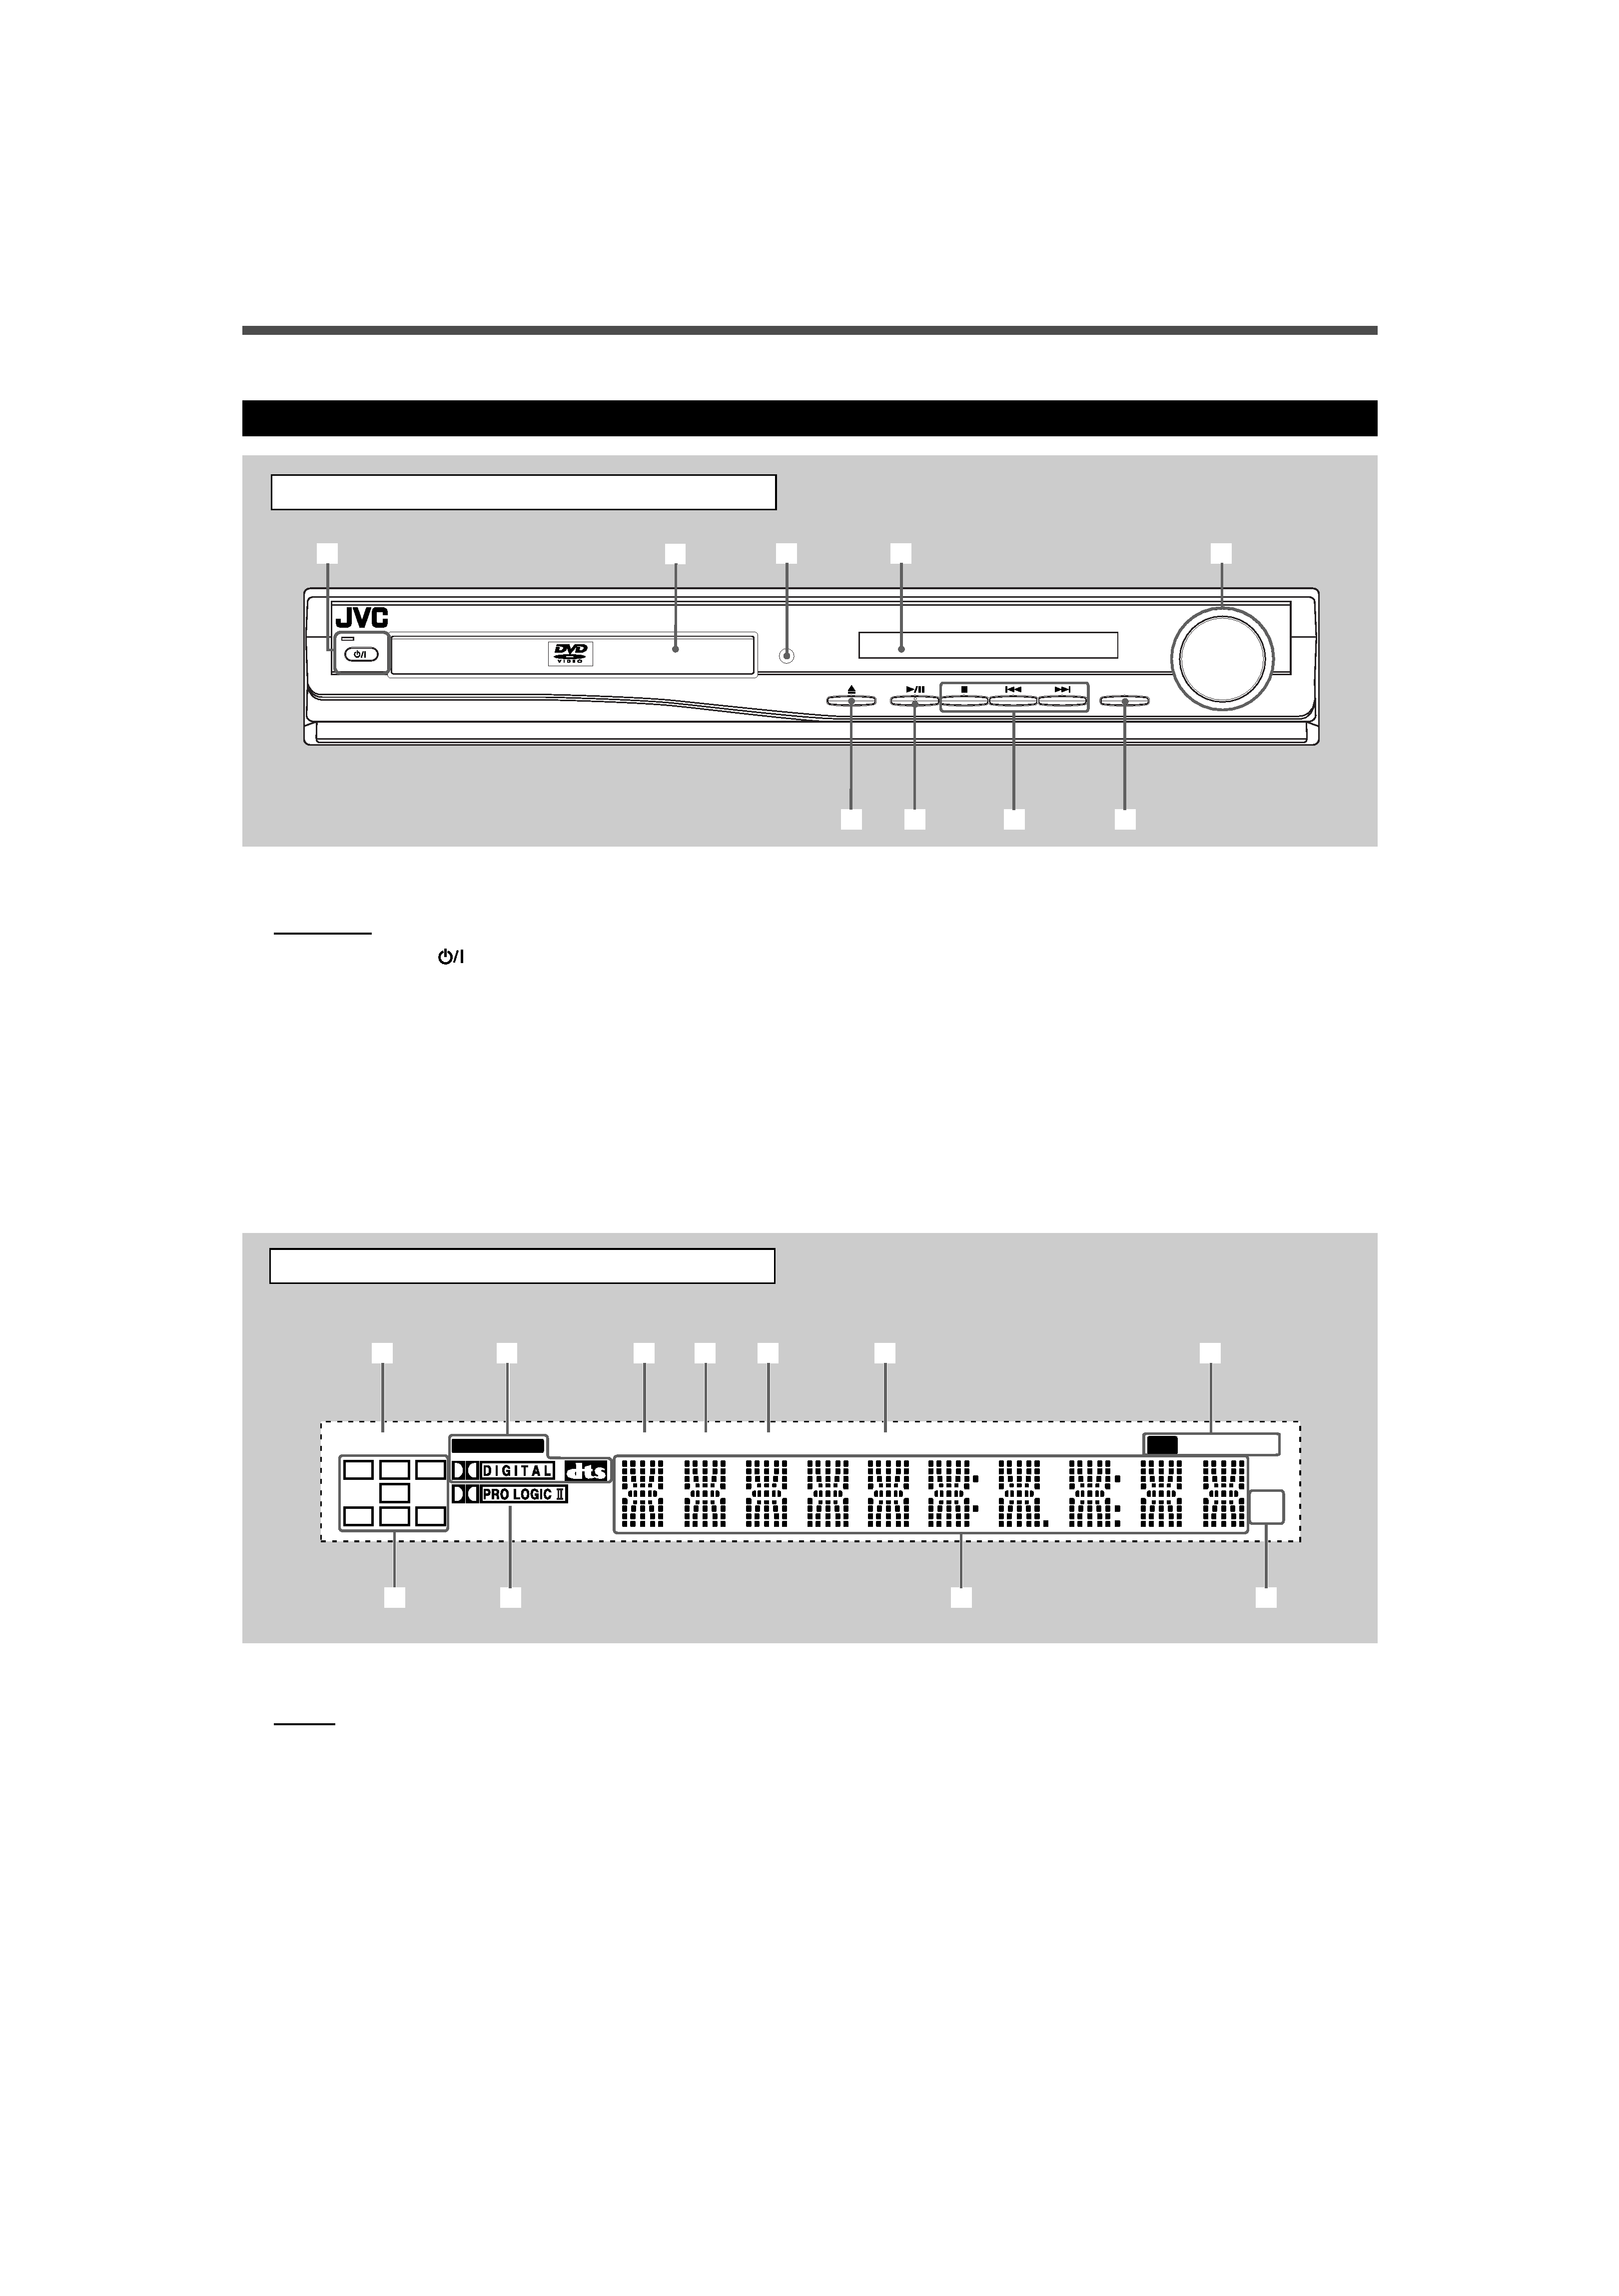
Front Panel
See pages in the parentheses for details.
Display
1 P.SCAN indicator (10)
2 Digital signal indicators (13, 19, 20)
· LINEAR PCM, DOLBY DIGITAL, and DTS.
3 TITLE indicator (13)
· Indicates the current title number with main display.
4 PBC (Play Back Control) indicator
· Goes on when the PBC function is activated.
5 CHAP (chapter) indicator (13)
· Indicates the current chapter number with main display.
6 PRGM (program) indicator (35)
7 Tuner mode indicators (15, 34, 35)
· ST (stereo) and TUNED
8 Audio channel indicators
· Indicates audio channels currently being reproduced.
9 Dolby PRO LOGIC II indicator (13, 19, 20)
p Main display
q Frequency unit indicators
· kHz (for AM band station) and MHz (for FM band
station)
Display
Center Unit
See pages in the parentheses for details.
Front Panel
1 STANDBY/ON
button and STANDBY lamp (1215)
2 Disc tray (12)
3 Remote sensor
4 Display
5 VOLUME control (13, 15)
6
0 (open/close) button (12, 14)
· Pressing this button also turns on the power and
changes the source to the DVD/CD.
7
3/8 (play/pause) button (13, 14, 31)
· Pressing this button also turns on the power and
changes the source to the DVD/CD.
8 Multi operation buttons
·
4, ¢, and 7
9 SOURCE button (12, 15, 16)
VOLUME
SOURCE
STANDBY
STANDBY/ON
DVD DIGITAL THEATER SYSTEM TH-A25
2
6
7
9
8
4
5
3
1
MHz
kHz
PRGM
CHAP
TUNED
PBC
TITLE
P.SCAN
LINEAR PCM
ST
L
C
R
SW
LS
S
RS
q
9
5
6
3
4
2
7
p
8
1
01_11_TH_A25[J].p65
03.8.31, 2:08 PM
2
3
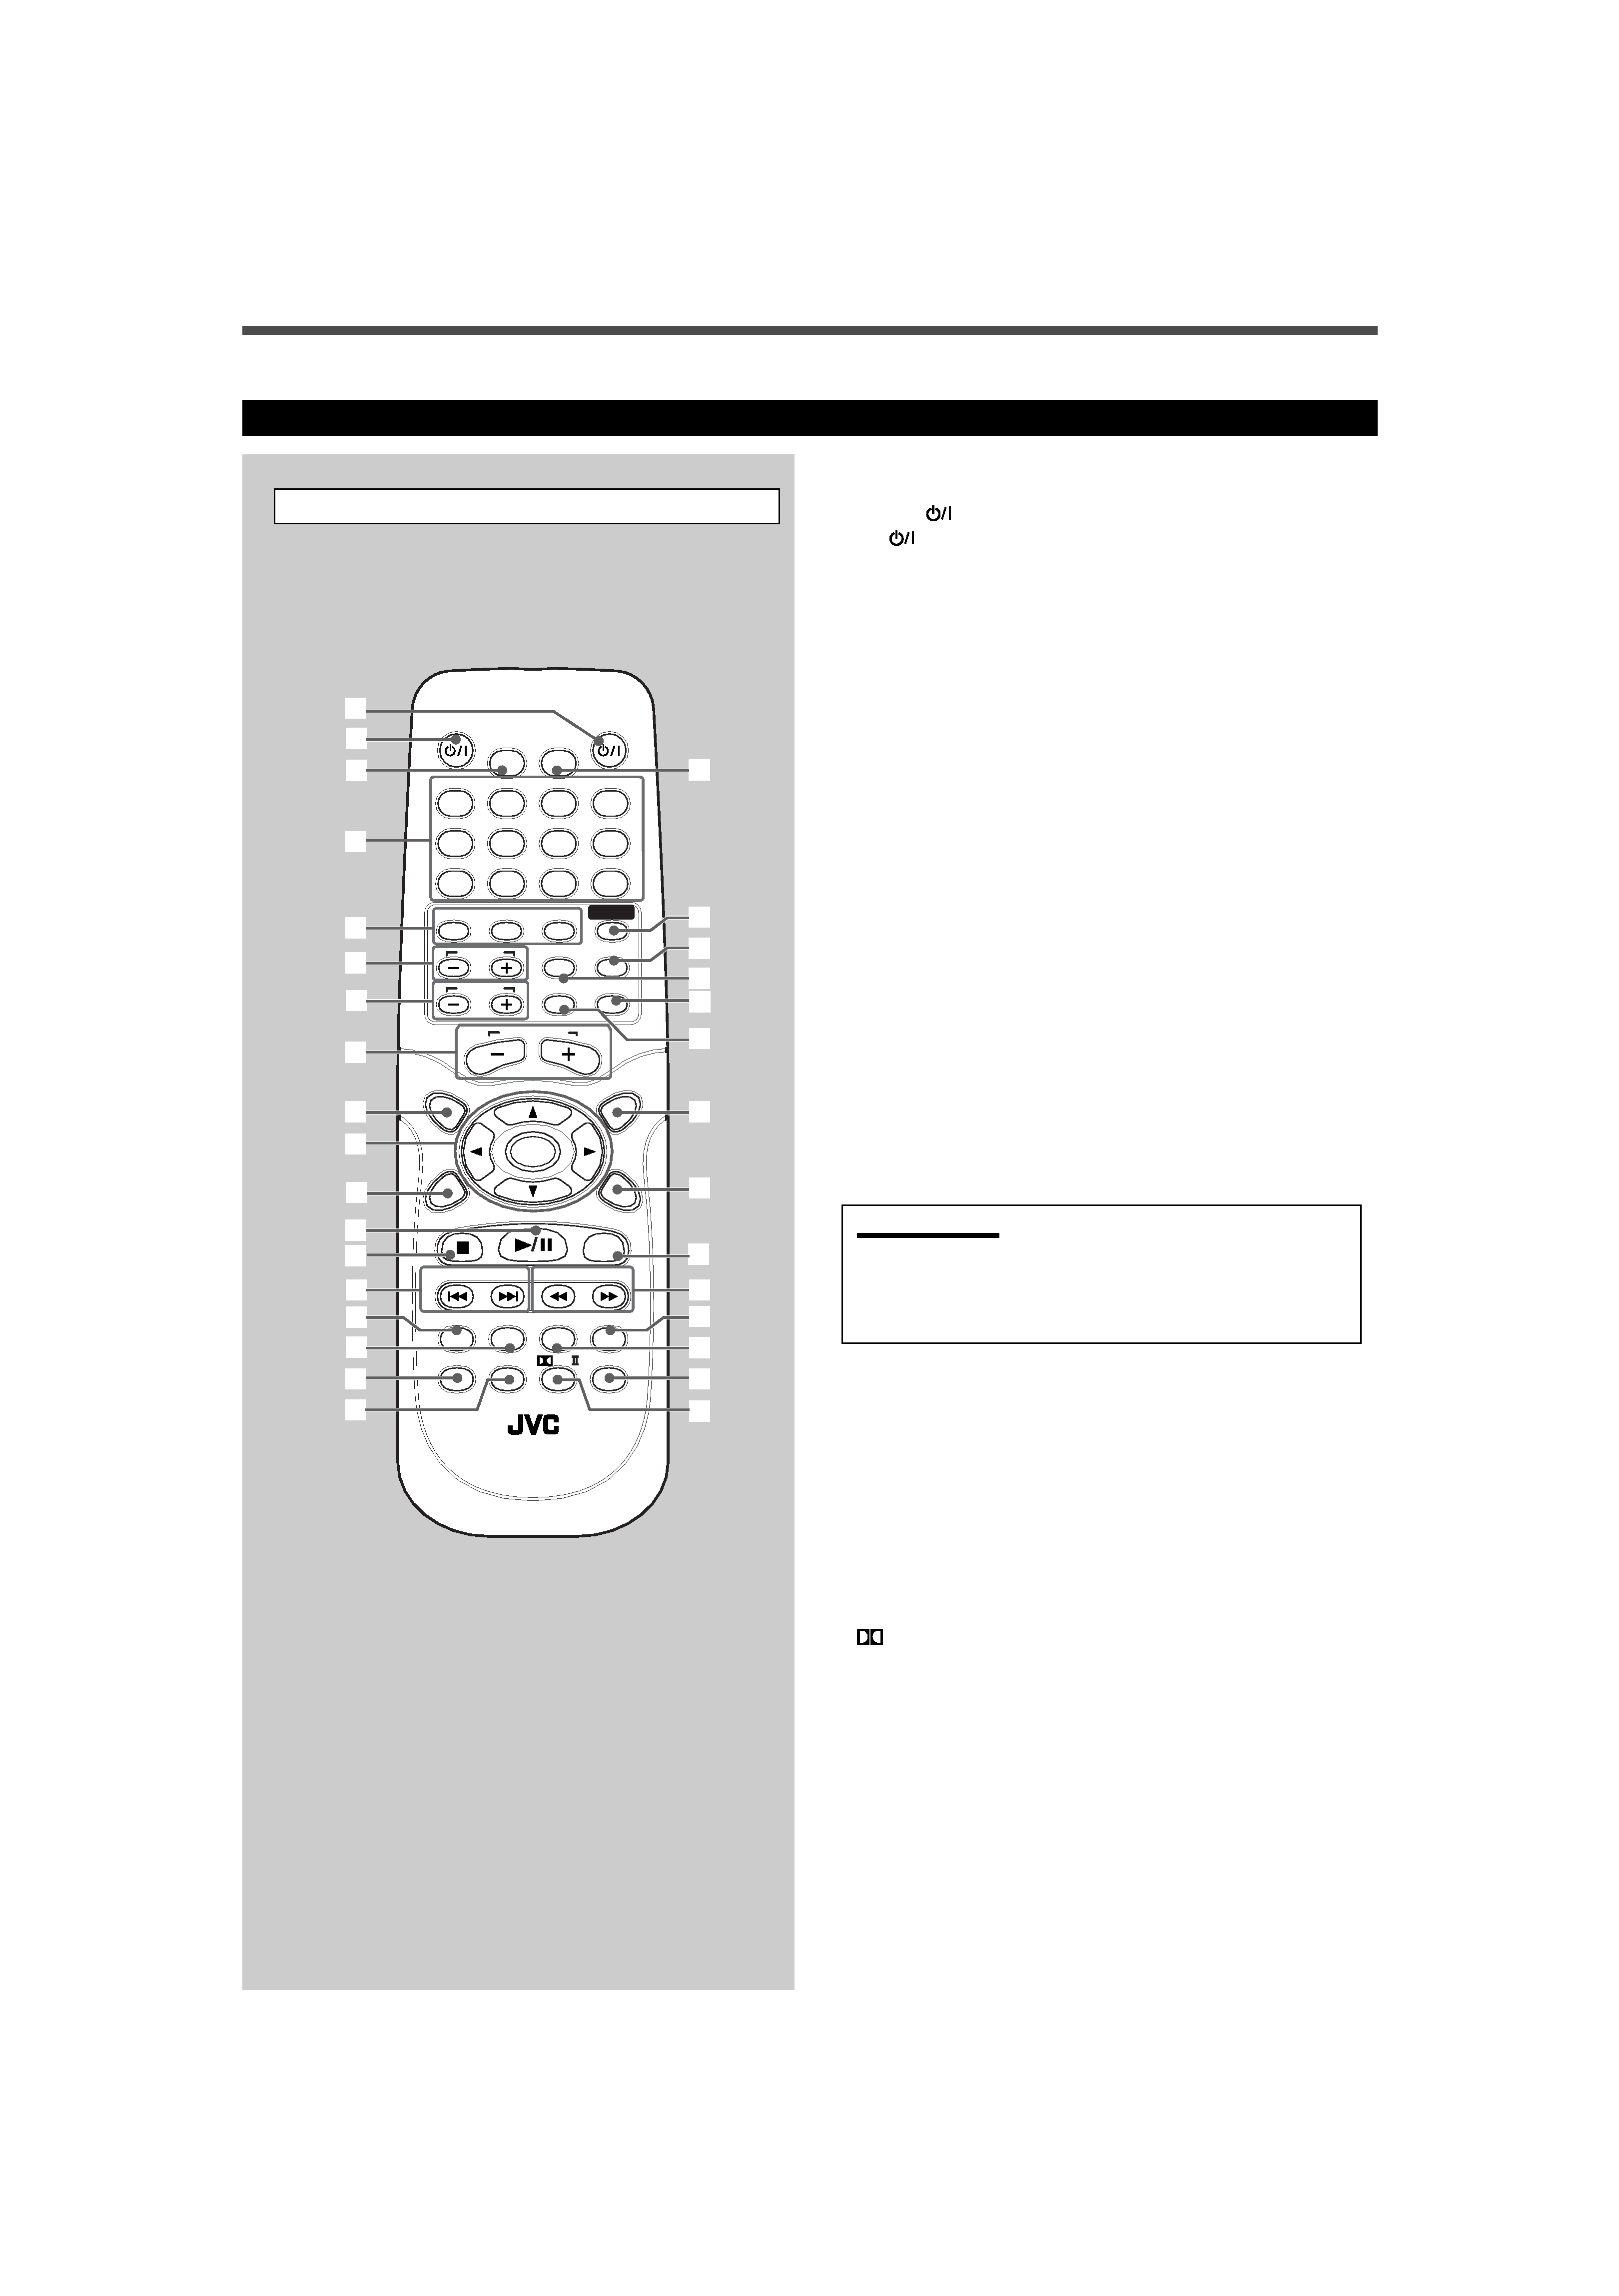
Remote Control
See pages in the parentheses for details.
1 AUDIO
button (12, 14, 15)
2 TV
button (11,12)
3 DIMMER button (16)
4 · Number buttons
· MEMORY button (35)
· CANCEL button
5 Source selecting buttons
· DVD, FM/AM, AUX (10, 12, 15, 16)
· Pressing one of these buttons also turns on the power.
6 TV CH + and buttons (11)
7 TV VOL + and buttons (11)
8 AUDIO VOL + and buttons (13, 15)
9 TOP MENU button (26)
p ·
3, 2, 5, and buttons
· ENTER button
q CHOICE/TIME button (25, 31, 3739)
w
3/8 button
e
7 button
r
4 and ¢ buttons
t AUDIO button (24, 25)
y SUBTITLE button (24)
u · SLOW button (29)
· PROGRESSIVE button (10)
i RETURN button (26)
o SLEEP button (16)
; SOUND button (18)
a TEST TONE button (17)
s CONTROL TV button (11)
IMPORTANT:
When you press CONTROL TV, some buttons on the remote control
cannot work for operating the center unit. To operate the center
unit, press DVD, FM/AM, or AUX depending on your target
operation.
d MUTING button (13)
f TV/VIDEO button (11, 12)
g MENU button (26, 33)
h ON SCREEN button (2228, 31)
j STEP button (29)
k ·
1 and ¡ buttons
· TUNING UP and DOWN buttons (15, 34)
l ZOOM button (29)
/ ANGLE button (25)
z · REPEAT button (28, 33)
· FM MODE button (35)
x
PL II button (13, 20)
Remote Control
1
2
3
4
5
6
7
8
9
y
p
q
e
w
u
i
;
a
s
d
r
t
f
g
h
k
l
/
o
z
x
AUDIO
TV
SLEEP
DIMMER
DVD
FM/AM
TV CH
AUX
TV/VIDEO MUTING
CONTROL TESTTONE
TOP
MENU
MENU
CHOICE/TIME
DOWN -TUNING - UP
AUDIO
SLOW RETURN
PL
PROGRESSIVE
RM-STHA25J
DVD THEATER SYSTEM
REPEAT
SUBTITLE ANGLE
ZOOM
ON SCREEN
TVVOL
AUDIOVOL
12
3
4
56
7
8
9
TV
0
MEMORY
CANCEL
ENTER
SOUND
STEP
FM MODE
j
01_11_TH_A25[J].p65
03.8.31, 2:08 PM
3