LAMP REPLACEMENT
INSTRUCTIONS
WARNING:
This Lamp Kit is for use only with JVC model
AV-61S902.
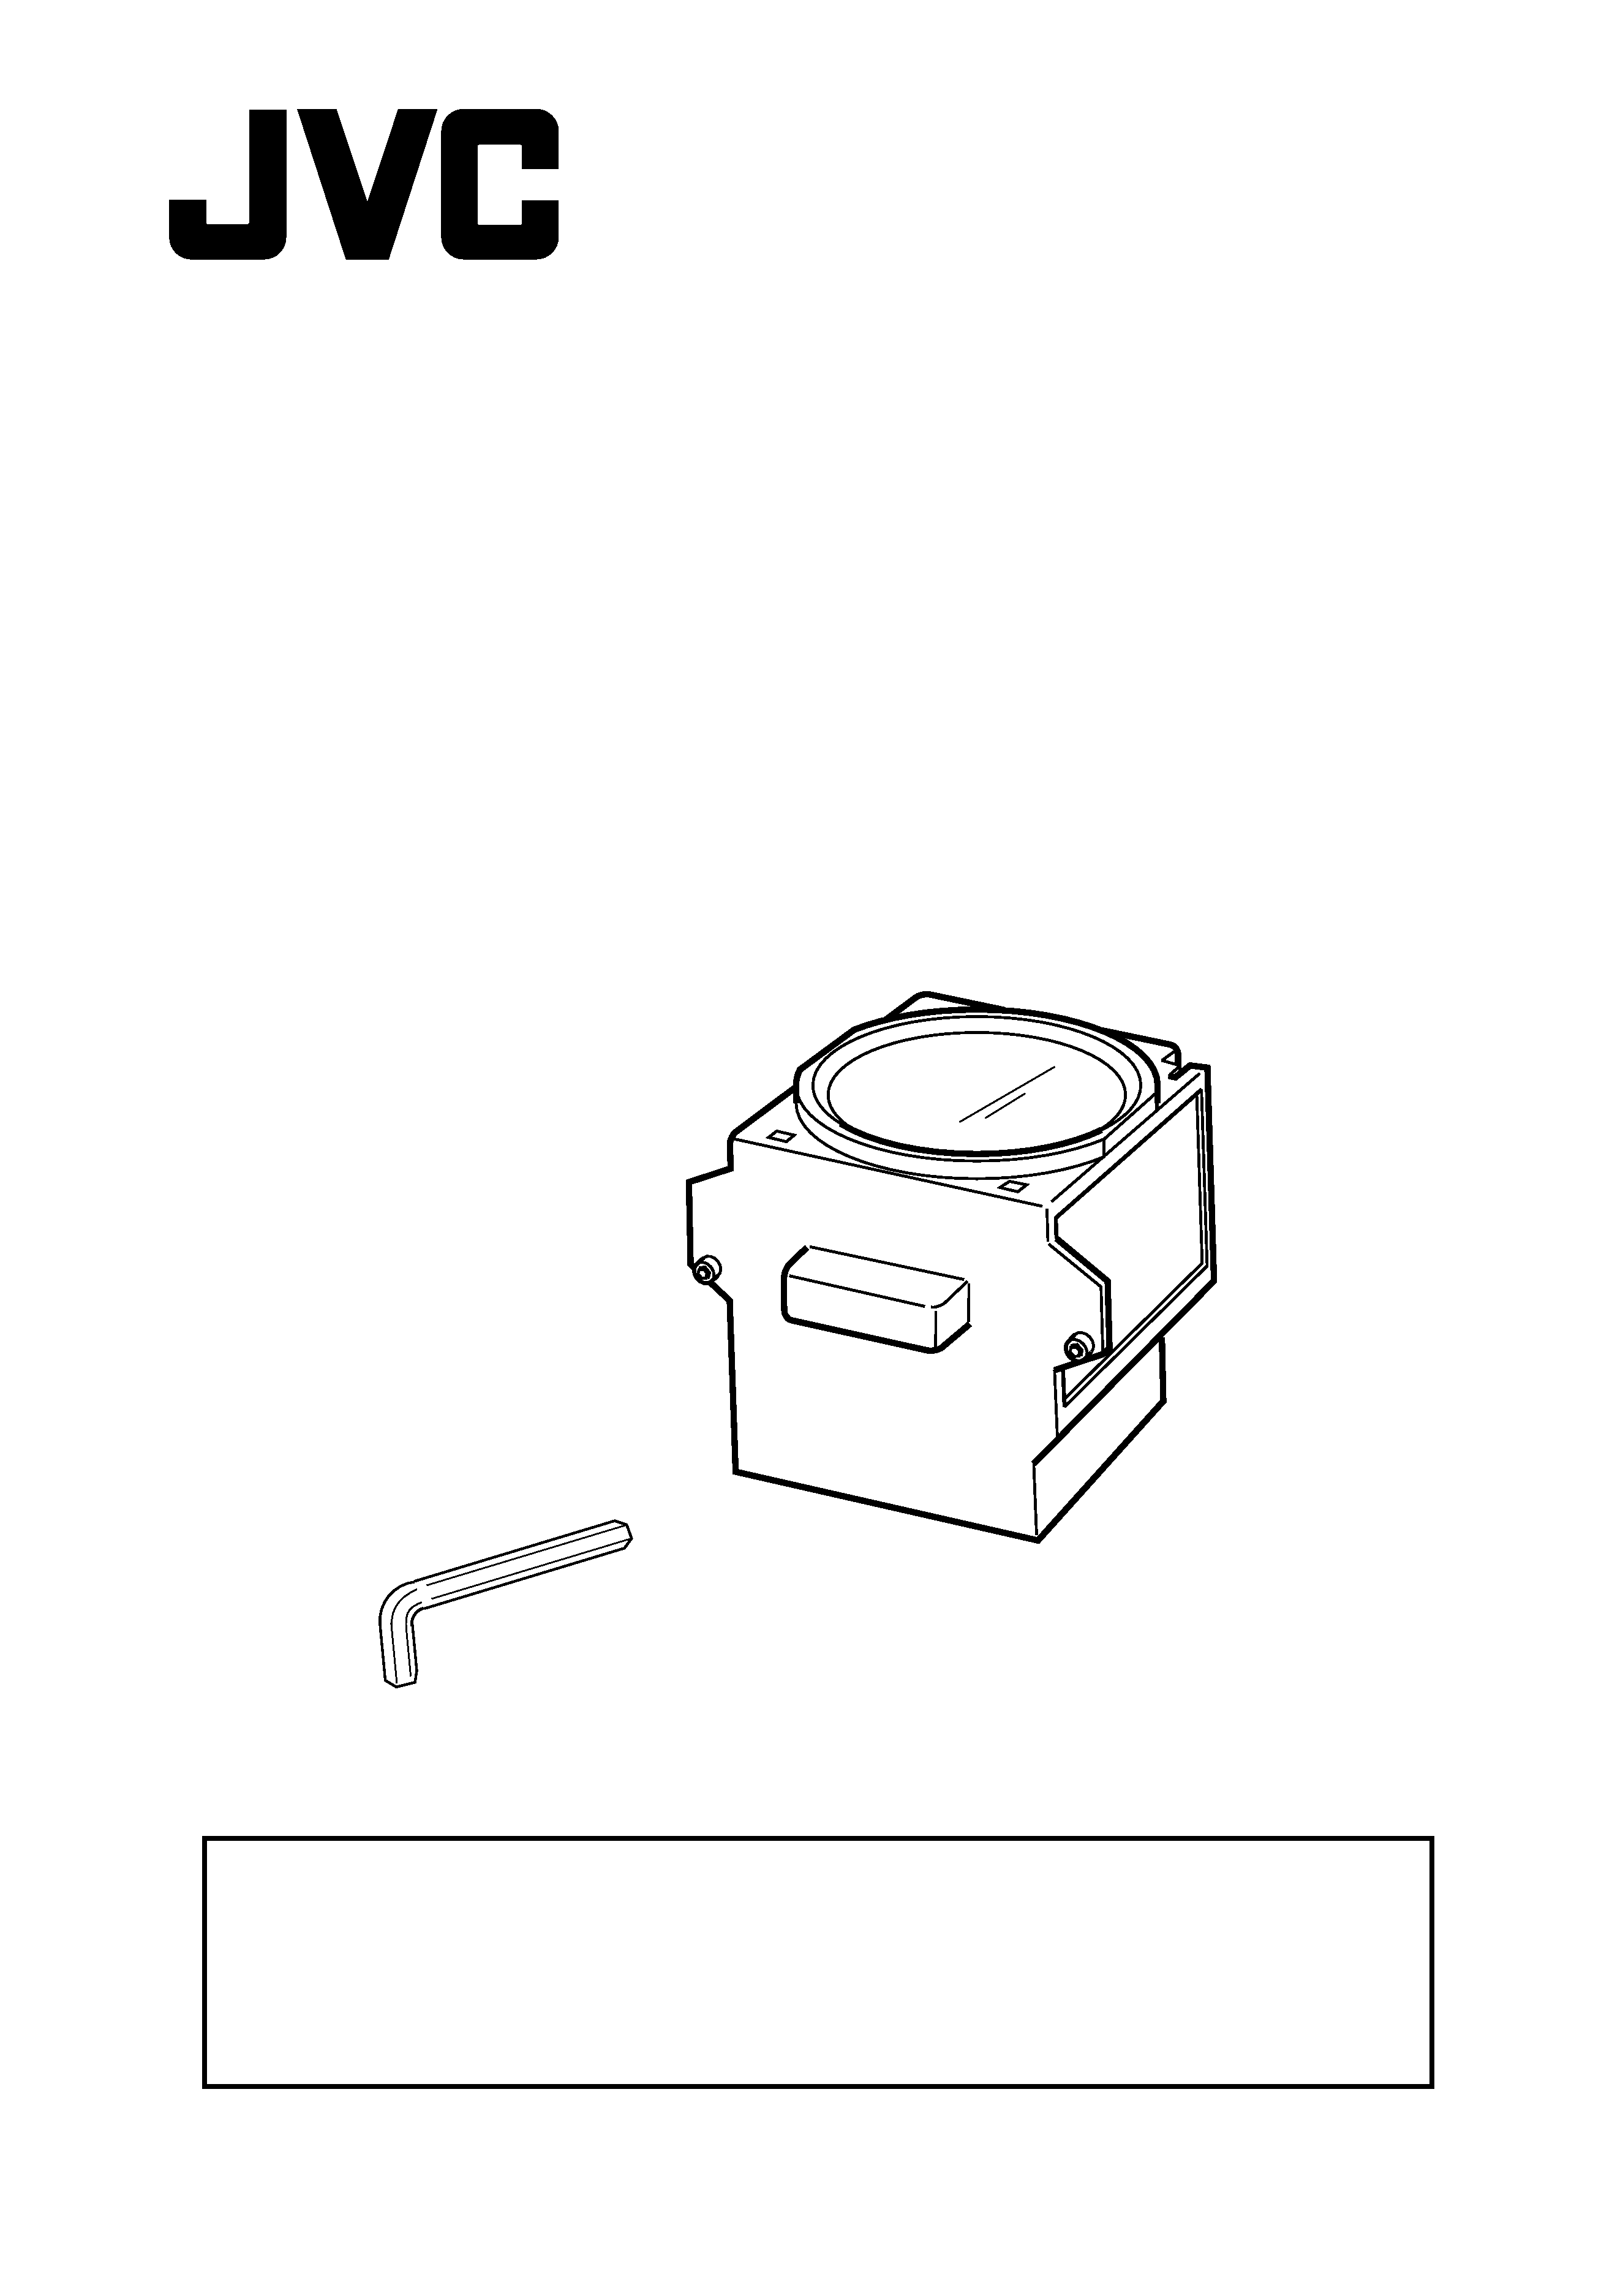
Replacement Lamp Kit
PK-CL200U
®
LCT0811-001A

The following instructions will tell you how to safely replace the projection
lamp. Please read these instructions fully before attempting to replace
the lamp. If you feel unsure about replacing the lamp, call a service
technician.
WARNING!
It is very important you DO NOT TOUCH THE GLASS SURFACE OF
THE NEW LAMP. Touching the glass surface will deposit oils from your
hand onto the lamp surface. When the lamp heats up to operating
temperature, the oil will cause a difference in temperature on the lamp
surface. This will likely cause the lamp to break.
This lamp is only for use with the AV-61S902. It is designed to work
specifically with the AV-61S902. Using this lamp with a different
television or other product could cause a malfunction and/or damage to
the television or the lamp.
Under operating conditions THE LAMP WILL GET EXTREMELY
HOT AND WILL CAUSE SEVERE BURNS IF TOUCHED. Before
attempting to replace the lamp, make sure the television has run
through its cooling cycle (indicated by the front panel LED lights)
and that the television is unplugged. If you feel any warmth coming
from the lamp DO NOT TOUCH IT. Wait until the lamp has fully
cooled before attempting to replace it.
NEVER attempt to replace the lamp with the television plugged into
a wall outlet. Attempting to replace a lamp with the television
plugged in could lead to a severe electrical shock.
This kit also includes instructions on recycling the used lamp.
Because the lamp contains a small amount of mercury, it cannot be
disposed of with normal trash in the U.S. Packaging, with a pre-paid
shipping label for returning the lamp to a JVC-authorized recycling
center for recycling, is included with the replacement lamp. See the
included sheet and page 63 in the AV-61S902 User's Guide for
details on recycling information for customers in the United States.
2

Check the accessories
Check that nothing is missing. The kit will include:
· High-Pressure Mercury Lamp
· Hex Wrench
· Replacement Instructions
· Recycling Information Sheet
· Pre-paid shipping label
Replacing the Lamp
1) Turn the television off.
Press the Power button on the remote control or television's front panel to
turn the television off. Wait until the picture has closed and the LED lights
on the front panel have stopped blinking indicating the lamp cool-down
cycle is complete.
Warning: The cool-down cycle cools the lamp from its normal operat-
ing temperatures. This does not mean the lamp will now be cool
enough to handle safely. Wait at least one hour before proceeding.
2) Unplug the television.
Disconnect the television's power cord from the AC outlet. Make sure
the LED lights have stopped blinking before you unplug the televi-
sion. Never attempt to replace the lamp with the television plugged
in.
Continued on the next page 3
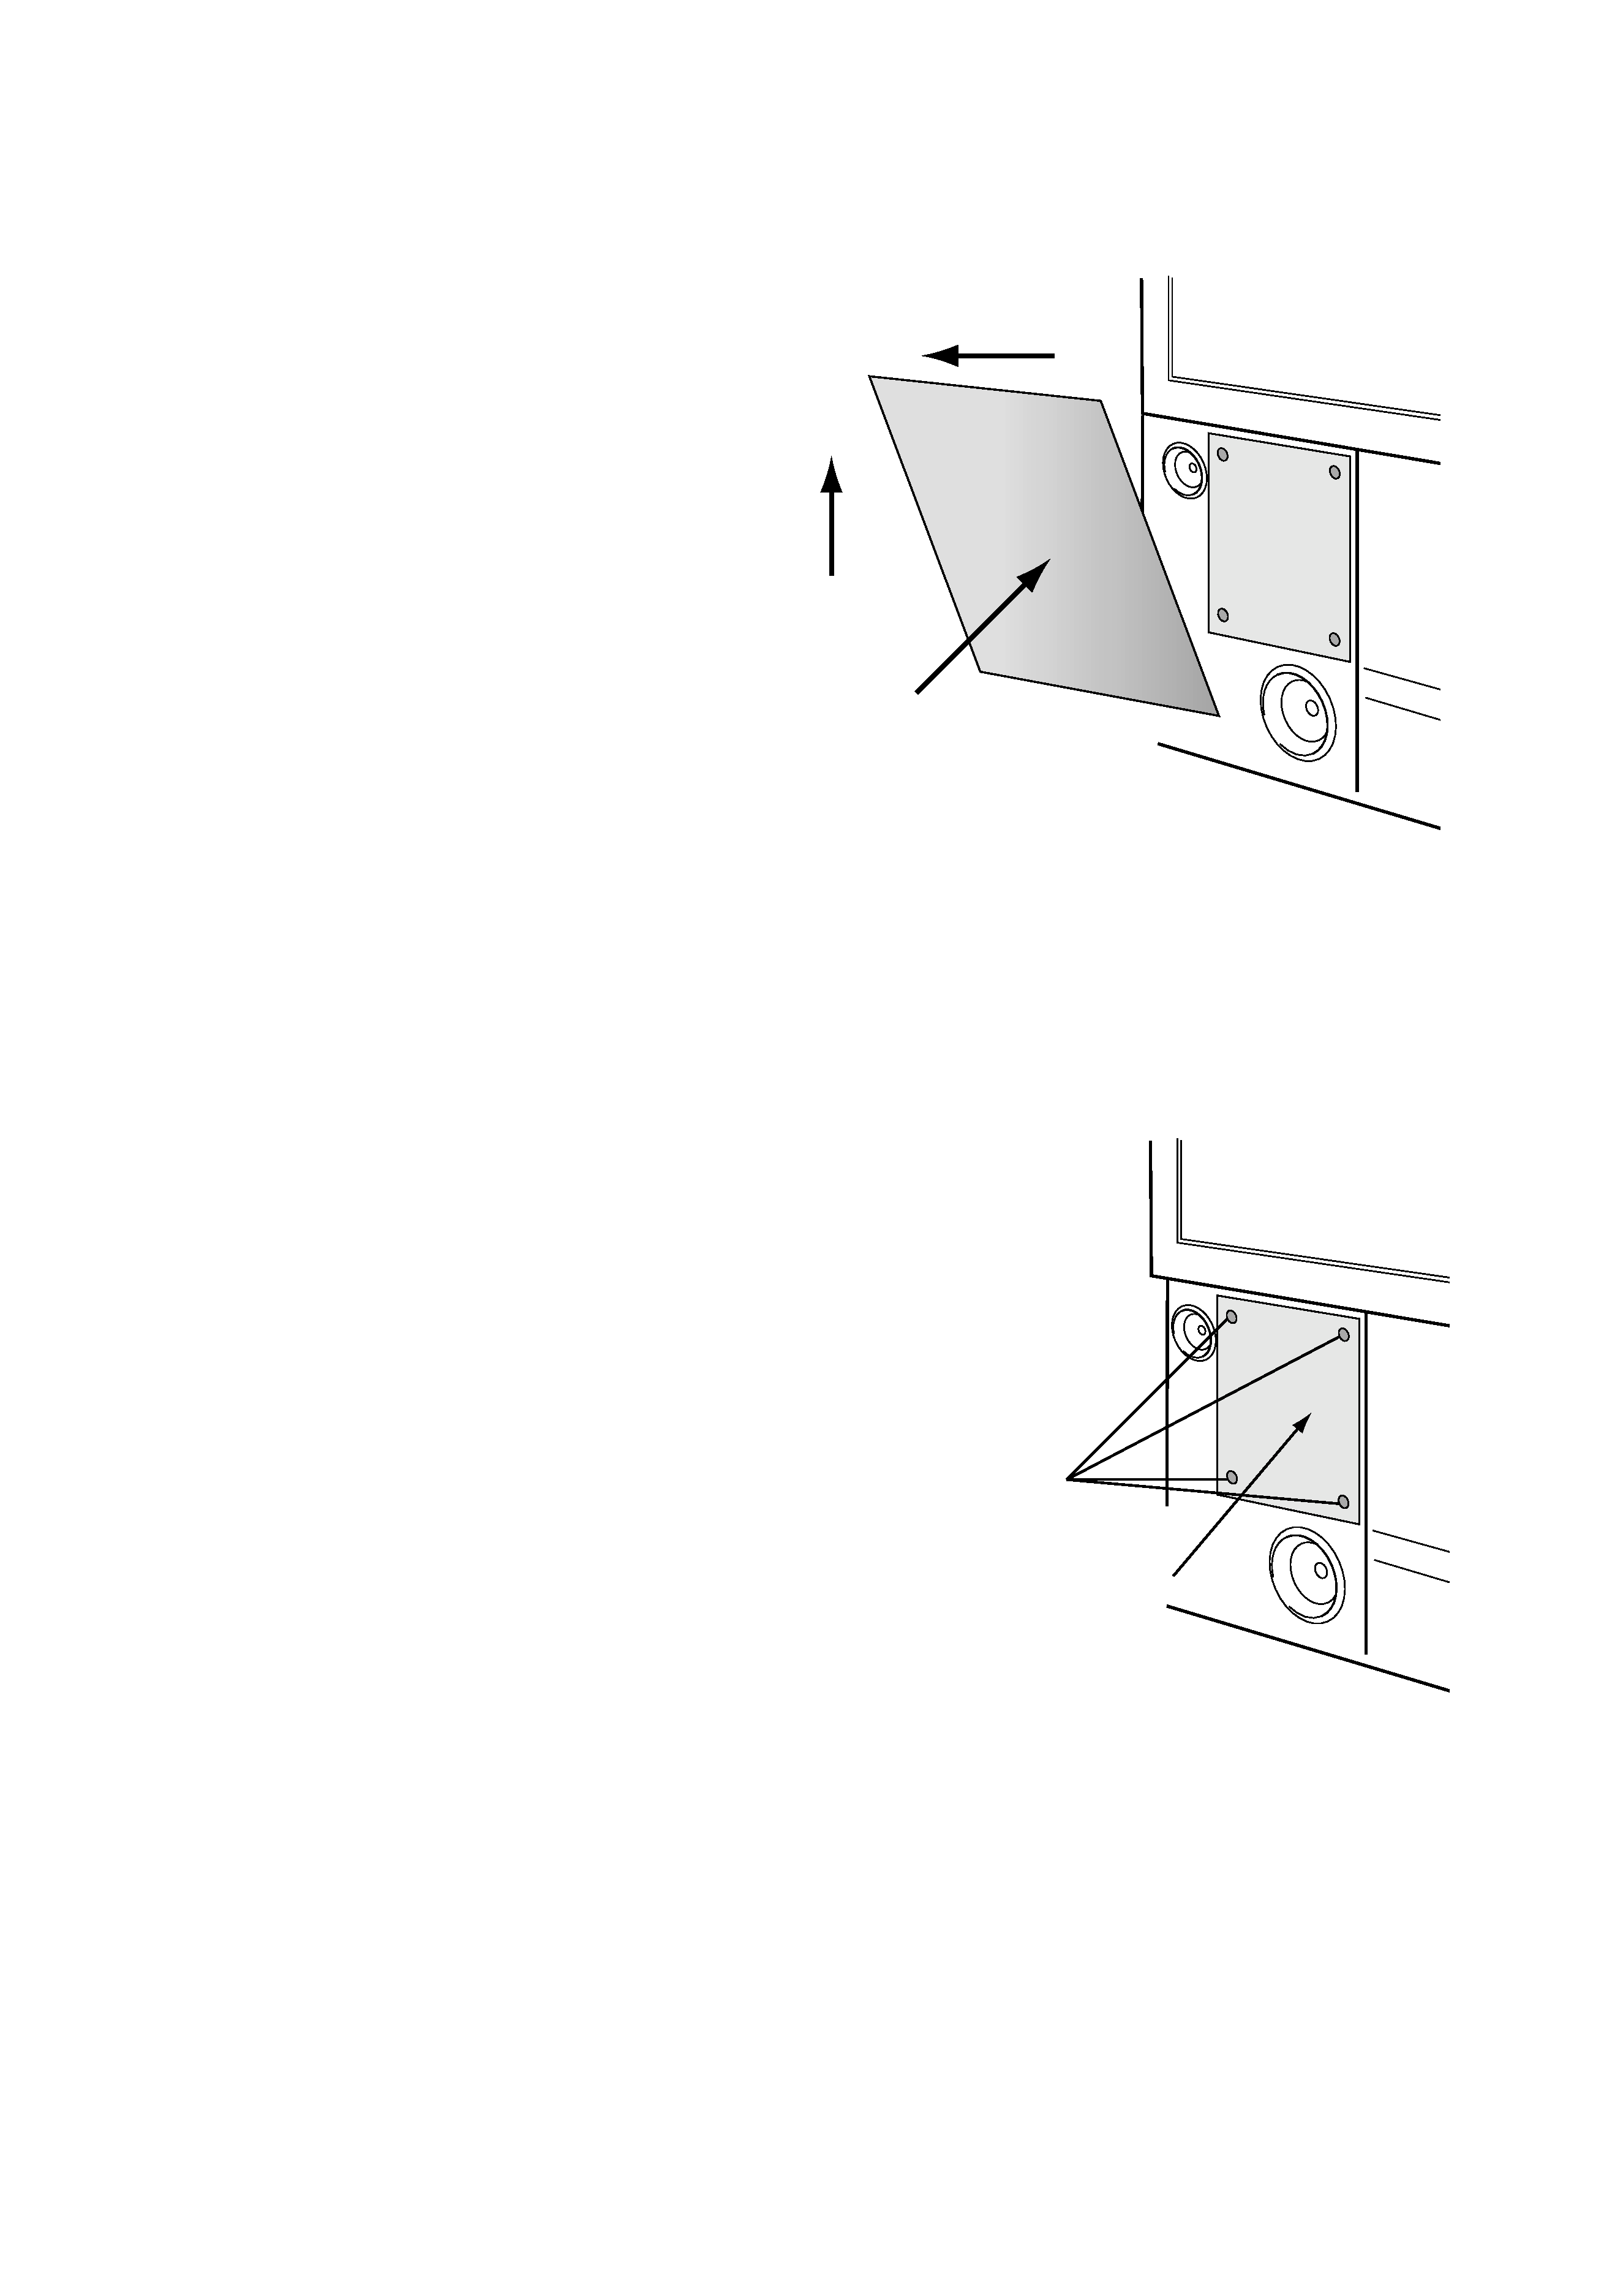
3) Remove the left speaker panel.
The next step is to remove
the left speaker panel locat-
ed at the bottom of the front
of the television cabinet.
Make sure the television is
unplugged (see steps 1 and
2) before removing the
speaker panel.
To remove the panel - Grab
the panel from the side near
the top. Gently pull the top
away from the television.
When the top part of the
speaker panel is fully away from the television, lift up. The panel will
come away from the bottom of the television. Set the panel aside.
4) Remove the filter cover.
The lamp is located behind the air fil-
ter. To access the lamp you will need
to remove this filter assembly and the
filter panel covering it. To remove this
panel you will need a Phillips head
screwdriver. First loosen the screws
located at the four corners of the
panel. Once the screws have been
loosened, slide the cover up until the
large holes align with the screw
heads. Gently pull the panel away
from the television and set aside.
(Please see Appendix A for illustrations for removing the speaker and
filter covers).
1. Pull
2. Lift
Speaker
Panel
Filter Cover
Screws
4

5) Removing the filter assembly.
Next you will need to remove the filter
assembly. To remove the assembly,
use a coin to loosen the three large-
slotted screws fastening the filter
assembly. When the screws have been
loosened, slide the filter assembly out
to remove it.
· Do not touch the surface of the filter
or try to remove it from the filter
assembly. These actions could
damage the filter. If the filter is damaged, call a service technician to
replace the filter.
WARNING:
DO NOT attempt to remove the assembly until the lamp has fully
cooled down. If you feel any heat near the lamp assembly, STOP the
removal and wait until the lamp has FULLY COOLED.
NEVER attempt to remove the lamp assembly with the television
plugged into a wall outlet.
DO NOT DROP the used lamp. The inside of the lamp is under pres-
sure. Dropping or other hard shock could cause the lamp to shatter.
ALWAYS recycle the used lamp. Because the lamp contains a small
amount of mercury it cannot be thrown out with regular trash. Follow
the recycling instructions included with the replacement lamp.
Continued on the next page
Filter unit
Coin etc.
Filter
Interlock switch
5