3
English
This product should be operated only with the type of
power source indicated on the label. If you are not
sure of the type of power supply to your home, con-
sult your product dealer or local power company.
This product is equipped with a three-wire plug. This
plug will fit only into a grounded power outlet. If you
are unable to insert the plug into the outlet, contact
your electrician to install the proper outlet. Do not
defeat the safety purpose of the grounded plug.
Power-supply cords should be routed so that they
are not likely to be walked on or pinched by items
placed upon or against them. Pay particular attention
to cords at doors, plugs, receptacles, and the point
where they exit from the product.
For added protection of this product during a light-
ning storm, or when it is left unattended and unused
for long periods of time, unplug it from the wall outlet
and disconnect the cable system. This will prevent
damage to the product due to lightning and power
line surges.
Do not overload wall outlets, extension cords, or con-
venience receptacles on other equipment as this can
result in a risk of fire or electric shock.
Never push objects of any kind into this product
through openings as they may touch dangerous volt-
age points or short out parts that could result in a fire
or electric shock. Never spill liquid of any kind on the
product.
Do not attempt to service this product yourself as
opening or removing covers may expose you to dan-
gerous voltages and other hazards. Refer all service
to qualified service personnel.
Unplug this product from the wall outlet and refer ser-
vice to qualified service personnel under the follow-
ing conditions:
a) When the power supply cord or plug is damaged.
b) If liquid has been spilled, or objects have fallen on
the product.
c) If the product has been exposed to rain or water.
d) If the product dose not operate normally by fol-
lowing the operating instructions. Adjust only
those controls that are covered by the Operation
Manual, as an improper adjustment of controls
may result in damage and will often require exten-
sive work by a qualified technician to restore the
product to normal operation.
e) If the product has been dropped or damaged in
any way.
f) When the product exhibits a distinct change in per-
formance--this indicates a need for service.
When replacement parts are required, be sure the
service technician has used replacement parts spec-
ified by the manufacturer or with same characteris-
tics as the original part. Unauthorized substitutions
may result in fire, electric shock, or other hazards.
Upon completion of any service or repairs to this
product, ask the service technician to perform safety
checks to determine that the product is in proper
operating condition.
The product should be placed more than one foot
away from heat sources such as radiators, heat reg-
isters, stoves, and other products (including ampli-
fiers) that produce heat.
When connecting other products such as VCR's, and
personal computers, you should turn off the power of
this product for protection against electric shock.
Do not place combustibles behind the cooling fan.
For example, cloth, paper, matches, aerosol cans or
gas lighters that present special hazards when over
heated.
Do not look into the projection lens while the ilumi-
nation lamp is turned on. Exposure of your eyes to
the strong light can result in impaired eyesight.
Do not look into the inside of this unit through vents
(ventllation holes), etc. Do not look at the illumination
lamp directly by opening the cabinet while the illumi-
nation lamp is turned on. The illumination lamp also
contains ultraviolet rays and the light is so powerful
that your eyesight can be impaired.
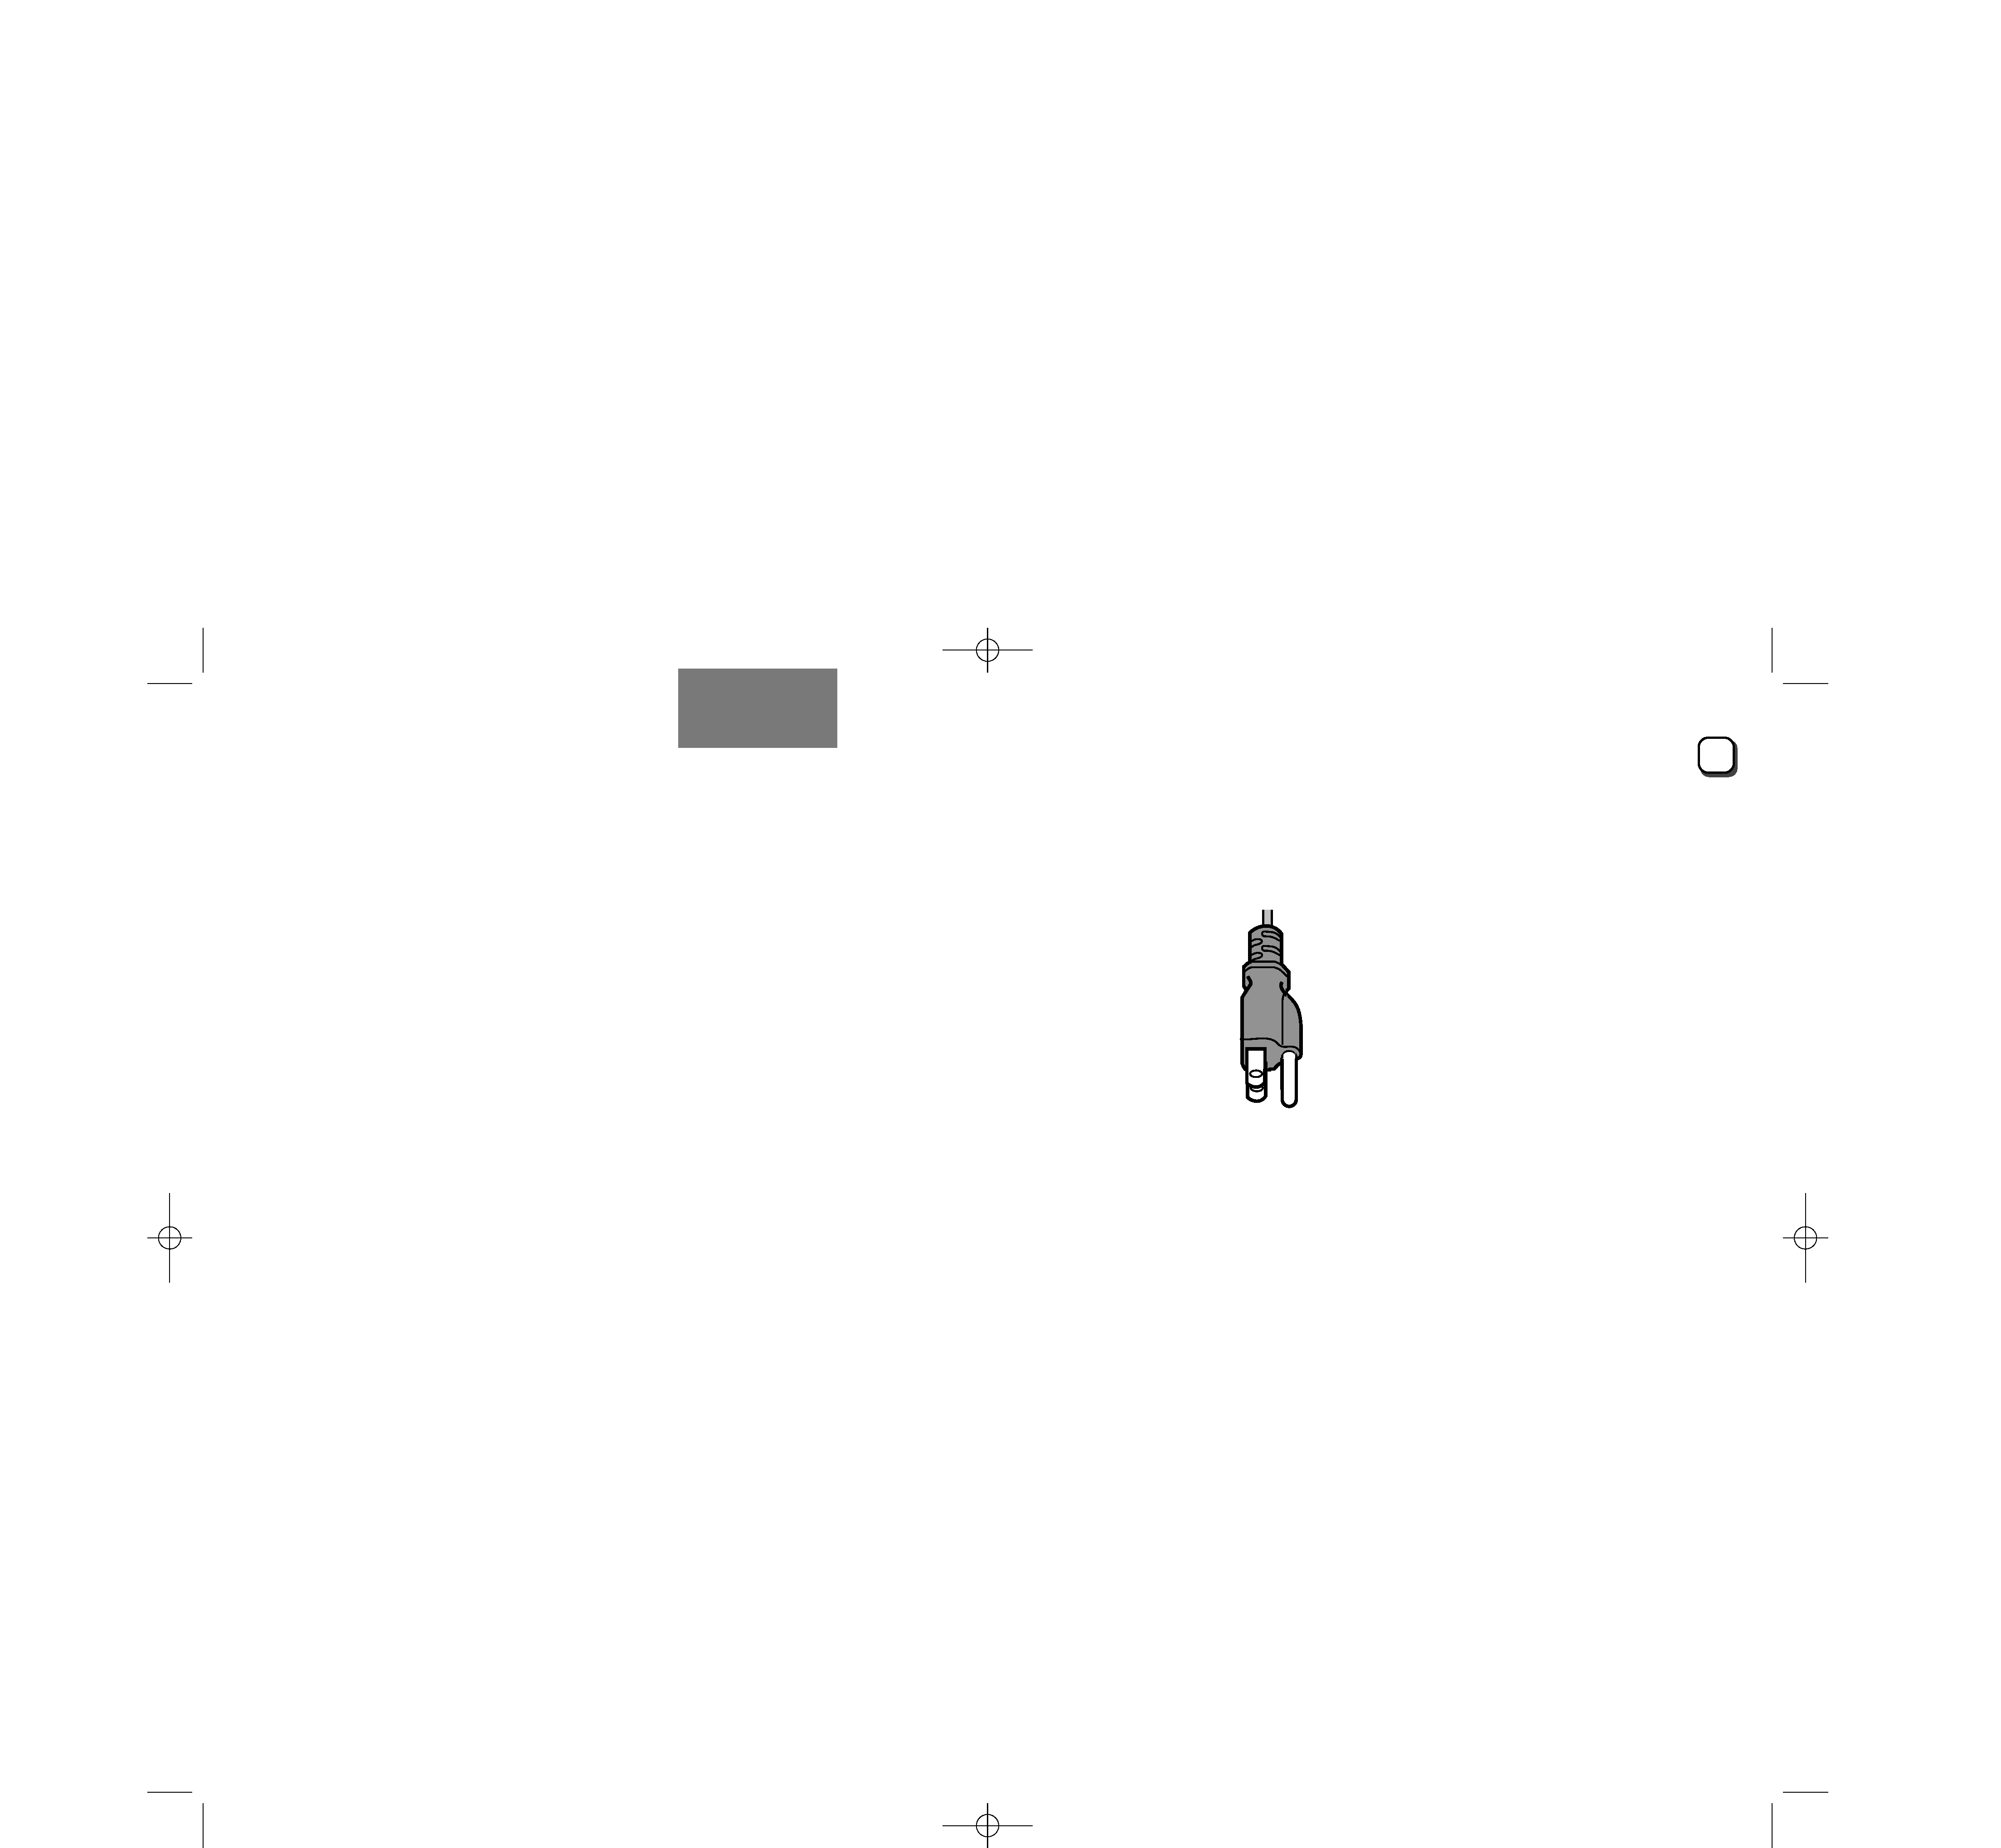
Use only the accessory cord designed for this prod-
uct to prevent shock.
The power supply voltage rating of this product is AC
100120V, the power cord attached conforms to the
following power supply voltage. Use only the power
cord designated by our dealer to ensure Safety and
EMC.
When it is used by other power supply voltage,
power cable must be changed.
Consult your product dealer.
Power cord
Power supply voltage: AC 100120V
LX-D700U/E.Q33E
6/3/98 3:48 PM
Page 3
4
LX-D700U/E.Q33E
6/3/98 3:48 PM
Page 4
5
English
CONTENTS
SAFETY PRECAUTIONS . . . . . . . . . . . . . . .2
Precautions Against Safe and Proper Use . . .6
Names of Component Parts and Sections . . .7
Remote Control Unit . . . . . . . . . . . . . . . . . . . . . . .10
Connecting . . . . . . . . . . . . . . . . . . . . . . . .12
Risizing Display . . . . . . . . . . . . . . . . . . . . . . . . . . .13
Connecting to a Personal Computer . . . . . . . . . . .15
Connection to AV Unit . . . . . . . . . . . . . . . . . . . . . .17
Connecting Other Components . . . . . . . . . . . . . . .17
Installation . . . . . . . . . . . . . . . . . . . . . . . . .18
Projection Distance and Screen Size . . . . . . . . . . .18
Adjustment on the height and tilt of the screen . . .19
Connection of Power Cord . . . . . . . . . . . .20
Warning Indication by Indicators . . . . . . . . . . . . . .20
Light-ON and Light-OFF
of Illumination Lamp . . . . . . . . . . . . . . .21
Main Unit and Remote Control Unit . . . . .22
Buttons Provided On Main Unit . . . . . . . . . . . . . . .22
Buttons Provided On Remote Control Unit . . . . . . .22
System of ON-Screen Menu . . . . . . . . . . .23
Setting Method Through ON-Screen . . . . .24
On-Screen Menu Display . . . . . . . . . . . . . . . . . . . .24
Operation of On-screen Menu and Notes . . . . . . . .24
[COMPUTER] Menu . . . . . . . . . . . . . . . . . . . . . . .25
[VIDEO] Menu . . . . . . . . . . . . . . . . . . . . . . . . . . . .26
[AUDIO] Menu . . . . . . . . . . . . . . . . . . . . . . . . . . . .26
[OPTION] Menu . . . . . . . . . . . . . . . . . . . . . . . . . .27
[SPECIAL] Menu . . . . . . . . . . . . . . . . . . . . . . . . . .28
Have Fun With Special Modes . . . . . . . . . .29
Zoom Mode . . . . . . . . . . . . . . . . . . . . . . . . . . . . . .29
Preview Mode . . . . . . . . . . . . . . . . . . . . . . . . . . . .29
Strobe Mode . . . . . . . . . . . . . . . . . . . . . . . . . . . . .29
Replacing Illumination Lamp . . . . . . . . . .30
Replacing Air Filter . . . . . . . . . . . . . . . . . .31
Troubleshooting . . . . . . . . . . . . . . . . . . . . .32
Self-diagnosis by Indicators . . . . . . . . . . . . . . . . . .32
Specifications . . . . . . . . . . . . . . . . . . . . . .33
External Dimensions . . . . . . . . . . . . . . . . . . . . . . .34
LX-D700U/E.Q33E
6/3/98 3:48 PM
Page 5
6
PRECAUTIONS FOR SAFE AND
PROPER USE
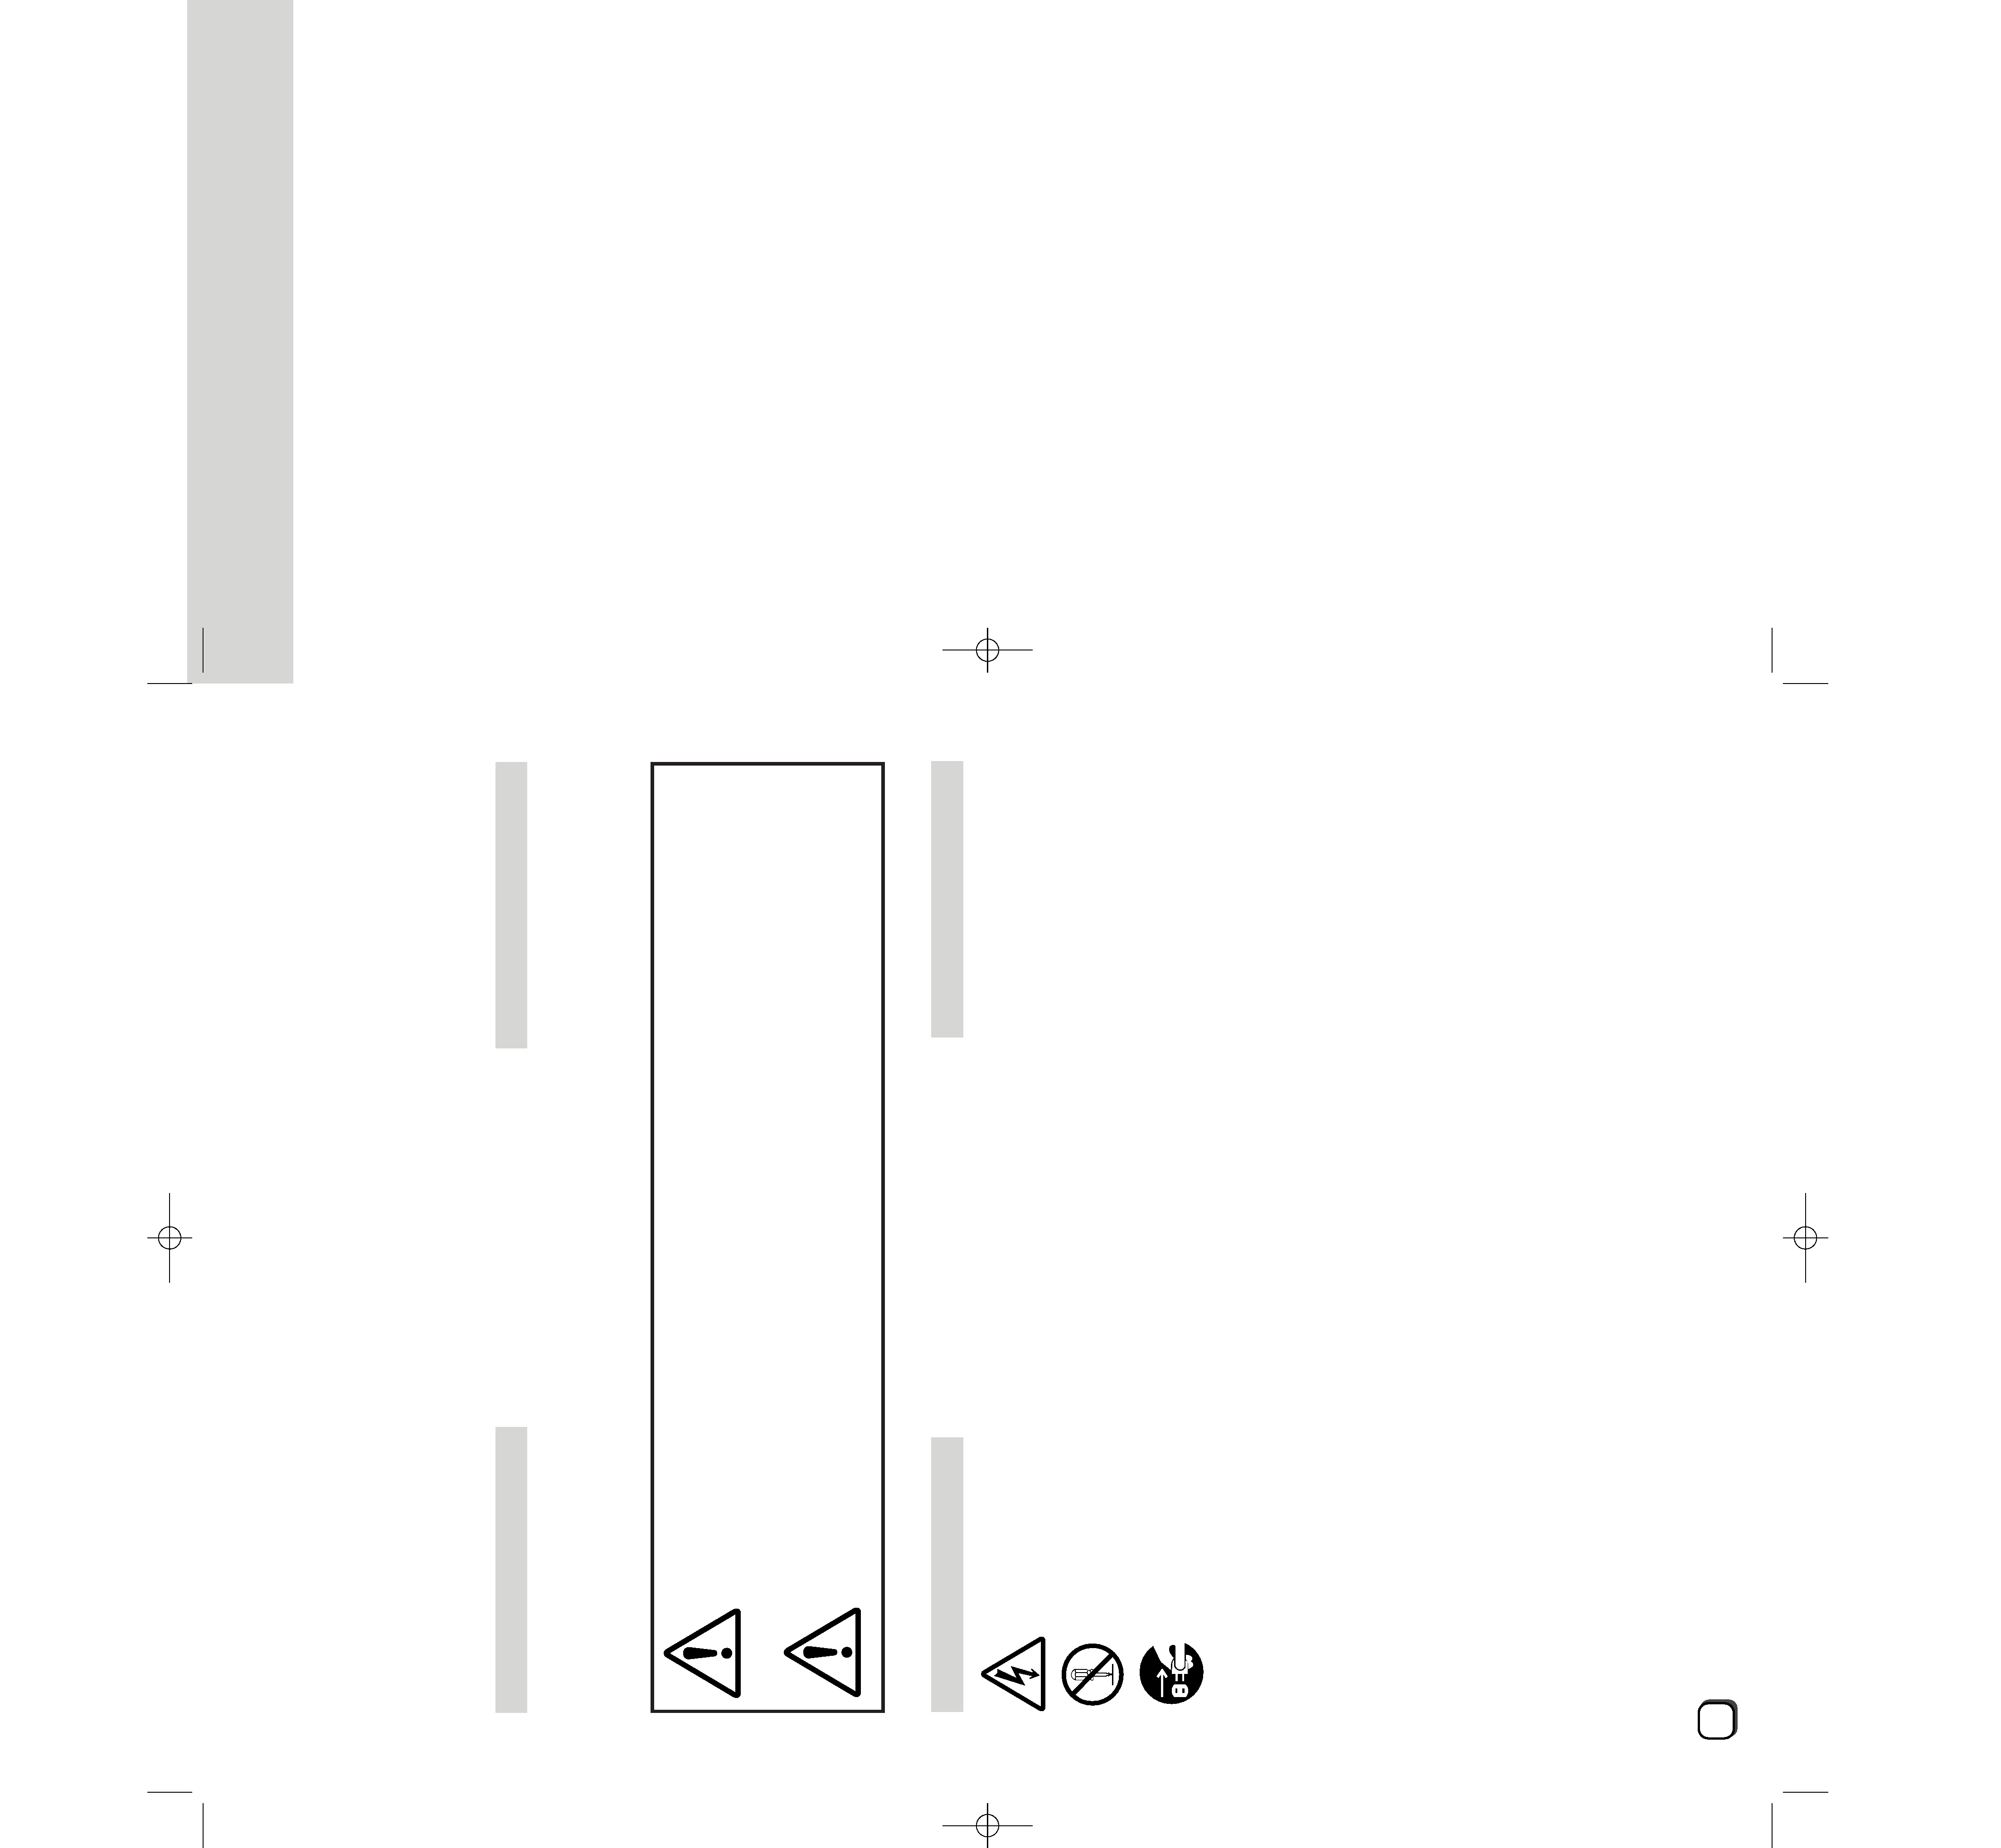
Regarding Symbol Indications
Numerous symbols are employed as indication in the precautions for safety, precautions for handling, and in the indi-
cation to the products. These are designed to prevent in advance any possible infliction of injury on you and other
individuals and the damage of properties through the proper use of the product. The symbols and meanings are
shown below. Grasp the contents of the symbols completely before reading this manual.
WARNING
This represents the contents in which the probabilities for death or serious
injury are assumed if this symbol indication is ignored and the product is
erroneously handled.
CAUTION
This represents the contents in which the probabilities for injury to be inflict-
ed are assumed and the contents in which material damages to be sustained
are assumed if this symbol indication is ignored and the product is erro-
neously handled.
Examples of Symbol Indications
This symbol informs you of the presence of the contents that demands caution (including danger and
warning). Specifically prohibited contents (caution against electric shock in case of the left symbol) are
illustrated in the symbol.
This symbol informs you of prohibited actions. Specifically prohibited contents (prohibition of disas-
sembly in case of the left symbol) are illustrated in the symbol and its vicinity.
This symbol informs you of the contents that forces you to take some action or gives you some guide-
lines or instructions. Specific contents of instructions (unplug the power cord from the outlet in case of
the left symbol) are illustrated.
LX-D700U/E.Q33E
6/3/98 3:48 PM
Page 6
7
English
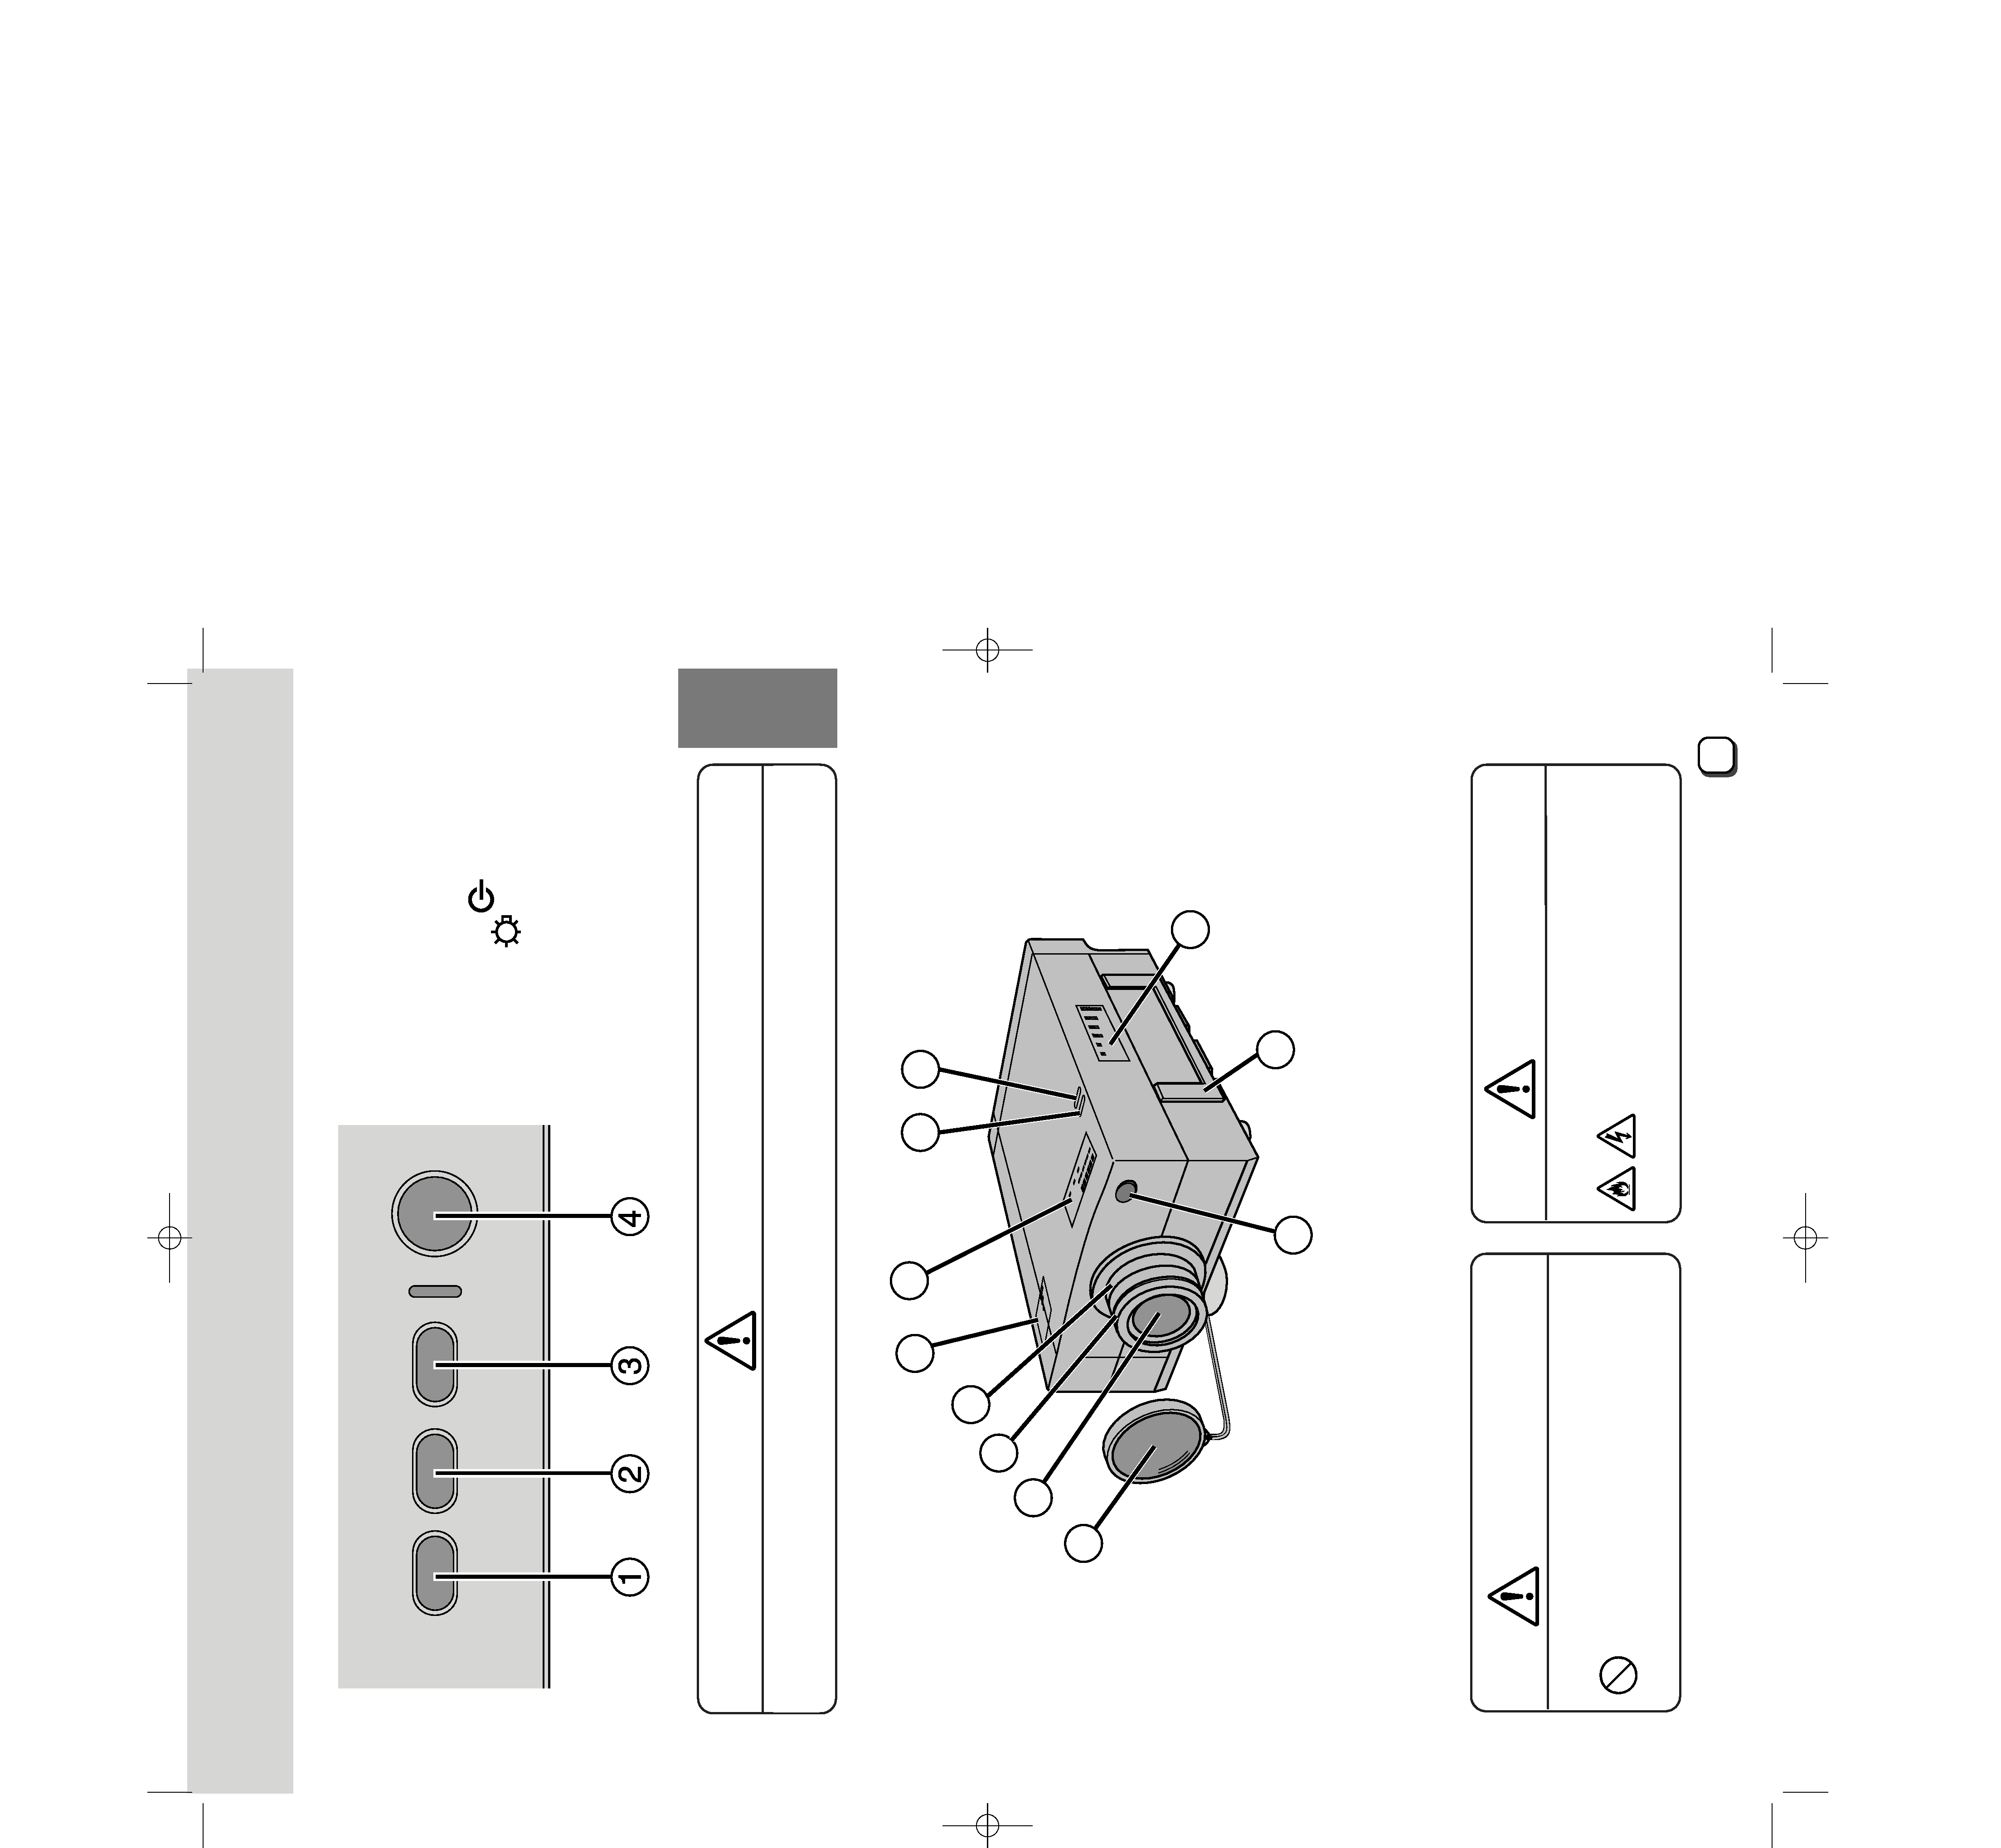
1 AUTO button
2 VIDEO button
3 COMPUTER button
4 OPERATE button
5 Left speaker
6 Right speaker
7 Operation Indicator
8 Lamp Indicator
9 Lens
0 Lens Focusing Ring (front)
- Lens Zoom Adjusting Ring (rear)
= Lens Cap
~ Remote Control Signal Receiver
Names of Component Parts and Sections
AUTO
VIDEO
COMPUTER
OPERATE
10
12
9
11
6
5
7
8
14
15
13
WARNING
Do not look into the projection lens while an illumination lamp is turned on.
Exposure of your eyes to the strong light can result in impaired eyesight.
CAUTION
To carry the unit, hold this handle. Do not
hold the lens section to lift the unit.
Otherwise, the damage of the unit and
injury can result.
@ Vents
! Handle
Lift it to carry the unit.
CAUTION
Do not insert foreign objects such as
metals and inflammables into the
vents. Do not block them with any
obstacles. Otherwise, fire and electric
shock can result.
LX-D700U/E.Q33E
6/3/98 3:48 PM
Page 7