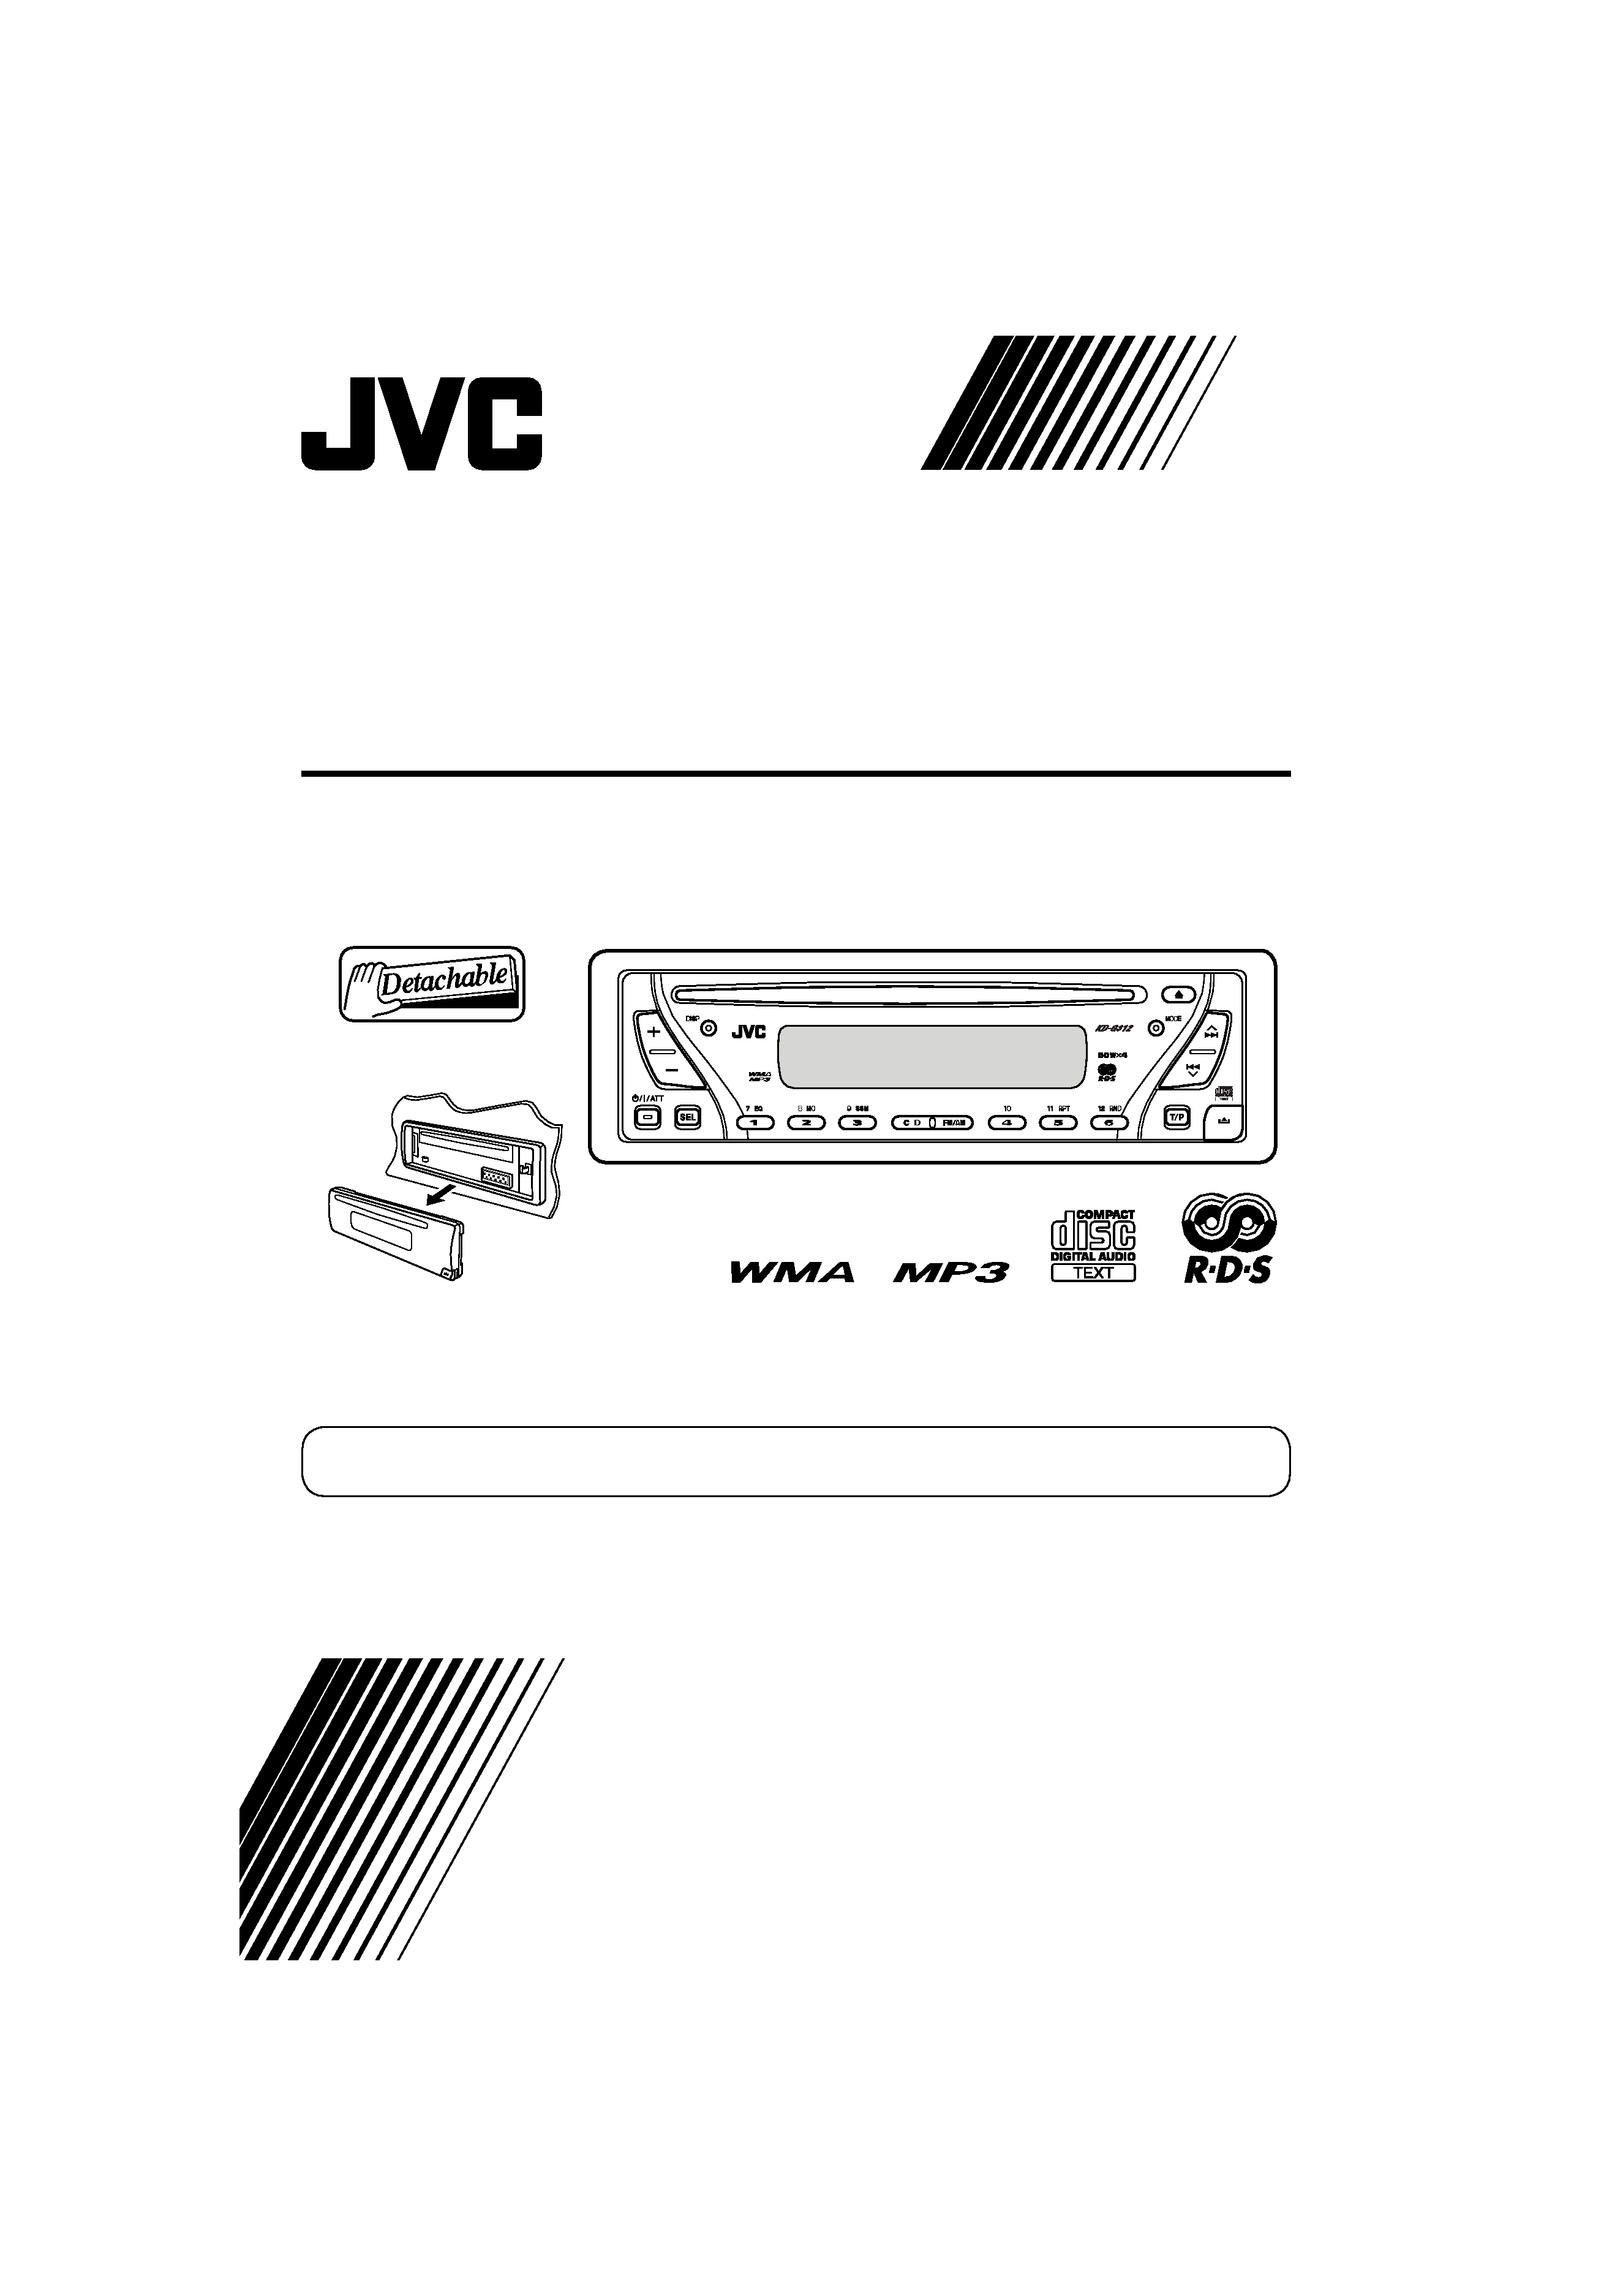
CD RECEIVER
KD-G312
INSTRUCTIONS
GET0260-015A
[B]
For canceling the display demonstration, see page 7.
Cover_KD-G312[B]f.indd 2
Cover_KD-G312[B]f.indd 2
6/7/05 5:42:20 PM
6/7/05 5:42:20 PM
2
Thank you for purchasing a JVC product.
Please read all instructions carefully before operation, to ensure your complete understanding and to
obtain the best possible performance from the unit.
IMPORTANT FOR LASER PRODUCTS
1. CLASS 1 LASER PRODUCT
2. CAUTION: Do not open the top cover. There are no user serviceable parts inside the unit; leave
all servicing to qualified service personnel.
3. CAUTION: Visible and invisible laser radiation when open and interlock failed or defeated.
Avoid direct exposure to beam.
4. REPRODUCTION OF LABEL: CAUTION LABEL, PLACED OUTSIDE THE UNIT.
Warning:
If you need to operate the unit while driving,
be sure to look ahead carefully or you may
be involved in a traffic accident.
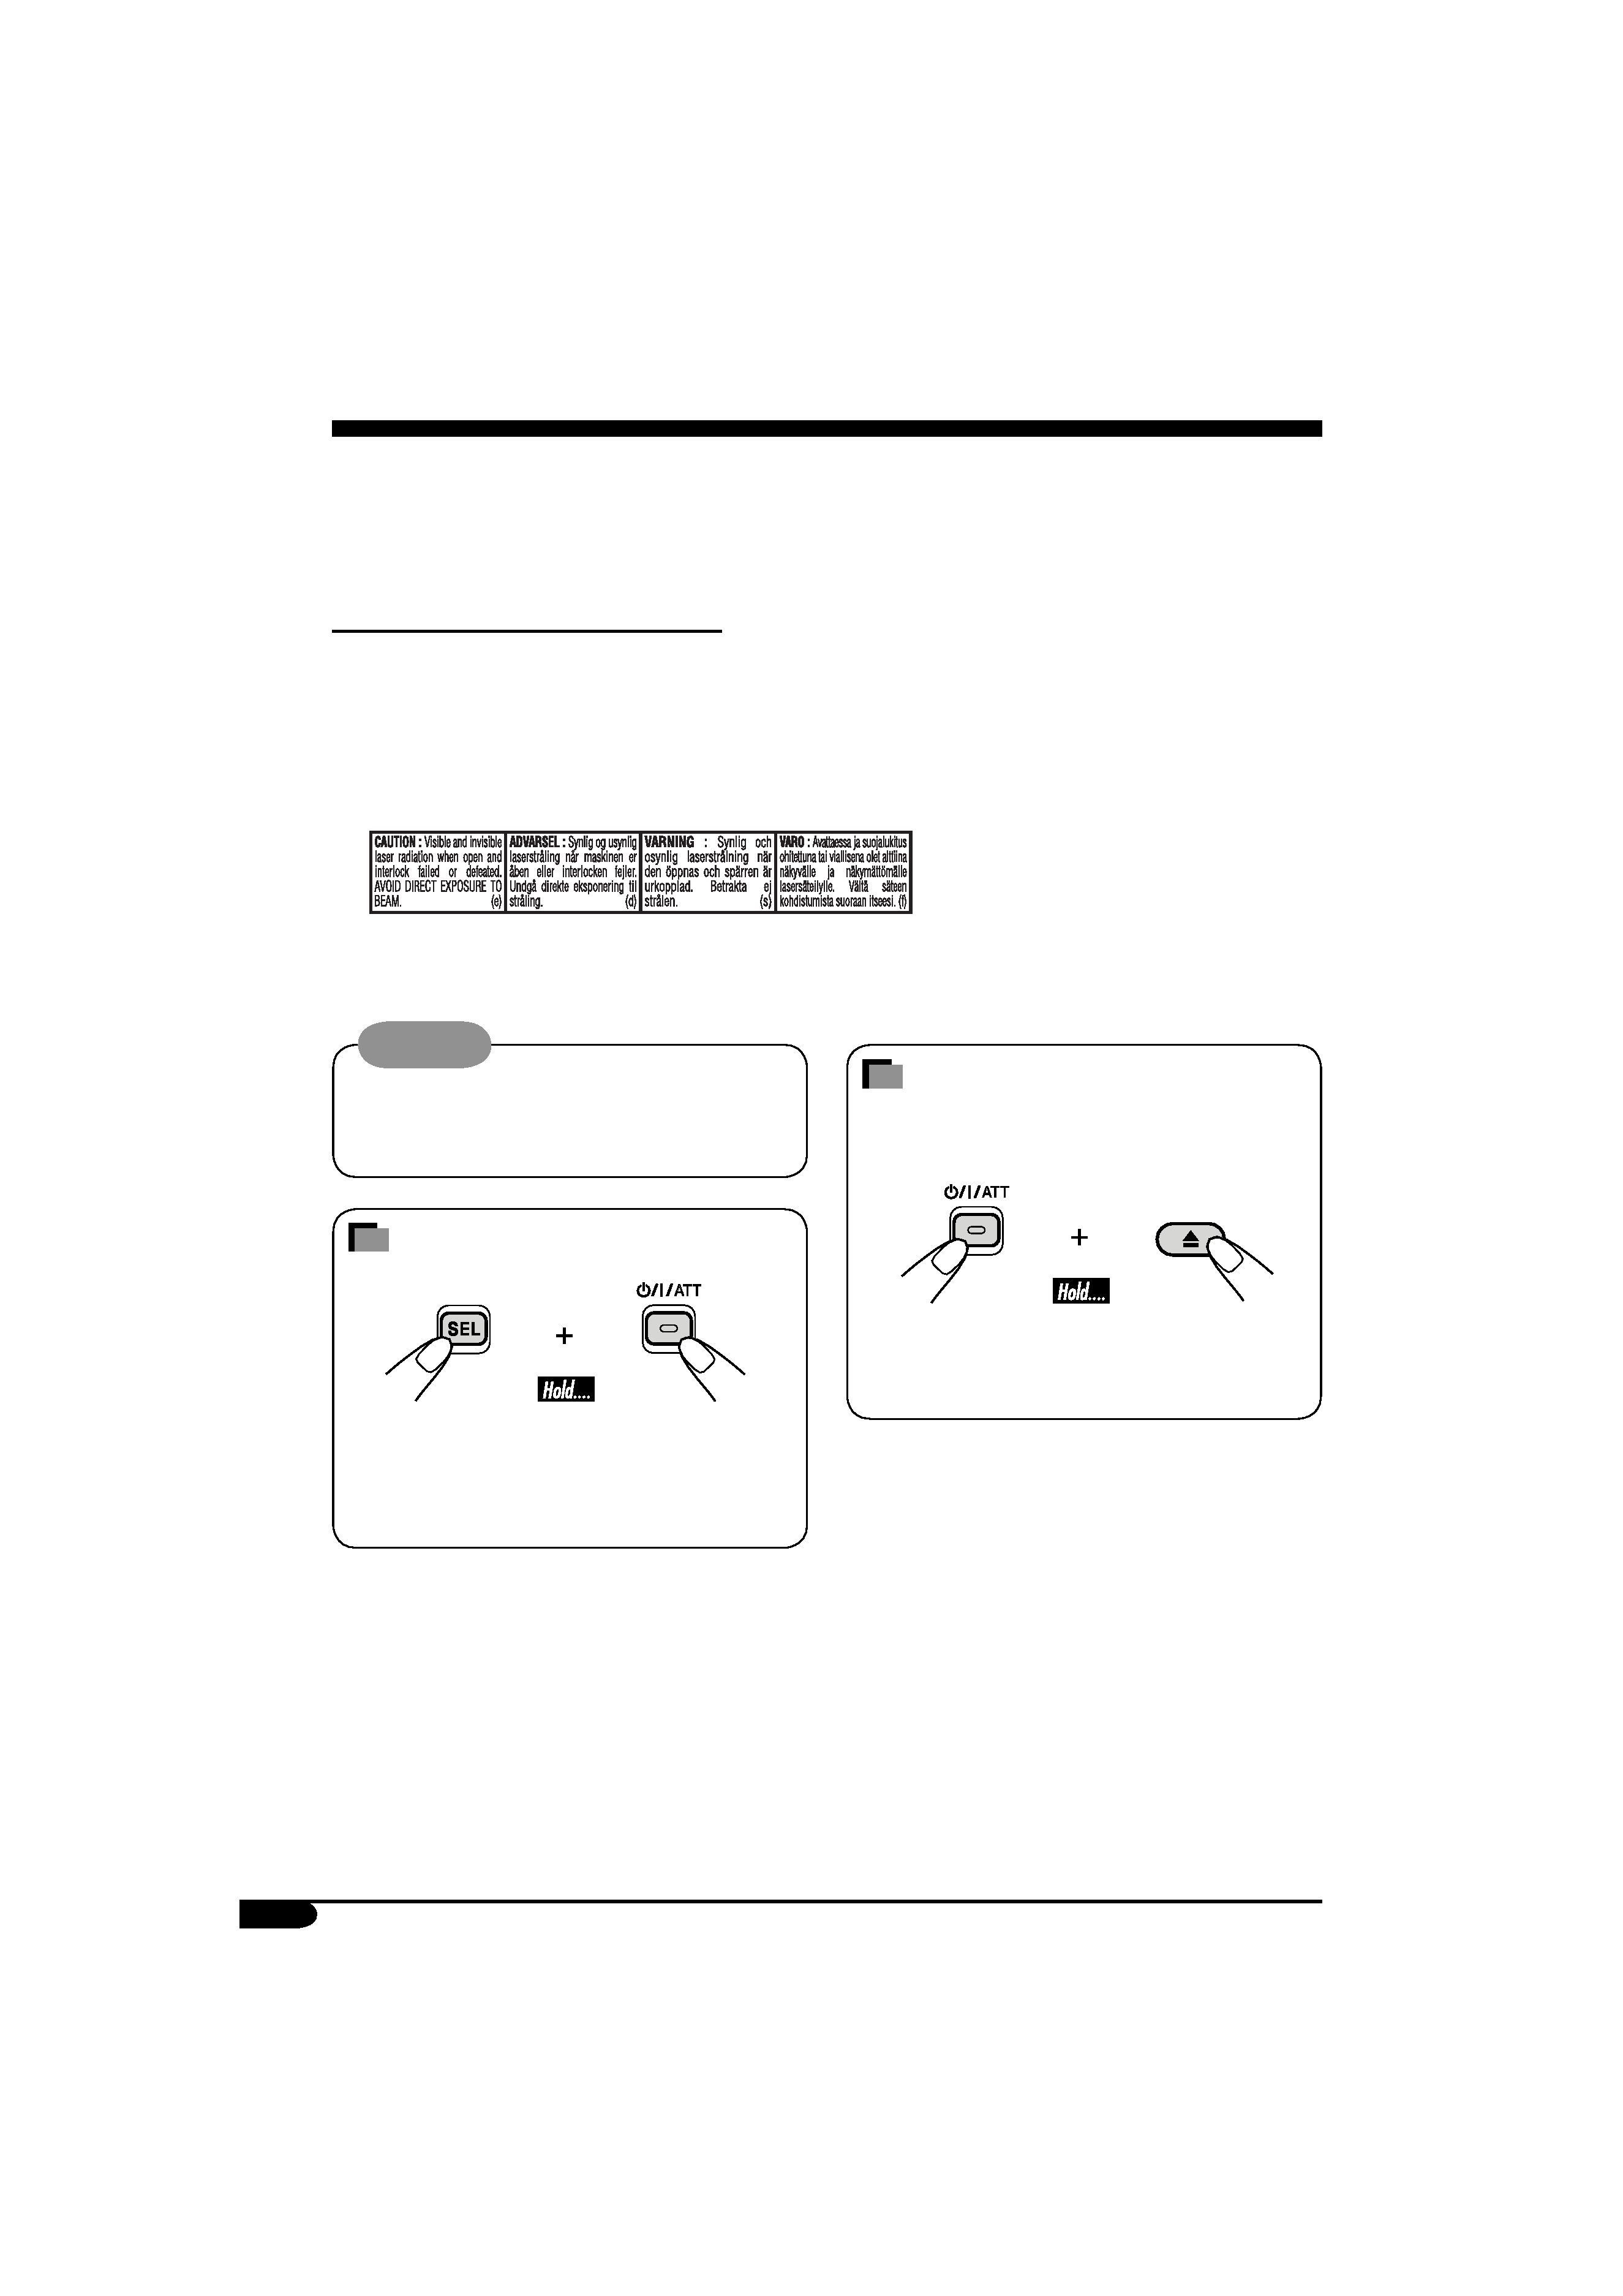
How to reset your unit
· This will reset the microcomputer. Your
preset adjustments will also be erased.
· If a disc is loaded, it will eject. Be careful
not to drop the disc.
How to forcibly eject a disc
If a disc cannot be recognized by the unit or
cannot be ejected, ejects the disc as follows.
· If this does not work, try to reset your unit.
· Be careful not to drop the disc when it
ejects.
For security reasons, a numbered ID card is provided with this unit, and the same ID number is
imprinted on the unit's chassis. Keep the card in a safe place, as it will help the authorities to
identify your unit if stolen.
EN02-05_KD-G312[B]f.indd 2
EN02-05_KD-G312[B]f.indd 2
6/7/05 5:43:05 PM
6/7/05 5:43:05 PM

3
How to reset your unit ...........................
2
How to forcibly eject a disc ...................
2
How to read this manual ........................
4
How to use the MODE button ...............
4
How to detach/attach the control
panel...................................................
4
Control panel -- KD-G312 ......... 5
Parts identification .................................
5
Getting started....................... 6
Basic operations
........................... 6
Canceling the display demonstrations ...
7
Setting the clock ....................................
7
Radio operations ................... 8
Listening to the radio...........................
8
Storing stations in memory....................
8
Listening to a preset station ...................
9
FM RDS operations................. 10
Searching for your favorite FM RDS
programme ....................................... 10
Storing your favorite programmes......... 10
Using the standby receptions ................. 11
Tracking the same programme
--Network-Tracking Reception ........ 11
Disc operations ...................... 12
Playing a disc ..................................... 12
Changing the display information ......... 13
Selecting the playback modes................ 14
Sound adjustments ................ 15
Selecting preset sound modes
(C-EQ: custom equalizer) .................. 15
Adjusting the sound ............................... 15
General settings -- PSM ......... 16
Basic procedure ..................................... 16
Using the remote controller
-- RM-RK60............................ 18
Main elements and features ................... 18
Maintenance .......................... 19
More about this unit............... 20
Troubleshooting ..................... 22
Specifications ......................... 23
For safety....
· Do not raise the volume level too much, as
this will block outside sounds, making driving
dangerous.
· Stop the car before performing any
complicated operations.
Contents
Temperature inside the car....
If you have parked the car for a long time in
hot or cold weather, wait until the temperature
in the car becomes normal before operating the
unit.
EN02-05_KD-G312[B]f.indd 3
EN02-05_KD-G312[B]f.indd 3
6/7/05 5:43:06 PM
6/7/05 5:43:06 PM
4
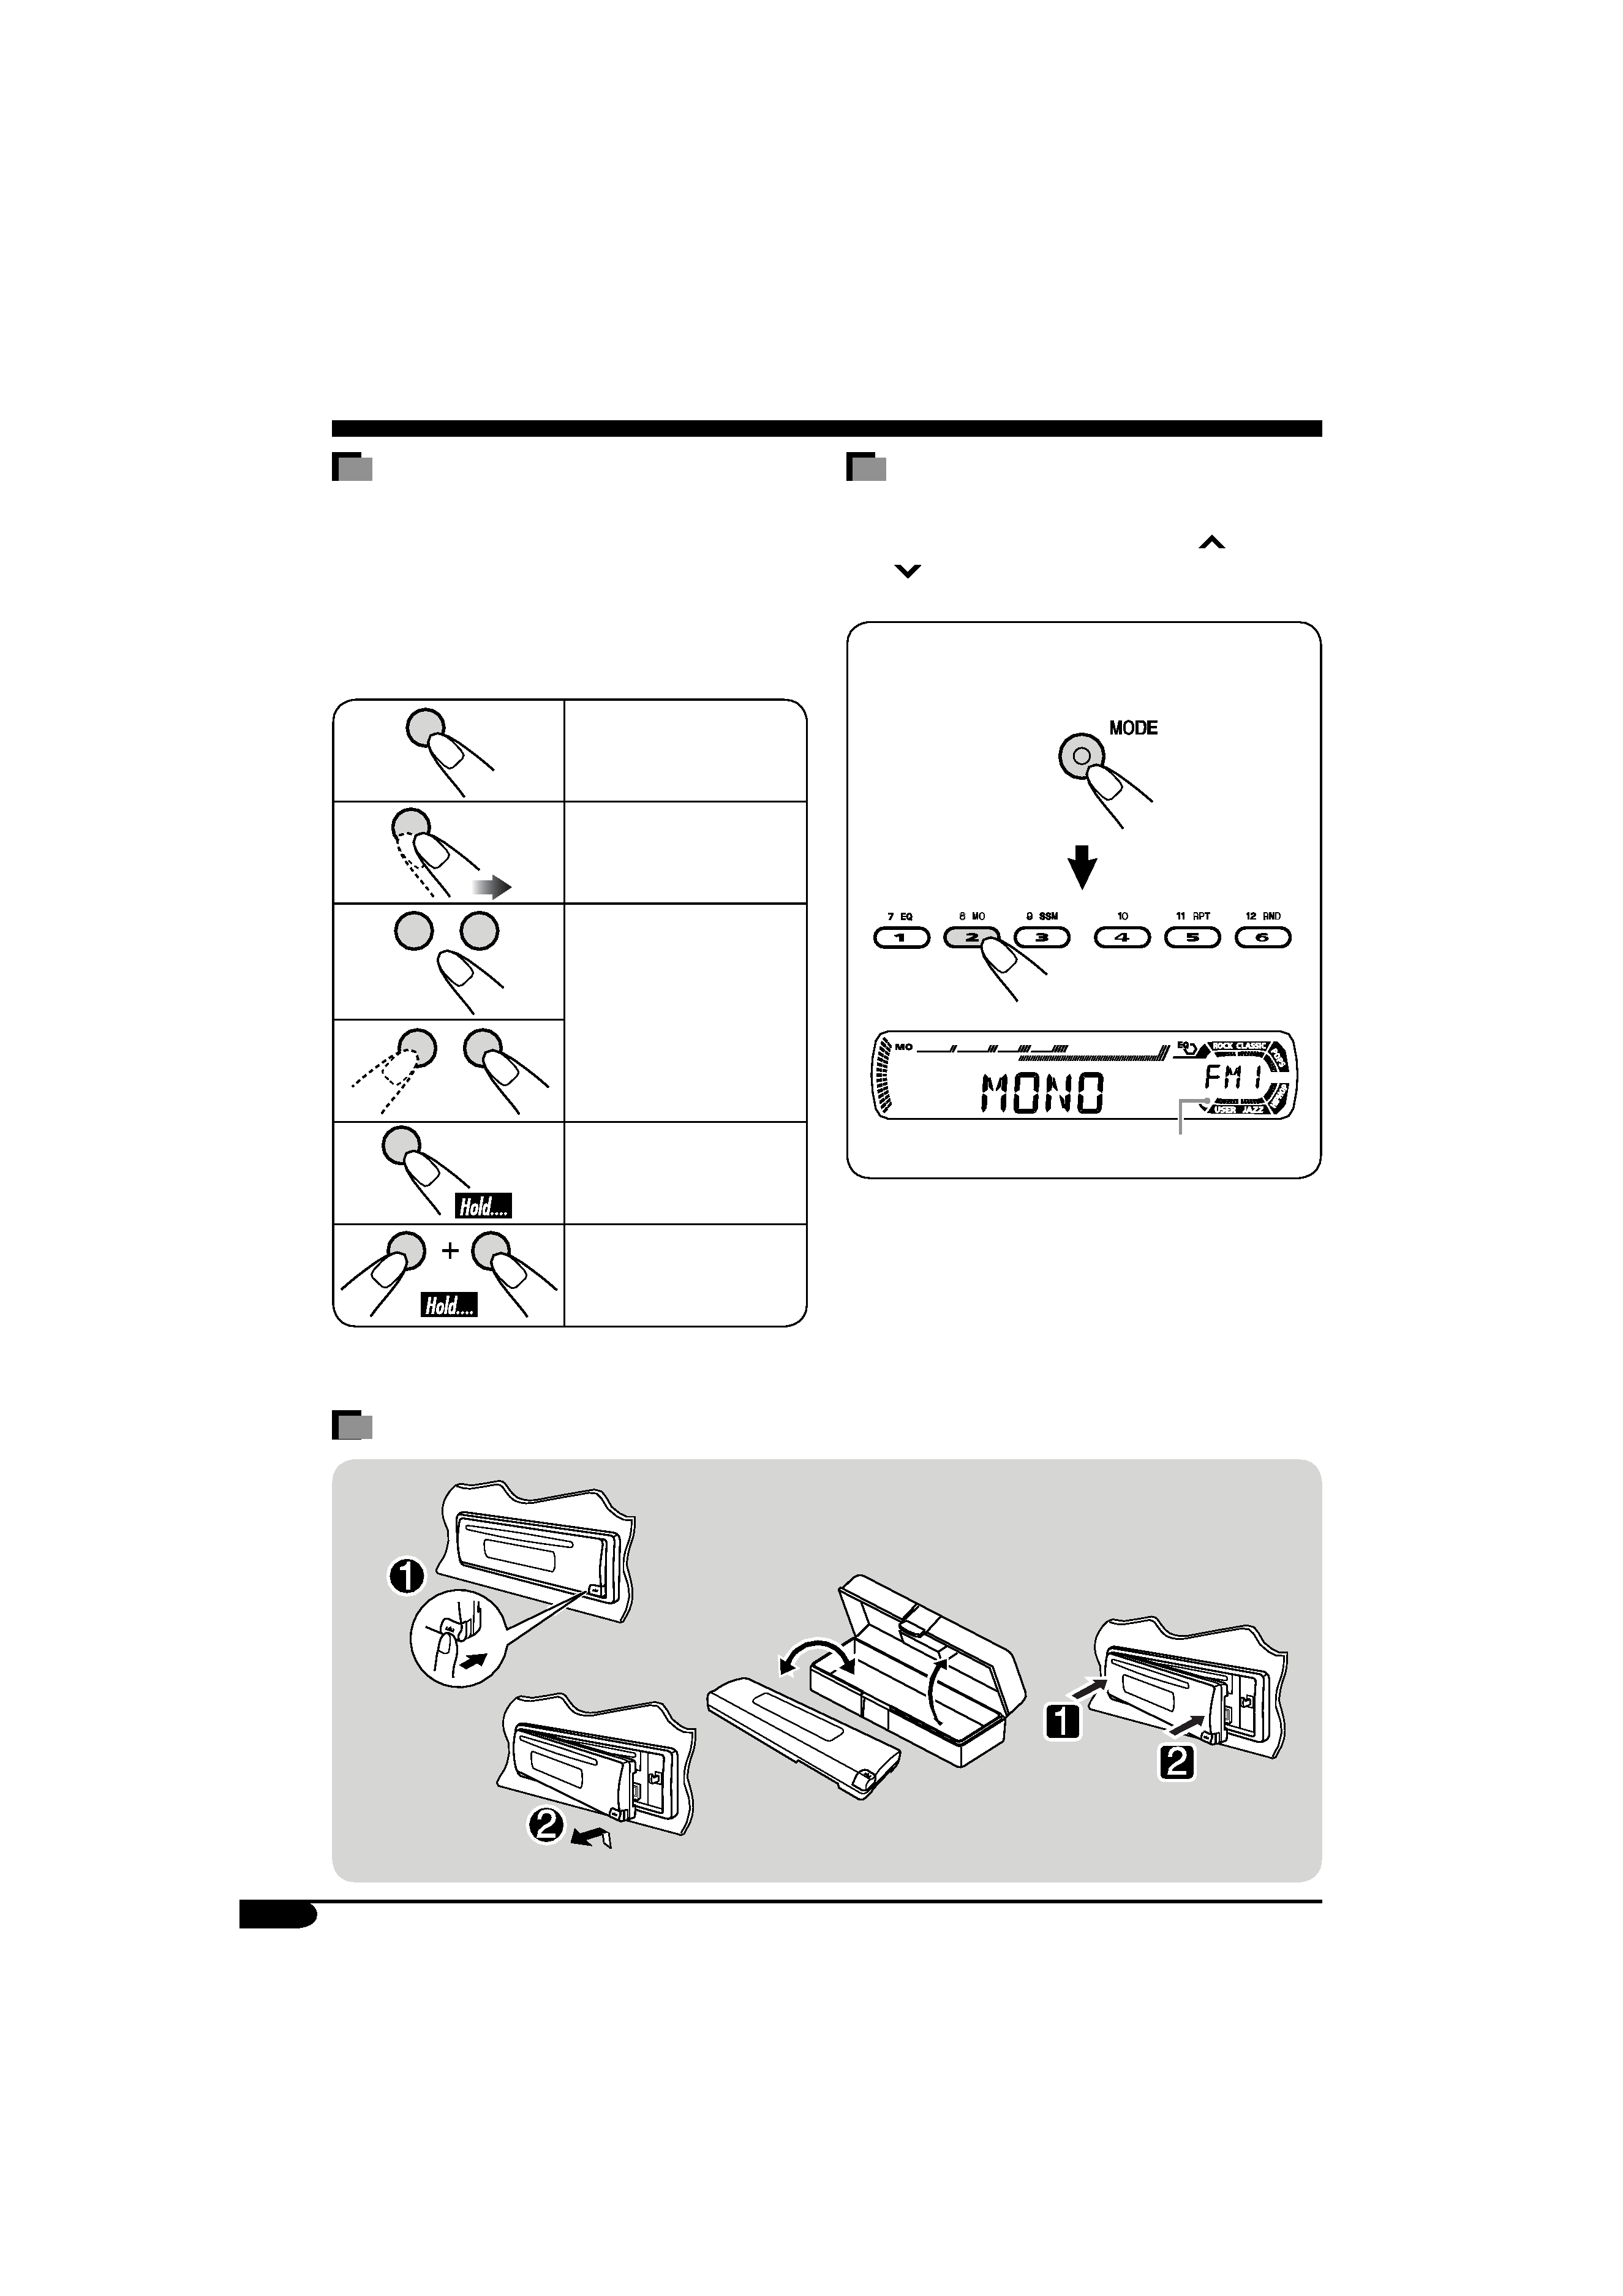
How to read this manual
The following methods are used to make the
explanations simple and easy-to-understand:
· Some related tips and notes are explained in
"More about this unit" (see page 20).
· Button operations are mainly explained with
the illustrations as follows:
Press briefly.
Press repeatedly.
Press either one.
Press and hold until
your desired response
begins.
Press and hold both
buttons at the same
time.
How to use the MODE button
If you press MODE, the unit goes into functions
mode, then the number buttons and
¢/
4
buttons work as different function
buttons.
Ex.: When number button 2 works as
MO (monaural) button.
Time countdown indicator
To use these buttons for original functions
again after pressing MODE, wait for
5 seconds without pressing any of these buttons
until the functions mode is cleared.
· Pressing MODE again also clears the
functions mode.
How to detach/attach the control panel
Detaching....
Attaching....
EN02-05_KD-G312[B]f.indd 4
EN02-05_KD-G312[B]f.indd 4
6/22/05 8:56:41 AM
6/22/05 8:56:41 AM
5
Control panel -- KD-G312
Parts identification
1 +/ buttons
2 DISP (display) button
3 Loading slot
4 Display window
5 MODE button
6
0 (eject) button
7
¢/4
buttons
8
(standby/on/attenuator) button
9 SEL (select) button
p Remote sensor
· You can control this unit with an
optionally purchased remote controller.
· DO NOT expose the remote sensor to
strong light (direct sunlight or artificial
lighting).
q EQ (equalizer) button
w MO (monaural) button
e SSM (Strong-station Sequential Memory)
button
r CD button
t FM/AM button
y RPT (repeat) button
u RND (random) button
i T/P (traffic programme/programme type)
button
o
(control panel release) button
; Number buttons
Display window
a Tuner reception indicators--MO (monaural),
ST (stereo)
s WMA indicator
d RDS indicators--TP, PTY, AF, REG
f MP3 indicator
g CD indicator
h Playback mode / item indicators--
RND (random),
(disc),
(folder),
RPT (repeat)
j LOUD (loudness) indicator
k EQ (equalizer) indicator
l Sound mode (C-EQ: custom equalizer)
indicators--ROCK, CLASSIC, POPS,
HIP HOP, JAZZ, USER
·
also works as the time countdown
indicator.
/ Disc information indicators--TAG (ID3
Tag),
(folder),
(track/file)
z Main display
x Source display / Volume level indicator
c Tr (track) indicator
Display window
EN02-05_KD-G312[B]f.indd 5
EN02-05_KD-G312[B]f.indd 5
6/7/05 5:43:07 PM
6/7/05 5:43:07 PM