LVT1171-001A
[J]
INSTRUCTIONS
MANUAL DE INSTRUCCIONES
MANUEL D'INSTRUCTIONS
For customer Use:
Enter below the Model No. and Serial
No. which are located on the top or
bottom of the cabinet. Retain this
information for future reference.
Model No.
Serial No.
For installation and connections, refer to the separate manual.
Para la instalación y las conexiones, refiérase al manual separado.
Pour l'installation et les raccordements, se référer au manuel séparé.
ENGLISH
Detachable
ESP
AÑOL
FRANÇAIS
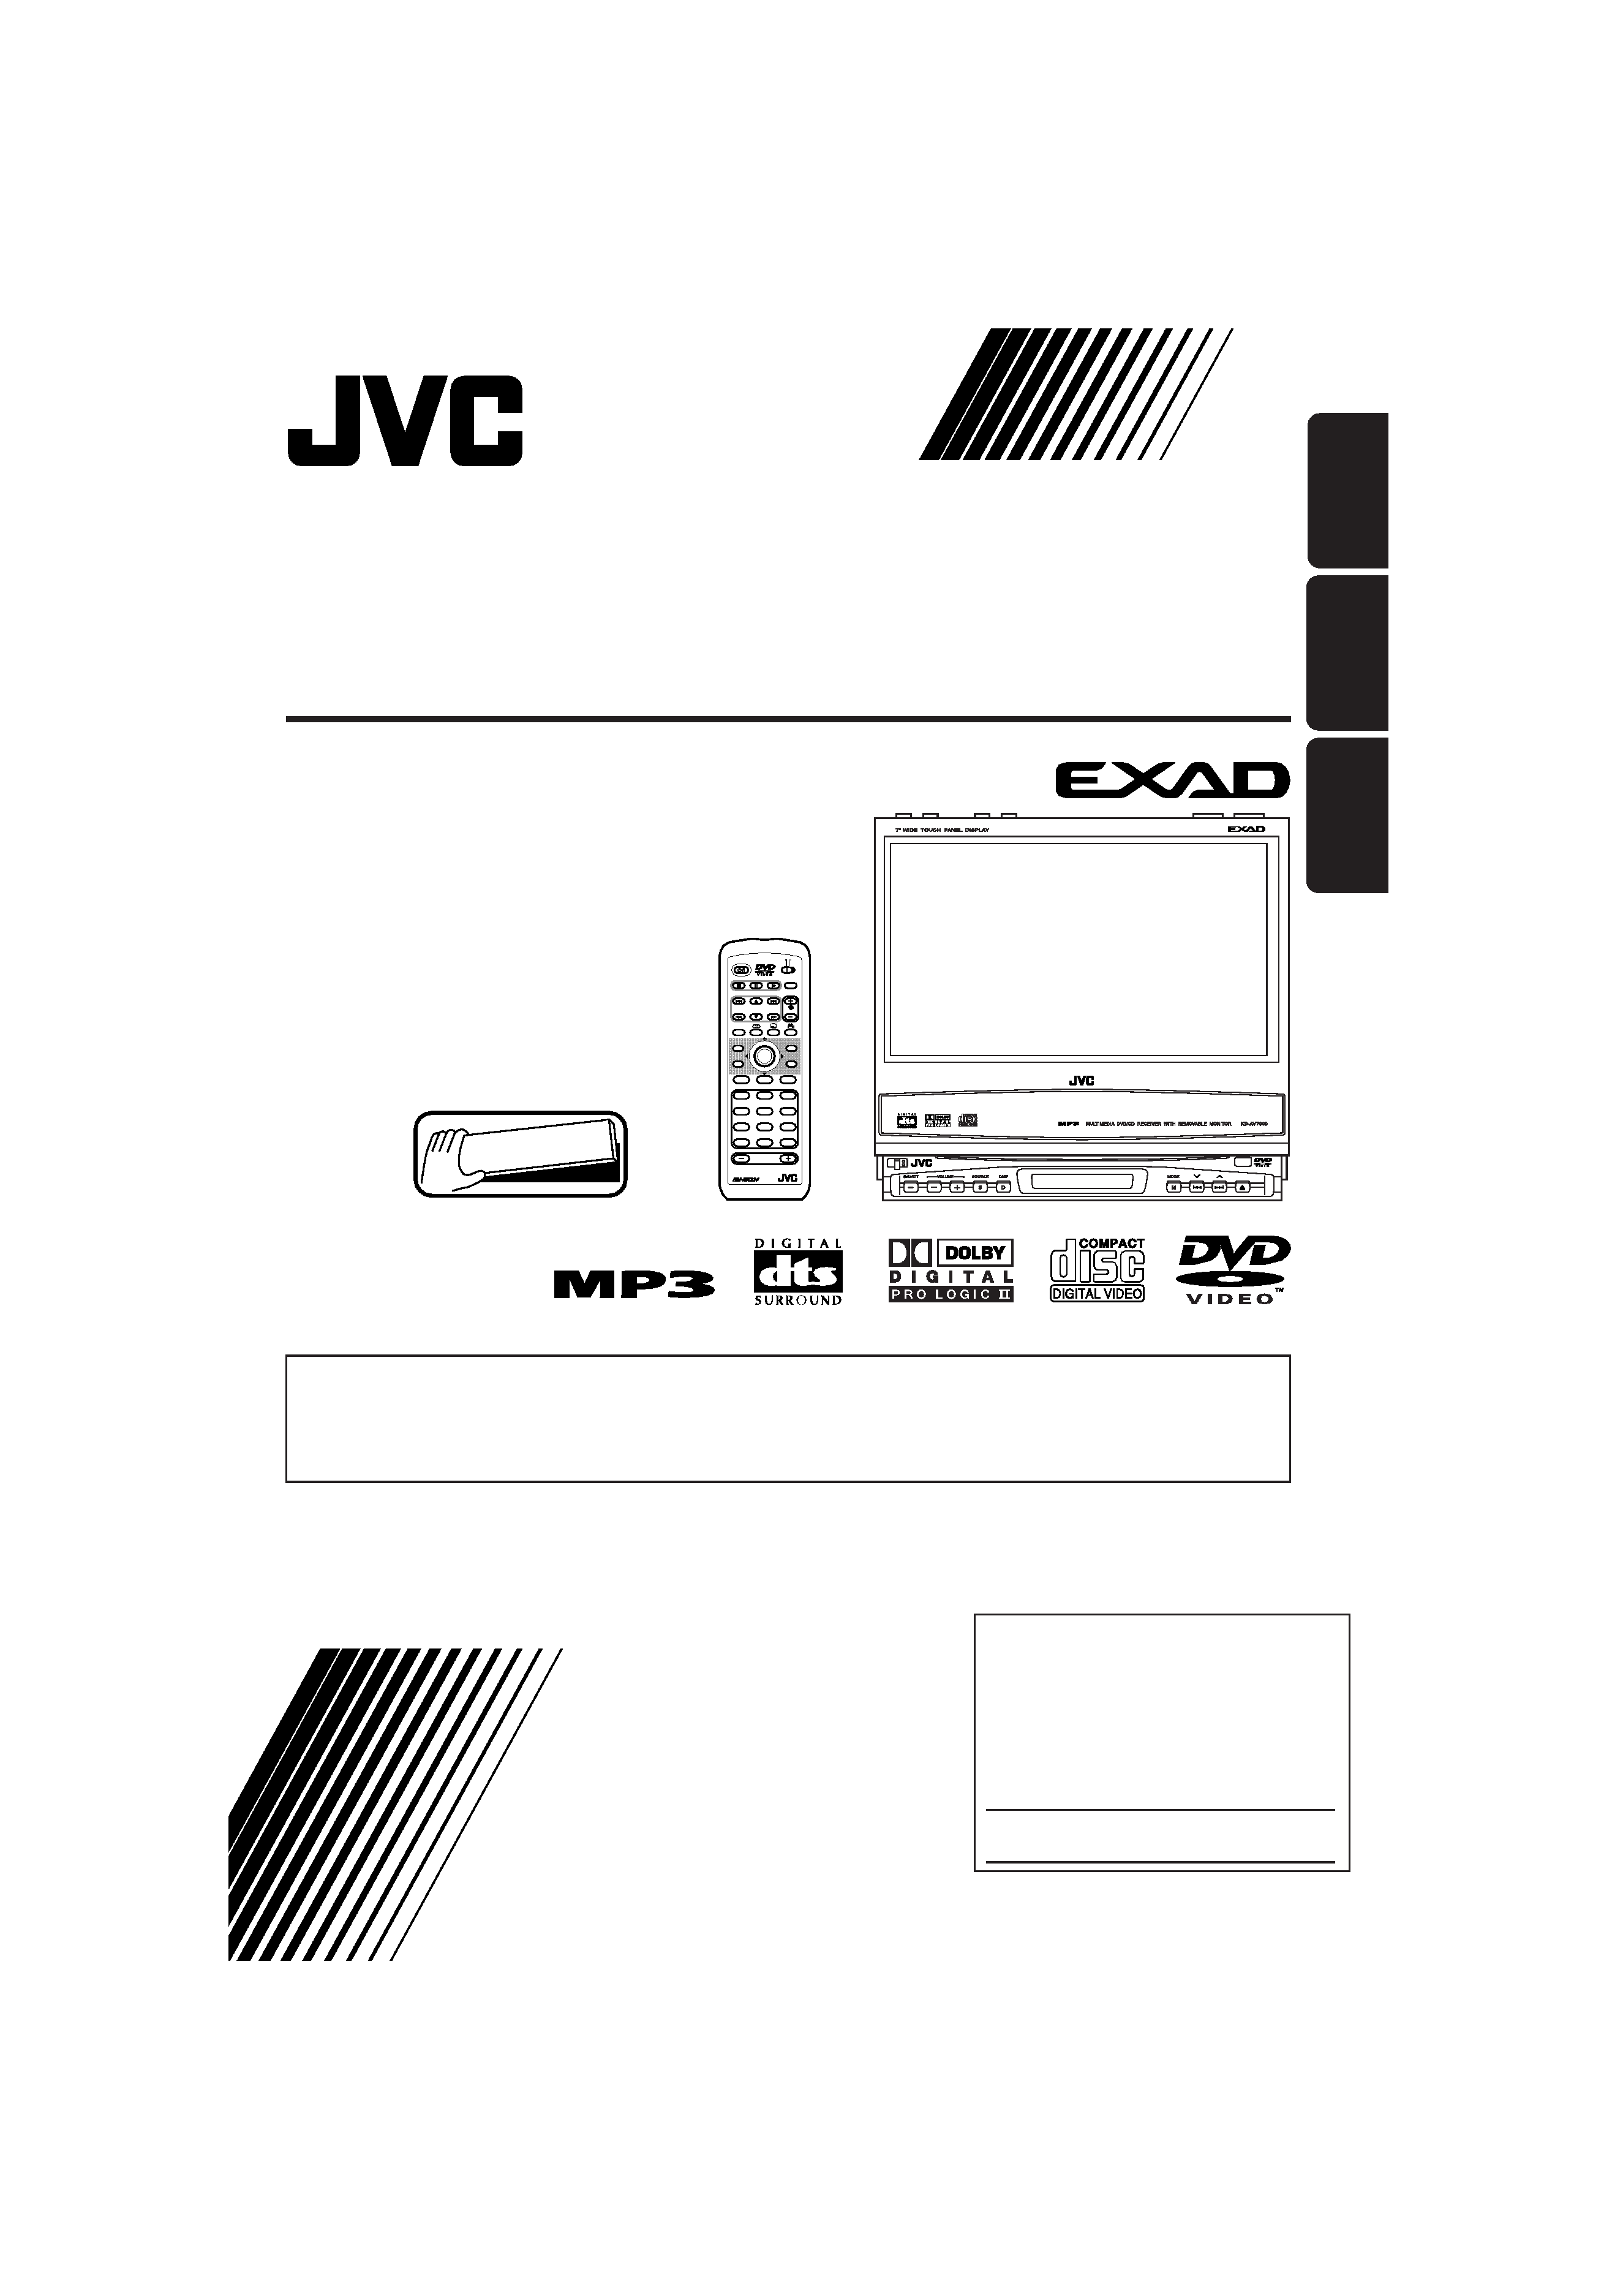
DVD RECEIVER WITH MONITOR
RECEPTOR DVD CON MONITOR
RECEPTEUR DVD ET MONITEUR
KD-AV7000
ATT
MAIN
SUB
ZOOM
ASPECT
MENU
VOLUME
TOPMENU
TUNER
56
4
23
1
8
9
7
11/012/+10
10
DISC
OK
AV
GUI
SET UP
RETURN
DUAL
AVOUT VOL
· This unit is equipped with the display demonstration. To cancel it, see page 14.
· Esta unidad está equipada con demostración en la pantalla. Para cancelarla, consulte la página 14.
· Cet appareil est équipé d'une fonction de démonstration des affichages. Pour l'annuler, référez-
vous à la page 14.
Cover_KD-AV7000[J]f.p65
9/28/04, 7:24 PM
3

2
ENGLISH
INFORMATION (For U.S.A.)
This equipment has been tested and found to comply with the limits for a Class B digital
device, pursuant to Part 15 of the FCC Rules. These limits are designed to provide reasonable
protection against harmful interference in a residential installation. This equipment generates,
uses, and can radiate radio frequency energy and, if not installed and used in accordance with
the instructions, may cause harmful interference to radio communications. However, there is no
guarantee that interference will not occur in a particular installation. If this equipment does
cause harmful interference to radio or television reception, which can be determined by turning
the equipment off and on, the user is encouraged to try to correct the interference by one or
more of the following measures:
Reorient or relocate the receiving antenna.
Increase the separation between the equipment and receiver.
Connect the equipment into an outlet on a circuit different from that to which the receiver is
connected.
Consult the dealer or an experienced radio/TV technician for help.
After installing the unit, reset it before use
following the procedure below:
How to reset your unit
Detach the control panel (see page 77), then
press the reset button on the main unit using
a ball-point pen or a similar tool.
This will reset the built-in microcomputer.
Your preset adjustments--such as preset
channels or sound adjustments--will also be
erased.
· The monitor will go into its place if
opened.
IMPORTANT FOR LASER PRODUCTS
1. CLASS 1 LASER PRODUCT
2. CAUTION: Do not open the top cover.
There are no user serviceable parts inside
the unit; leave all servicing to qualified
service personnel.
3. CAUTION: Visible and invisible laser
radiation when open and interlock failed or
defeated. Avoid direct exposure to beam.
Thank you for purchasing a JVC product.
Please read all instructions carefully before operation, to ensure your complete understanding and
to obtain the best possible performance from the unit.
CAUTIONS:
· Do not insert any disc of unusual shape--
like a heart or flower; otherwise, it will
cause a malfunction.
· Do not expose discs to direct sunlight or
any heat source or place them in a place
subject to high temperature and humidity.
Do not leave them in a car.
For safety....
· Do not raise the volume level too much, as
this will block outside sounds, making
driving dangerous.
· Stop the car before performing any
complicated operations.
Temperature inside the car....
If you have parked the car for a long time in hot
or cold weather, wait until the temperature in
the car becomes normal before operating the
unit.
02-07_KD-AV7000[J]f.p65
9/28/04, 7:25 PM
2
3
ENGLISH
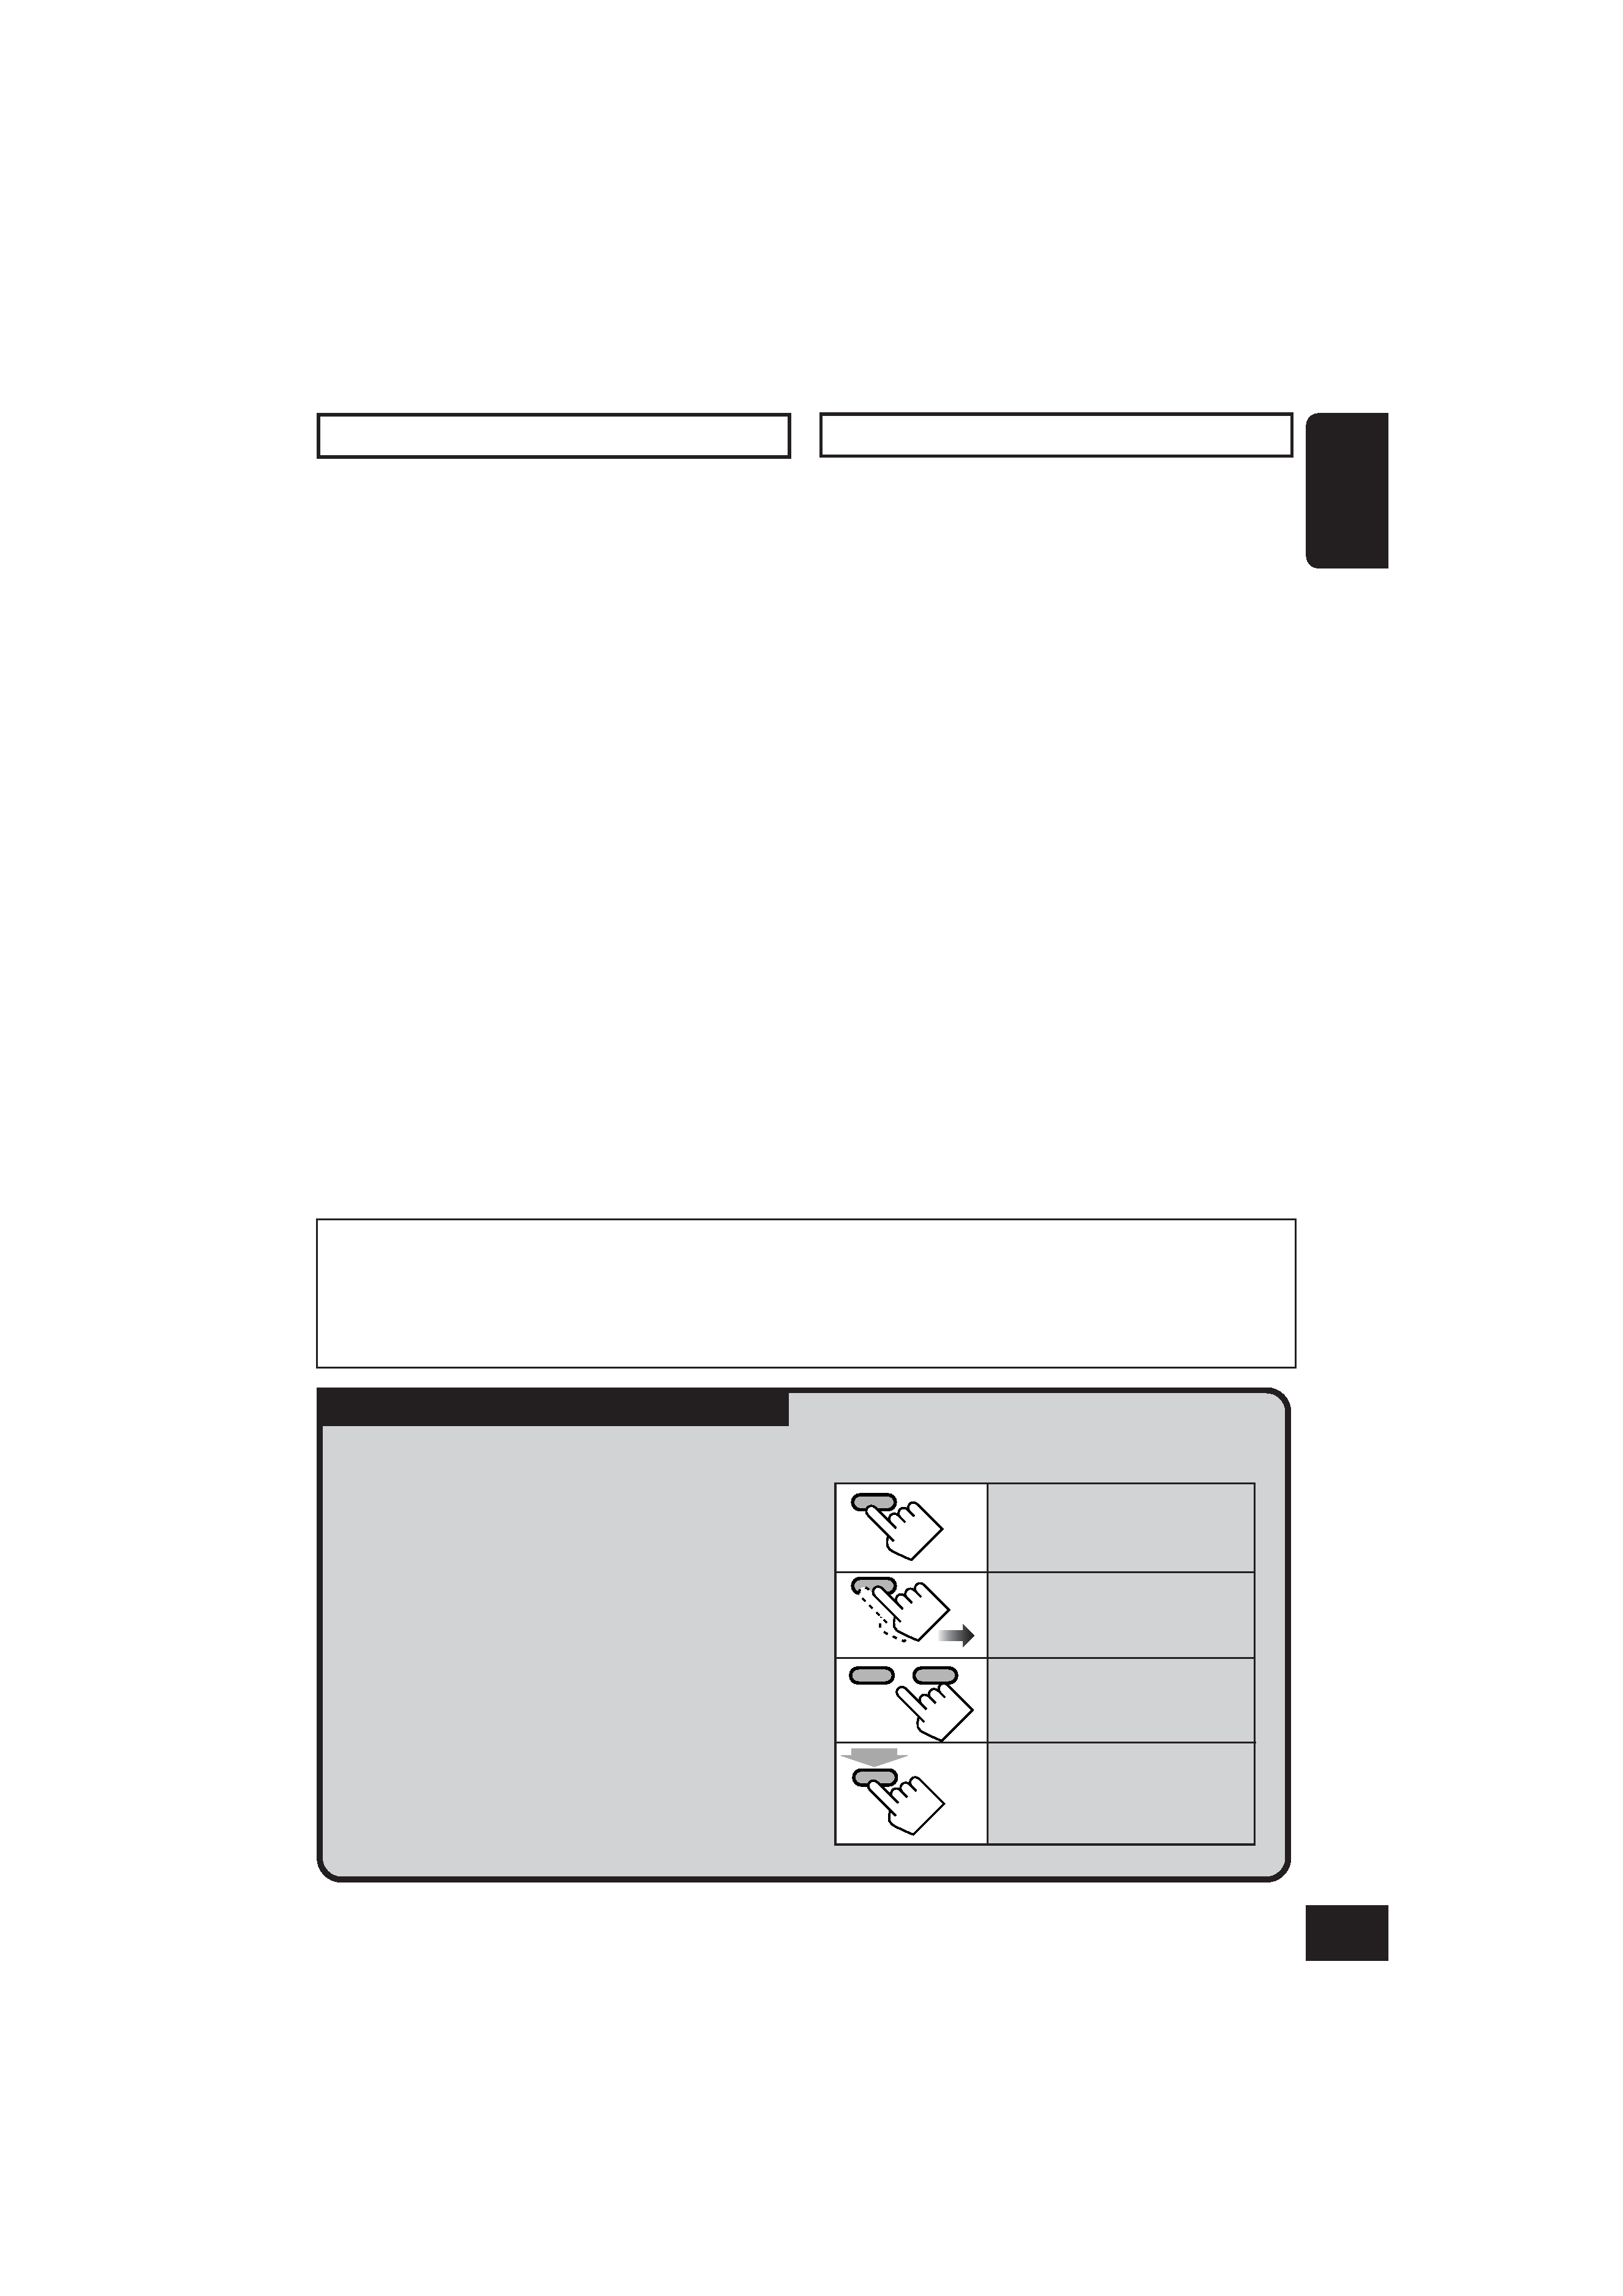
Press briefly.
Press repeatedly.
Press and hold until your
desired response begins.
Press either one.
WARNINGS
· DO NOT install any unit in locations where;
it may obstruct the steering wheel and
gearshift lever operations, as this may
result in a traffic accident.
it may obstruct the operation of safety
devices such as air bags, as this may result
in a fatal accident.
it may obstruct visibility.
· DO NOT operate any unit while manipulating
the steering wheel, as this may result in a
traffic accident.
· The driver must not watch the monitor while
driving.
If the driver watches the monitor while
driving, it may lead to carelessness and
cause an accident.
· If you need to operate the main unit while
driving, be sure to look ahead carefully or
you may be involved in a traffic accident.
· If the parking brake is not engaged, "DRIVER
MUST NOT WATCH THE MONITOR WHILE
DRIVING." appears on the monitor, and no
playback picture will be shown.
This warning appears only when the
parking brake wire is connected to the
parking brake system built in the car (refer
to the Installation/Connection Manual).
Important!
How to read this manual:
To make the explanations as simple and
easy-to-understand as possible, we have
adapted the following methods:
· Some related tips and notes are
explained later in the sections "More
about This Receiver" (see page 68), but
not in the same section explaining the
operations. If you want to know more
about the functions, or if you have a doubt
about the function, go to the section and
you will find the answers.
· Operations are explained only with the
illustrations as follows:
Hold
CAUTIONS on the monitor
· This product has a fluorescent lamp
that contains a small amount of
mercury. It also contains lead in some
components. Disposal of these
materials may be regulated in your
community due to environmental
considerations.
For disposal or recycling information
please contact your local authorities,
or the Electronic Industries Alliance:
http://www.eiae.org./
· The monitor built in this receiver has been
produced with high precision, but it may have
some ineffective dots. This is inevitable and
is not malfunction.
· Do not expose the monitor to direct sunlight.
· When the temperature is very cold or very
hot...
Chemical changes occur inside, causing it
to malfunction.
Pictures may not appear clearly or may
move slowly. Pictures may not be
synchronized with the sound or the picture
quality may decline in such environments.
CAUTION on Volume Setting:
Discs produce very little noise compared with other sources. If the volume level is adjusted for
the tuner, for example, the speakers may be damaged by the sudden increase in the output level.
Therefore, lower the volume before playing a disc and adjust it as required during playback.
02-07_KD-AV7000[J]f.p65
9/28/04, 7:25 PM
3

4
ENGLISH
Contents
Surround Mode Operations ........................ 35
Introducing surround/DSP mode ................... 36
Turning on and off the surround/DSP mode .... 37
Sound Modes (iEQ) Operations ................. 39
Selecting preset sound modes ........................ 40
Storing your own sound modes ..................... 40
Other Sound Adjustments .......................... 41
Monitor Adjustments .................................. 42
Initial Setup--DVD MENU ........................ 43
Initial Setup--MONITOR .......................... 45
Initial Setup--ON SCREEN ....................... 47
Initial Setup--AUDIO MENU/PSM .......... 49
Other Main Functions ................................. 53
Assigning titles to the sources ....................... 53
Changing the monitor position/angle ............ 55
Removing the monitor ................................... 55
CD Changer Operations ............................. 56
Basic CD Changer Operations ................... 57
Advanced CD Changer Operations ........... 58
Selecting disc/folders/tracks .......................... 58
Locating a disc/folder/track using the list ..... 58
Displaying the disc text information ............. 59
Selecting playback modes ............................. 60
Searching for songs ....................................... 61
External Component Operations ............... 62
TV Tuner Operations .................................. 63
Watching TV programs ................................. 64
Storing stations in memory ............................ 64
Displaying the preset list ............................... 66
Maintenance ................................................. 67
More about This Receiver ........................... 68
Troubleshooting ........................................... 72
Additional Information ............................... 74
Specifications ................................................ 76
How to reset your unit ..................................... 2
Important! (How to read this manual) ............. 3
Introduction--Playable Discs ....................... 5
Quick Guide--How to Use the Controls ...... 6
Remote controller ............................................ 6
Main unit (front) .............................................. 8
Preparation
(Remote Controller--RM-RK220) .............. 9
Operation Methods ...................................... 10
Basic Operations .......................................... 12
Setting the clock ............................................ 13
Changing the source ...................................... 14
Changing the graphic screen ......................... 14
Changing the touch panel color ..................... 14
Displaying the level meter ............................. 15
Radio Operations ......................................... 16
Listening to the Radio ................................. 17
Storing stations in memory ............................ 18
Displaying the preset list ............................... 19
DVD/VCD Operations ................................. 20
CD/MP3 Operations .................................... 21
Basic Disc Operations ................................. 22
Changing the aspect ratio .............................. 24
Prohibiting disc ejection ................................ 24
Selecting MP3 folders ................................... 24
Operating the disc menu ................................ 25
Replaying the previous scenes ....................... 26
Zooming in .................................................... 26
Selecting subtitles .......................................... 27
Selecting audio languages ............................. 27
Selecting multi-angle views .......................... 28
Locating a folder/track using the list ............. 29
Displaying the disc text information ............. 30
Displaying the time information .................... 30
Selecting playback modes ............................. 30
Searching for scenes or songs ........................ 31
Dual Mode Operations ................................ 33
Selecting the sources ..................................... 33
Adjusting AV OUTPUT volume .................... 34
02-07_KD-AV7000[J]f.p65
9/29/04, 6:11 PM
4
5
ENGLISH
Discs you can play
You can play back the following discs on this
unit:
· DVD Video: whose video format is NTSC
and whose region code is "1."
DVD-Rs and DVD-RWs recorded in
the DVD-Video format can also be
played (see page 69).
· Video CD (VCD)/Audio CD
· MP3: CD-Rs or CD-RWs including MP3
files with the file extension code
<mp3>. They must be recorded in the
format compliant with ISO 9660 Level
1, ISO 9660 Level 2, Romeo, and Joliet.
On some discs, the actual operations may be
different from what is explained in this
manual.
The following discs cannot be played back
DVD Audio, DVD-ROM, DVD-RAM,
DVD-RW recorded in the DVD-VR format,
CD-ROM, CD-I (CD-I Ready), Photo CD, etc.
· Playing back these discs will generate noise
and damage the speakers.
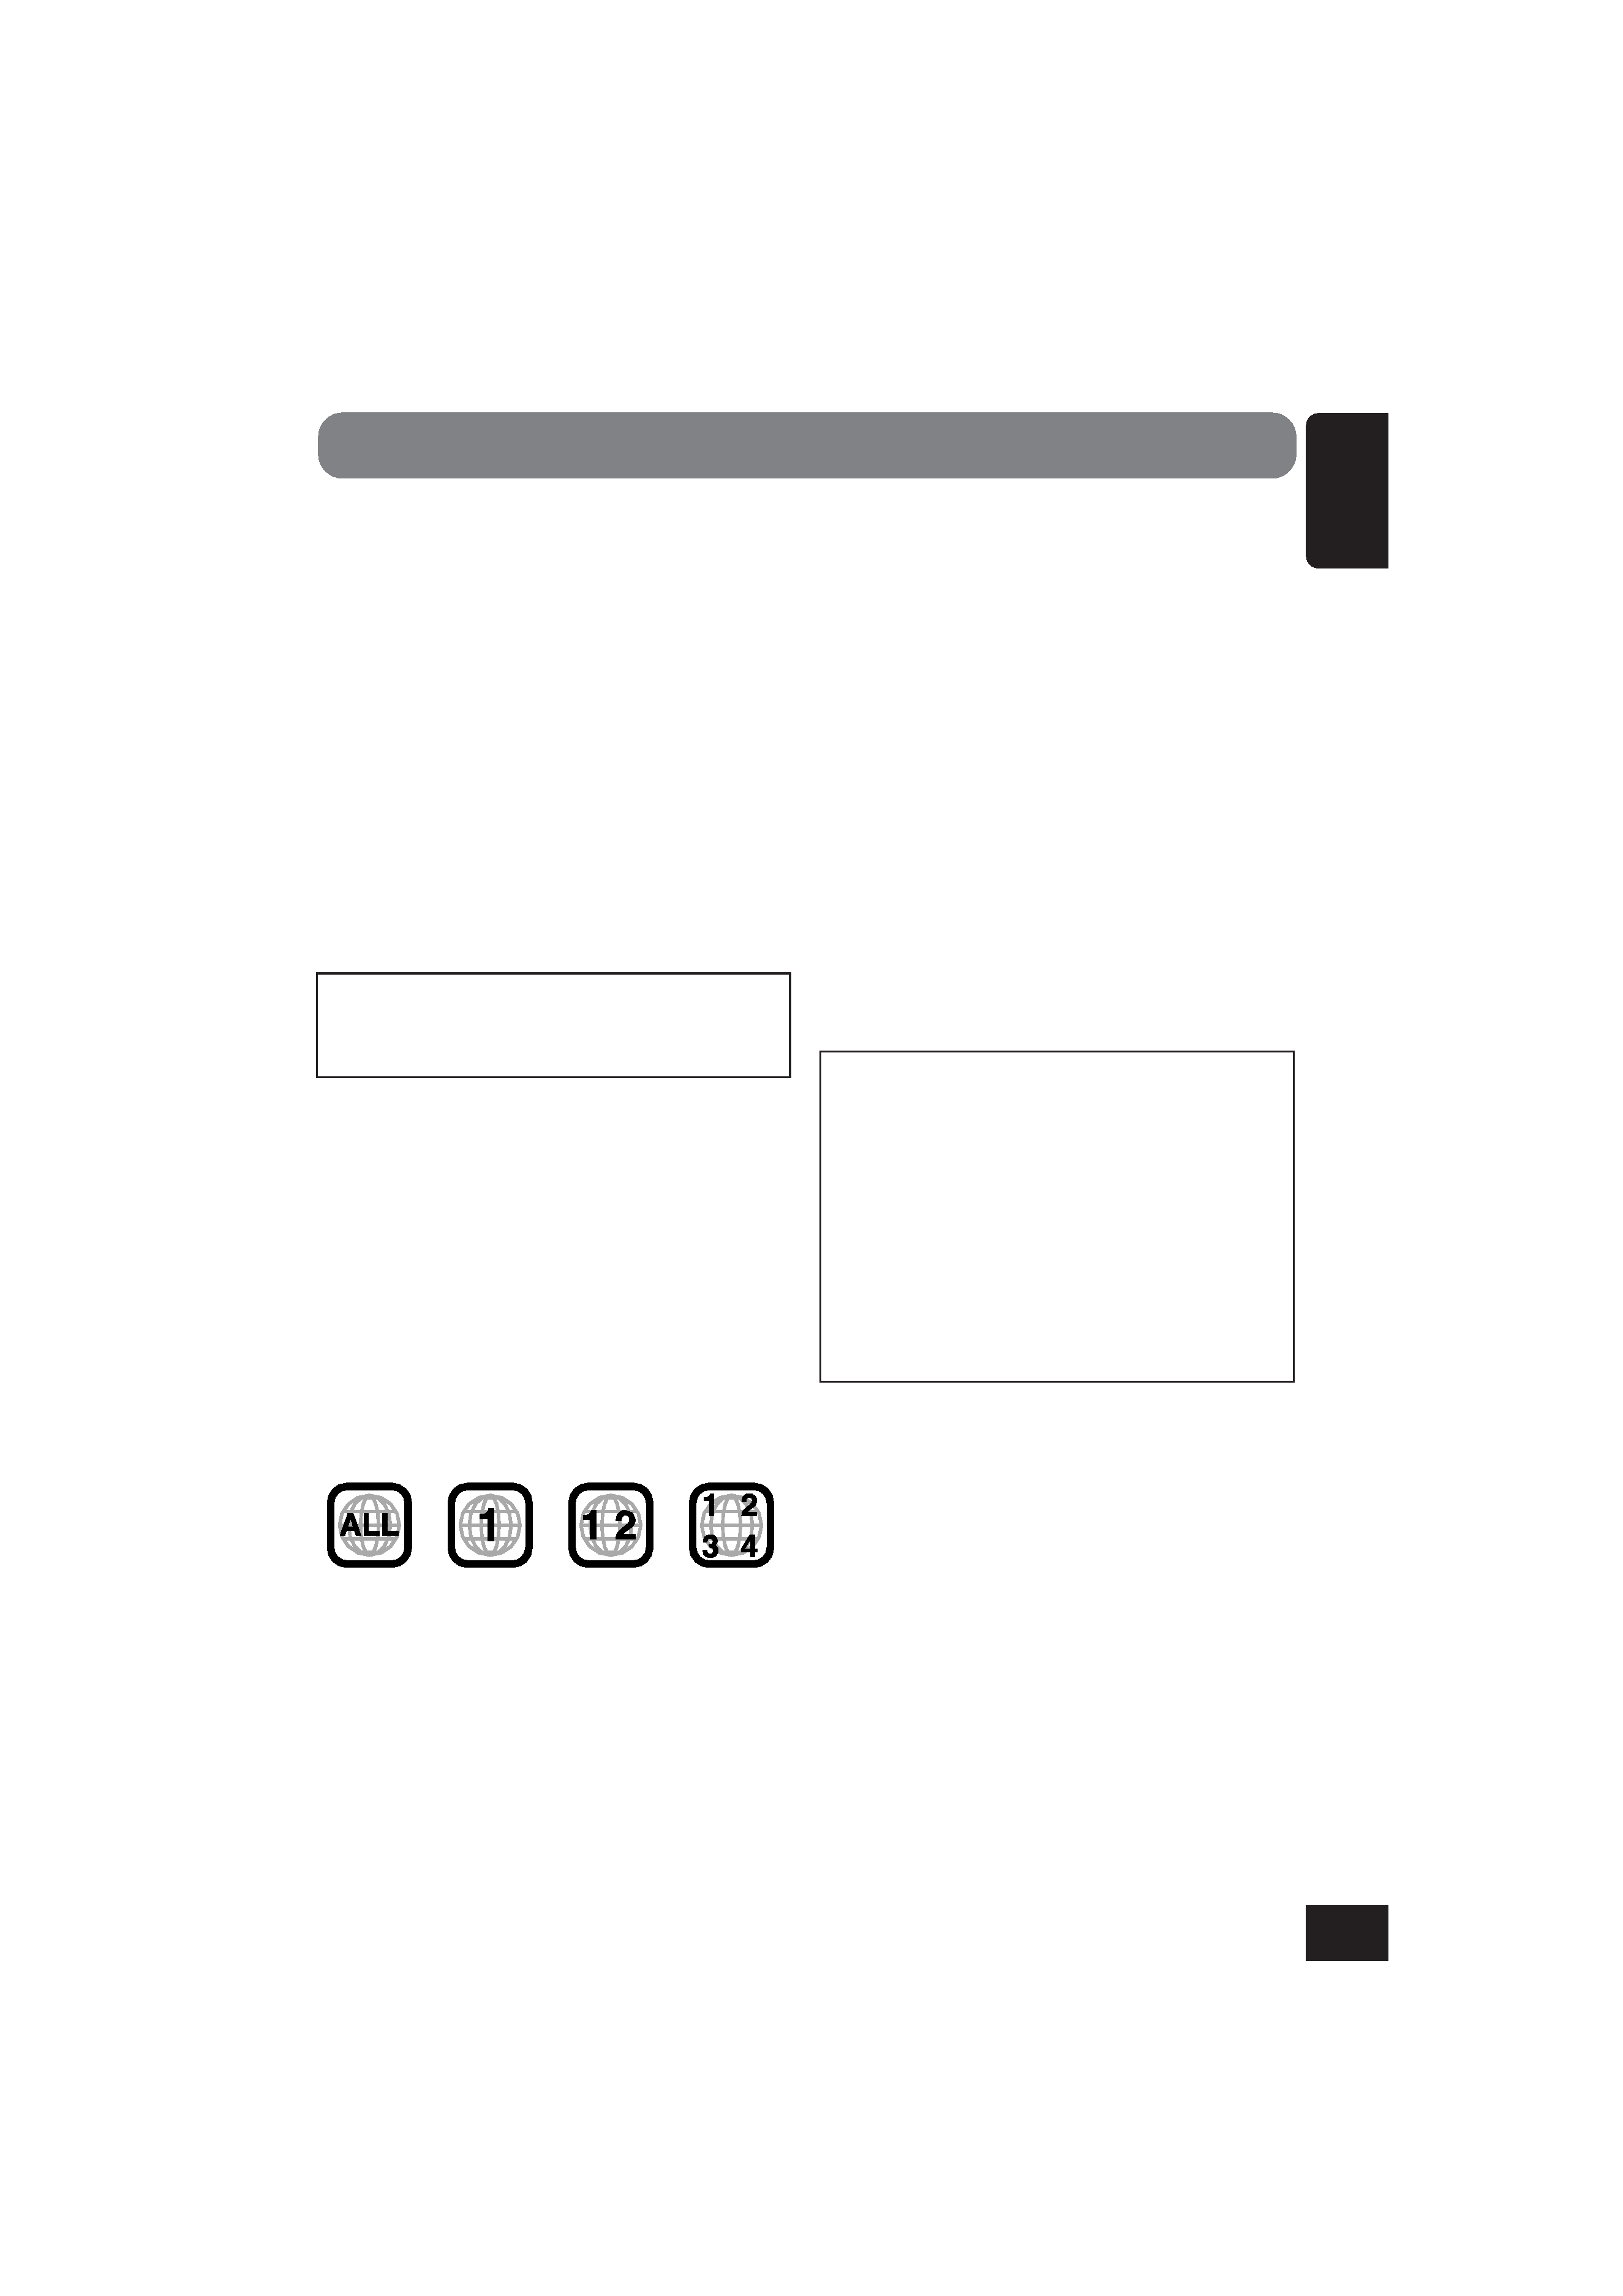
* Note on Region Code
DVD players and DVD Video discs have their
own Region Code numbers. This unit can only
play back DVD discs whose Region Code
numbers include "1."
If you insert a DVD Video disc of an incorrect
Region Code
"REGION CODE ERROR!" appears on the
monitor.
· "DVD Logo" is a trademark of DVD Format/
Logo Licensing Corporation registered in the
US, Japan and other countries.
Examples:
Introduction--Playable Discs
* Manufactured under license from Dolby
Laboratories. "Dolby", "Pro Logic", and
the double-D symbol are trademarks of
Dolby Laboratories.
** "DTS" and "DTS Digital Surround" are
registered trademarks of Digital Theater
Systems, Inc.
DVD Video--digital audio formats
The System can play back the following digital
audio formats.
Linear PCM: Uncompressed digital audio, the
same format used for CDs and most studio
masters.
Dolby Digital
*: Compressed digital audio,
developed by Dolby Laboratories, which
enables multi-channel encode to create the
realistic surround sound.
DTS
** (Digital Theater Systems):
Compressed digital audio, developed by Digital
Theater Systems, Inc., which enables multi-
channel like Dolby Digital. As the compression
ratio is lower than for Dolby Digital, it provides
wider dynamic range and better separation.
This product incorporates copyright
protection technology that is protected by
U.S. patents and other intellectual property
rights. Use of this copyright protection
technology must be authorized by
Macrovision, and is intended for home and
other limited viewing uses only unless
otherwise authorized by Macrovision.
Reverse engineering or disassembly is
prohibited.
02-07_KD-AV7000[J]f.p65
9/28/04, 7:25 PM
5