OPERATE
PHONES
REV
STOP
PLAY
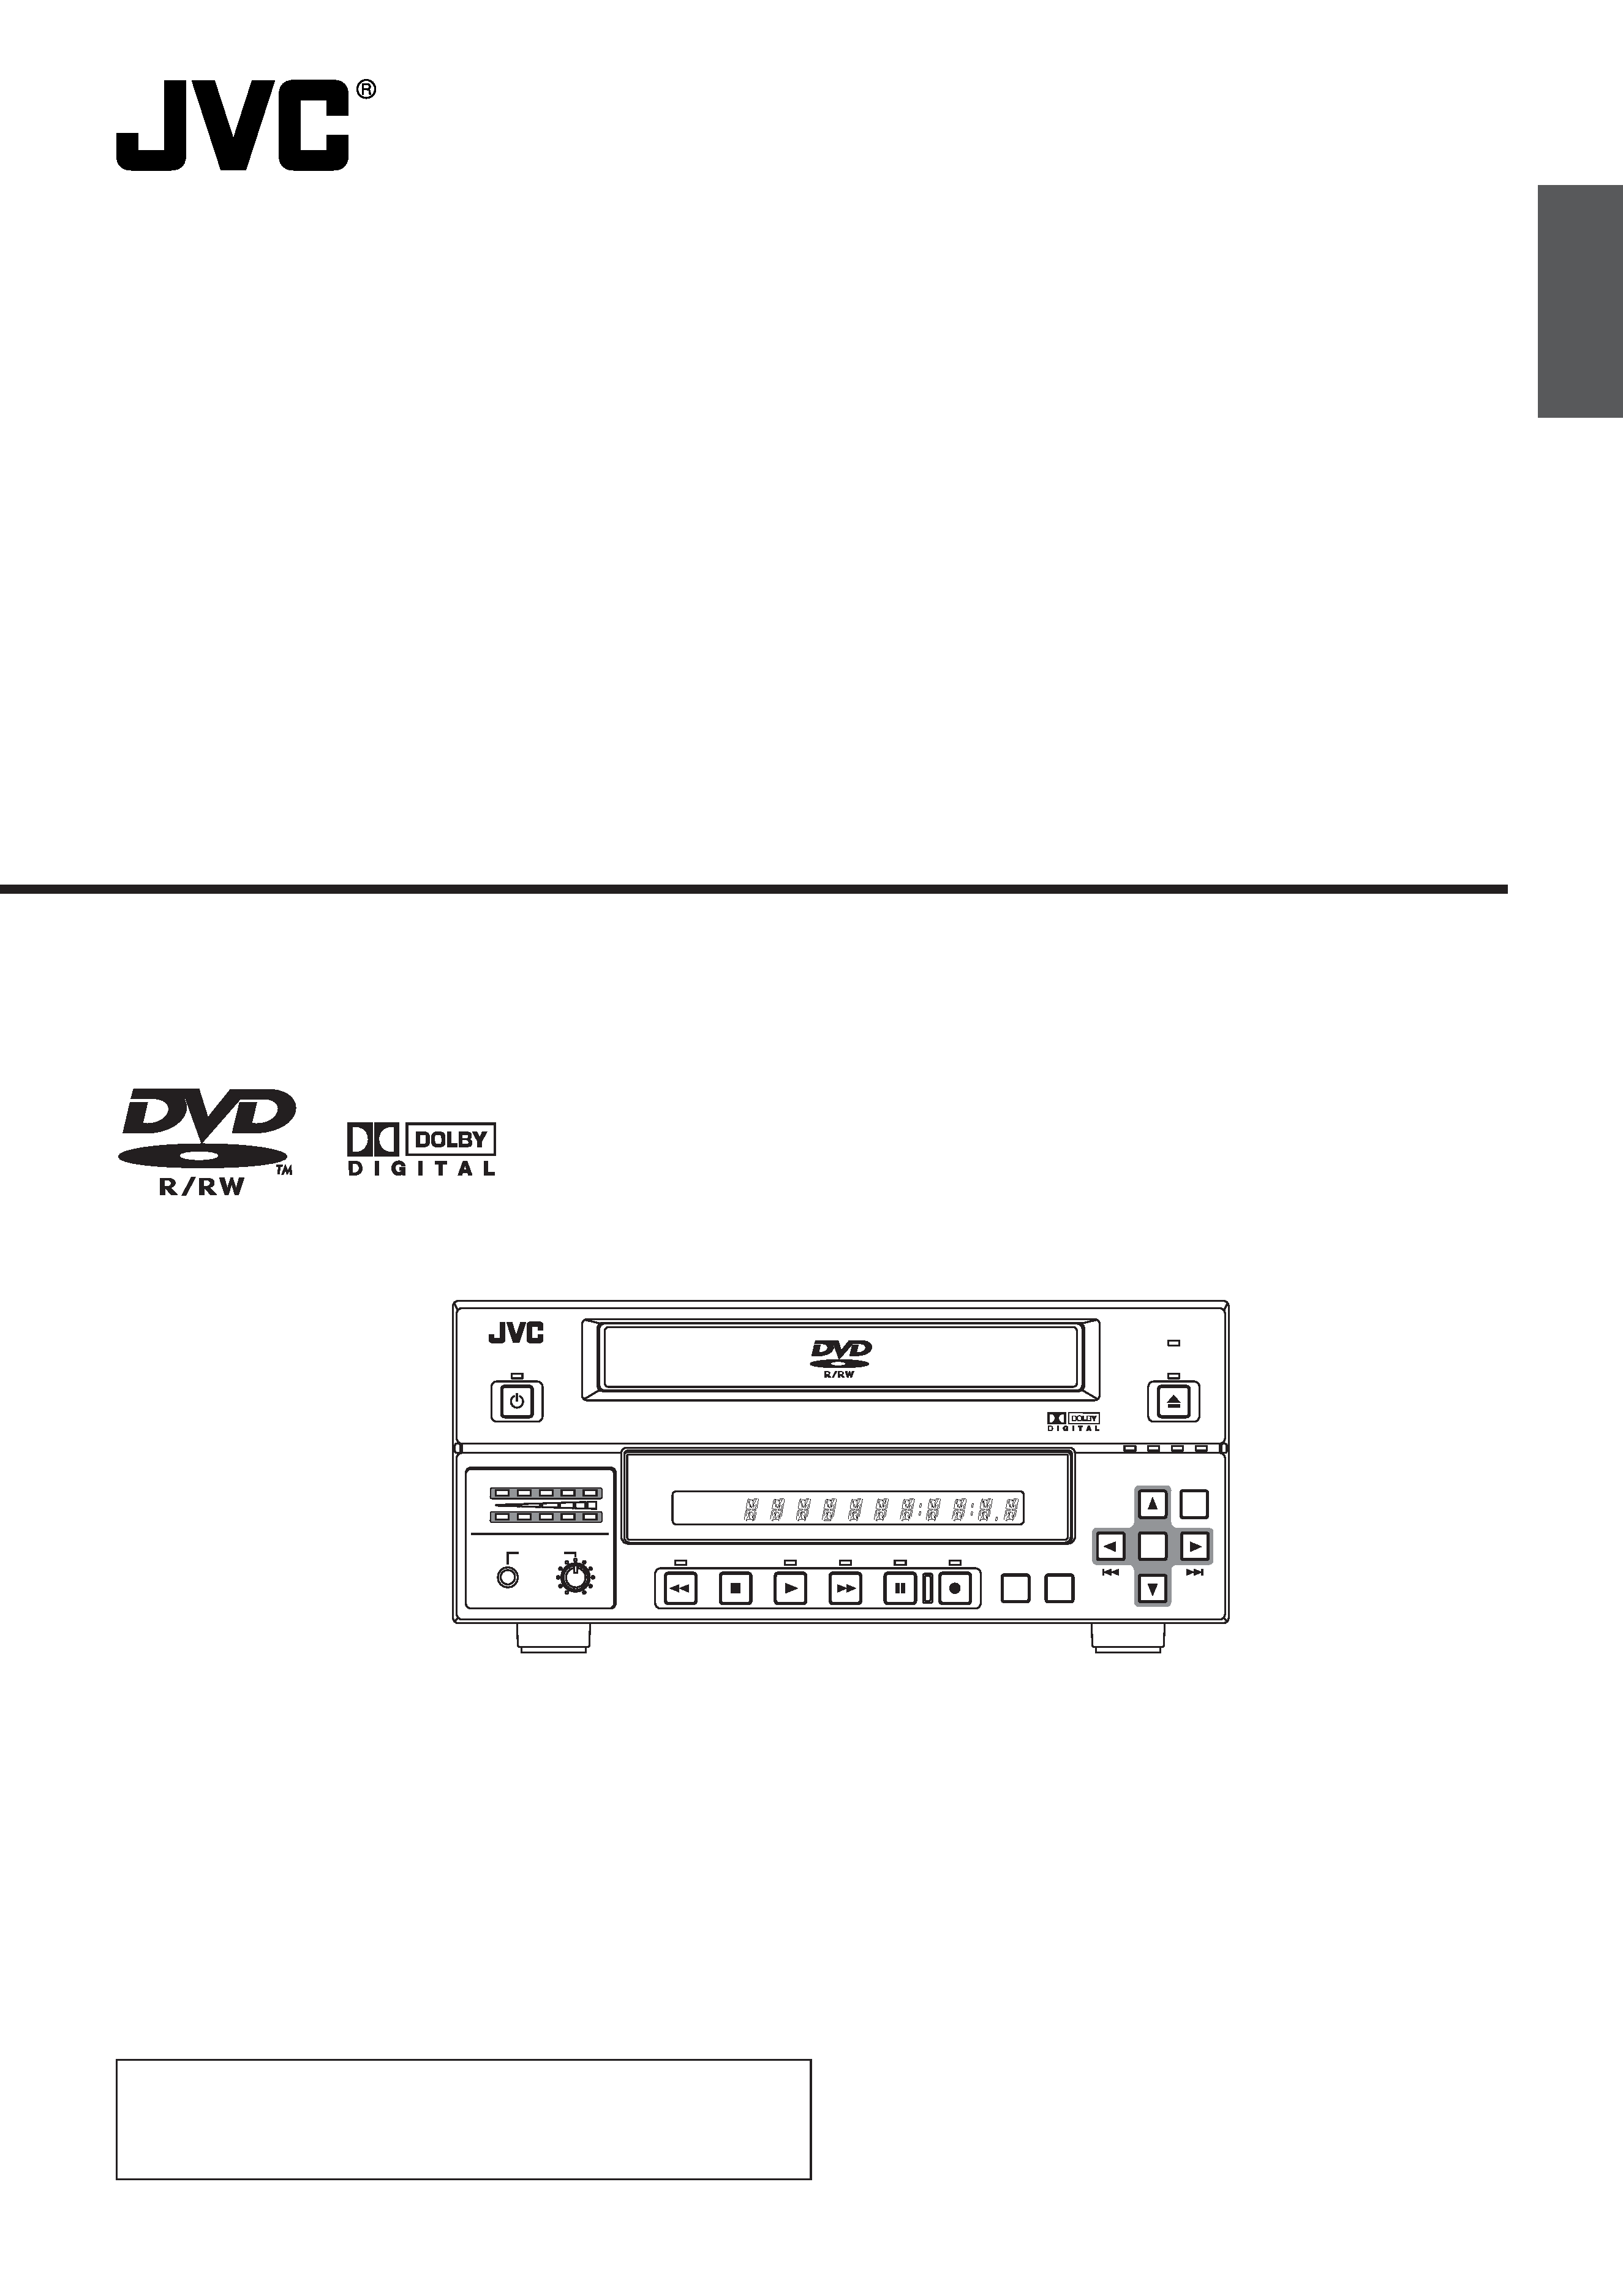
DVD RECORDER BD-X200
FWD
PAUSE
REC
BUSY
OPEN/CLOSE
TOP
MENU
MENU
OPTION DV
Y/C LINE
SET UP
AUDIO
CH1
CH2
TITLE
DOLBY DIGITAL
LPCM MPEG
CHAPTER
SET
BD-X200E
INSTRUCTIONS
(A)
DVD RECORDER
Deutsch
English
Français
Español
Italiano
LLT0077-001B
Thank you for purchasing this JVC product. Before operating
this unit, please read the instructions carefully to ensure the
best possible performance.

I
Supplement
This apparatus is designed for rack mounting or is used close to other apparatus.
In order to keep the best performance and furthermore for electromagnetic compatibility we recommend to use cables
not exceeding the following lengths:
Port
Cable
Length
Y/C
Coaxial cable
10 meters
VIDEO LINE
Coaxial cable
10 meters
AUDIO LINE
Shielded cable
10 meters
REMOTE (9P)
Shielded Twist Pair cable
5 meters
DV
Shielded Twist Pair cable
4 meters
PHONES
Shielded Twist Pair cable
5 meters
MIC
Shielded Twist Pair cable
5 meters
LAN
Shielded Twist Pair cable
10 meters
USB
Shielded Twist Pair cable
5 meters
DC 19V
Shielded cable
1.2 meters
The inrush current of this apparatus is 19 amperes.
Caution:
5
Where there are strong electromagnetic waves or magnetism, for example near a radio or TV transmitter, transformer,
motor, etc., the picture and sound may be disturbed. In such a case, please keep the apparatus away from the
sources of the disturbance.
English
IMPORTANT (In the United Kingdom)
Mains Supply (AC 230 V `)
WARNING THIS APPARATUS
MUST BE EARTHED
The wires in this mains lead are coloured in accordance
with the following code;
GREEN-and-YELLOW : EARTH
BLUE
: NEUTRAL
BROWN
: LIVE
As the colours of the wires in the mains lead of this
apparatus may not correspond with the coloured
markings identifying the terminals in your plug, proceed
as follows.
The wire which is coloured GREEN-AND-YELLOW
must be connected to the terminal in the plug which is
marked with the letter E or by the safety earth symbol
or coloured GREEN or GREEN-AND-YELLOW. The
wire which is coloured BLUE must be connected to the
terminal which is marked with the letter N or which is
coloured BLACK. The wire which is coloured BROWN
must be connected to the terminal which is marked
with the letter L or coloured RED.
II
SAFETY PRECAUTIONS
Warning Notice
FOR YOUR SAFETY (Australia)
1. Insert this plug only into effectively earthed three-
pin power outlet.
2. If any doubt exists regarding the earthing, consult a
qualified electrician.
3. Extension cord, if used, must be three-core correctly
wired.
POWER SYSTEM
Connection to the mains supply
This unit operates on voltage of 220 V to 240 V AC, 50
Hz/60 Hz.
WARNING:
TO REDUCE THE RISK OF FIRE OR ELECTRIC
SHOCK, DO NOT EXPOSE THIS APPLIANCE TO
RAIN OR MOISTURE.
CAUTION
To prevent electric shock, do not open the cabinet. No
user serviceable parts inside. Refer servicing to
qualified service personnel.
Note:
The rating plate and the safety caution are on the
bottom of the unit.
The OPERATE button does not completely shut off
mains power from the unit, but switches operating
current on and off.
WARNING
It should be noted that it may be unlawful to re-record
pre-recorded tapes, records, or discs without the
consent of the owner of copyright in the sound or video
recording, broadcast, or cable programme and in any
literary, dramatic, musical or artistic work embodied
therein.
WARNING
This is a Class A product. In a domestic environment
this product may cause radio interference in which case
the user may be required to take adequate measures.
Caution for AC Mains Lead
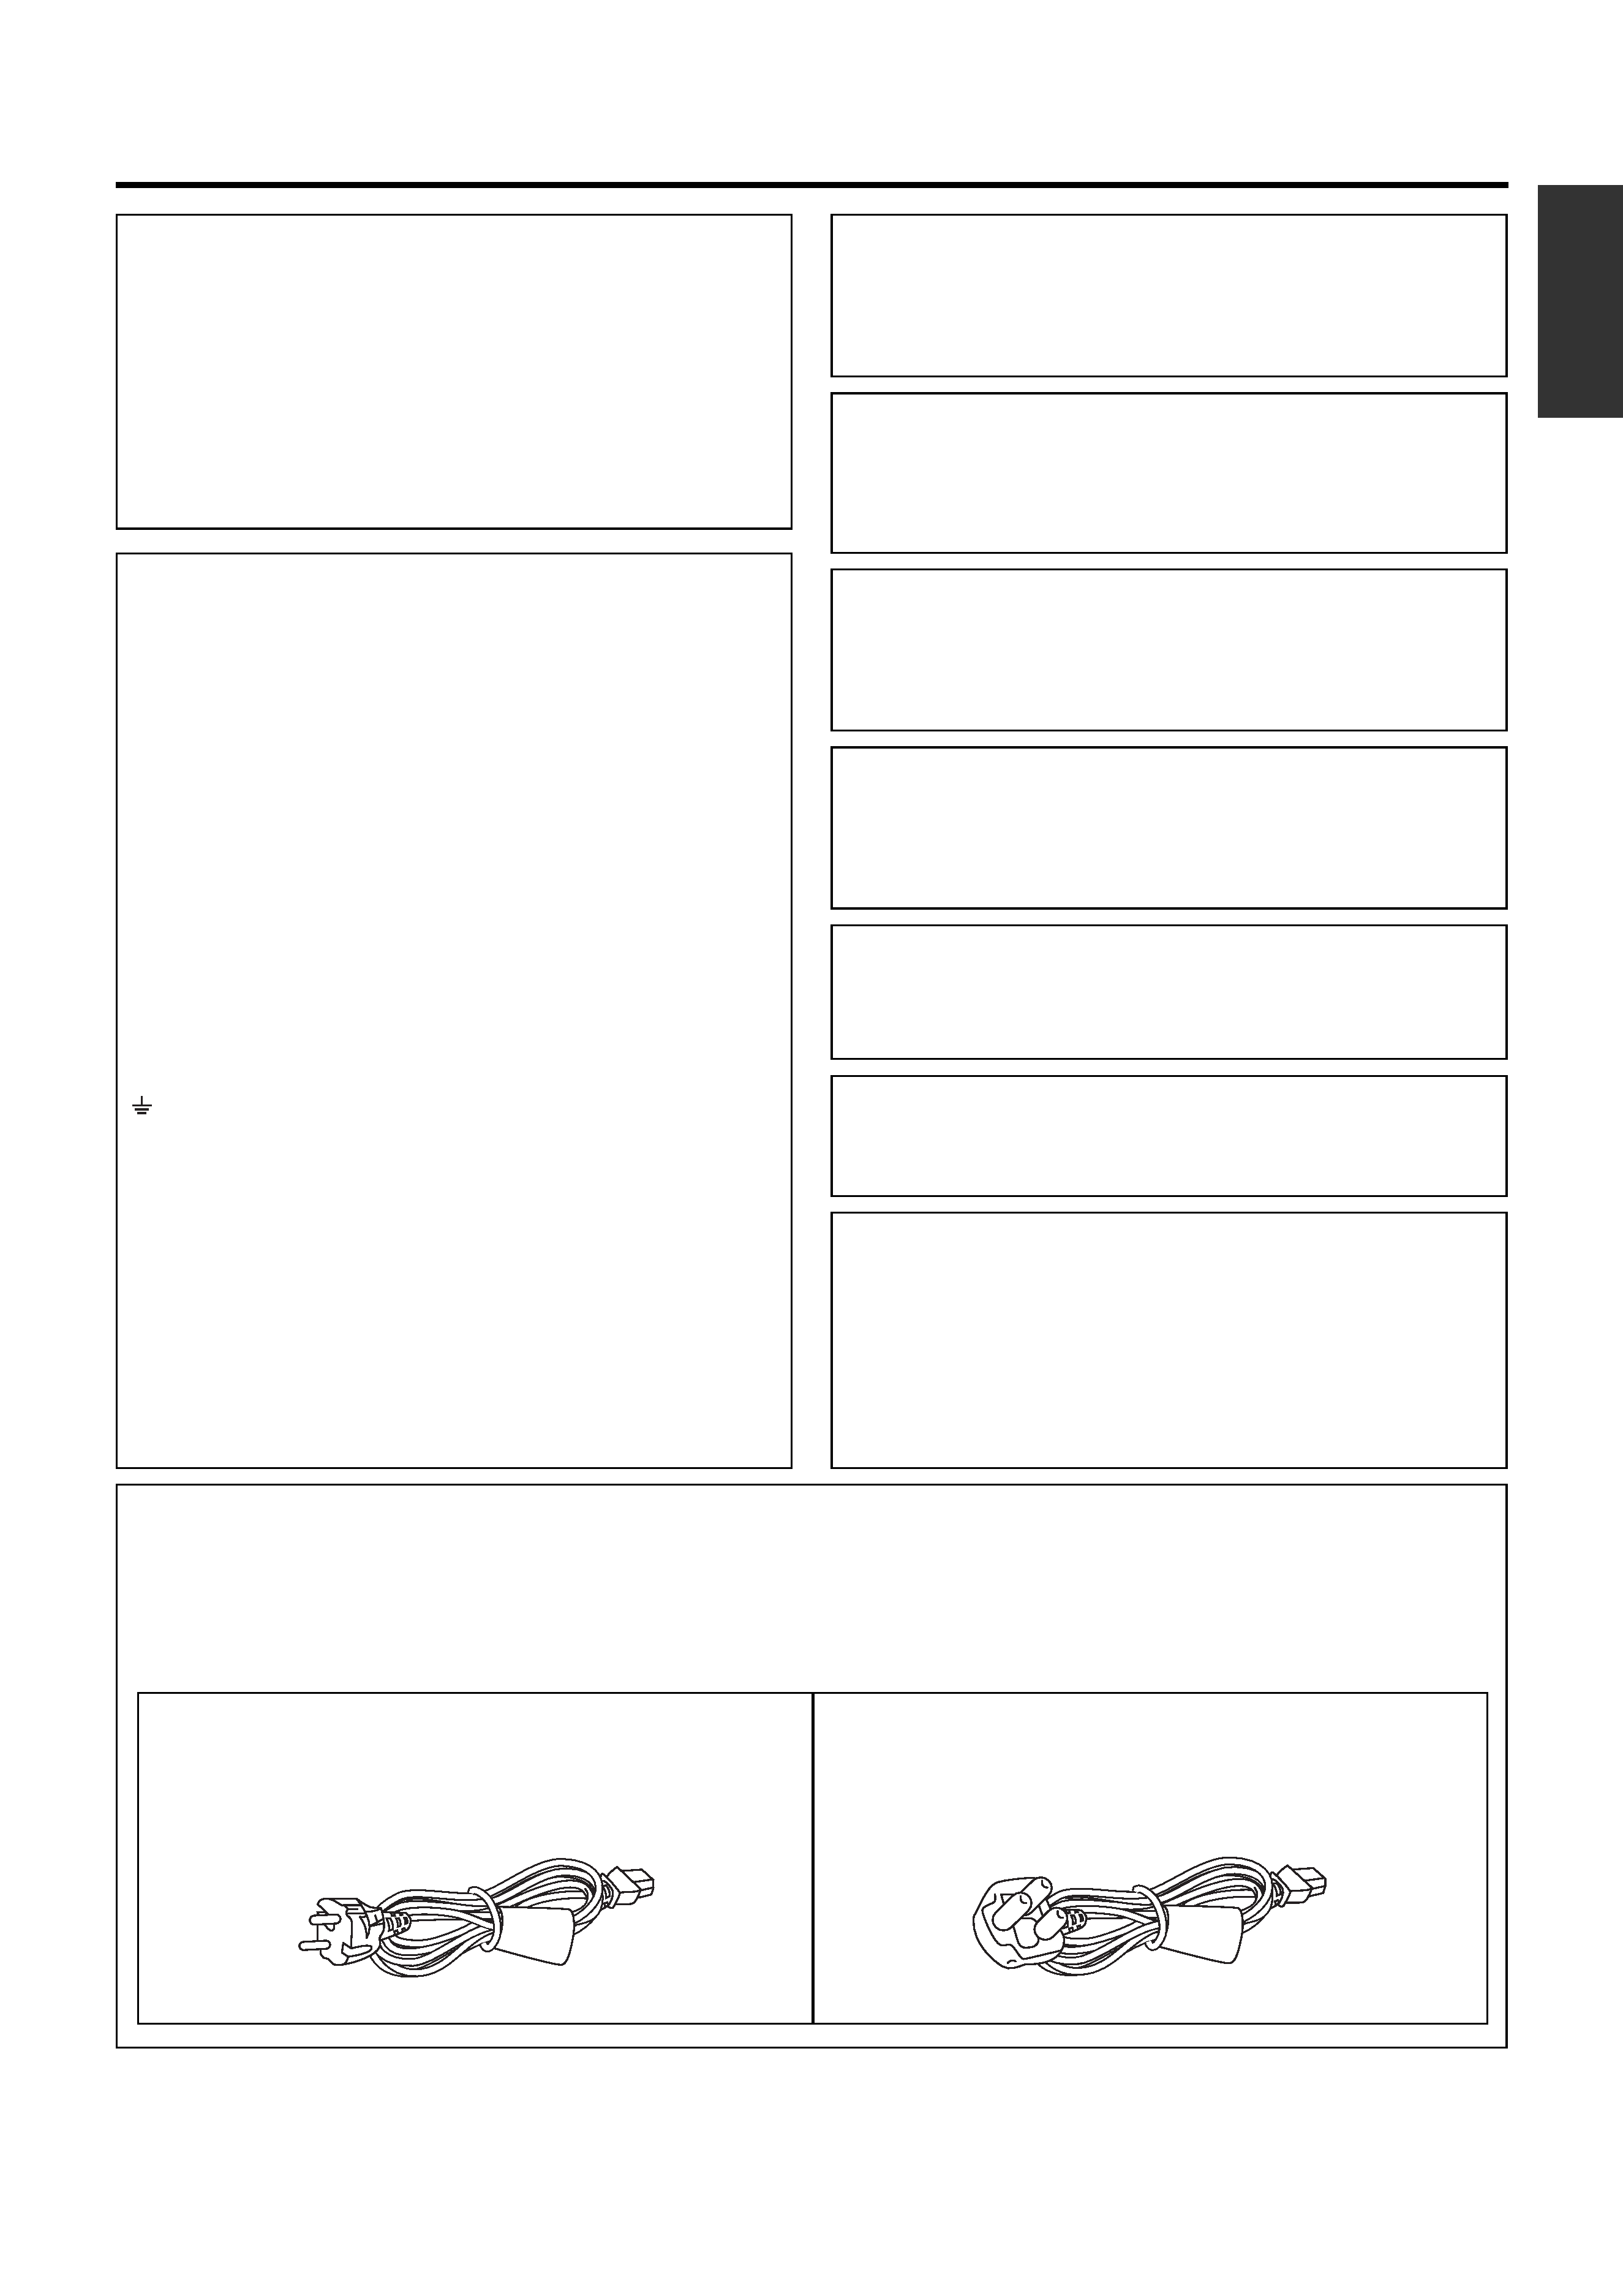
FOR YOUR SAFETY PLEASE READ THE FOLLOWING TEXT CAREFULLY.
This product is equipped with 2 types of AC cable. One is for continental Europe, etc. and the other one is only for
U.K.
Appropriate mains cable must be used in each local area, since the other type of mains cable is not suitable.
FOR CONTINENTAL EUROPE, ETC.
Not to be used in the U.K.
FOR U.K. ONLY
If the plug supplied is not suitable for your socket outlet,
it should be cut off and appropriate one fitted.
E-2
Thank you for purchasing
this JVC BD-X200 DVD Recorder.
Main Features
Recording of DVD-R and DVD-RW (video mode only).
Composite video, YC separate, and DV signals are supported
as video inputs; furthermore, analog or DV signals are
supported as audio inputs.
A keyboard and mouse can be used as an alternative to front
panel buttons.
When the BD-X200 is connected to an RS-422A compatible
VCR, RS-422 control can be used to carry out synchronous
recording of the VCR's video and audio to a DVD.
Synchronous recording of video and audio from a DV camera
or video player to a DVD can also be carried out.
The DV IN/OUT or REMOTE (RS-422) terminal can be used
to record audio and video from a non-linear editor to a DVD.
The title and chapter menus can be created either
automatically or manually.
This DVD recorder features a LAN terminal. Accordingly, two
of these recorders can be connected using LAN (CAT 5) cables
to perform master-to-receiver dubbing.
Trademarks & Copyrights
, Dolby and the Double "D" symbols are
trademarks of Dolby Laboratories.
The copying, broadcasting, screening, or rental of
copyrighted material without the authorization of the
copyright holder is prohibited by law.
Copyright Protection Technology
This DVD recorder utilizes copyright protection technology
and is protected by US patents and intellectual property as
owned by Macrovision and other copyright holders. The
permission of Macrovision is required in order to use this
copyright protection technology, and except in situations
where special permission has been granted by that
company, said technology is restricted to domestic usage
and for certain other viewing purposes. The disassembly
and/or modification of this DVD recorder is also prohibited.
Copyrights
The recording, dubbing, or playing of software containing
a copyright protection signal is not possible on this DVD
recorder.
The usage of audio or video discs created using this DVD
recorder either for financial gain or in broadcasting for
widespread viewing may result in the legally-enforceable
rights of the copyright holder being infringed.
Unless the permission of the copyright holder has been
obtained, audio or video discs created using this DVD
recorder are to be used for personal enjoyment only.
Contents
Introduction
Overview of BD-X200 Functions ......................................................................................................................................... 4
Precautions for DVD Recorder Use ..................................................................................................................................... 5
Precautions for Disc Usage ................................................................................................................................................. 6
Details Regarding Discs ...................................................................................................................................................... 7
Component Names & Functions
Front Panel .......................................................................................................................................................................... 9
Rear Panel ......................................................................................................................................................................... 12
LCD Display and On-Screen Content
LCD Display....................................................................................................................................................................... 14
On-Screen Content ........................................................................................................................................................... 16
Status Messages ......................................................................................................................................................... 16
Disc Status ................................................................................................................................................................... 18
Event Messages .......................................................................................................................................................... 19
Alarm Messages .......................................................................................................................................................... 20
Preparation
Signal Connections ........................................................................................................................................................... 21
Power Connections............................................................................................................................................................ 23
Turning the Power On & Off ............................................................................................................................................... 24
Inserting & Removing Discs .............................................................................................................................................. 25
Using a Keyboard & Mouse ............................................................................................................................................... 26
Setting & Displaying the Date & Time ................................................................................................................................ 27

E-3
English
Settings & Controls for Recording
DVD Recording .................................................................................................................................................................. 29
Preparing a Disc for Recording ......................................................................................................................................... 30
Pre-Recording Settings ..................................................................................................................................................... 32
Specifying the Disc Status Created when the Disc was Finalized .................................................................................... 33
Selecting & Confirming Input Signals ................................................................................................................................ 34
Setting the Encoding Format for Audio & Video ................................................................................................................ 35
Adjusting of Audio Recording Levels ................................................................................................................................. 37
Checking the Video Input .................................................................................................................................................. 38
Selecting Styles for Title & Chapter Menu ......................................................................................................................... 39
Recording
Recording Sequence ......................................................................................................................................................... 40
Recording with the Front Panel ......................................................................................................................................... 41
Inserting Chapter Marks Manually or Automatically ..................................................................................................... 42
Using a Keyboard & Mouse to Control Recording ............................................................................................................. 43
Finalizing (for Playback on Other DVD Players) ............................................................................................................... 44
Title & Chapter Menu Settings
BD-X200 Title & Chapter Menus ....................................................................................................................................... 45
Selecting and Changing Styles for Title & Chapter Menus ................................................................................................ 46
Easymenu: Freeware for Editing Menu Templates ............................................................................................................ 48
Changing Chapter Menus (THUMBNAIL EDIT Screen) .................................................................................................... 49
Changing & Naming Thumbnails for Chapter Menus ........................................................................................................ 50
Changing & Checking Chapter Menu Styles ..................................................................................................................... 52
Ending the Editing of Chapter Menus ................................................................................................................................ 54
Changing & Checking Title Menu Styles & Names ........................................................................................................... 55
Playback
Playing Back a Disc before Finalizing ............................................................................................................................... 59
Playing Back a Finalized Disc ........................................................................................................................................... 60
Fast & Slow Playback ........................................................................................................................................................ 61
Playing the Previous or Next Chapter/Title ........................................................................................................................ 61
Synchronous Recording
Recording Playback Signals From a VCR with RS-422A .................................................................................................. 62
Recording Playback Signals From a DV Camera or VCR ................................................................................................. 63
Editing Operations on the REMOTE CONTROL (9PIN MASTER/DV MASTER) Screen ................................................. 64
Saving and Reading Edit Lists on the EDL MANAGER Screen ........................................................................................ 69
Recording Video & Audio from a Non-Linear Editor with DV Terminal .............................................................................. 72
Recording Video & Audio from a Non-Linear Editor with RS-422 Control ......................................................................... 73
Editing Operations on the REMOTE CONTROL (9PIN REC/DV SLAVE) Screen ............................................................ 74
Recording Operations Using a DV Camera Trigger .......................................................................................................... 77
Using This Machine as a PLAYER with RS-422 Control ................................................................................................... 78
DVD Dubbing
Dubbing DVDs Using the LAN Terminal ............................................................................................................................ 79
Setup Menu
Setup Menu Configuration ................................................................................................................................................. 83
Setting the Setup Menu ..................................................................................................................................................... 84
Restoring to Default Settings ....................................................................................................................................... 84
Setup Menus ..................................................................................................................................................................... 85
DISC MENU Screen .......................................................................................................................................................... 86
INPUT SELECT MENU Screen ......................................................................................................................................... 86
SYSTEM MENU Screen .................................................................................................................................................... 87
PRESET STYLE MENU Screen ........................................................................................................................................ 88
RECORDER MENU Screen .............................................................................................................................................. 88
REMOTE MENU Screen ................................................................................................................................................... 91
DISPLAY MENU Screen .................................................................................................................................................... 92
CLOCK ADJUST MENU Screen ....................................................................................................................................... 93
DUBBING Screen .............................................................................................................................................................. 93
NETWORK MENU Screen ................................................................................................................................................ 94
Others
Troubleshooting ................................................................................................................................................................. 94
Specifications .................................................................................................................................................................... 95