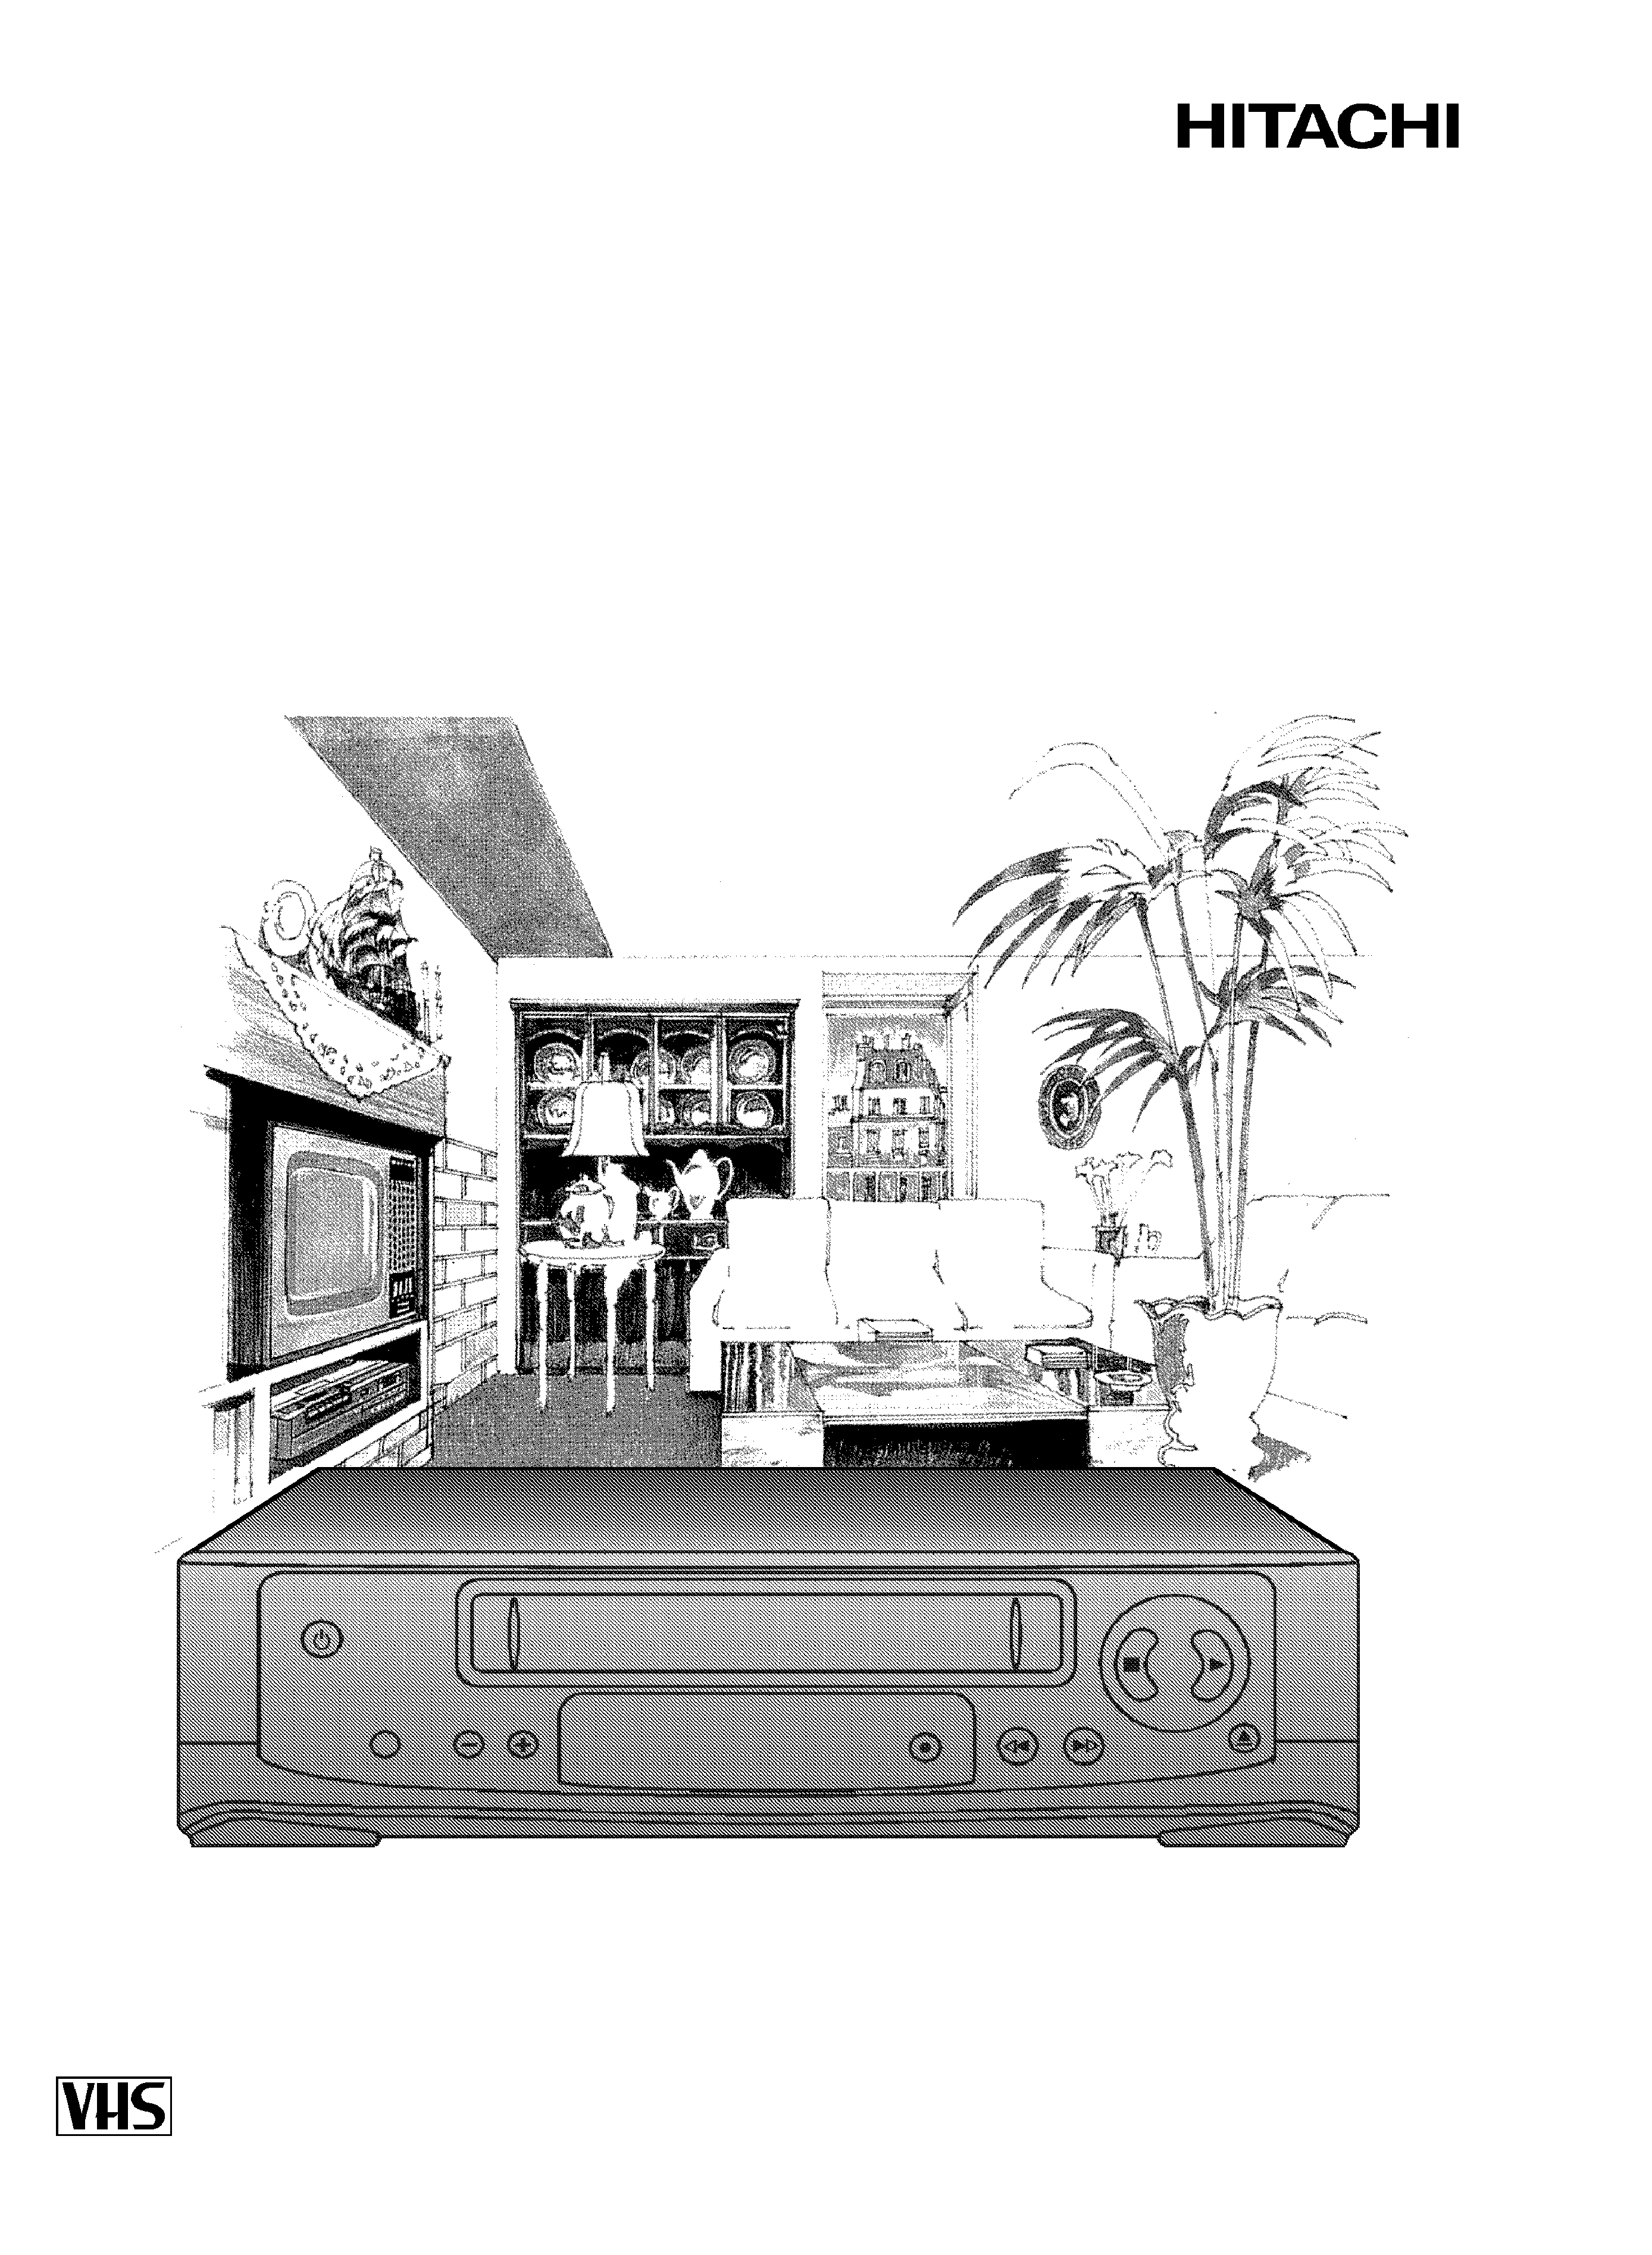
Videorecorder
VTMX100EUK
Operating instructions
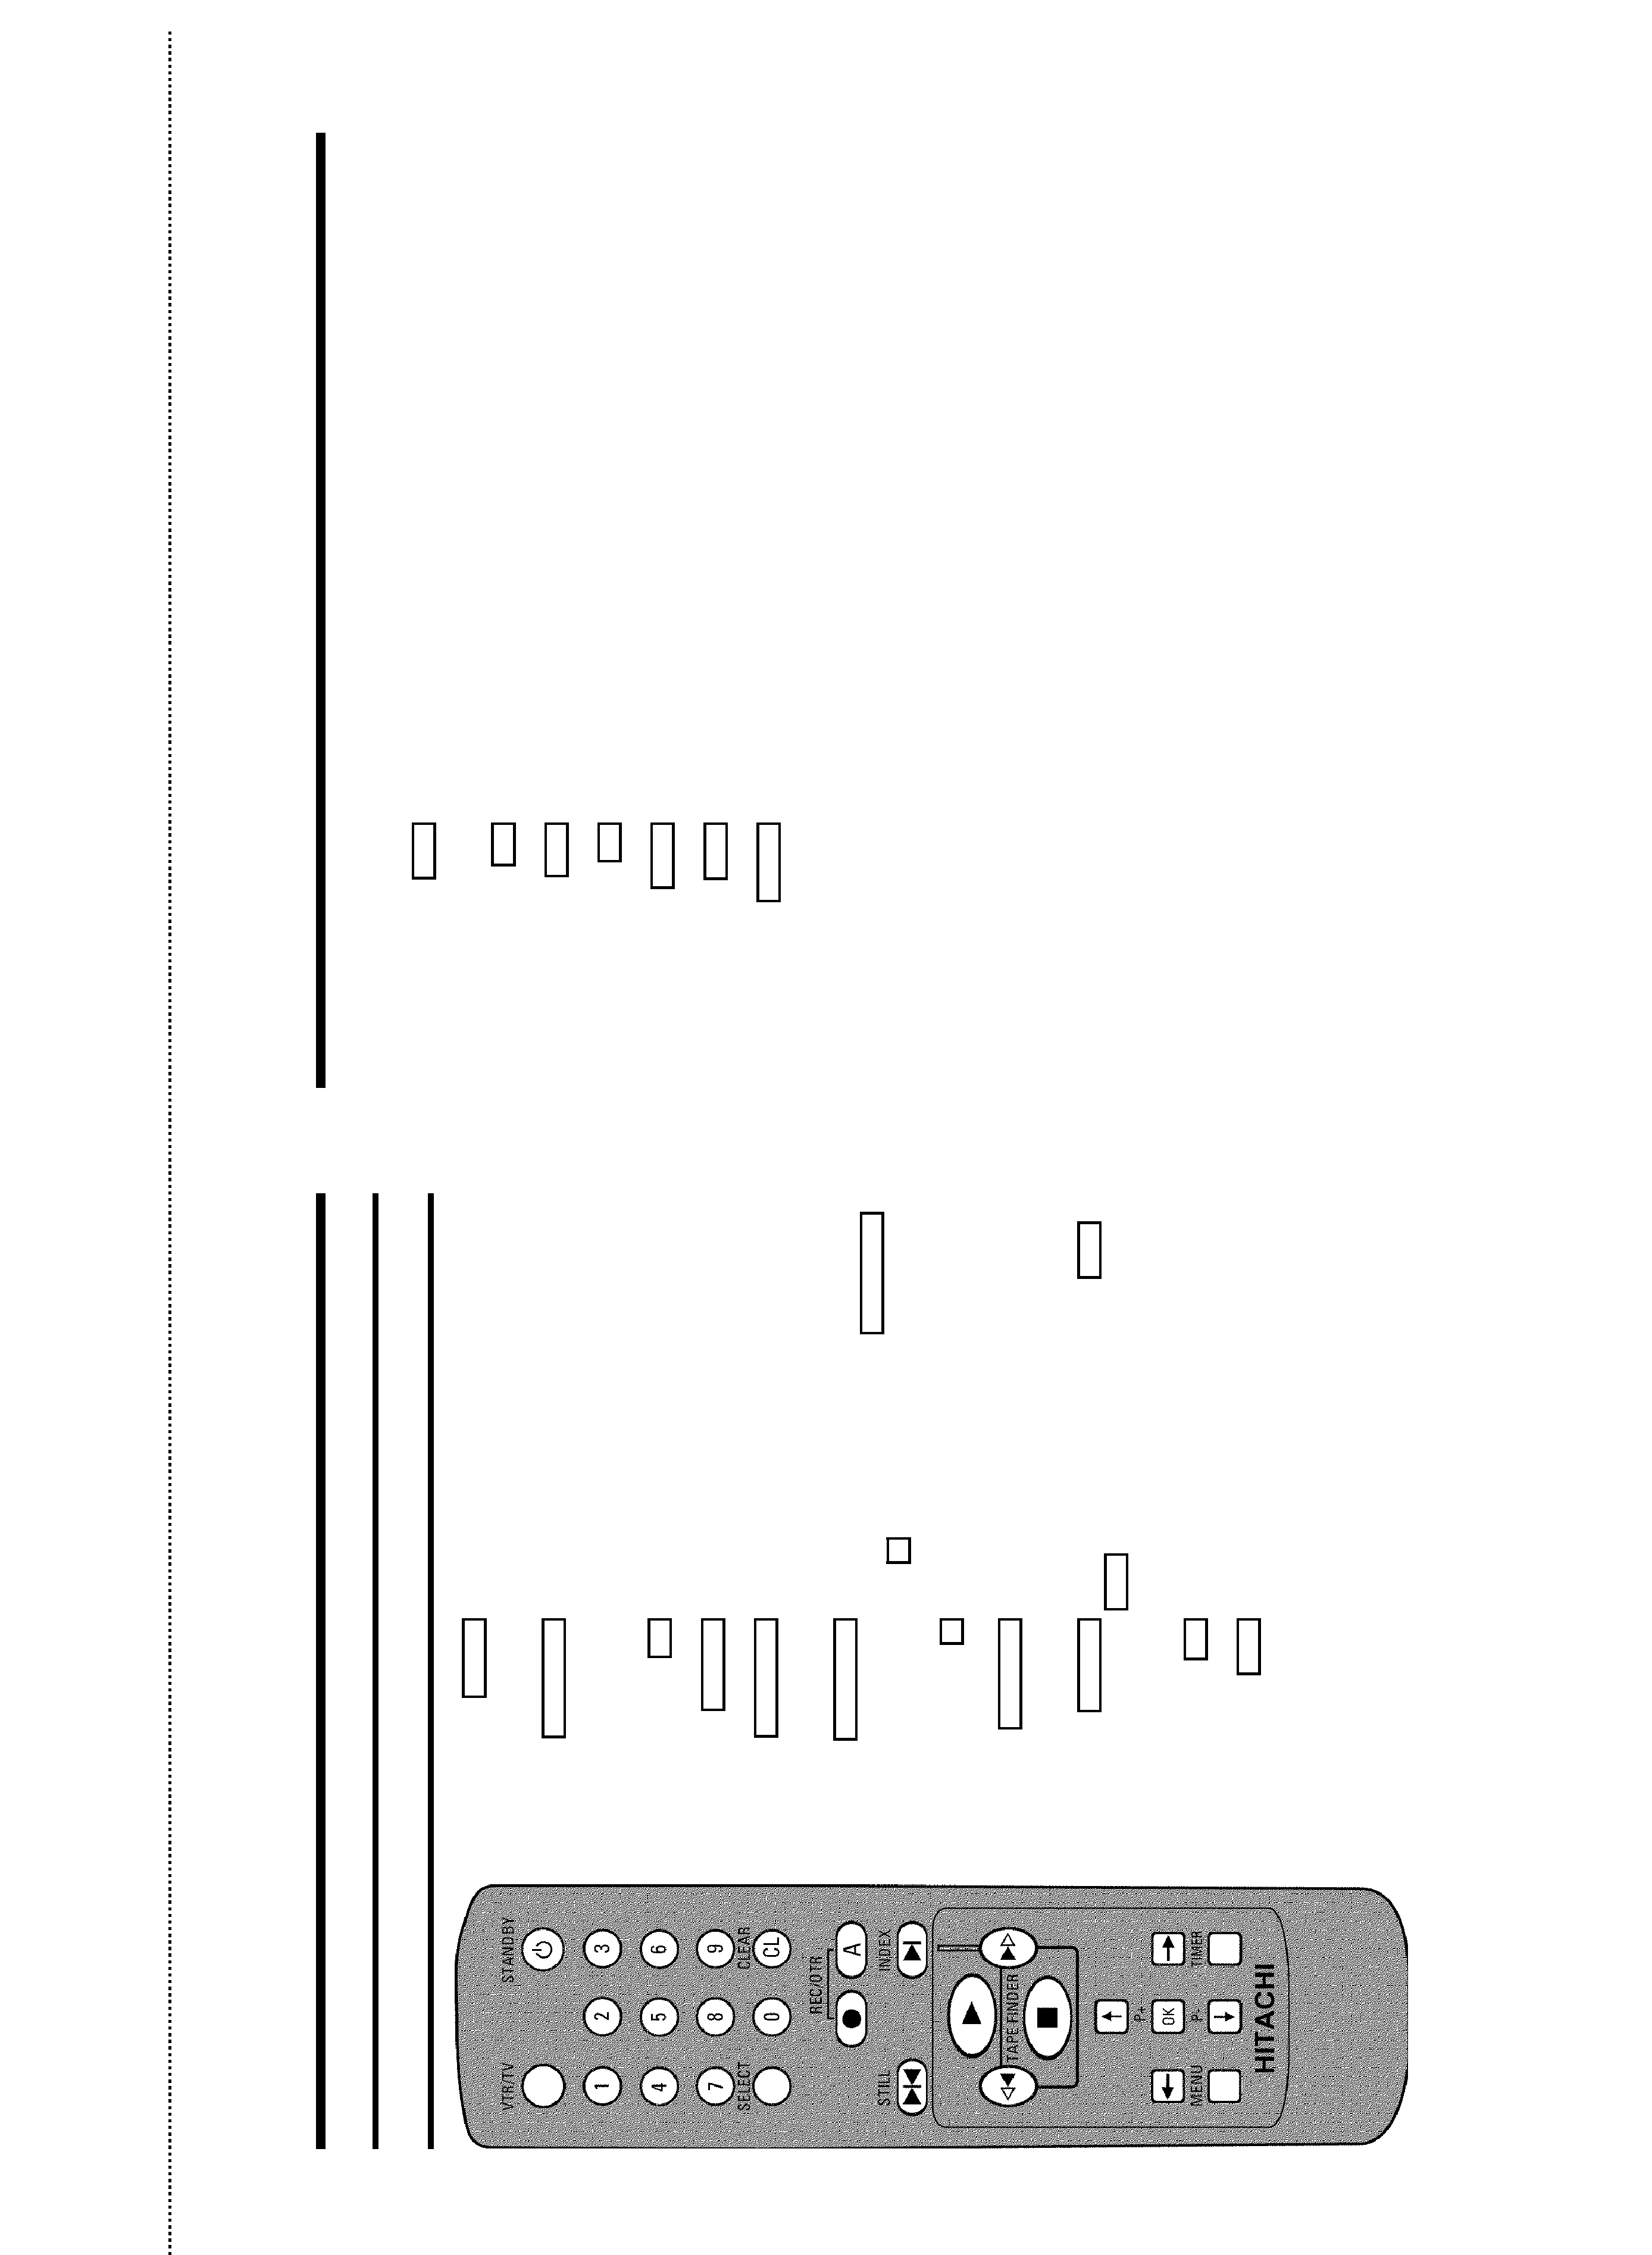
The remote control
VTR/TV
TV monitor: To switch between TV reception
and VCR playback
STANDBY m
Switch on or off: Switching device on/off,
cancelling function, Cancelling programmed
recordings (TIMER)
0-9
Number buttons:0 - 9
SELECT
Select: To select a function
CLEAR (CL)
Delete: To delete last entry/Clear
programmed recording (TIMER)
REC/OTR n
Record: To record the TV channel selected
on the video recorder. Press REC/OTR n
and A at the same time
A
To activate recording
STILL R
Still picture: To stop the tape and show a
still picture
INDEX E
Index search: In combination with
H /
I : to search for previous or next
recording on the cassette.
G Playback: To play a cassette
H
Rewind: During STOP and STANDBY:
rewind, during PLAYBACK: reverse scanning
I
Forward wind: During STOP and STANDBY: forward wind, during
PLAYBACK: forward scanning
h
Pause/Stop: To stop the tape, except during TIMER-recording
;P+
Select: To select the next line or programme number
OK
Store/Confirm: To store or confirm entry
MENU
Menu: To call up or end main menu
P- =
Select: To select the previous line or programme number
TIMER
TIMER: To make a TIMER programming or to alter or clear a
programmed TIMER
IN BRIEF
&
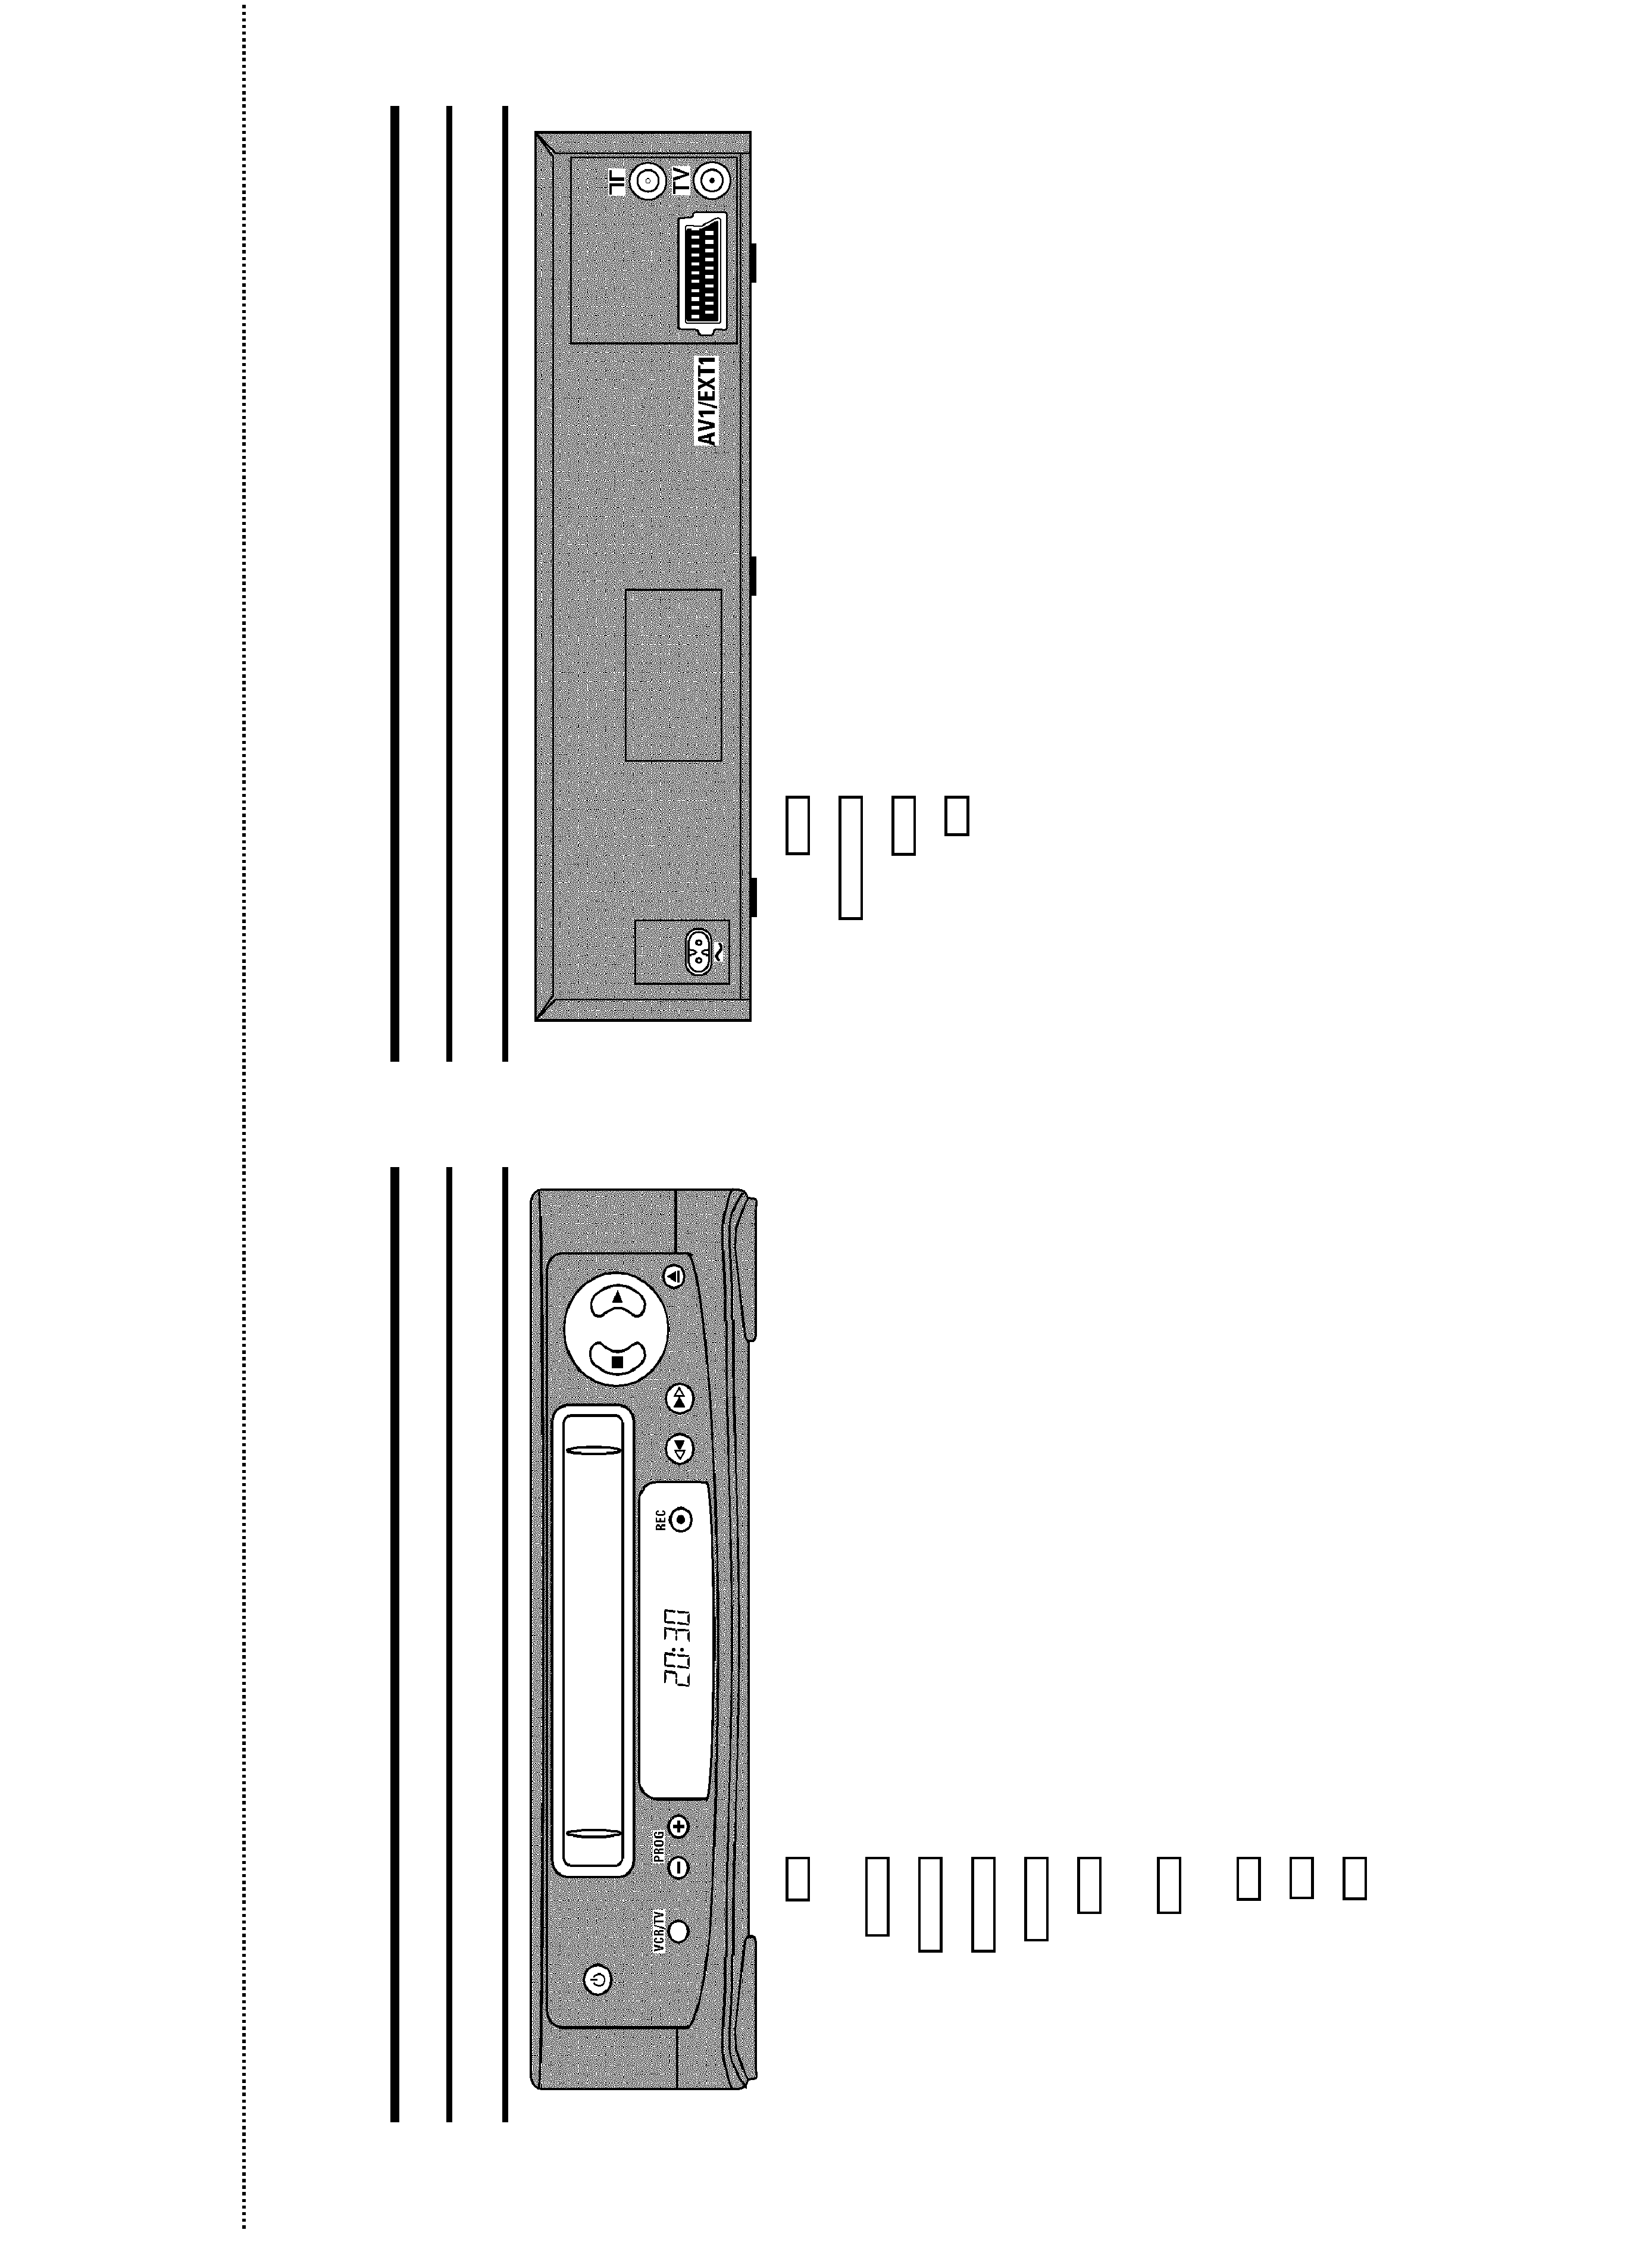
Front of the device
m
Switch on or off: To switch off or on, interrupt a function, interrupt a programmed
recording (TIMER)
VCR/TV
TV monitor : To switch between TV reception and VCR playback
PROG r
Select: One line or programme number down
PROG q
Select: One line or programme number up
REC n
Record: To record the TV channel selected at this moment
H
Rewind: During STOP and STANDBY: rewind, during PLAYBACK: reverse
scanning
I
Forward wind: During STOP and STANDBY: forward wind, during PLAYBACK:
forward scanning
h
Pause/Stop: To stop the tape, except during TIMER-recording
G
Playback: To play a cassette
J
Eject: To eject a cassette
Back of the set
4
Mains socket: To connect the mains cable
EXT.1 AV. 1
Scart socket 1: To connect the TV set (programme number '
E1')
2
Aerial input socket: To connect the aerial cable
TV
Aerial output socket: To connect the TV set
&
Thank you for buying a HITACHI video recorder. The
VT-MX100EUK is one of the most sophisticated and
easy-to-use video recorders (VCR) on the market.
Please take the time to read this operating manual before
using your video recorder. It contains important information
and notes regarding operation.
The video recorder should not be turned on immediately
after transportation from a cold to a hot area or vice versa, or
in conditions of extreme humidity.
Wait at least three hours after transporting the device. The
video recorder needs this time in order to become acclimatised
to its new environment (temperature, air humidity, etc.).
We hope you enjoy your new video recorder
This video recorder is used for the recording and playback of
VHS video cassettes.
Cassettes with the VHS-C label (VHS cassettes for
camcorders) may only be used with a suitable adapter.
Important notes regarding operation
A Danger: High voltage!
Do not remove the top cover as there is a risk of an electrical
shock!
A The video recorder does not contain any components that can be
repaired by the customer. Please leave all maintenance work for
qualified personnel.
A As soon as the video recorder is connected to the power supply,
there are some components that are in constant operation. To
switch off the video recorder completely you must disconnect it
from the power supply.
C These operating instructions have been printed on non-polluting
paper.
C Deposit old batteries at the appropriate collection points.
C Please make use of the facilities available in your country for
disposing of the packaging of the video recorder in a way that
helps to protect the environment.
C This electronic device contains many materials that can be
recycled. Please enquire about the possibilities for recycling your
old device.
B Make sure that air can circulate freely through the ventilation
slots on the video recorder. Do not place the device on an
unsteady base.
B Make sure that no objects or liquids enter the video recorder. Do
not place vases or the like on the video recorder. If liquid is spilt
into it, immediately disconnect the video recorder from the power
supply and call After-sales Service for advice.
B Do not place any combustible objects on the device (candles,
etc.).
B Make sure that children do not place any foreign objects within
the openings or ventilation slots.
So that you can identify your machine for service questions or
in the event of theft, enter the serial number here. The serial
number (PROD.NO.) is printed on the type plate fixed at the
back of the device.
MODELNO.
VT-MX100EUK
PROD. NO.
...........................
This product complies with the requirements of Directive
73/23/EEC +89/336/EEC +93/68 EEC.
Specifications
Voltage: 220-240V/50Hz
Energy consumption (Standby): less than 4W
Rewind time : Forward/rewind approx. 260/170 seconds
(cassette E-180)
Dimensions in cm (B/H/T): 38.0/9.3/26.0
Number of video heads:2
Recording/playback time: 4 hours (SP) (cassette E-240)
8 hours (LP) (cassette E-240)
Supplied accessories
·
Operating instructions
·
Remote control and batteries
·
Antenna cable
·
Power cable
·
Quick install guide
OPERATING INSTRUCTIONS HITACHI VT-MX100EUK
1

1. Connecting the video recorder
4
..............
Preparing the remote control for operation
4
...........
Connecting your video recorder to the TV set
4
.........
Connecting with a scart cable
5
.....................
Connecting without a scart cable
6
...................
Connecting additional devices
7
.....................
2. Installing your video recorder
8
...............
Initial installation
8
...............................
Manual TV channel search
8
.......................
Using the satellite receiver
9
.......................
Automatic TV channel search
9
.....................
Monitor function
9
................................
Sorting and clearing TV channels manually
9
..........
Setting the time and date
10
........................
3. Important notes for operation
11
..............
4. Playback
12
...............................
Playing cassettes
12
..............................
Displaying current tape position
12
...................
Searching for a tape position with picture
(scanning)
12
...................................
Still picture
13
...................................
Searching for tape position without picture (forward
wind and rewind)
13
..............................
Easy View
13
...................................
Tape Finder
13
..................................
5. Eliminating picture interference
14
............
Optimising tracking
14
............................
Optimising still picture
14
..........................
6. Manual recording
15
........................
General information
15
............................
Recording without automatic switch-off
15
.............
Recording with automatic switch-off (OTR
One-Touch-Recording)
15
.........................
Preventing accidental erasing of cassettes
15
..........
Lining up recordings (assemble cut)
16
...............
Selecting the recording speed (SP or LP)
16
...........
7. Programming a recording (TIMER)
17
..........
General information
17
............................
Programme recordings
17
.........................
Problem solving for programmed recordings
18
.........
How to check, change or delete a programmed
recording (TIMER)
18
.............................
8. Other functions
19
.........................
Changing the video (colour) system
19
...............
Child lock
19
....................................
Automatic switch-off
19
...........................
9. Suppressing interference
20
.................
Optimising the modulator
20
........................
Switching the modulator on / off
20
..................
10. Before you call an engineer
21
...............
Table of contents
2