
CP2896TA / CP2996TA
BEDIENUNGSANLEITUNG
USER MANUAL
ISTRUZIONI PER L'USO
GEBRUIKSAANWIJZING
KULLANMA KILAVUZU
Remove the battery cover on the underside of the
remote control unit. Insert the batteries taking care to
observe the + and - markings indicated inside, then
close the cover.
Note! Do not throw the batteries away with the
household garbage, but take them to a special waste
disposal site.
3P58 83041010-GB
17
Before installation
Your TV set is designed to give you the highest
performance combined with real ease of use - it's easy
to set up, easy to use, and easy to combine with other
devices. This booklet will guide you through the set-up
procedure, acquaint you with the many features,
provide tips on how to use the set, and tell you how to
connect external devices to it.
We wish you many pleasant hours with your new TV.
Contents
Installation, remote control unit
18
Daily use
20
Teletext
22
Timers and locks
24
Sound, picture, and display set-up
25
Tuning in programme channels
27
External devices
28
Technical data
32
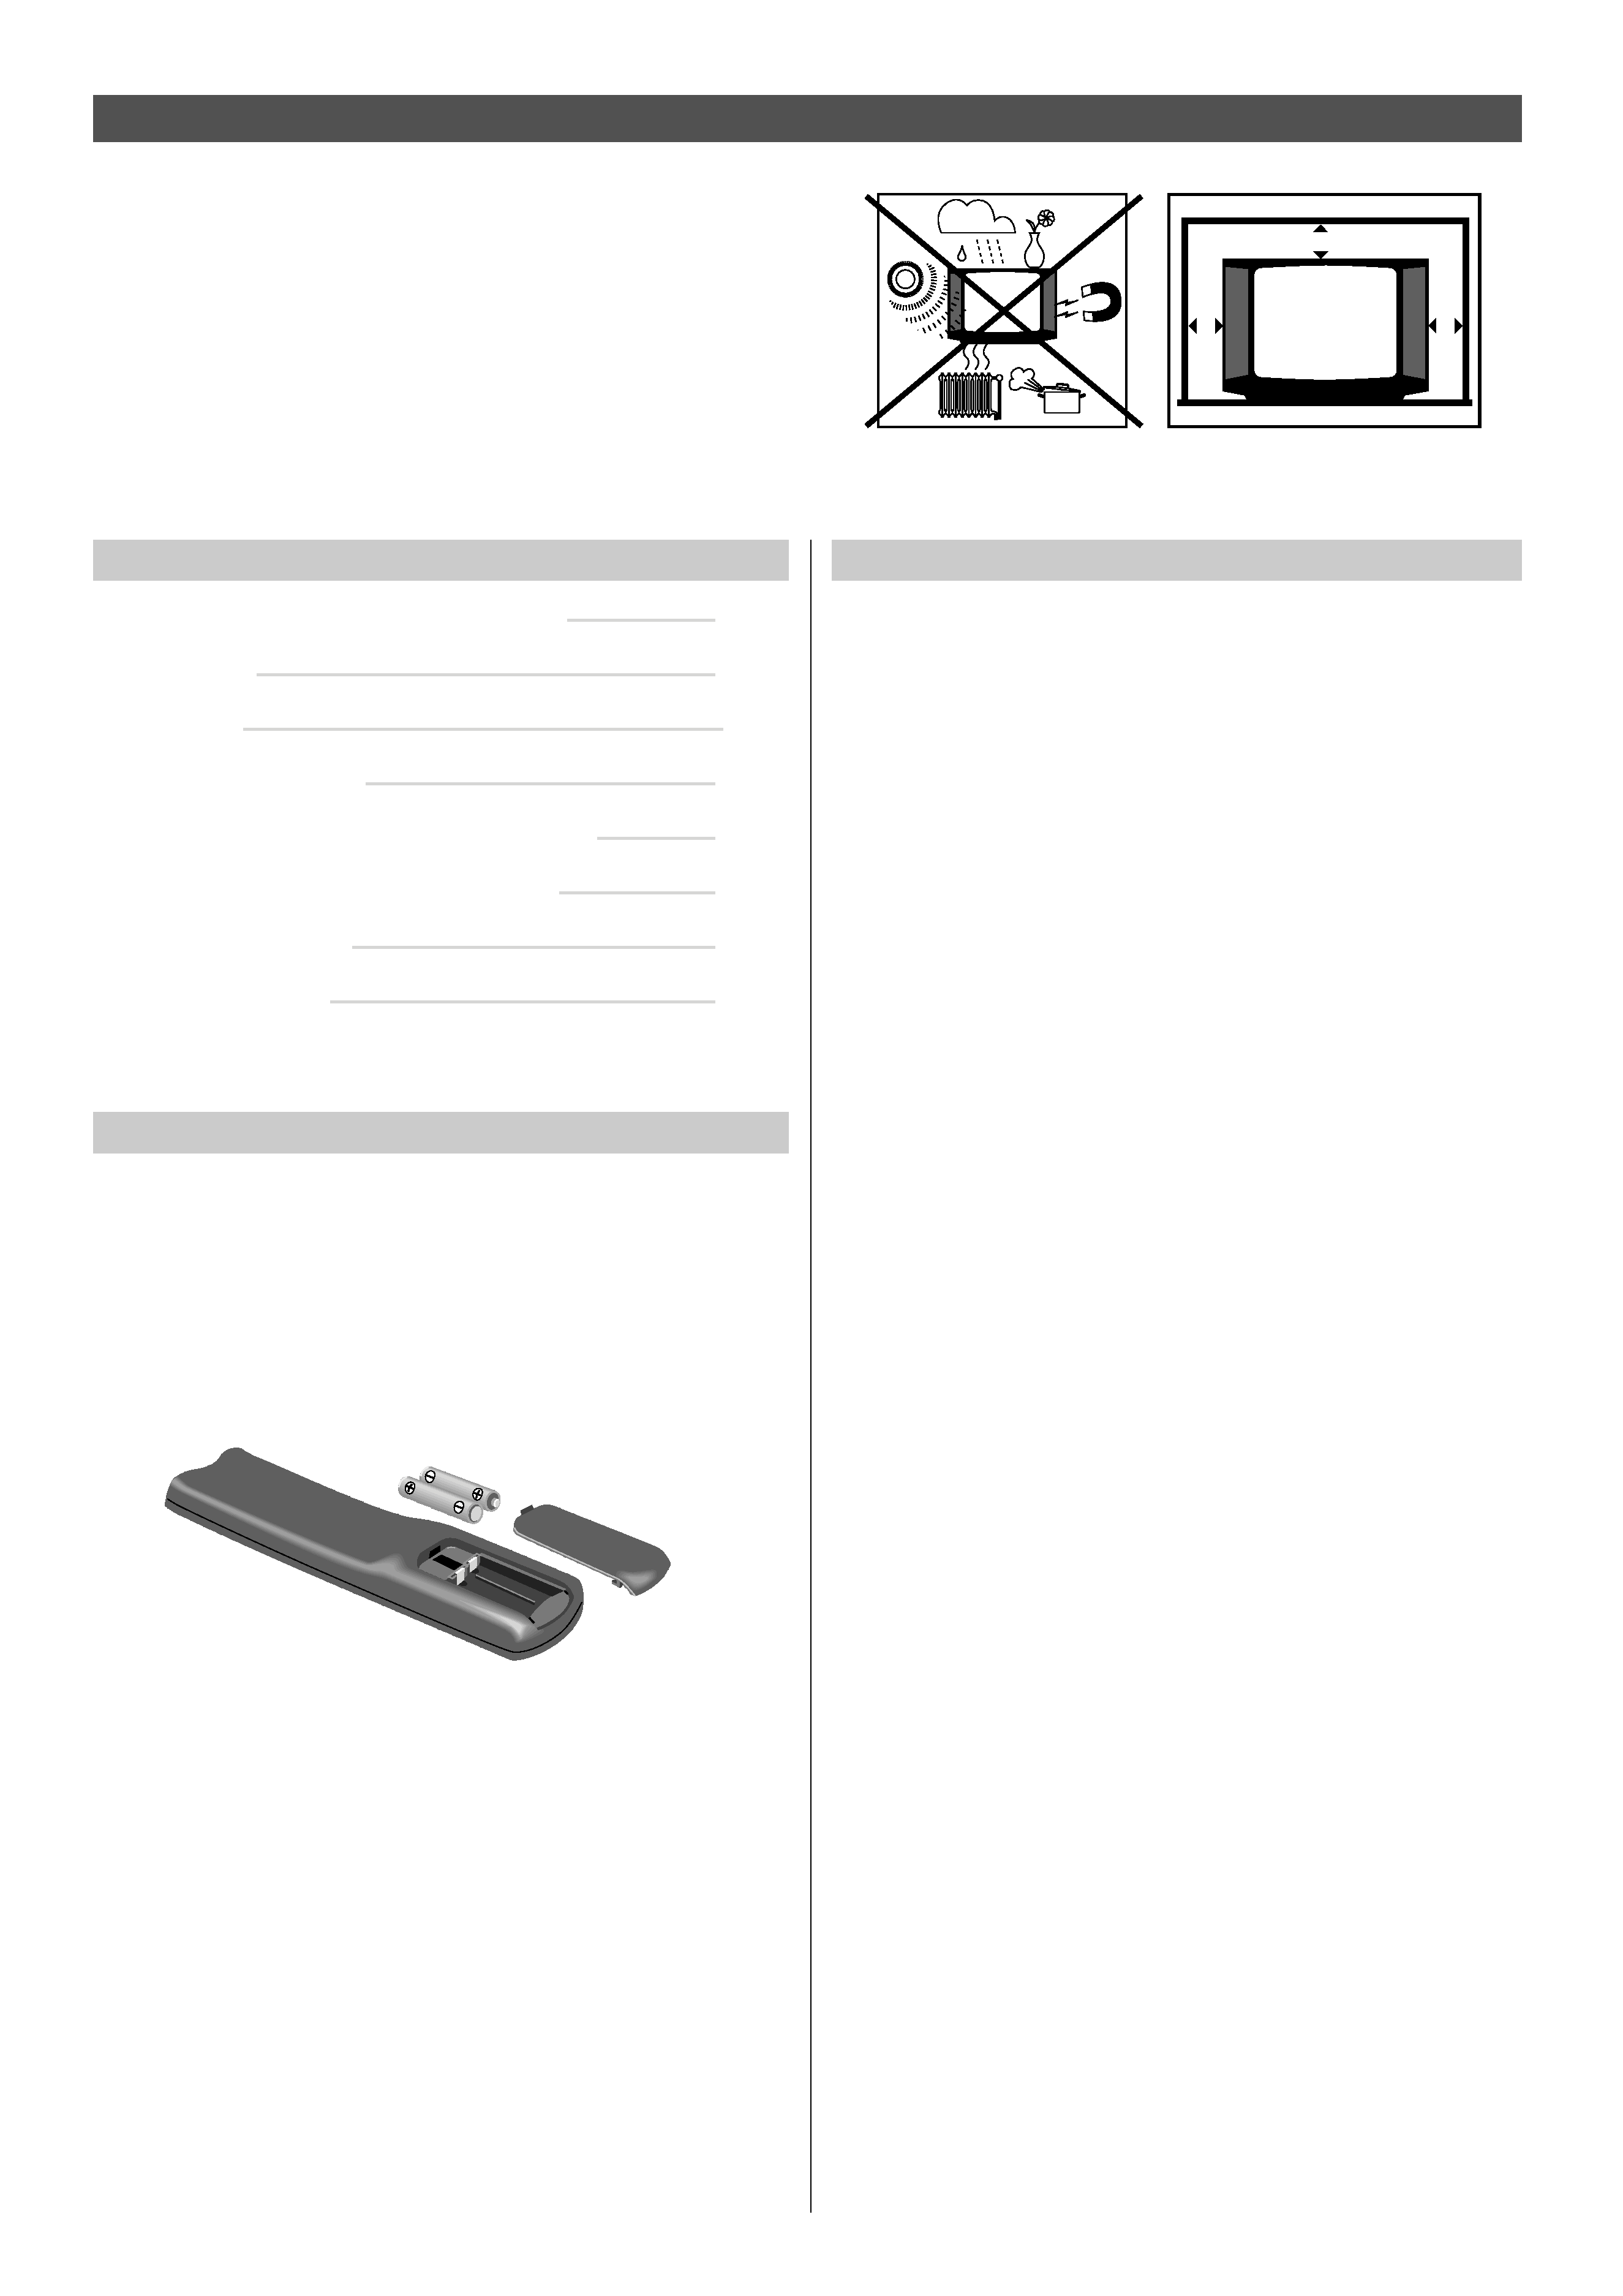
For your safety
· Locate the TV on a firm, flat and stable surface (not on
carpeting).
· Do not lift the TV set by the frame around the picture
tube.
· Allow space for air to pass freely through ventilation
holes on the top, sides and bottom of the TV.
· Make sure the TV is at room temperature before
switching it on.
· Check that your mains electricity supply is suitable for
the TV, 210-240V at 50Hz.
· Unplug the receiver from the wall sockets during
thunderstorms or when the TV will not be used for a
long time.
· This TV is for indoor use only. Do not expose it to rain
or excessive moisture.
· Before cleaning your TV, switch it off and unplug it
from the wall sockets. Use a soft damp cloth and a mild
solution of washing-up liquid to clean the cabinet and
screen.
· Do not use petrol, thinners, alcohol, wax remover or
other solvents on the TV.
· Do not place anything on top of the TV.
· Do not place anything with liquid in it above or near the
TV - it could spill and cause electric shock or damage to
the TV.
· Do not allow any objects, such as hairpins or coins, to
get inside the TV.
· If liquid is spilt, or any objects get inside the TV,
disconnect it from the wall socket and have it checked
by authorised service personnel.
· Do not subject the mains lead to sharp bends, heat or
chemicals. If the mains lead is damaged, disconnect it
from the wall socket and have it checked by authorised
service personnel.
· Do not remove the back cover of the TV. This TV has no
user serviceable parts inside. Refer all servicing to
authorised service personnel.
· Some radio transmitters like GSM-phones can cause a
malfunction. Example: The receiver does not respond
to the remote control commands. Switch off the
receiver by using the mains switch, wait for about 10
seconds and switch the receiver on again.
· Do not remove the guarantee sticker from the back
cover of the receiver.
10 cm
10
cm
10
cm
Fitting and changing batteries
2 x AAA
1,5 V
18
Installation
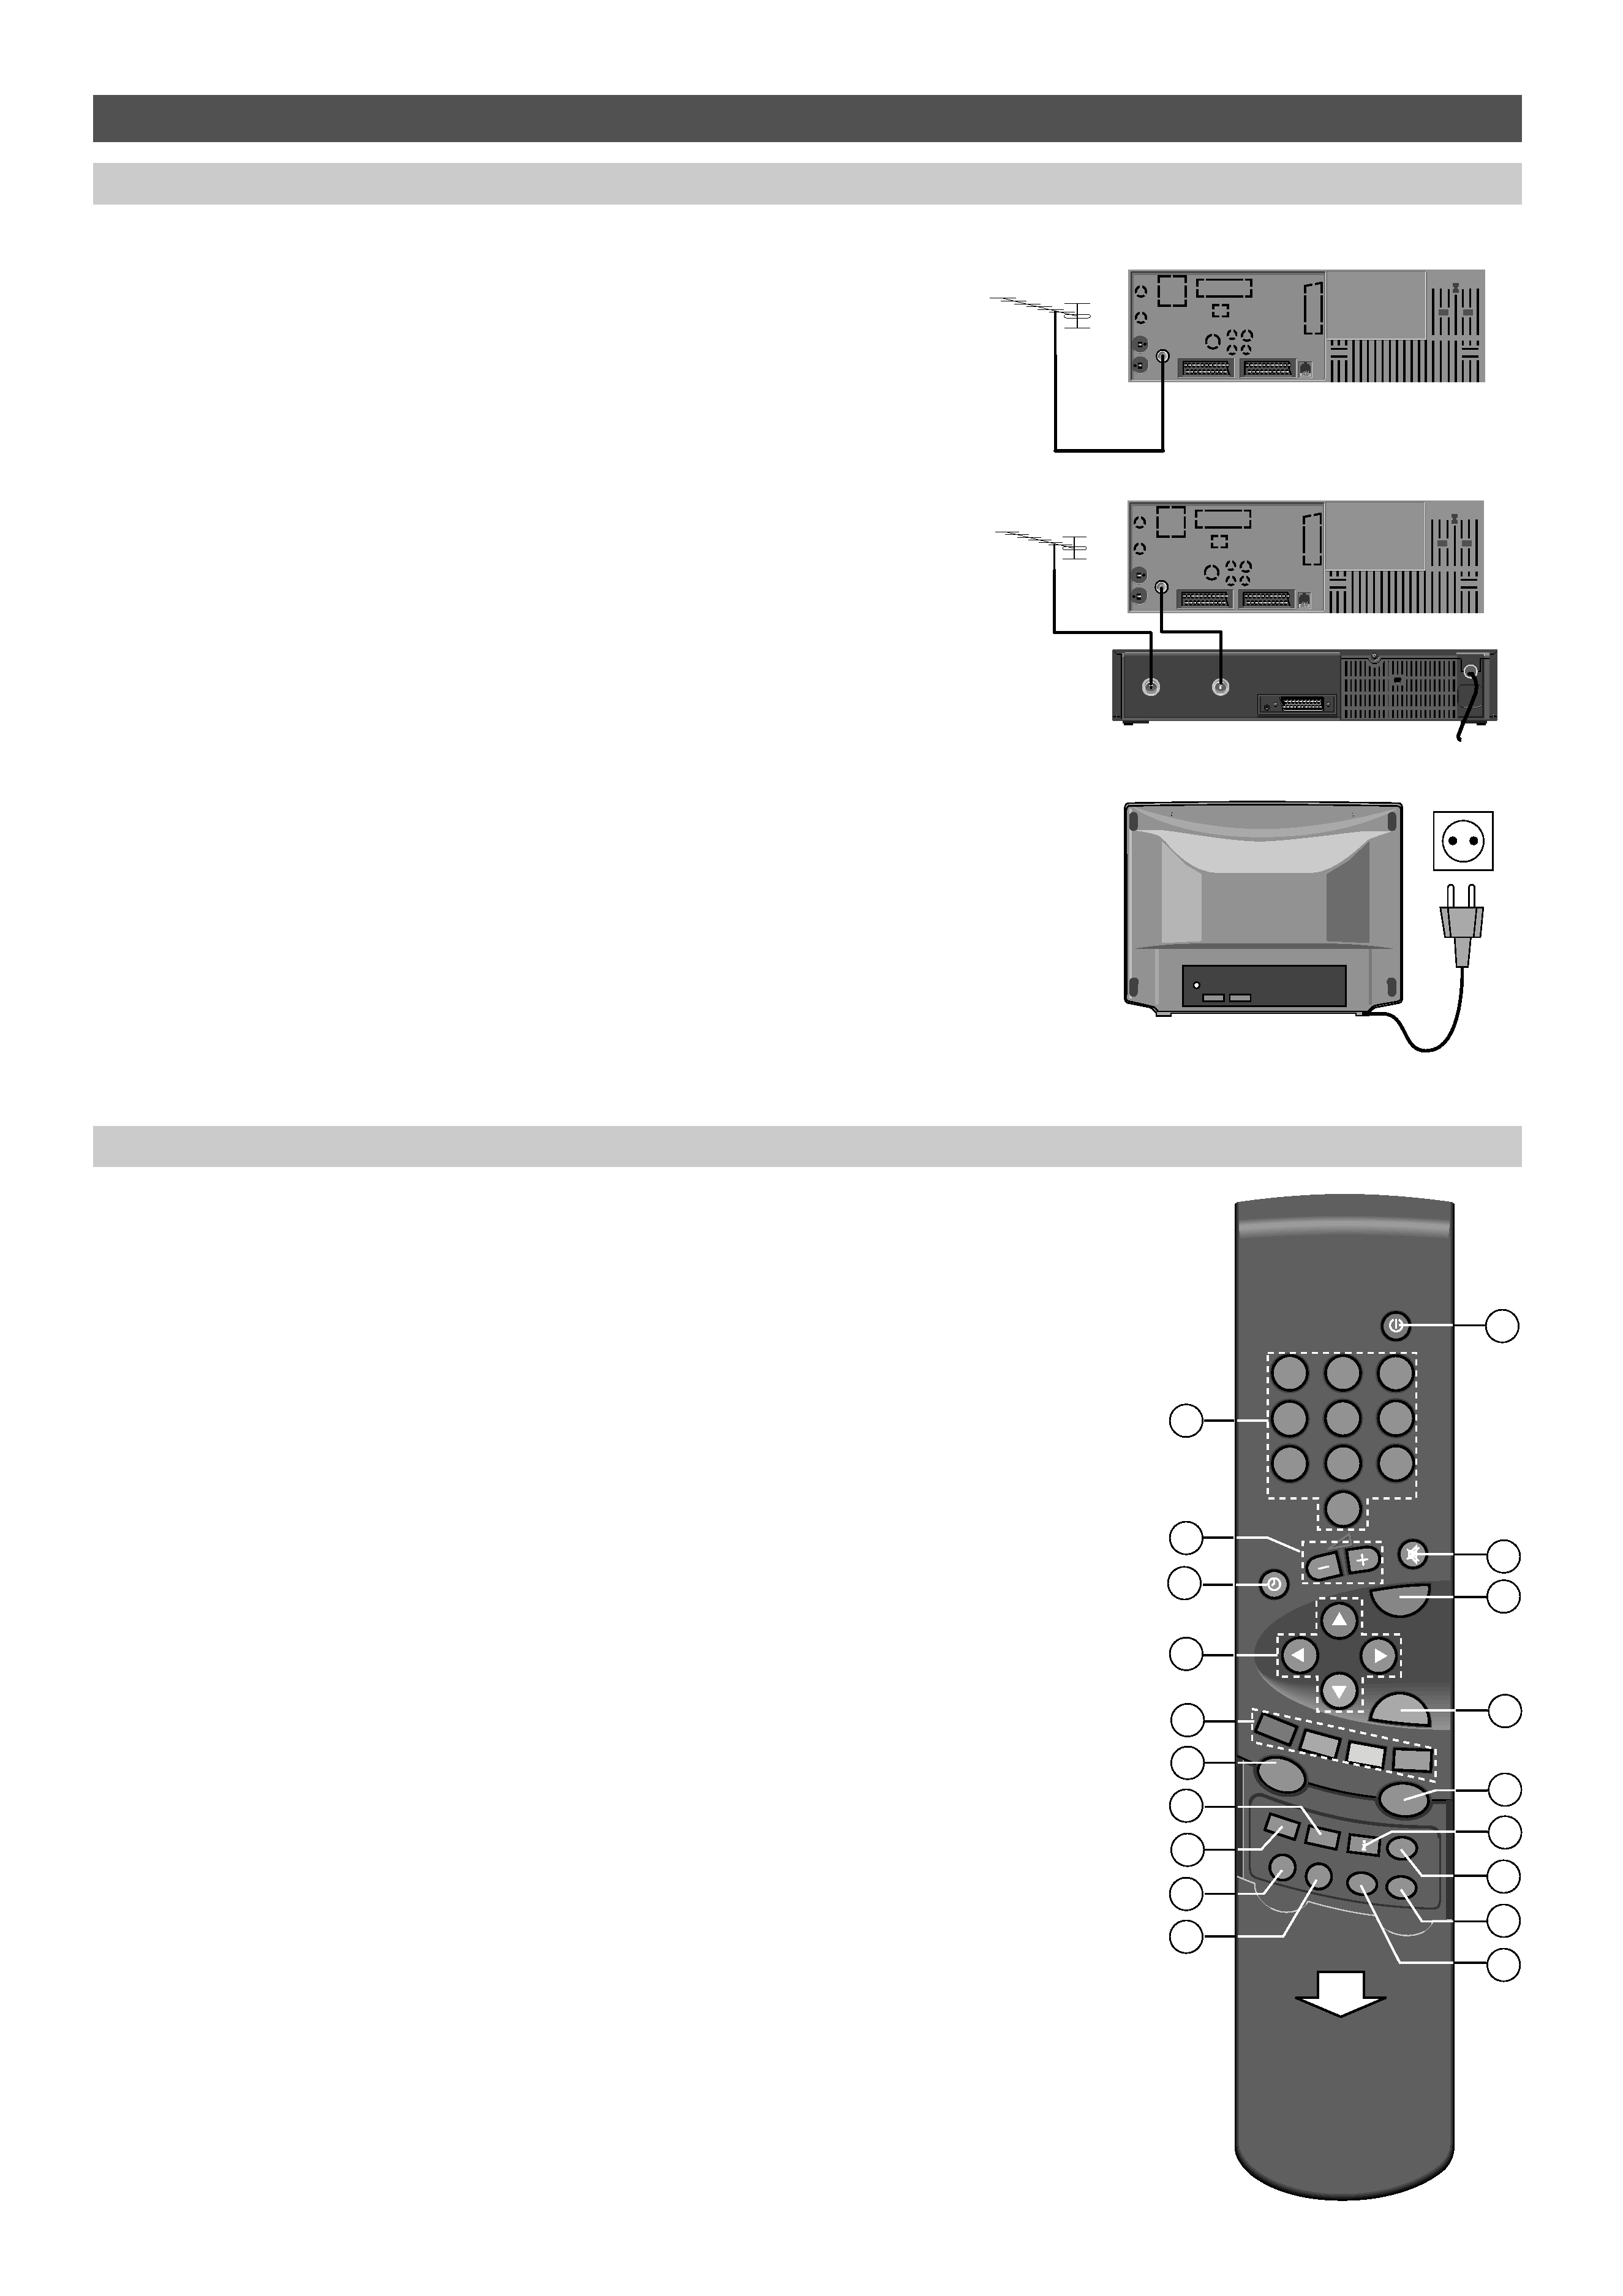
Connections
Connecting the aerial cable
Connect the aerial cable to the aerial connector on the rear panel of the
TV set. Use a high quality outdoor aerial to obtain the best programme
reception.
Connecting a video recorder to the TV set
If you are connecting a video recorder as well, connect the aerial cable
plug into the video recorder aerial input. Using the aerial cable supplied
with the video recorder, connect the recorder aerial output to the TV set
aerial input. Always follow the connections and operating instructions
provided with the video recorder.
If the TV set is supplied with an additional aerial cable, use this cable
between the TV set and the outdoor aerial socket. If you are connecting
a VCR to the TV set, use this cable between video recorder and the TV
set.
Connecting the mains plug
Connect the mains plug of the TV set to the electrical outlet after all
other installation connections have been done. The required AC mains
supply is 210-240 V (50Hz).
For more information on connections, see the section
"External devices"
RF OUT/TV
AERIAL
Remote control hand unit
SOUND
VISION
PIP
ZOOM
1
2
7
5
3
9
10
12
13
16
17
4
6
8
11
14
15
18
19
OK
TV
VCR
SAT
?
SIZE
REC
VCR
VCR
STOP
TEXT
NEXTV
IEW
MENU
12
3
45
6
78
9
0
1.
Standby button - to switch off the TV set temporarily
2.
Number buttons - to select a TV programme
3.
Sound volume control
4.
Sound mute button - to turn the sound on or off
5.
Clock button - to display the current time (if a teletext service is
available)
6.
TV button - to switch the TV set on from the stand-by mode or to
exit menus
7.
Cursor buttons
up/down - step forward/backward
left/right - sound volume control
8.
OK button - to store changes
9.
Colour buttons
ZOOM (red) - to change picture format
SOUND (green) - to display sound controls
VISION (yellow) - to display picture controls
PIP (blue) - no function
Colour buttons are also used to make selections in the menus
10. NexTView - no function
11. TEXT button - to select teletext mode
B
B
B
Bu
u
u
utttttttto
o
o
on
n
n
ns
s
s
s llllo
o
o
oc
c
c
ca
a
a
atttte
e
e
ed
d
d
d u
u
u
un
n
n
nd
d
d
de
e
e
errrr tttth
h
h
he
e
e
e lllliiiid
d
d
d
(open the lid by pulling it down)
12
? button - no function
13
MENU button - to display the main menu
14
i button - to select the programme list
15
SIZE button - to change teletext size
16
VCR button - see the section "Remote control of external devices"
17
SAT button - see the section "Remote control of external devices"
18
STOP button - to freeze the picture temporarily
19
REC button - to lock a programme for recording to the video
recorder
3P58 83041010-GB
5
Installation
19
First time installation
The Automatic Programming System (APSi) will automatically search
for and store TV programme channels. After the search, the TV set will
sort the programme channels into a factory preset order.
! First check that the aerial cable is properly connected.
_________________________________________________________________________
1 Press the mains switch on the front panel.
_________________________________________________________________________
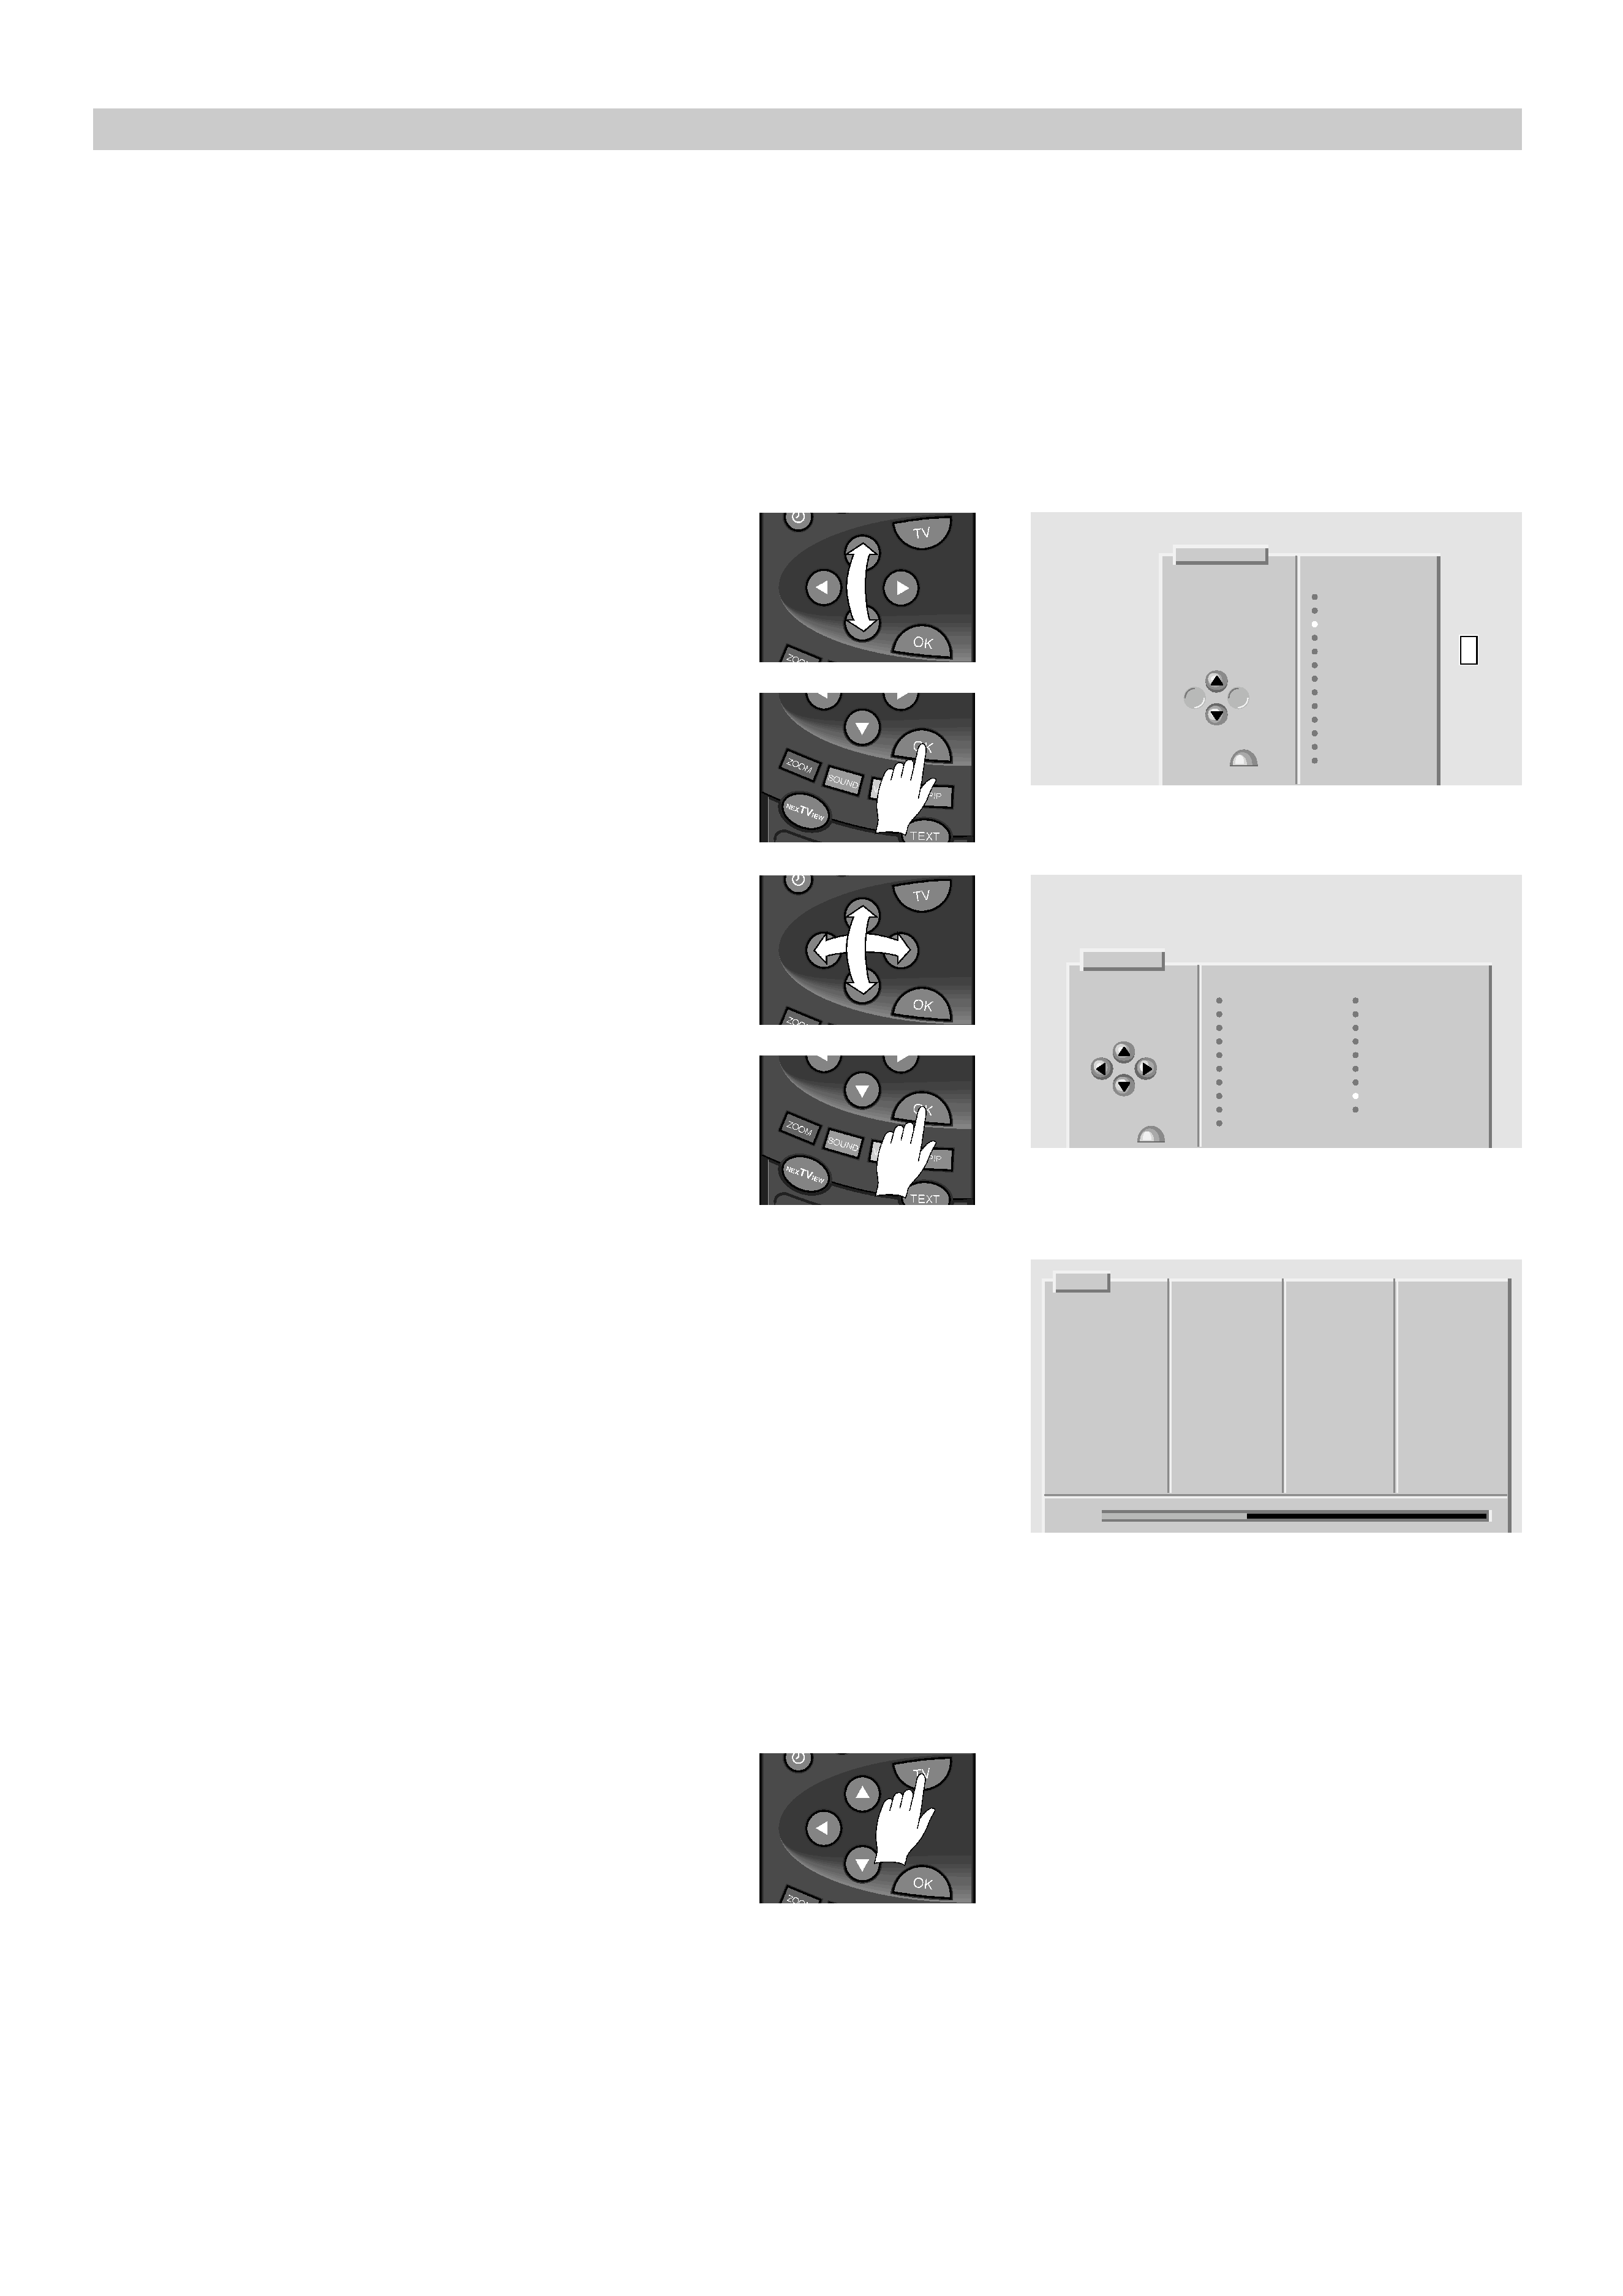
2 Select the on screen language by pressing the
cursor button (up or down).
Confirm the selection by pressing the OK button.
____________________________________________________
3 Select the country in which the TV set is to be used
by pressing the cursor buttons.
Confirm the selection by pressing the OK button.
Language
Select
DANSK
your
DEUTSCH
language
ENGLISH
ESPAOL
Use buttons
FRANAIS
ITALIANO
NEDERLANDS
NORSK
POLSKI
PORTUGUES
SUOMI
then
SVENSKA
press
»
TRKE
Country
Select
country
AUSTRIA
NORWAY
BELGIUM
POLAND
Use buttons
CZECH
PORTUGAL
DENMARK
SPAIN
FINLAND
SWEDEN
FRANCE
SWITZERLAND
GERMANY
TURKEY
IRELAND
UK
ITALY
OTHER
then
NETHERLANDS
press
»
________________________________________________________________________
4 WAIT! The Tv set will show the tuning scale and channeol numbers
which have been found. Leave the TV set to complete tuning before
continuing. When the tuning scale shows 100%, all channels have been
located and stored in the preset order and the TV set will display a new
APSi menu.
In certain countries, (e.g. in Belgium and Netherlands) the Automatic
Channel Installation function (ACI) is used on cable networks to enable
fully automatic installation of programme channels including priority
and names. When the ACI function occurs an information menu will be
shown. If necessary, an additional menu, which includes a list of
preferences e.g. living area, will appear on the screen. To continue the
ACI function, enter the two digit code number which corresponds to
your preferences and press the OK button.
________________________________________________________________________
APSi
TV 1
Searching
TV 2
for TV
TV 3
programs
TV 4
TV 5
Please wait
TV 6
TV 7
TV 8
TV 9
TV 10
TV 11
TV 12
TV 13
TV 14
36%
To view a TV programme, press the TV button.
You can sort, name, and delete the programme list by following the
instructions given in the section "Editing the programme list". If you want
to tune and store more TV channels at a later date using the APSi feature,
see the section "Tuning in programme channels".
3P58 83041010-GB
Daily use
Switching on or off
To switch on
Press the mains switch on the front of the TV set. To switch on from the
stand-by mode, hold the TV button down until the TV switches on or
enter a number to select a programme directly.
To put on stand-by
Press the stand-by button to switch off the TV set to the stand-by mode.
The TV set will switch to the stand-by mode automatically if no
transmission is received for five minutes. For further information, see
the section "Switching the TV set to stand-by with a timer".
To switch off
Press the mains switch on the front panel to turn the TV set off.
If the TV set is not be used for a longer period of time, eg. overnight or
during the day, switch it off by pressing the mains switch. If the TV set
will not be used for an extended period of time, disconnect the mains
plug and the aerial cable from the wall socket.
SOUND
VISION
PIP
ZOOM
OK
TV
VCR
SAT
?
SIZE
REC
VCR
VCR
STOP
TEXT
NEXTV
IEW
MENU
12
3
45
6
78
9
0
TV
i
To switch off
to stand-by
To switch on
from stand-by
Selecting a TV programme
There are four alternative ways of selecting a TV programme.
A By entering a programme number
Enter a programme number with the number buttons.
_________________________________________________________________________
B By stepping up and down
While you are watching a TV programme, select another programme by
pressing the cursor button up or down.
_________________________________________________________________________
C By scrolling the programme list
When you keep the cursor button (up or down) depressed, a programme
list will appear on the screen. Let the list scroll until the programme you
want is selected.
_________________________________________________________________________
D By choosing a programme from the Information menu
Select the Information menu by pressing the i button (under the lid) and
follow instructions given in the menu. To view the selected TV
programme, press the TV button.
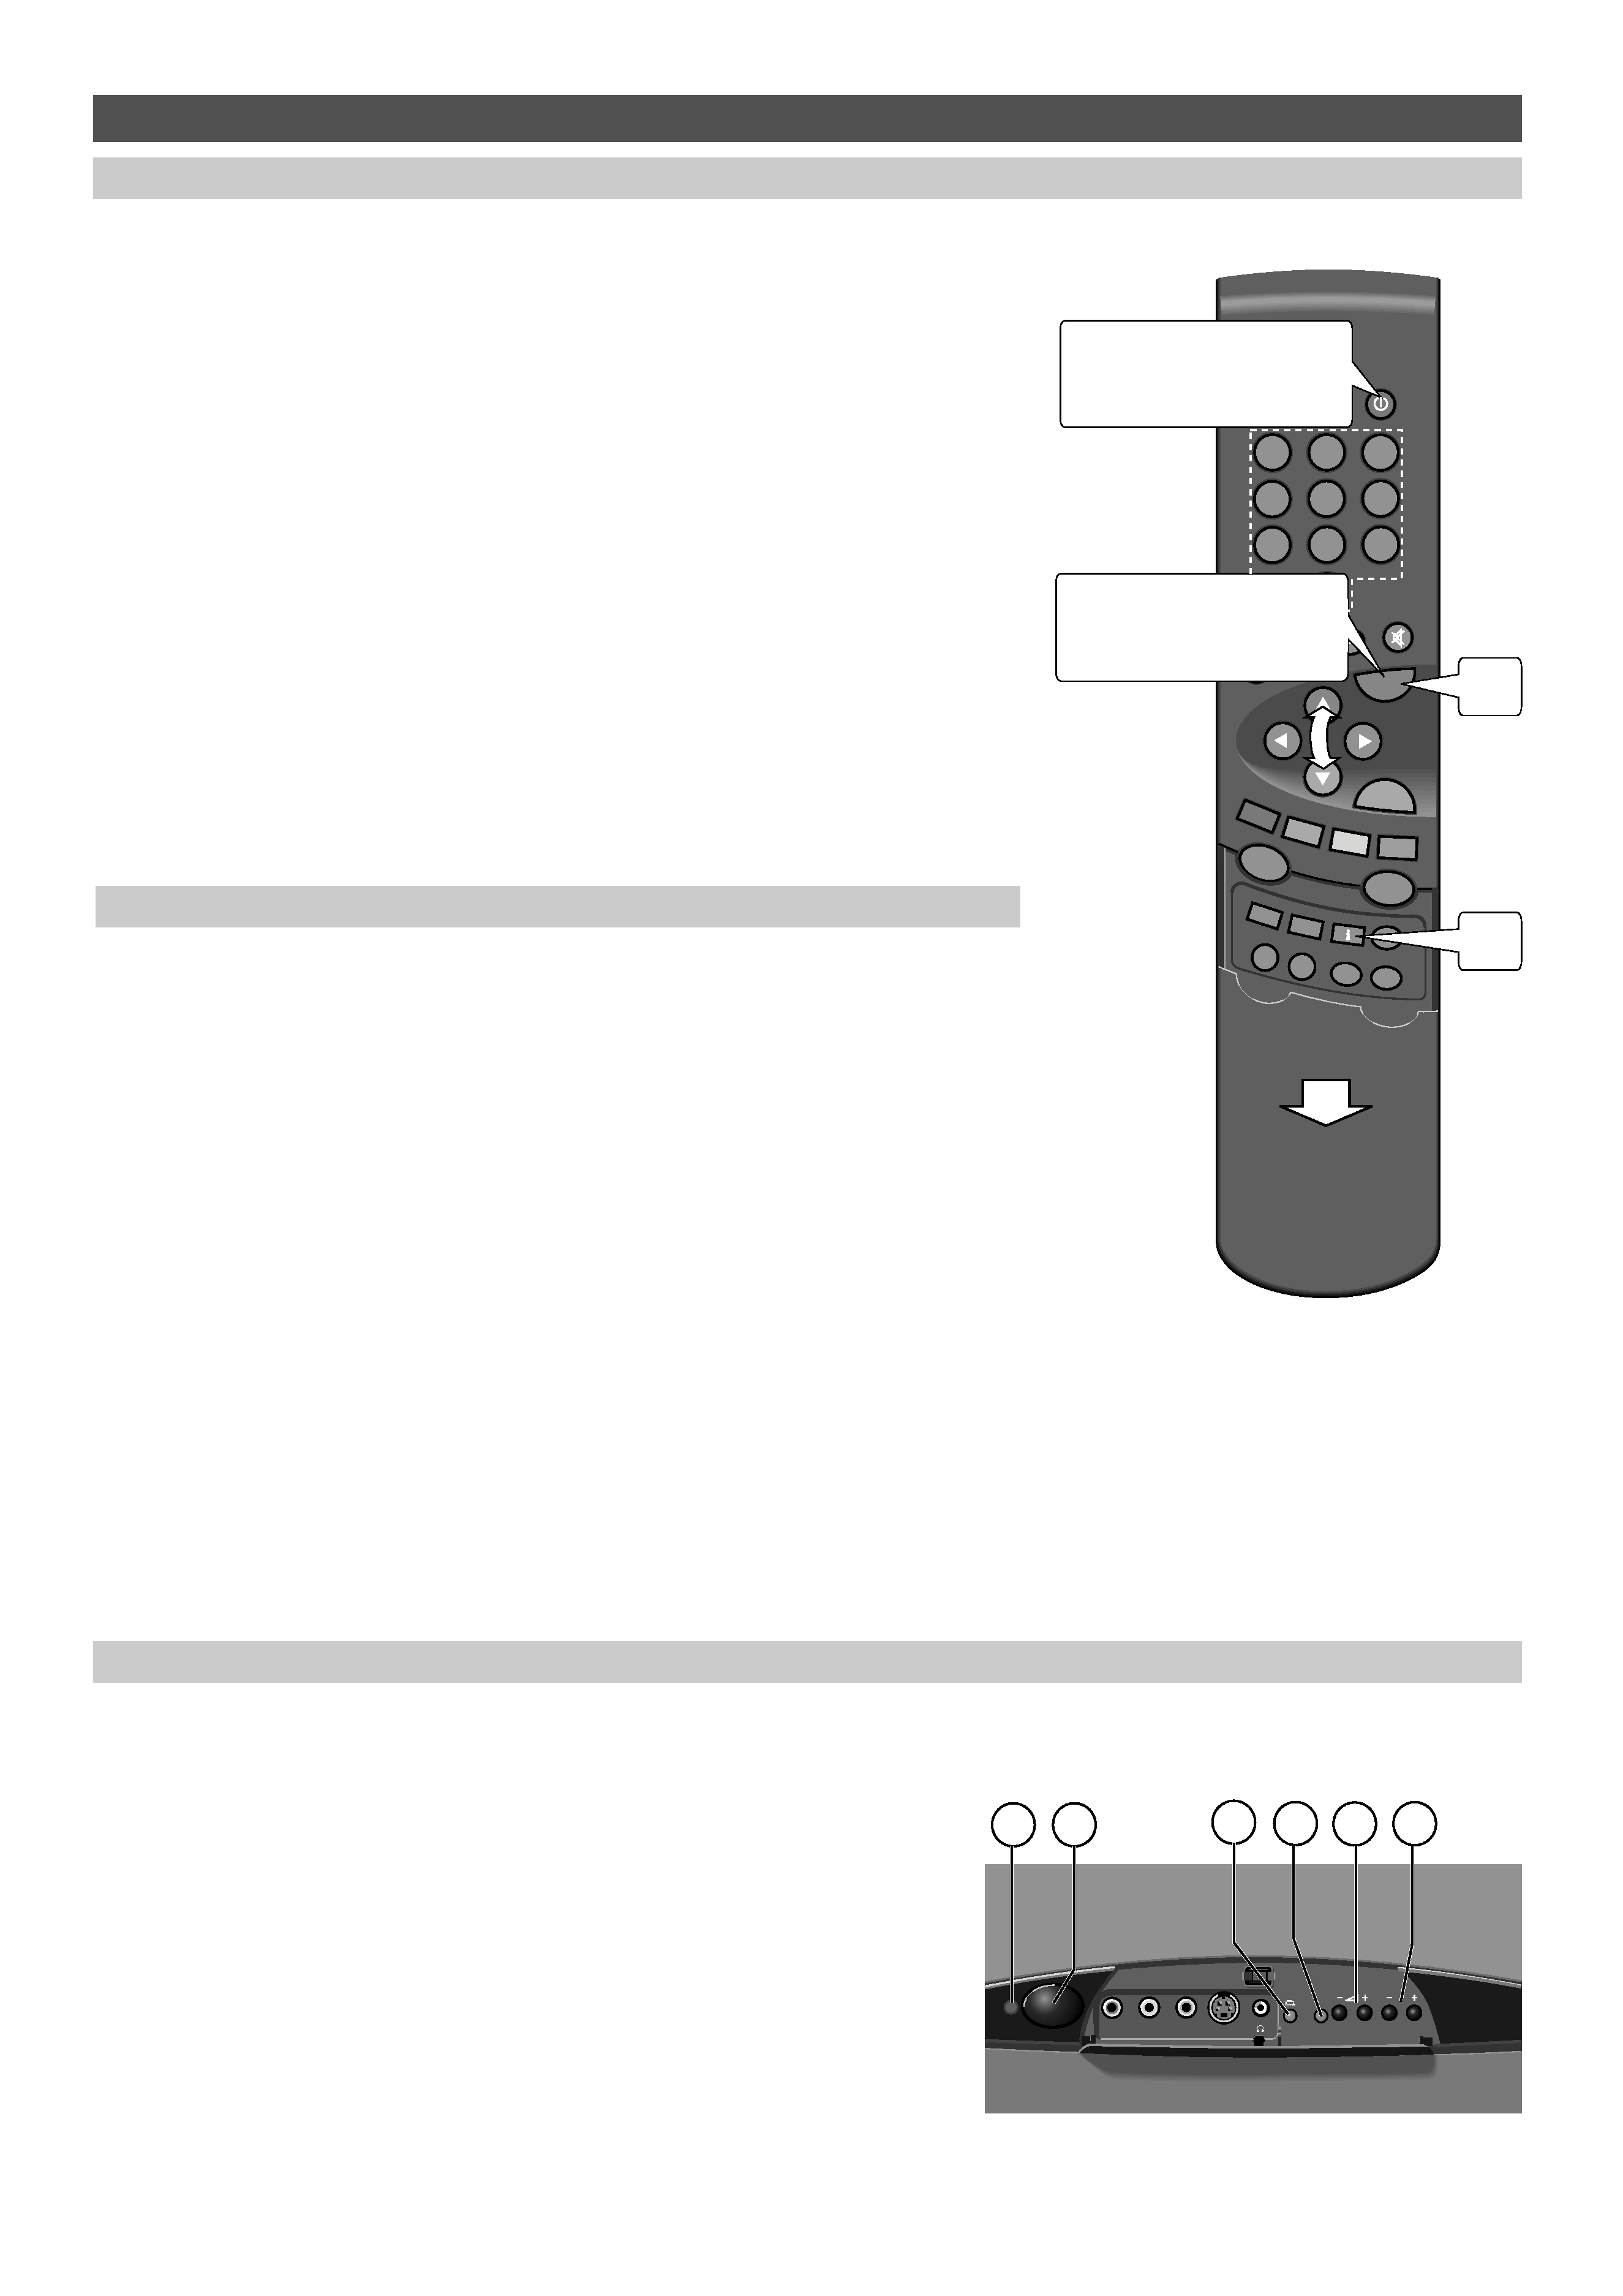
Front panel controls
The local control unit is situated behind a flap on the lower
edge of the TV. The flap is opened by first pressing its top edge
inwards and then by tilting it down.
Local control push buttons and indicator lights are as follows:
1. Indicates power is switched on
2. Mains switch, to turn the TV set on or off
3. Lights up when remote control is being used or
copy function is activated
4. Indicates TV is iswitched on
5. Volume controls
6. Programme selection
The shape of the front panel may vary according to the model.
However, the functions remain the same. For information on
front panel connectors, see the section "External devices".
R AUDIO L
VIDEO
S-VIDEO
P
1
2
3
4
5
6
20
3P58 83041010-GB