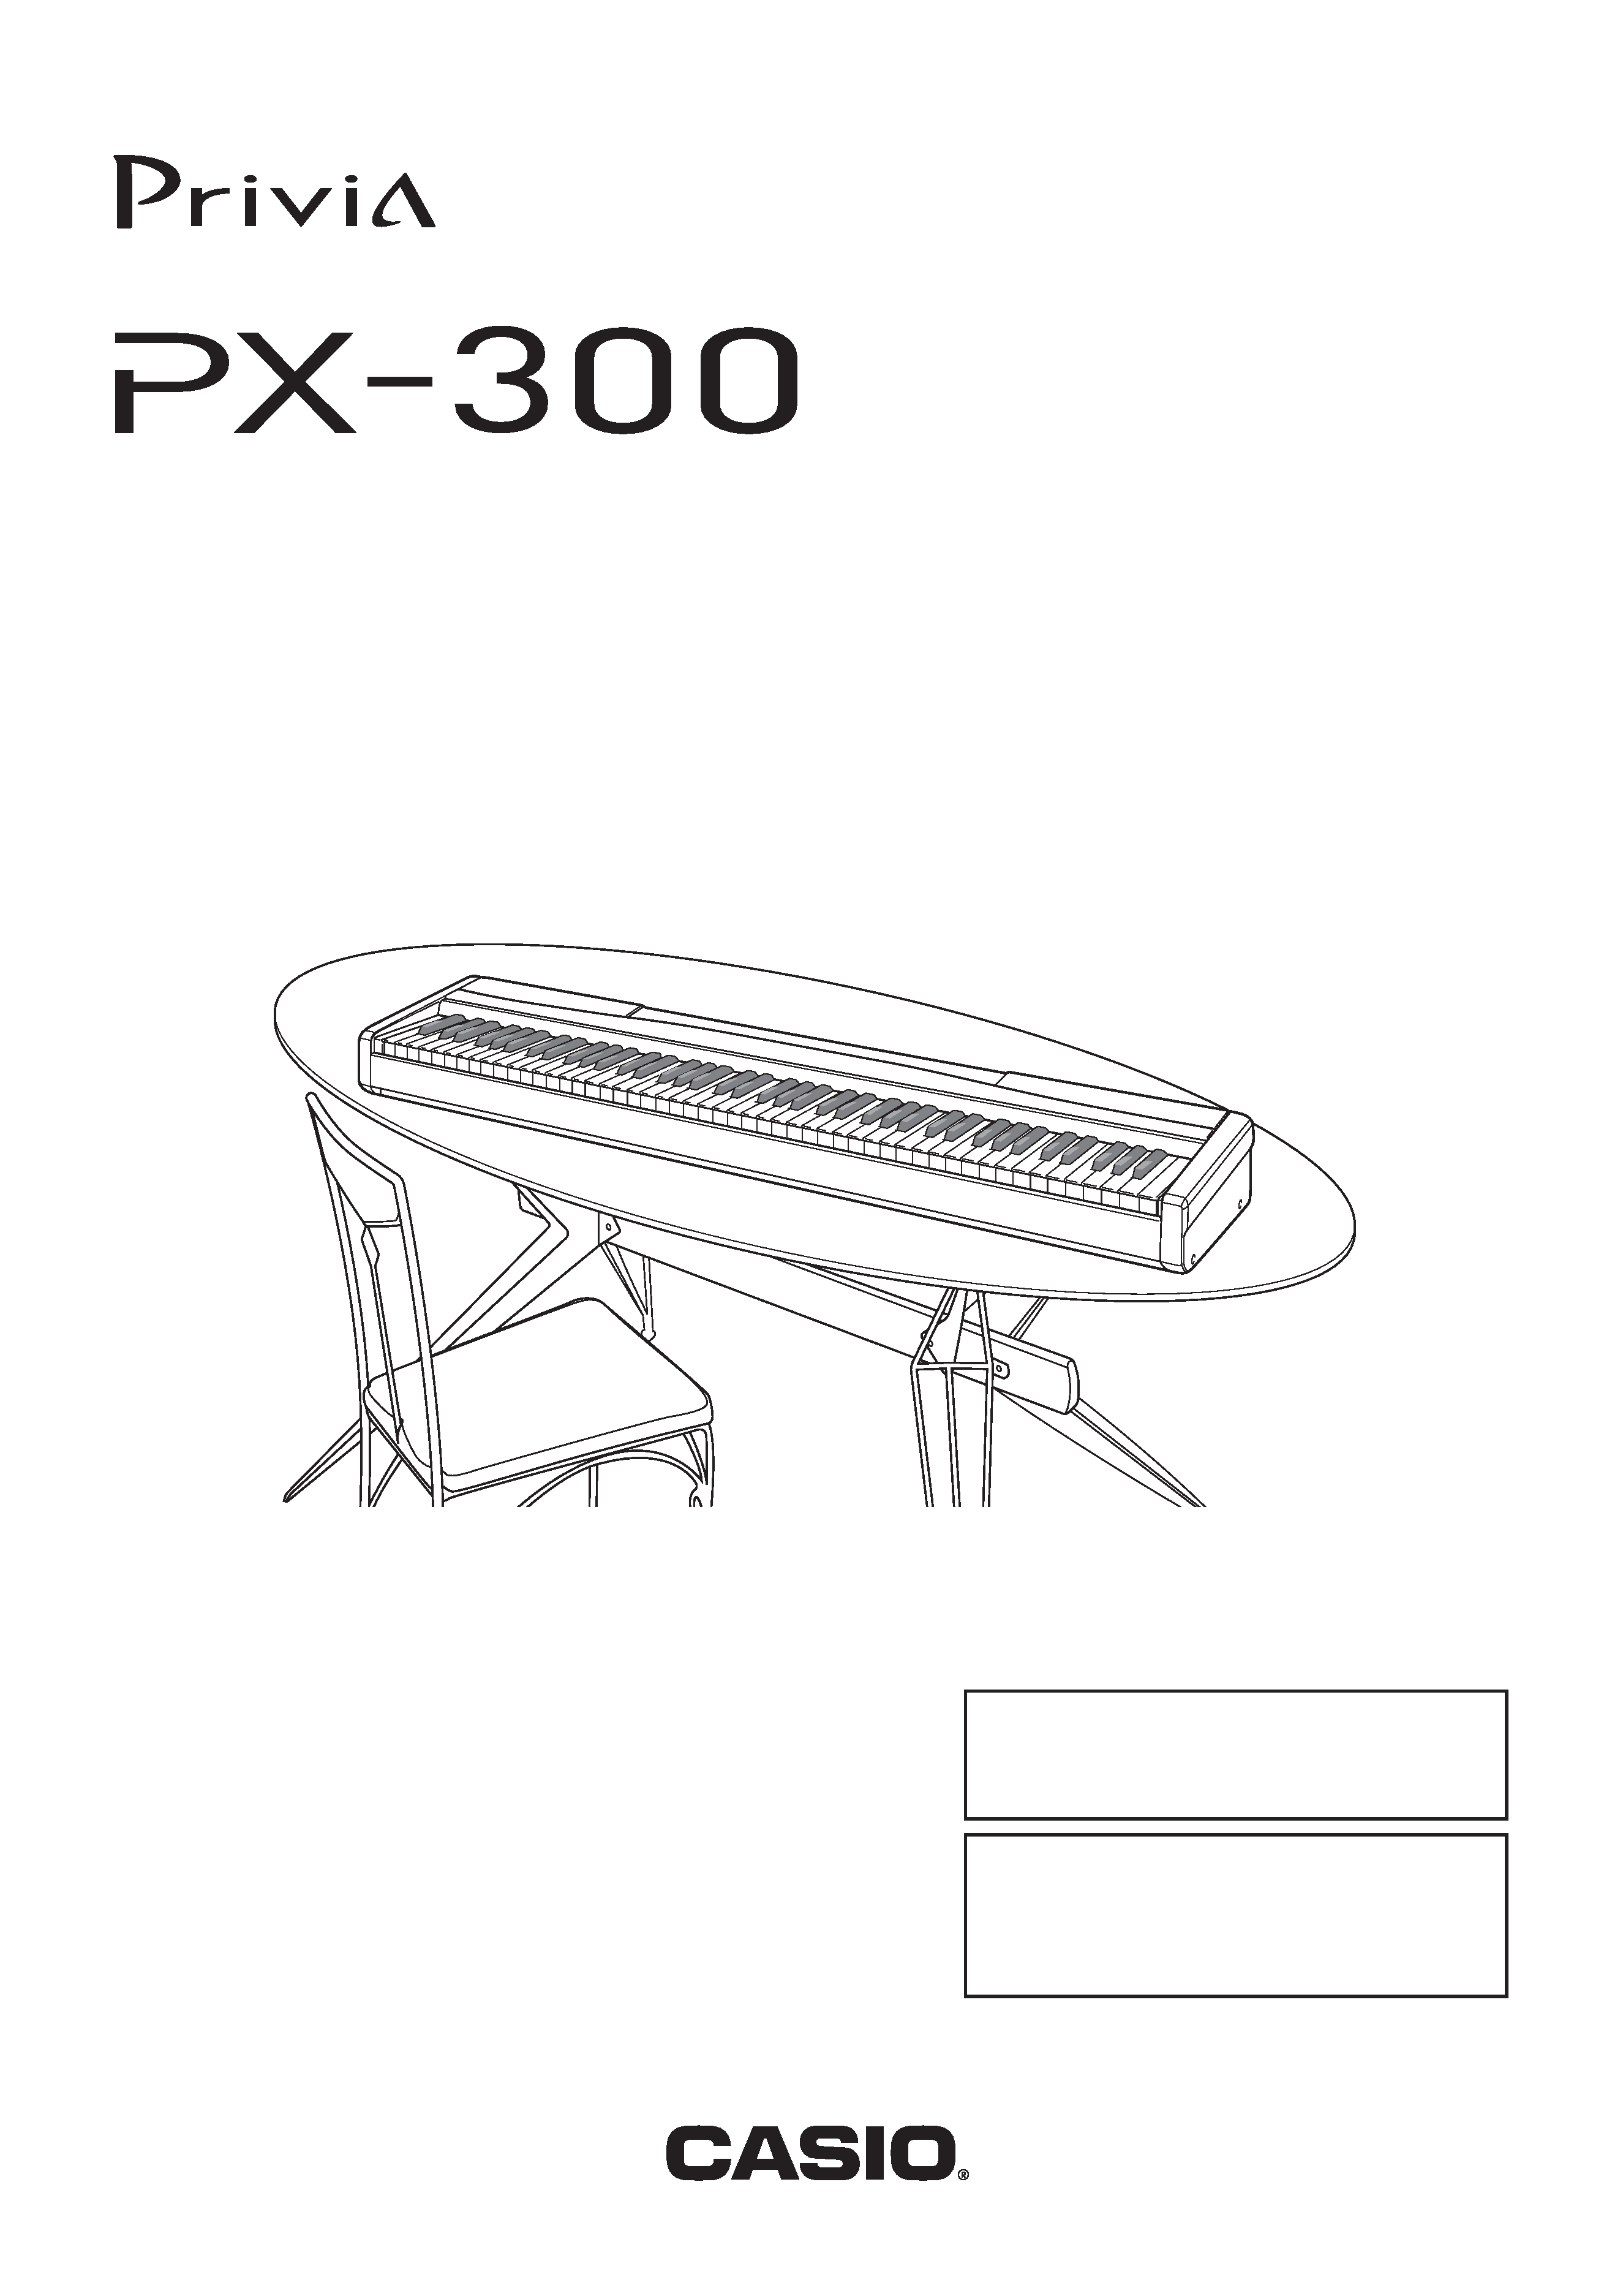
PX300-ES-1
ES
USER'S GUIDE
GUÍA DEL USUARIO
Please keep all information for future reference.
Guarde toda información para tener como referencia futura.
Safety Precautions
Before trying to use the piano, be sure to
read the separate "Safety Precautions".
Precauciones de seguridad
Antes de intentar usar el piano, asegúrese
de leer las "Precauciones de seguridad"
separadas.
NOTICE
This equipment has been tested and found to comply with the limits for a Class B digital device, pursuant to
Part 15 of the FCC Rules. These limits are designed to provide reasonable protection against harmful
interference in a residential installation. This equipment generates, uses and can radiate radio frequency
energy and, if not installed and used in accordance with the instructions, may cause harmful interference to
radio communications. However, there is no guarantee that interference will not occur in a particular
installation. If this equipment does cause harmful interference to radio or television reception, which can be
determined by turning the equipment off and on, the user is encouraged to try to correct the interference by
one or more of the following measures:
· Reorient or relocate the receiving antenna.
· Increase the separation between the equipment and receiver.
· Connect the equipment into an outlet on a circuit different from that to which the receiver is connected.
· Consult the dealer or an experienced radio/TV technician for help.
FCC WARNING
Changes or modifications not expressly approved by the party responsible for compliance could void the
user's authority to operate the equipment.
TO REDUCE THE RISK OF FIRE OR ELECTRIC SHOCK, REFER SERVICING TO QUALIFIED SERVICE
PERSONNEL.
CASIO ELECTRONICS CO., LTD.
Unit 6, 1000
North Circular Road
London NW2 7JD, U.K.
This mark is valid in the EU countries only.
Please keep all information for future reference.
Important!
Please note the following important information before using this product.
· Before using the optional AD-12 Adaptor to power the unit, be sure to check the AC Adaptor for any
damage first. Carefully check the power cord for breakage, cuts, exposed wire and other serious damage.
Never let children use an AC adaptor that is seriously damaged.
· The product is not intended for children under 3 years.
· Use only CASIO AD-12 adaptor.
· The AC adaptor is not a toy.
· Be sure to disconnect the AC adaptor before cleaning the product.
413A-E-002A
E-1
Contents
Company and product names used in this
manual may be registered trademarks of others.
413A-E-003A
General Guide .......................... E-2
Attachment of the Score Stand .................. E-2
Playing Back All the Built-in Tunes ............. E-3
Power Supply ........................... E-4
Using the AC Adaptor ................................. E-4
Connections ............................. E-5
Connecting Headphones ............................ E-5
Connecting to a PEDAL Jack ..................... E-5
Connecting an audio or musical instrument
amplifier ...................................................... E-6
Playing with Different Tones ... E-7
Selecting and Playing a Tone ..................... E-7
Selecting Main Tones and
Variation Tones ........................................... E-7
Selecting a GM Tone or Drum Set .............. E-7
Using Tone Effects ...................................... E-8
Layering Two Tones .................................... E-9
Assigning Different Tones to the
Left and Right Sides of the Keyboard ....... E-10
Using the Piano's Pedals .......................... E-10
Using the Built-in Metronome ................... E-11
Playing Rhythms .................... E-12
Using Auto Accompaniment ...................... E-13
Learning to Play the Built-in
Tunes ...................................... E-17
Playing a Built-in Tune .............................. E-17
Practicing a Built-in Tune .......................... E-17
Recording to and Playing Back
from Song Memory ................ E-18
Recording Your Keyboard Play ................. E-19
Playing Back from Song Memory ............. E-20
To delete song memory data .................... E-20
Other Settings ........................ E-21
Changing the Keyboard Touch ................. E-21
Changing the Piano Key ........................... E-21
Changing the Pitch of the Piano to
Match Another Instrument ........................ E-21
Using MIDI ................................................ E-22
Expanding the Selections in the
Built-in Tunes ............................................ E-23
Troubleshooting ..................... E-24
Specifications......................... E-25
Operational Precautions ....... E-26
Setting Control Key Chart ..... E-26
Appendix ..................................A-1
Tone List ..................................................... A-1
Rhythm List ................................................. A-2
Song List ..................................................... A-2
Drum Assignment List ................................. A-3
Fingered Chord Chart ................................. A-4
MIDI Implementation Chart
E-2
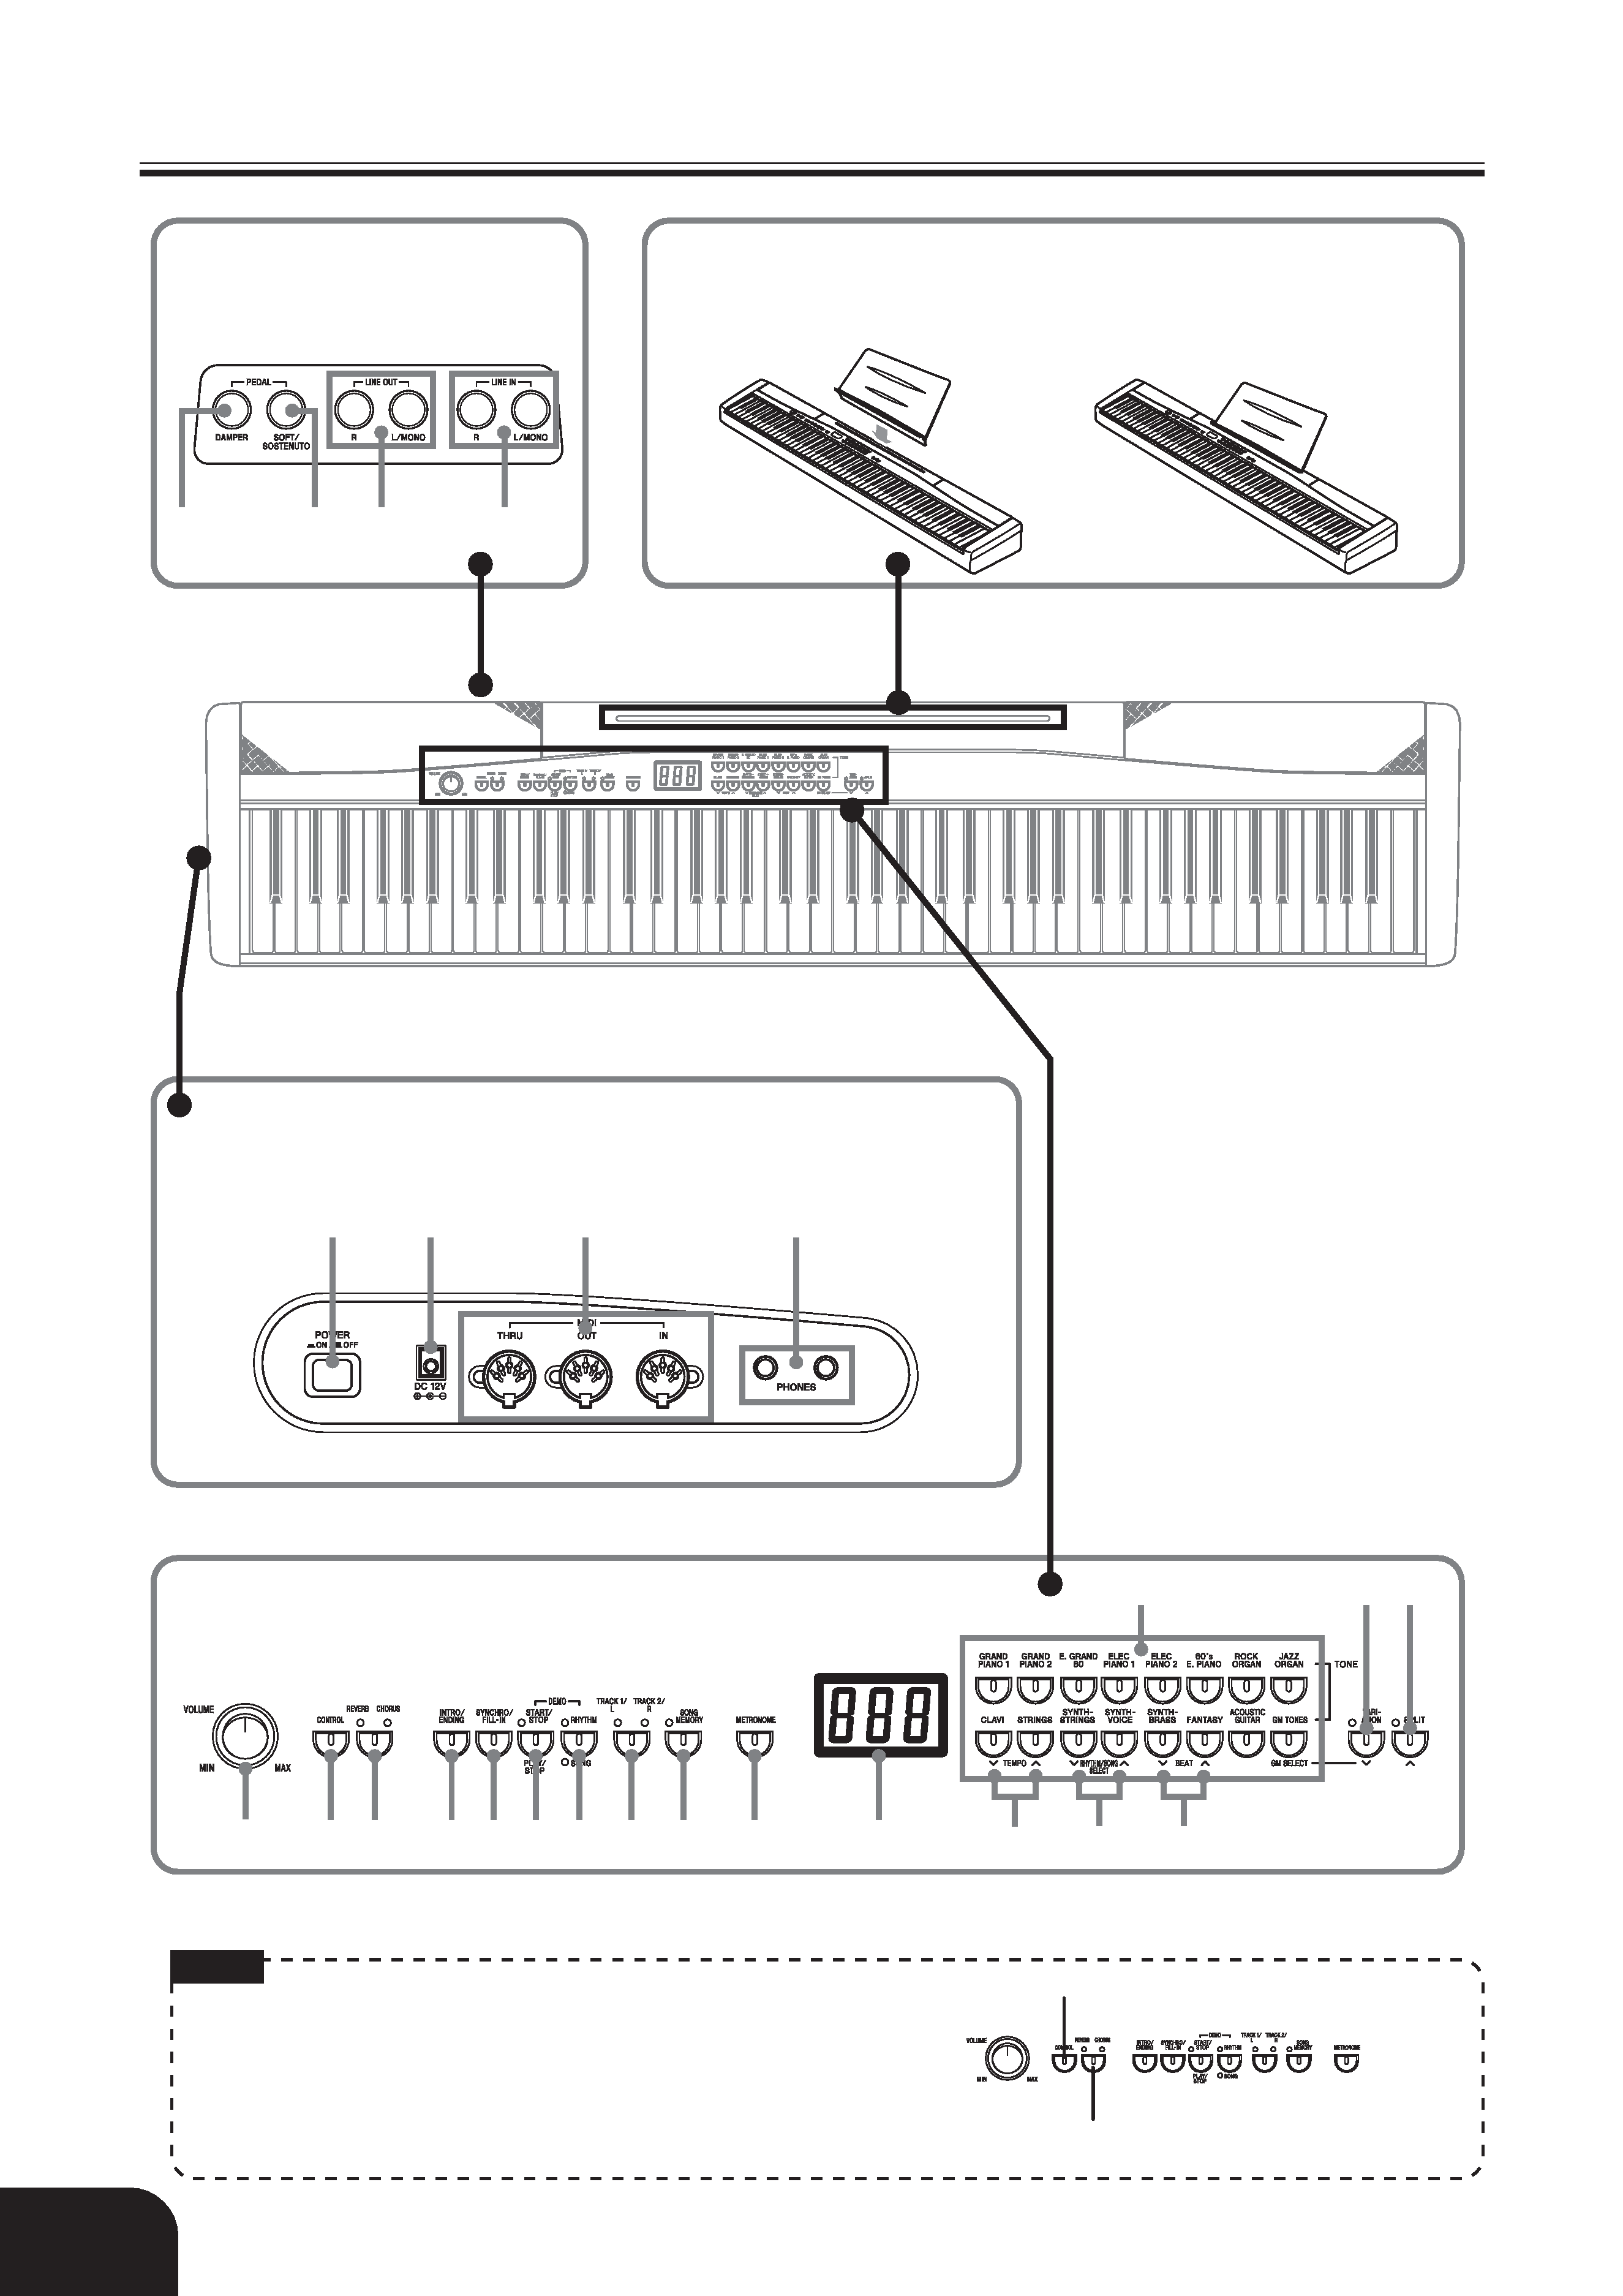
General Guide
Back Panel
Attachment of the Score Stand
Insert the score stand into the slot at the top of the digital piano
as shown in the illustration.
Left Side Panel
413A-E-004A
NOTE
· Each chapter of this manual starts with an illustration
of the piano's console, which shows the buttons and
other controllers you need to operate.
CONTROL
REVERB
CHORUS
12
3
5
90
J
67
8
A
B C D E F G
H
I
N O
KLM
4

E-3
1
PEDAL DAMPER jack
2
PEDAL SOFT/SOSTENUTO jack
3
LINE OUT R, L/MONO jacks
4
LINE IN R, L/MONO jacks
5
POWER button
6
DC 12V jack
7
MIDI THRU/OUT/IN terminals
8
PHONES jacks
9
VOLUME knob
0
CONTROL button
A
REVERB CHORUS button
B
INTRO/ENDING button
C
SYNCHRO/FILL-IN button
D
START/STOP, PLAY/STOP button
General Guide
E
RHYTHM, SONG button
F
TRACK 1/L TRACK 2/R button
G
SONG MEMORY button
H
METRONOME button
I
Display screen
J
TONE buttons
K
TEMPO buttons
L
RHYTHM/SONG SELECT buttons
M
BEAT buttons
N
VARIATION button
O
SPLIT button
NOTE
· Key, button, and other names are indicated in the text of this manual using bold type.
Playing Back All the Built-in Tunes
The following procedure plays back the built-in tunes in sequence.
1 While holding down the SONG button, press the START/STOP button at the same time.
· This causes the SONG indicator lamp to flash, and starts sequential playback of the built-in tunes.
· You can play along with the built-in tunes on the keyboard, if you want. Tone assigned to the keyboard is the
one that is preset for the built-in tune that is playing.
2 Press the START/STOP button again to stop tune play.
413A-E-005A