MIDI MASTER KEYBOARD
,
1
Warning
Precautions
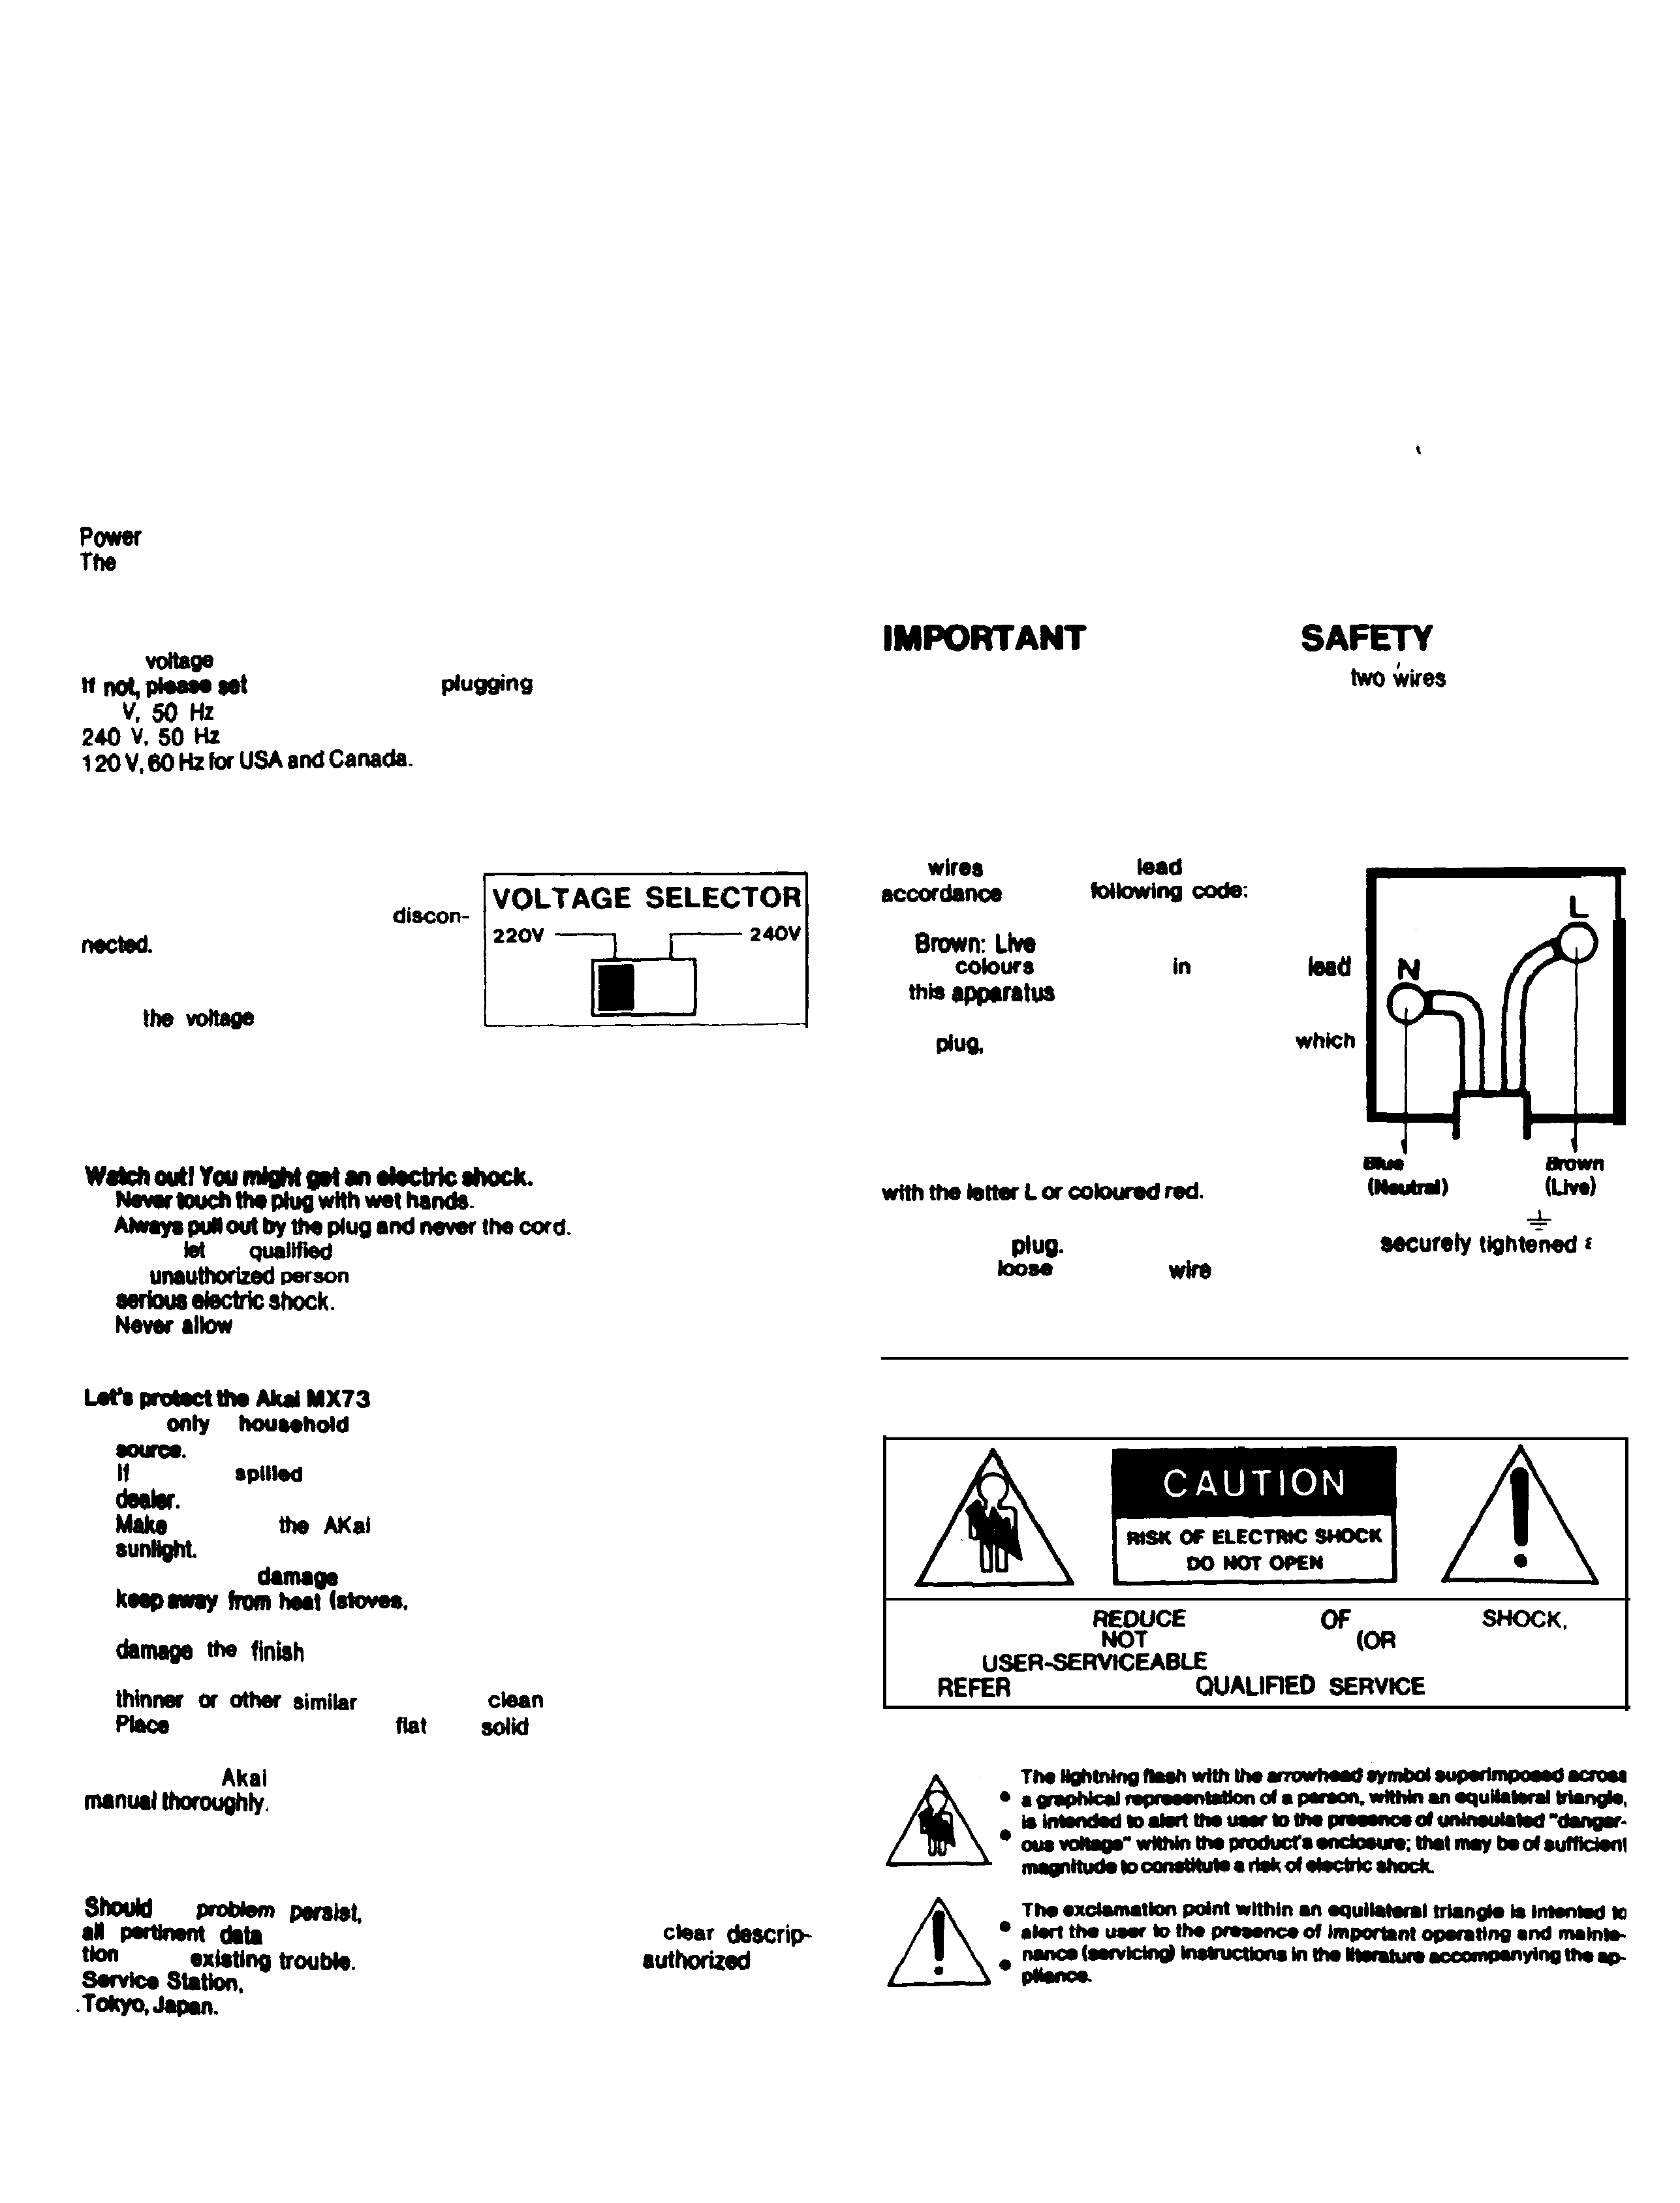
Power requirements
requirements for electrical equipment differ from area to area.
operating voltage of this machine is preset at the factory according
to It's intended destination. However. some models are equipped with a
voltage selector. If your machine is so equipped. before connecting,
check to see that the VOLTAGE SELECTOR on the bottom panel is set
to the
for your area.
it correctly before
in the power cord.
220
for Europe except the UK.
for UK and Australia.
If the VOLTAGE SELECTOR is not set for your
area:
Confirm that the power cord is
Move the VOLTAGE SELECTOR with
a screwdriver so that the marker is
above
for your area.
What you should know to protect yourself and
the Akai MX73.
.
l
l
Only
a
professional repair or reassemble the Akai MX73.
An
might touch the internal parts and receive a
l
a child to put anything, especially metal, into the Akai
MX73.
too.
l
Use
a
AC power source. Never use
a DC power
l
water is
on the Akai MX73. disconnect it and call your
l
sure that
MX73 is well ventilated and away from direct
l
To
l
vofd
to the internal circuits and the external surface,
etc.).
l
Avoid using spray type insecticide near the Akai MX73. It can
and might ignite suddenly.
l
To avoid damaging the finish, never use denaturated alcohol, paint
chemicals to
the Akai MX73.
l
the Akal MX73 on the
and
surface.
TO enjoy the
MX73 for a long time, please read this operator's
a
write down the model and serial numbers and
regarding warranty coverage as welt as a
of the
Then, contact your nearest
Akai
or the Service Department of Akai Electric Company,
FOR CUSTOMERS
IN THE UK
FOR YOUR
The flex supplied with your machine will have
as shown in the
illustration.
TWO CORE FLEX
IMPORTANT
The
in this mains
are cotoured in
with the
Blue: Neutral
As the
of the wires
the mains
of
may not correspond with the
cotoured markings identifying the terminals in
your
proceed as Mows: The wire
is coloured blue must be connected to the
terminal which is marked with the letter N or
cofouredbtack.
The wire which is coloured brown must be
connected to the terminal which is marked
l
Do not connect any wire to the larger ptn marked E or
whe
wiring a
Enaure that all terminals am
that no
strands of
exist.
CAUTION: TO
THE RISK
ELECTRIC
DO
REMOVE COVER
BACK).
NO
PARTS INSIDE.
SERVICING TO
PERSONNEL.
Features
2
Table of Contents
1. The MX73 can be used as a MIDI master control keyboard for
control of all MIDI functions.
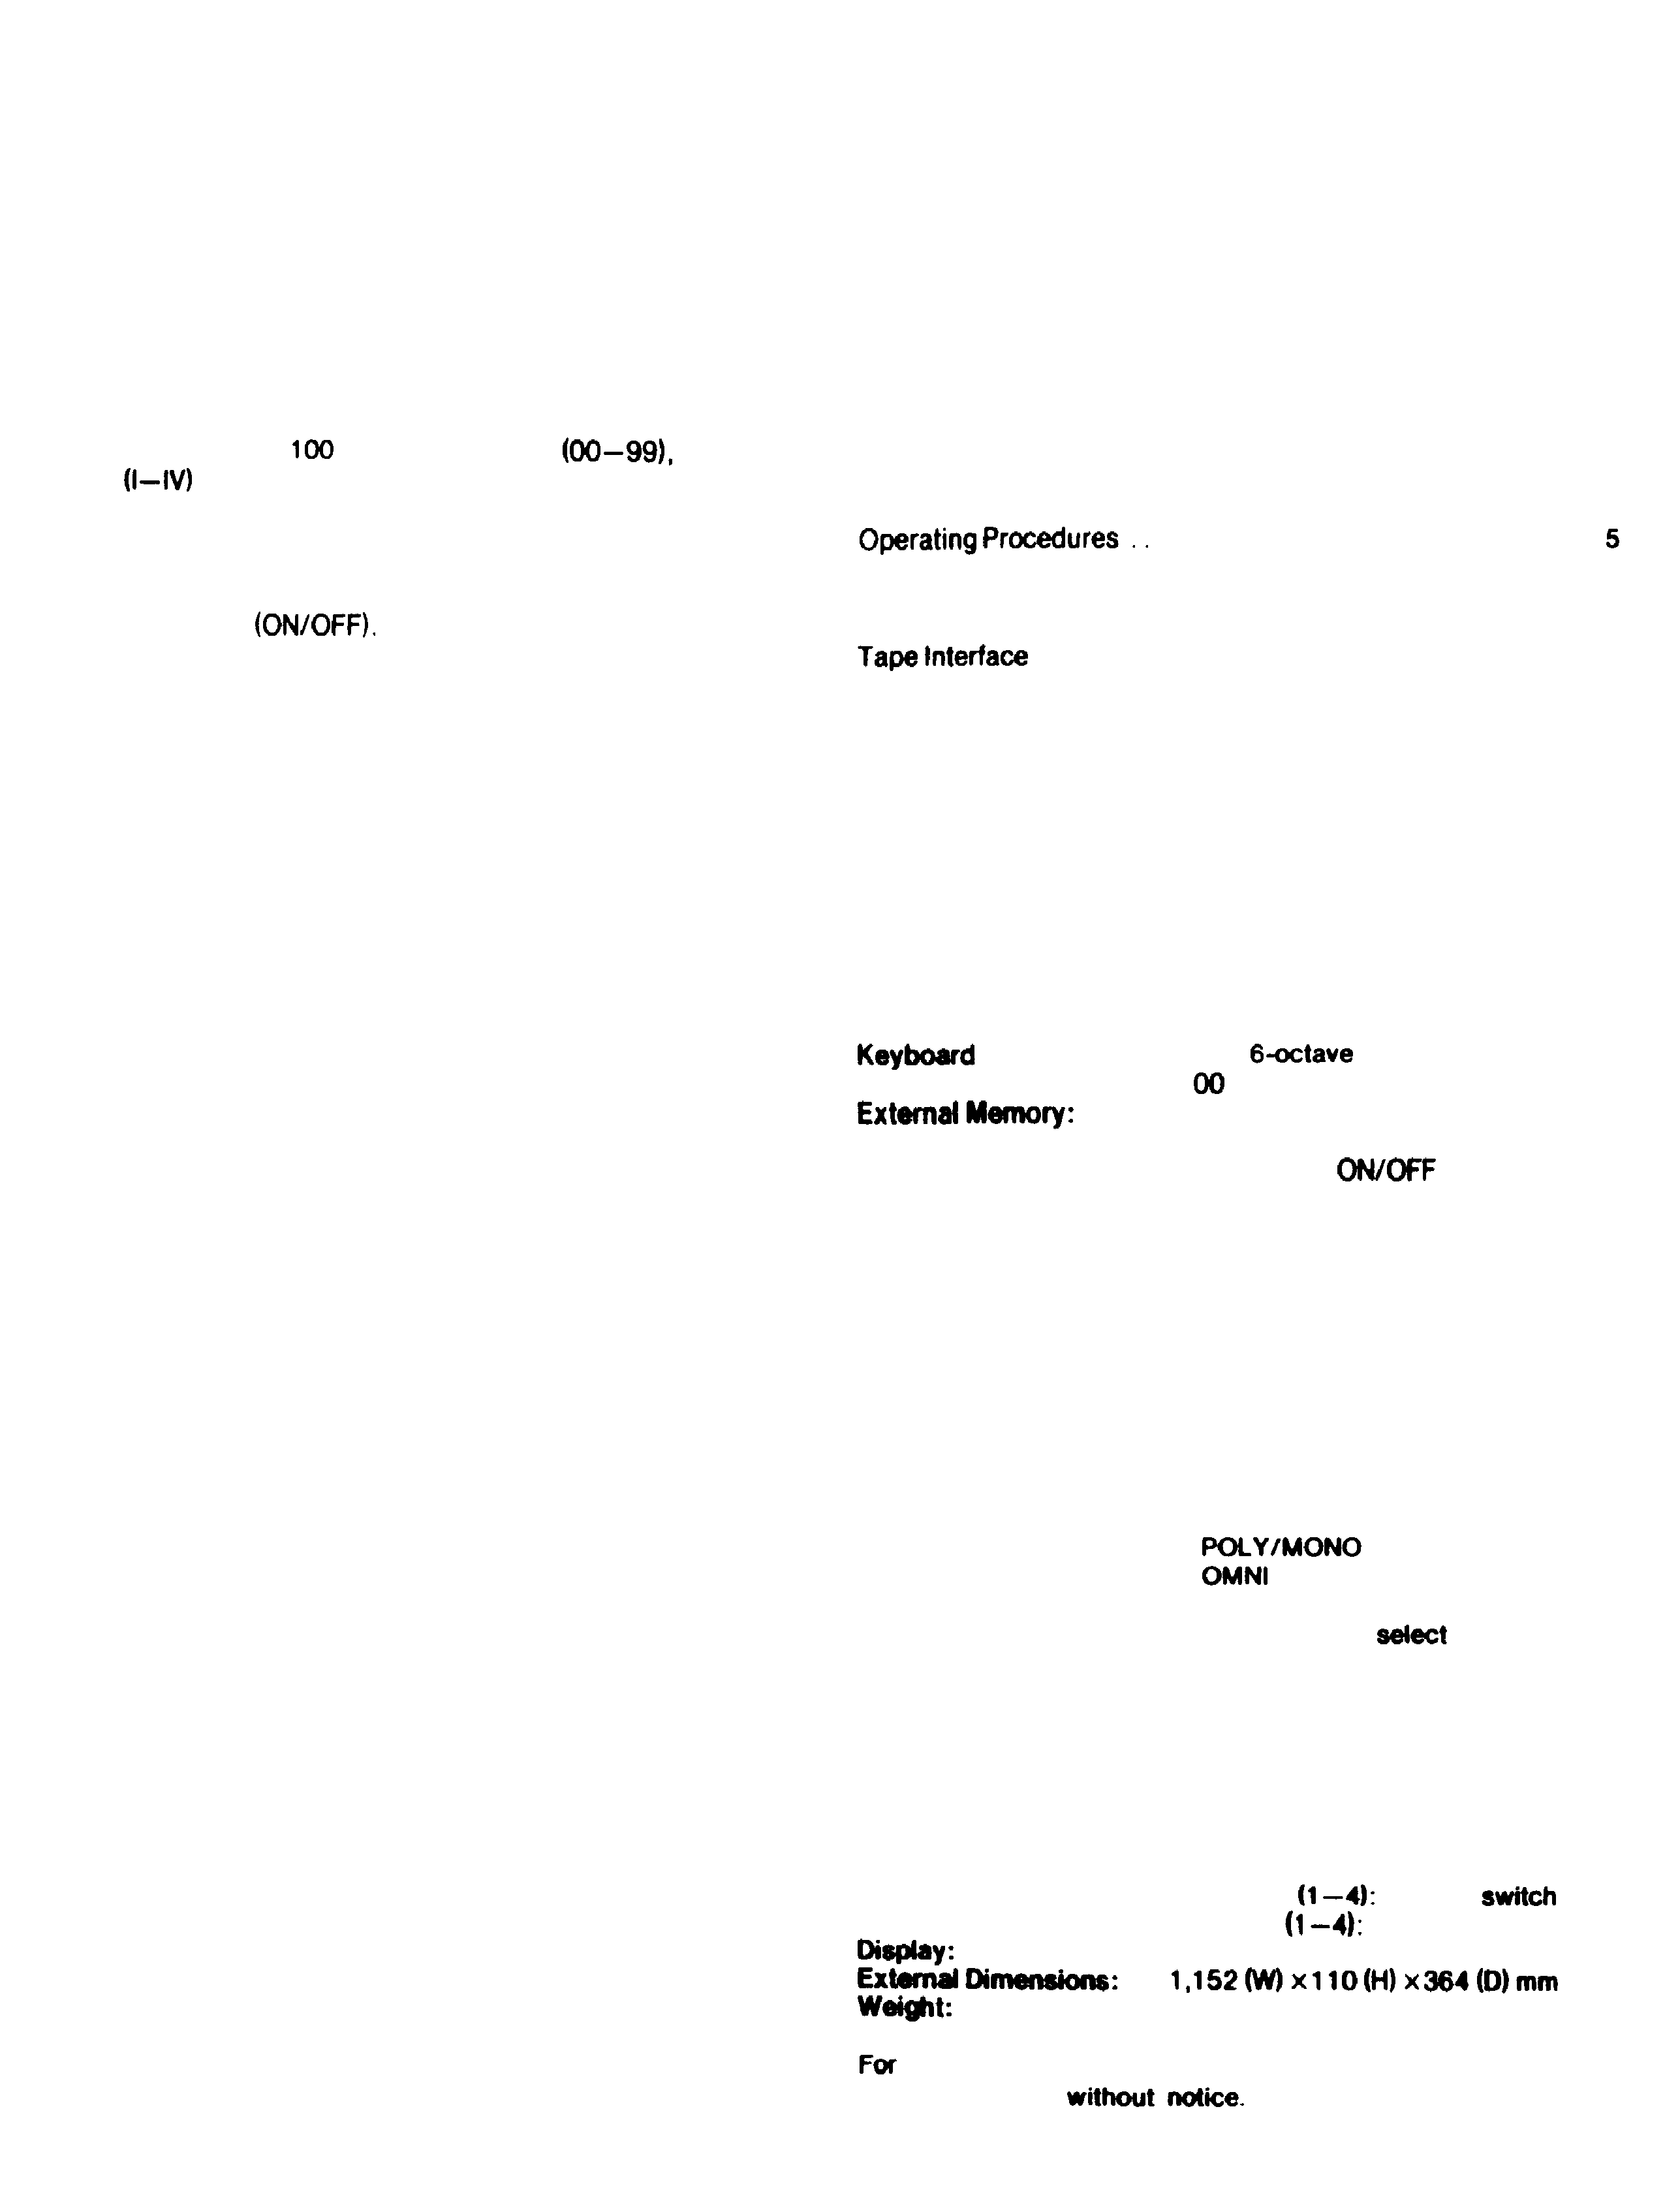
2. There are a total of
program memories
and four
areas
for each program.
3. Each parameter can be preset for' the four MIDI output sys-
tems (areas I-IV).
4. MIDI messages DO-34 (control change) can be set freely by
four control sliders, and messages 64-95 can be set by four
control switches
5. A key velocity function makes it possible to create of a natural
touch
response.
Warning.. ................................................
1
Precautions ...............................................
1
Features ................................................
2
Specifications .............................................
2
Controls.. ............................................
3
...................................
Programming .............................................
7
Operations ..............................................
12
Example
of
Programming
Patterns ........................
14
............................................
17
MIDI
Implementation
chart ................................
18
NOTE:
The MX73 unit does not include a sound source. Use it
in
connection
with
other
MIDI-compatible
instruments.
Specifications
:
73-key
C scale
Internal Memory:
1
programs
Cassette
interface
Functions:
Master
level
TUNE request
Key
transpose
Programmable
control
Changevolumes x4
Programmable
control
change switches x4
Programmable
parameters
Wheel
Bend
MIDI
Channel
Program
number
Split point
Octave
shift
ON/OFF
Control
select
Control switch
Control number set
Switch number set
Sustain ON/OFF
External Jacks:
MIDI OUT x2
EXT OUT x 1
TAPE (IN/LOAD. OUT/SAVE)
PROGRAM UP
SUSTAIN PEDAL
CONTROL
For foot
CONTROL
For foot control
LC display
13kg
improvement purposes. specifications and design are
subject to change

3
Controls
CONTROL PANEL
Button
Button
MASTER
1
i
LC Display
Button
Interface
Button
SELECT Buttons
ON
OFF
I
OUTLINE
DIAGRAM
POINT
OCTAVE
SHIFT
NUMBER
SELECT
WHEEL
SELECT
SELECT
ON/OFF
CONTROL
SW.
SELECT
CONTROL VOL. SELECT
PANEL
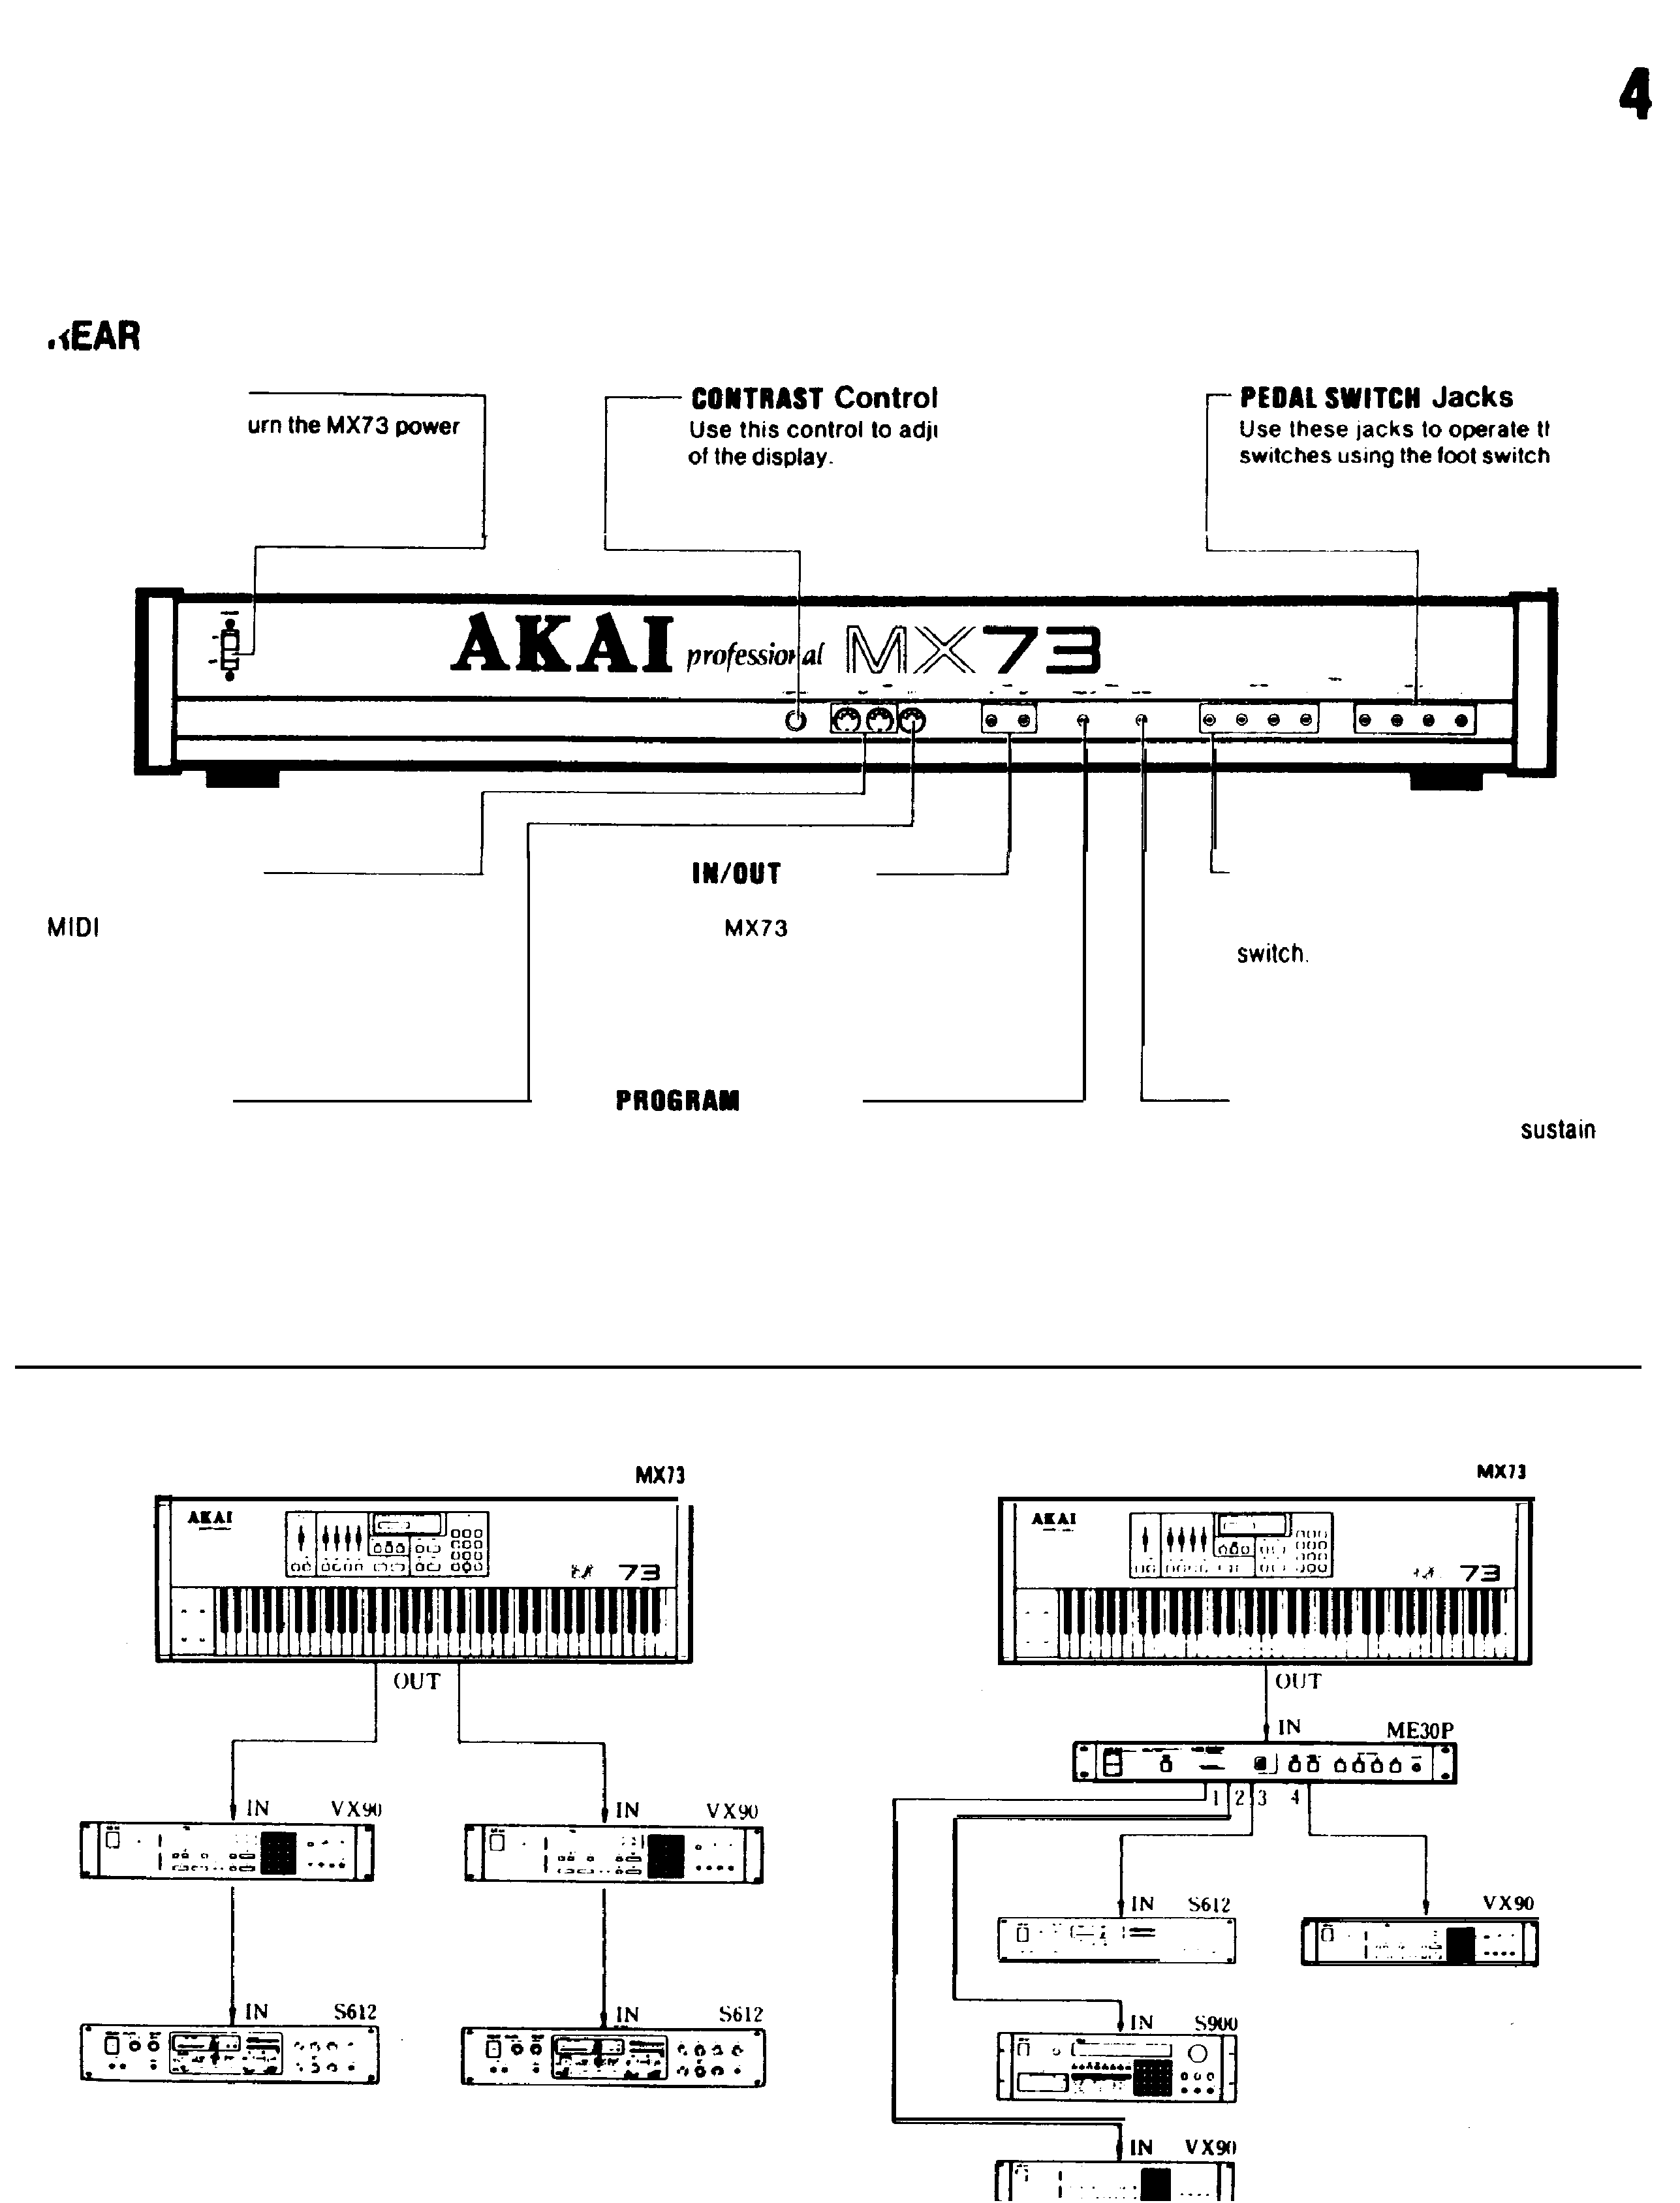
POWER Switch
Use this switch to turn the MX73 power
on and off.
Use this control to adjust the contrast
Use these jacks to operate the control
MIDI OUT Jacks
These are output jacks for transmitting
signals processed by the MX73
to a synthesizer, sampler, etc.
EXT OUT Jack
Use this jack to transmit only program
number changes (MIDI messages).
TAPE
Jacks
Use these jacks to store memory data
set in the
on a cassette tape or
to recall the data from a cassette tape.
UP Jack
Use this jack to switch the program
using the foot switch.
PEDAL CONTROL Jacks
Use these jacks to control the
CONTROL
volume
using
the
fool
SUSTAIN Jack
Use this jack to switch the
data
using the loot switch.
EXAMPLE OF CONNECTIONS